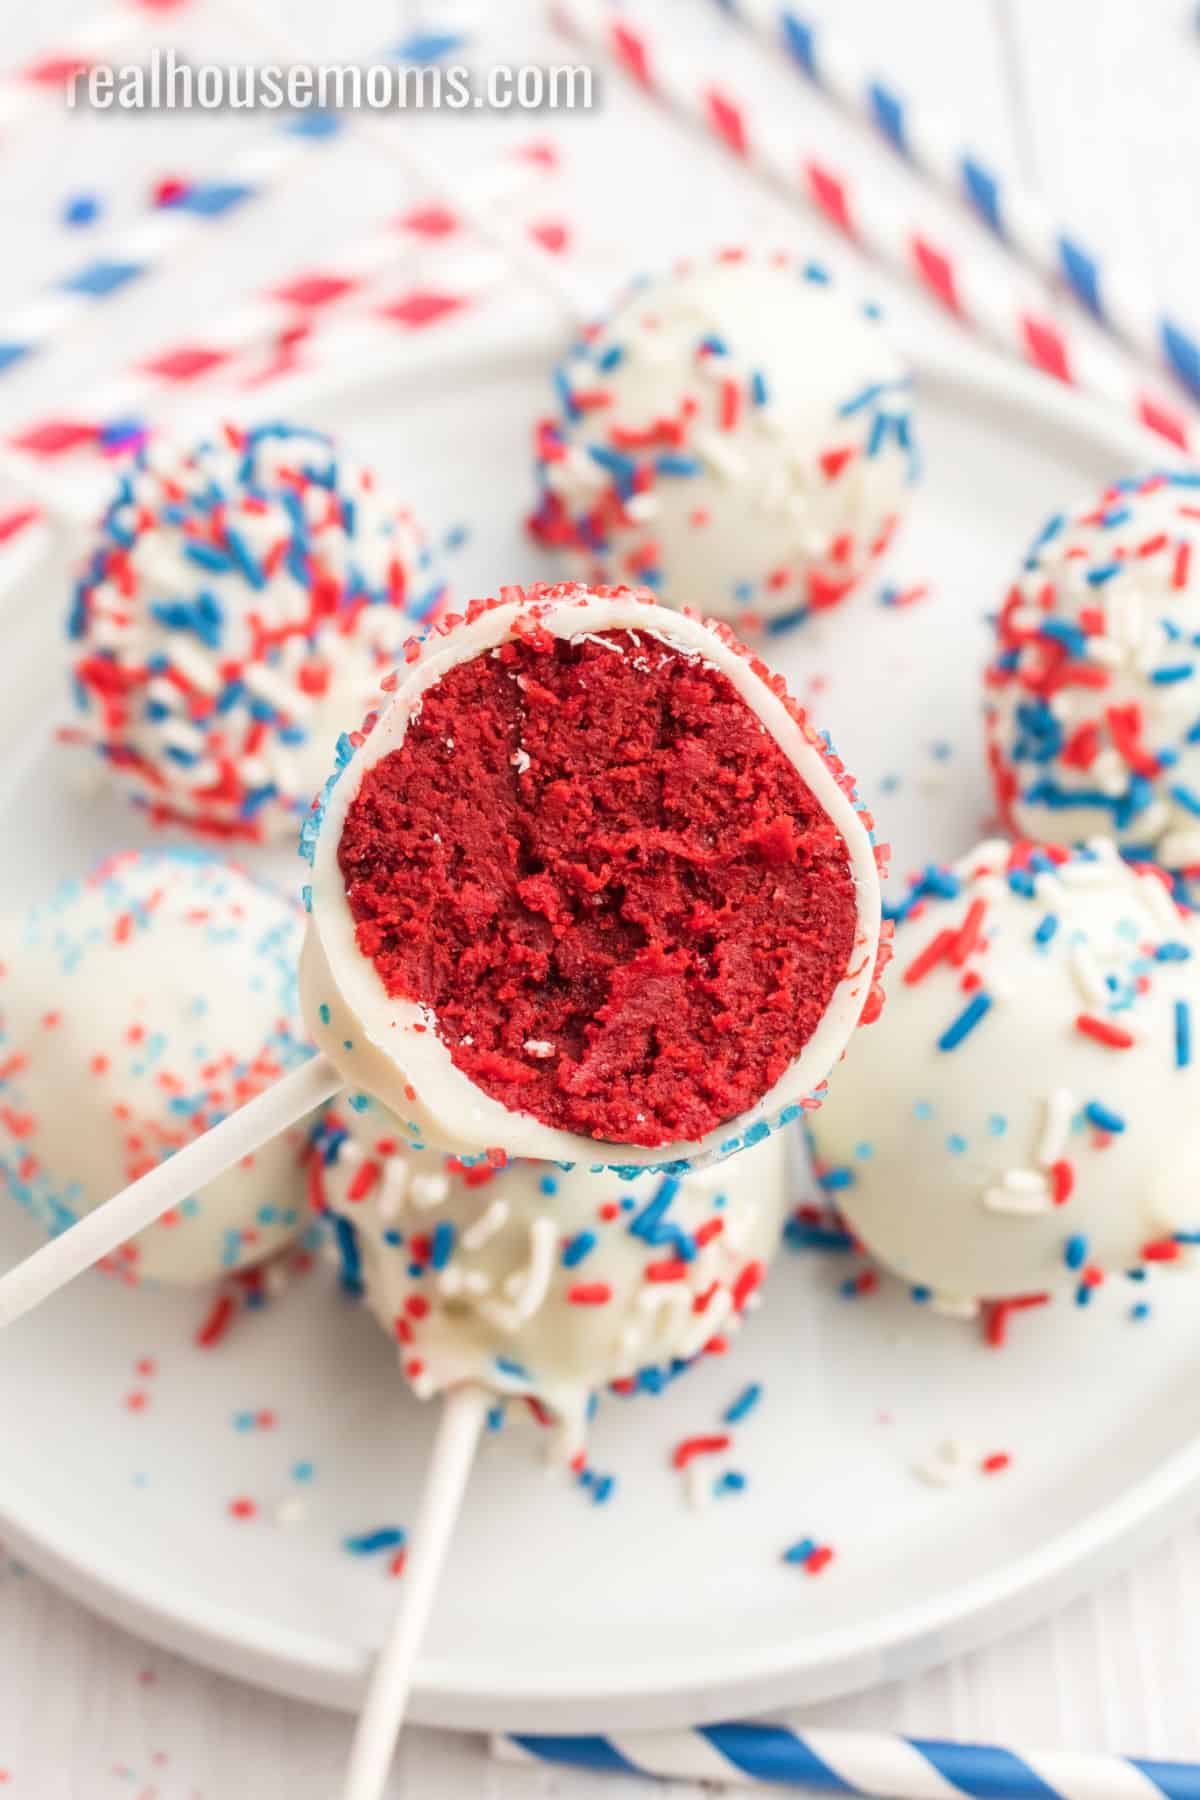
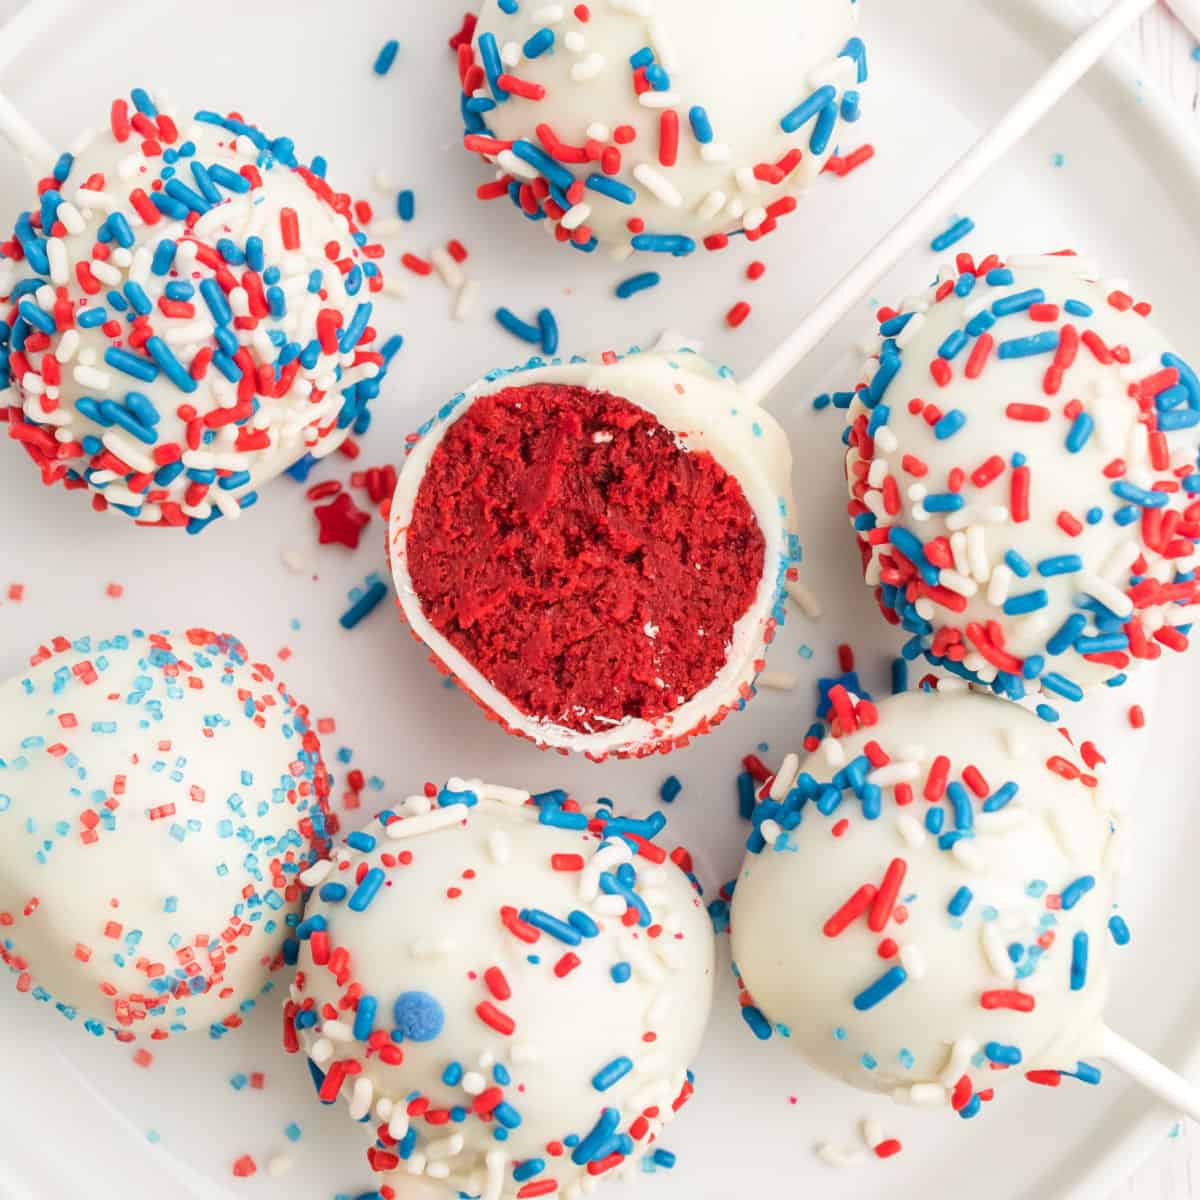
Red Velvet Cake Pops are lollipop-shaped treats that are filled with everyone’s favorite frosted red velvet cake flavors and so fun to make!
Red velvet cake is hard to resist, with its sweet, tangy, chocolaty flavors, so once you make it bite-sized, cover it in chocolate, and put a stick in it, everyone is compelled to grab this incredible treat! These Red Velvet Cake Pops can be made with your favorite red velvet cake mix, candy melts, cream cheese, powdered sugar, and lollipop sticks for an entertaining and easy dessert!

Cake Pop Party
How do I know there’s a party going on when I enter a room? Because I spy cake pops! It can be difficult to walk around at a get-together while holding a plate of cake, so cake pops are not only more accessible but also way more fun when you decorate them in different colors and sprinkles. Red Velvet Cake Pops are a blast to make with kids and can be decorated to reflect whatever special occasion you’re serving them for, from Valentine’s Day to birthdays and everything in between!
There’s no need to stop at red velvet pops when you can make Pumpkin Spice Brownie Pops and Cheesecake Balls and have more poppable treats at the party!
Other Recipes to Serve with Red Velvet Cake Pops
- Everyone can enjoy a bubbly punch at the get-together with Sparkling Fruits Party Punch! Add in your favorite sparkling white wine for a grown-up twist.
- Cookies & Cream Bourbon Balls are an amazingly chocolaty treat for the adults at the party, with all of its delicious bourbon flavor!
Ingredients
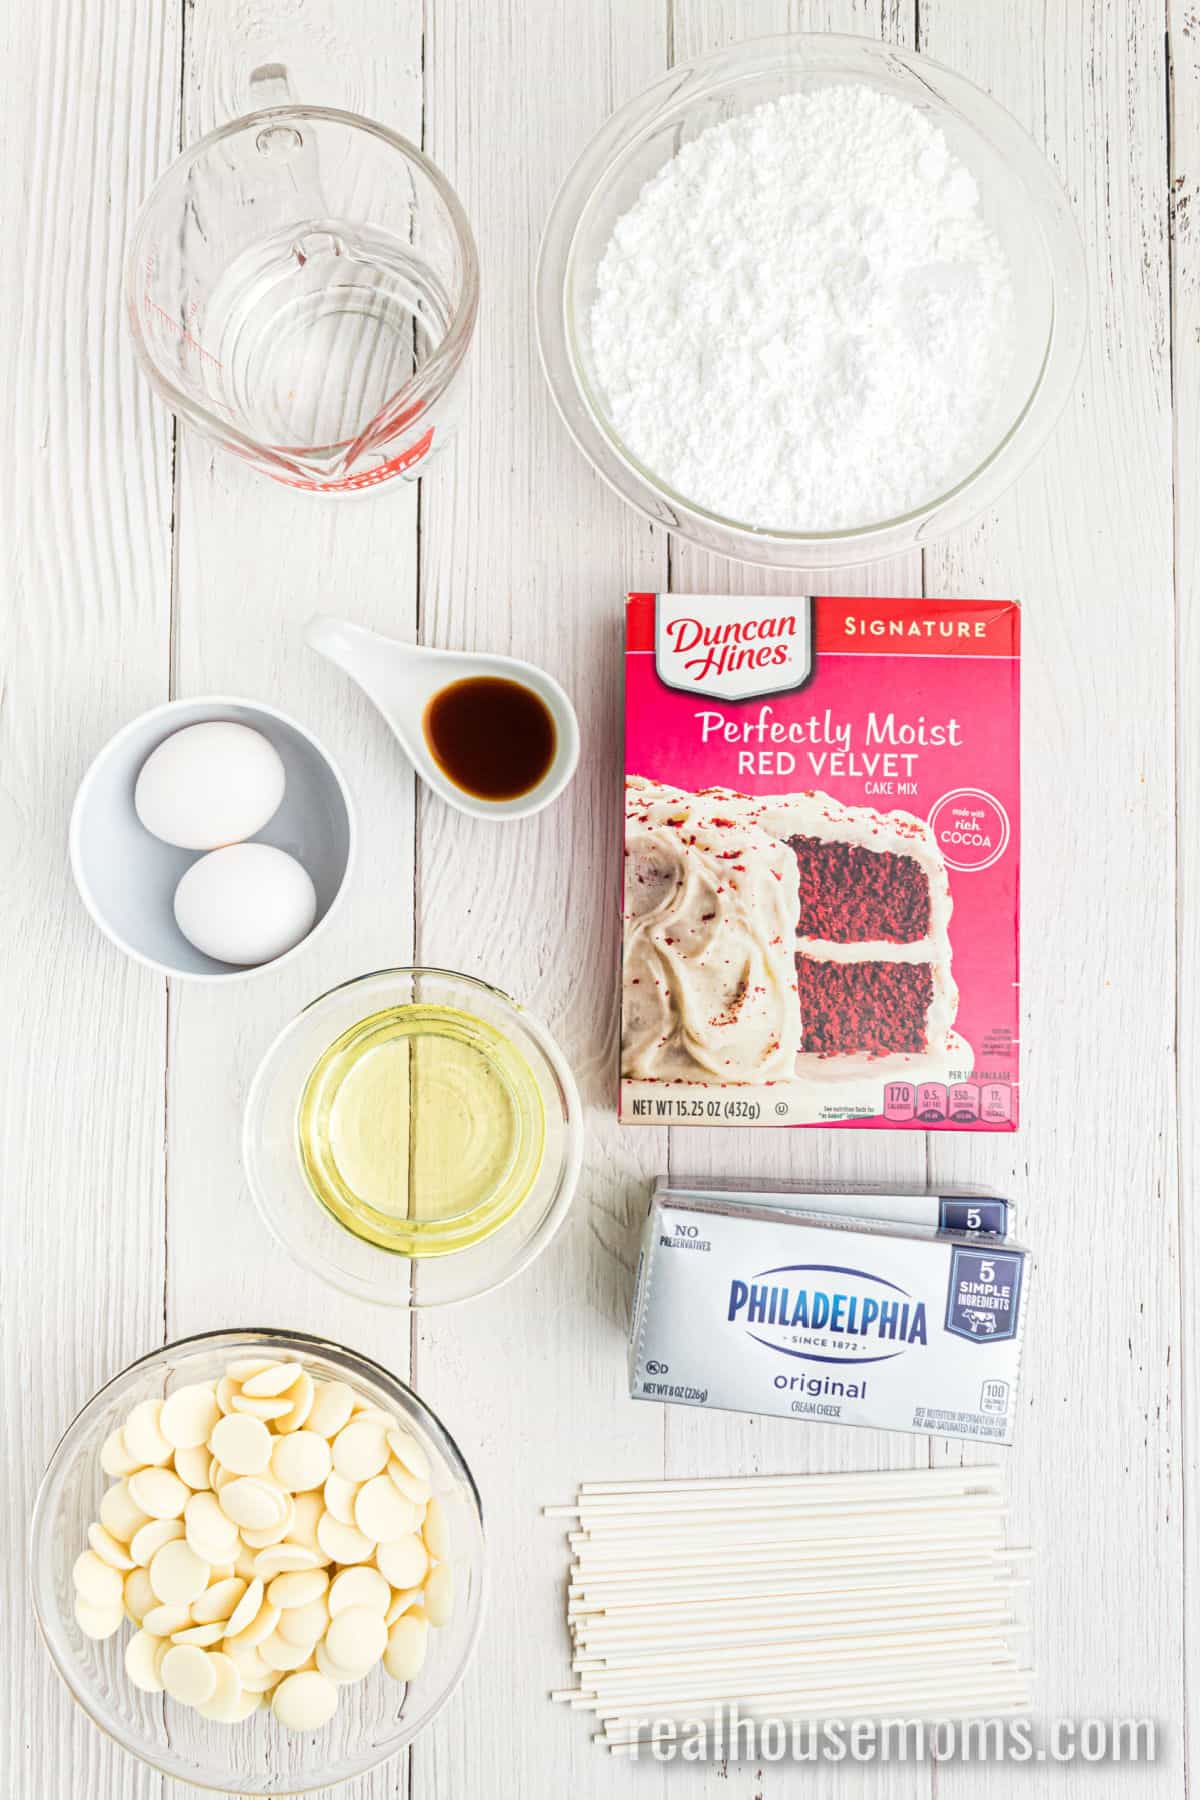
Cake: Pick up your favorite brand of red velvet cake mix, along with the needed ingredients listed on the back of the box, which are usually eggs, oil, and water.
Cream Cheese Frosting: To make the frosting, you will need cream cheese (any kind will work), powdered sugar, and vanilla extract.
Chocolate Coating: Candy melts are needed to coat the cake pops, and you can choose any color.
Lollipop sticks: Purchase a package of lollipop sticks for your cake pops.
How to Make Red Velvet Cake Pops
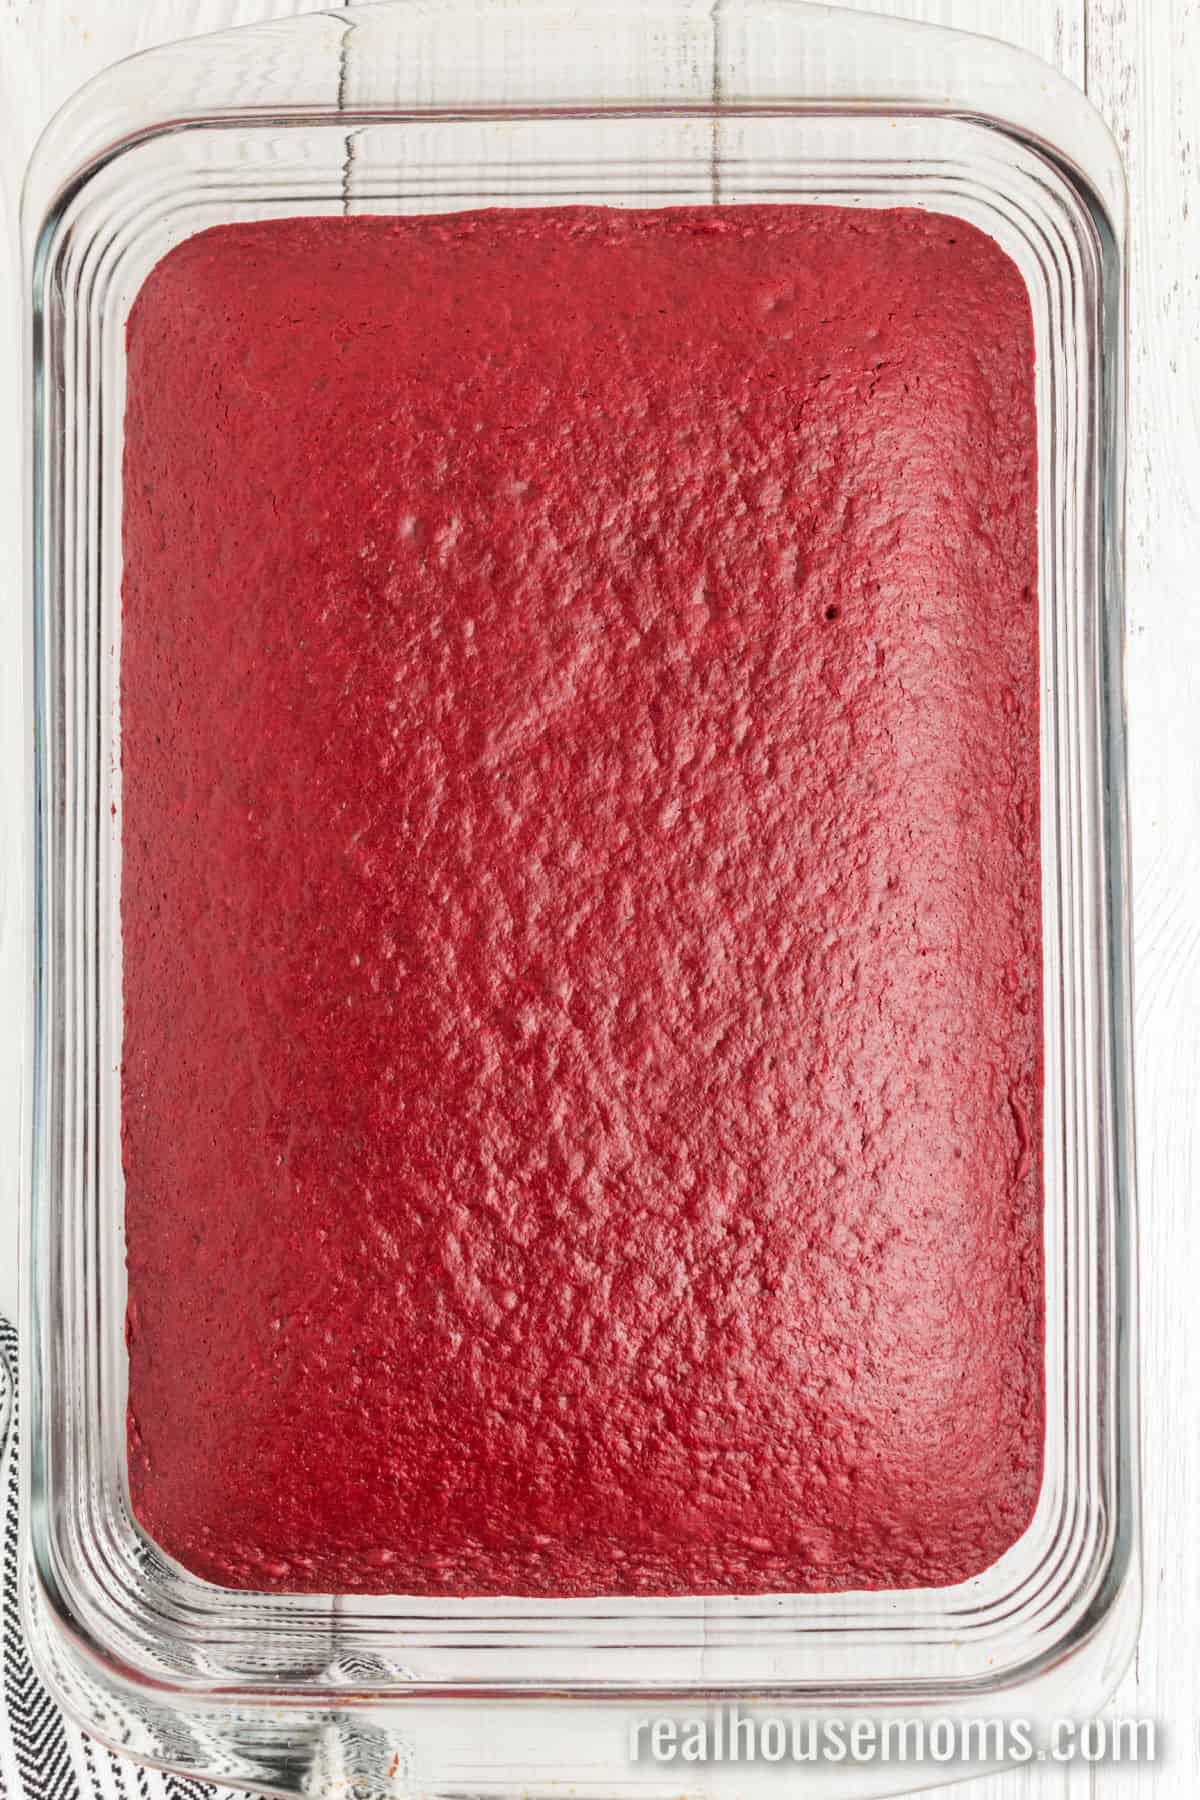
STEP ONE: Prepare and bake the cake according to the directions on the box for a 9-inch x 13-inch baking dish. Let the cake cool completely.
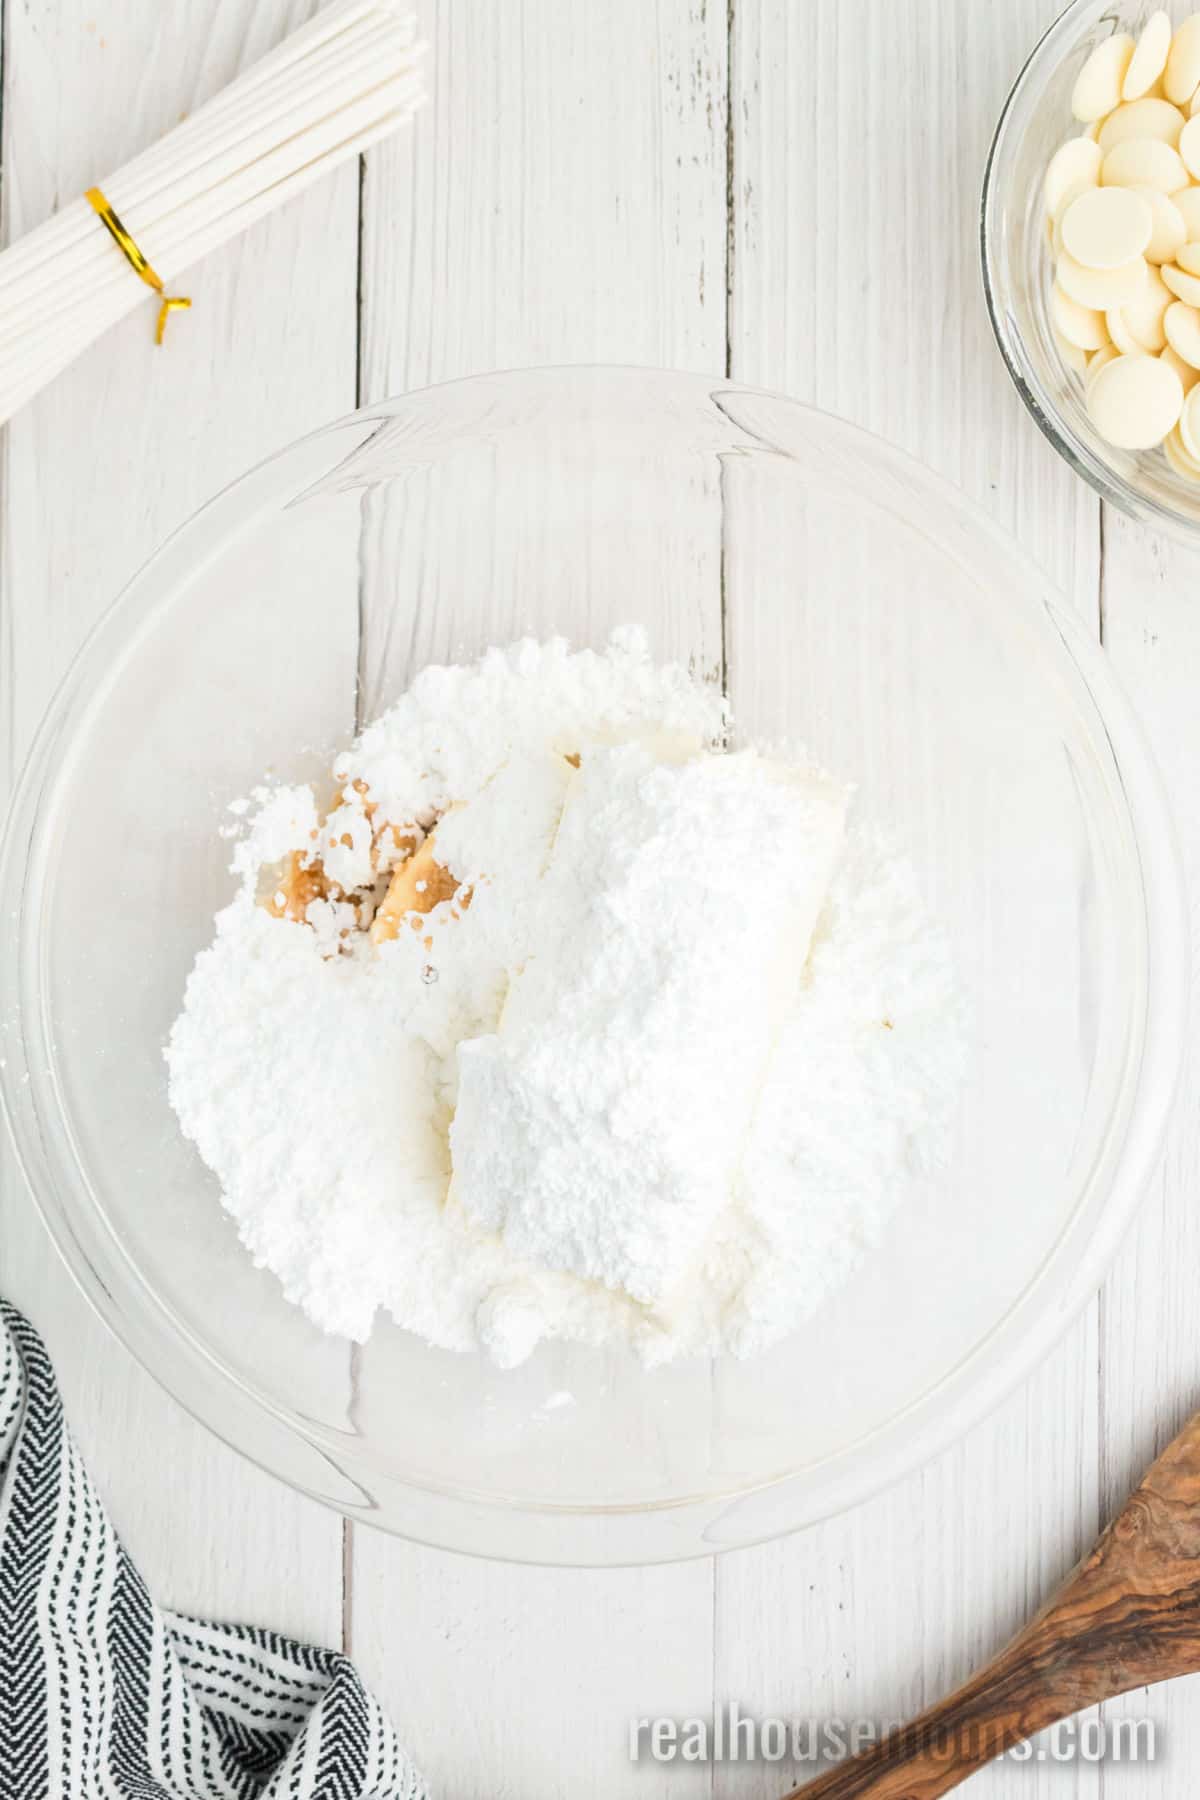
STEP TWO: While the cake is cooling, mix the softened cream cheese, powdered sugar, and vanilla extract until smooth.
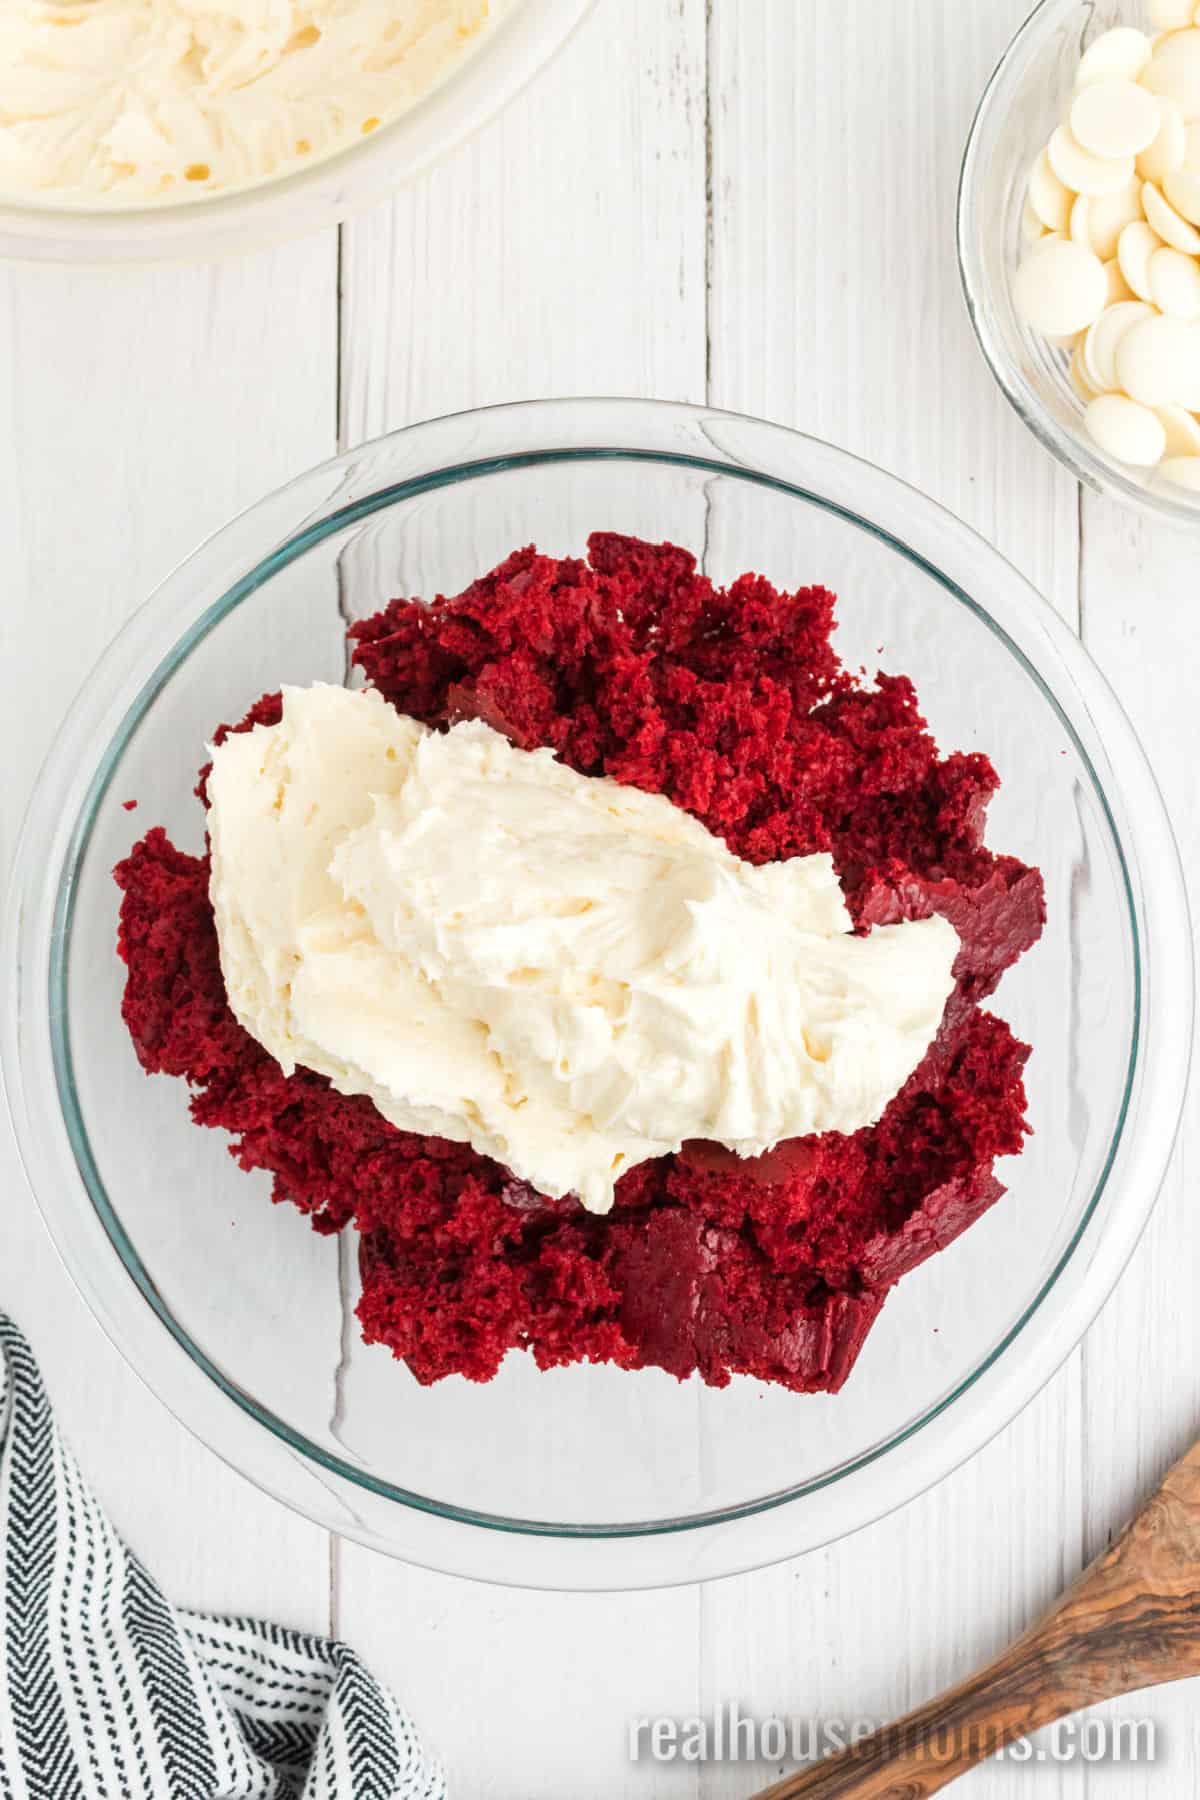
STEP THREE: In a large bowl, crumble the cake and mix in the cream cheese frosting. Stir the mix together well, using your hands if necessary.
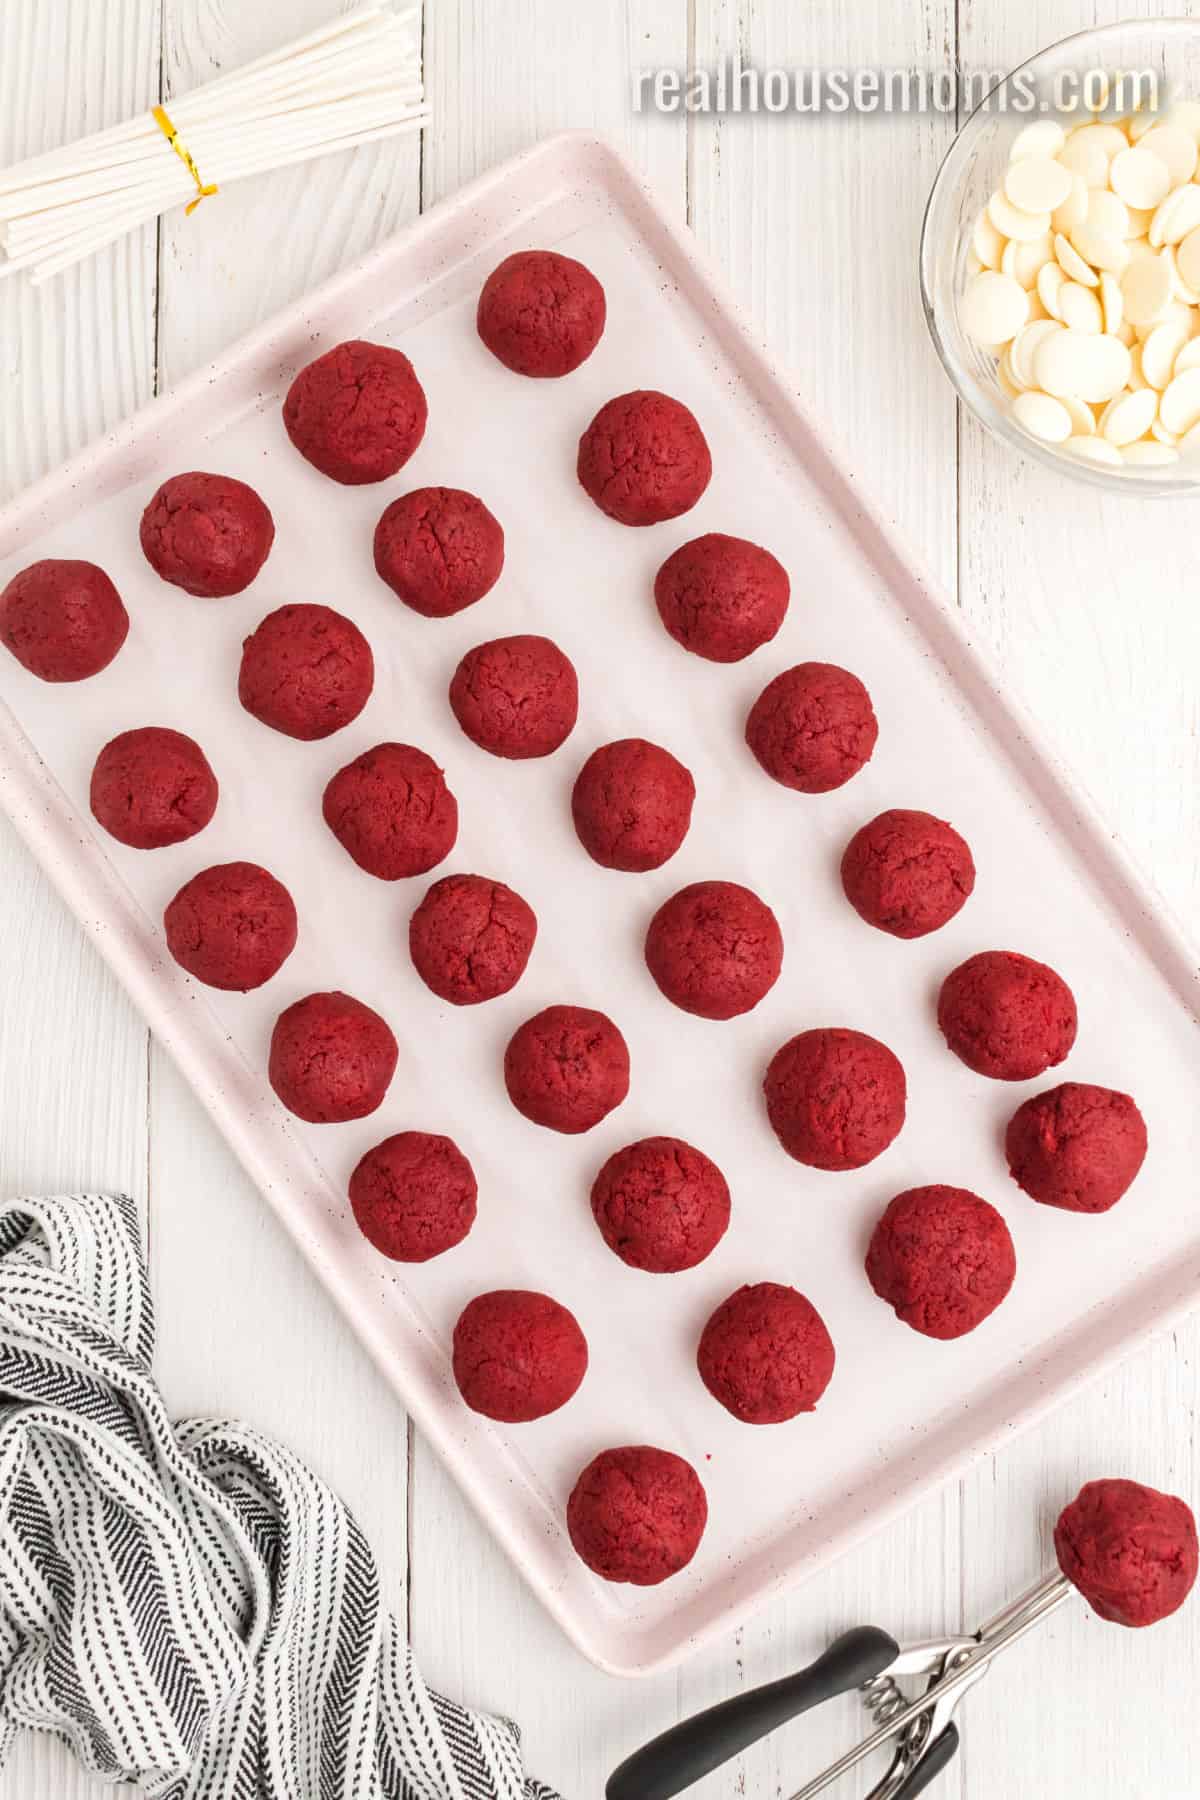
STEP FOUR: Measure one tablespoon of the cake mixture, using either a small scoop or measuring spoon, and roll the mix into balls. Once all of the cake mix has been rolled into balls, melt the candy melts. Dip one end of the lollipop stick into the melted candy and then stick it into the cake balls. When each ball has a lollipop stick, place them in the freezer to firm up.
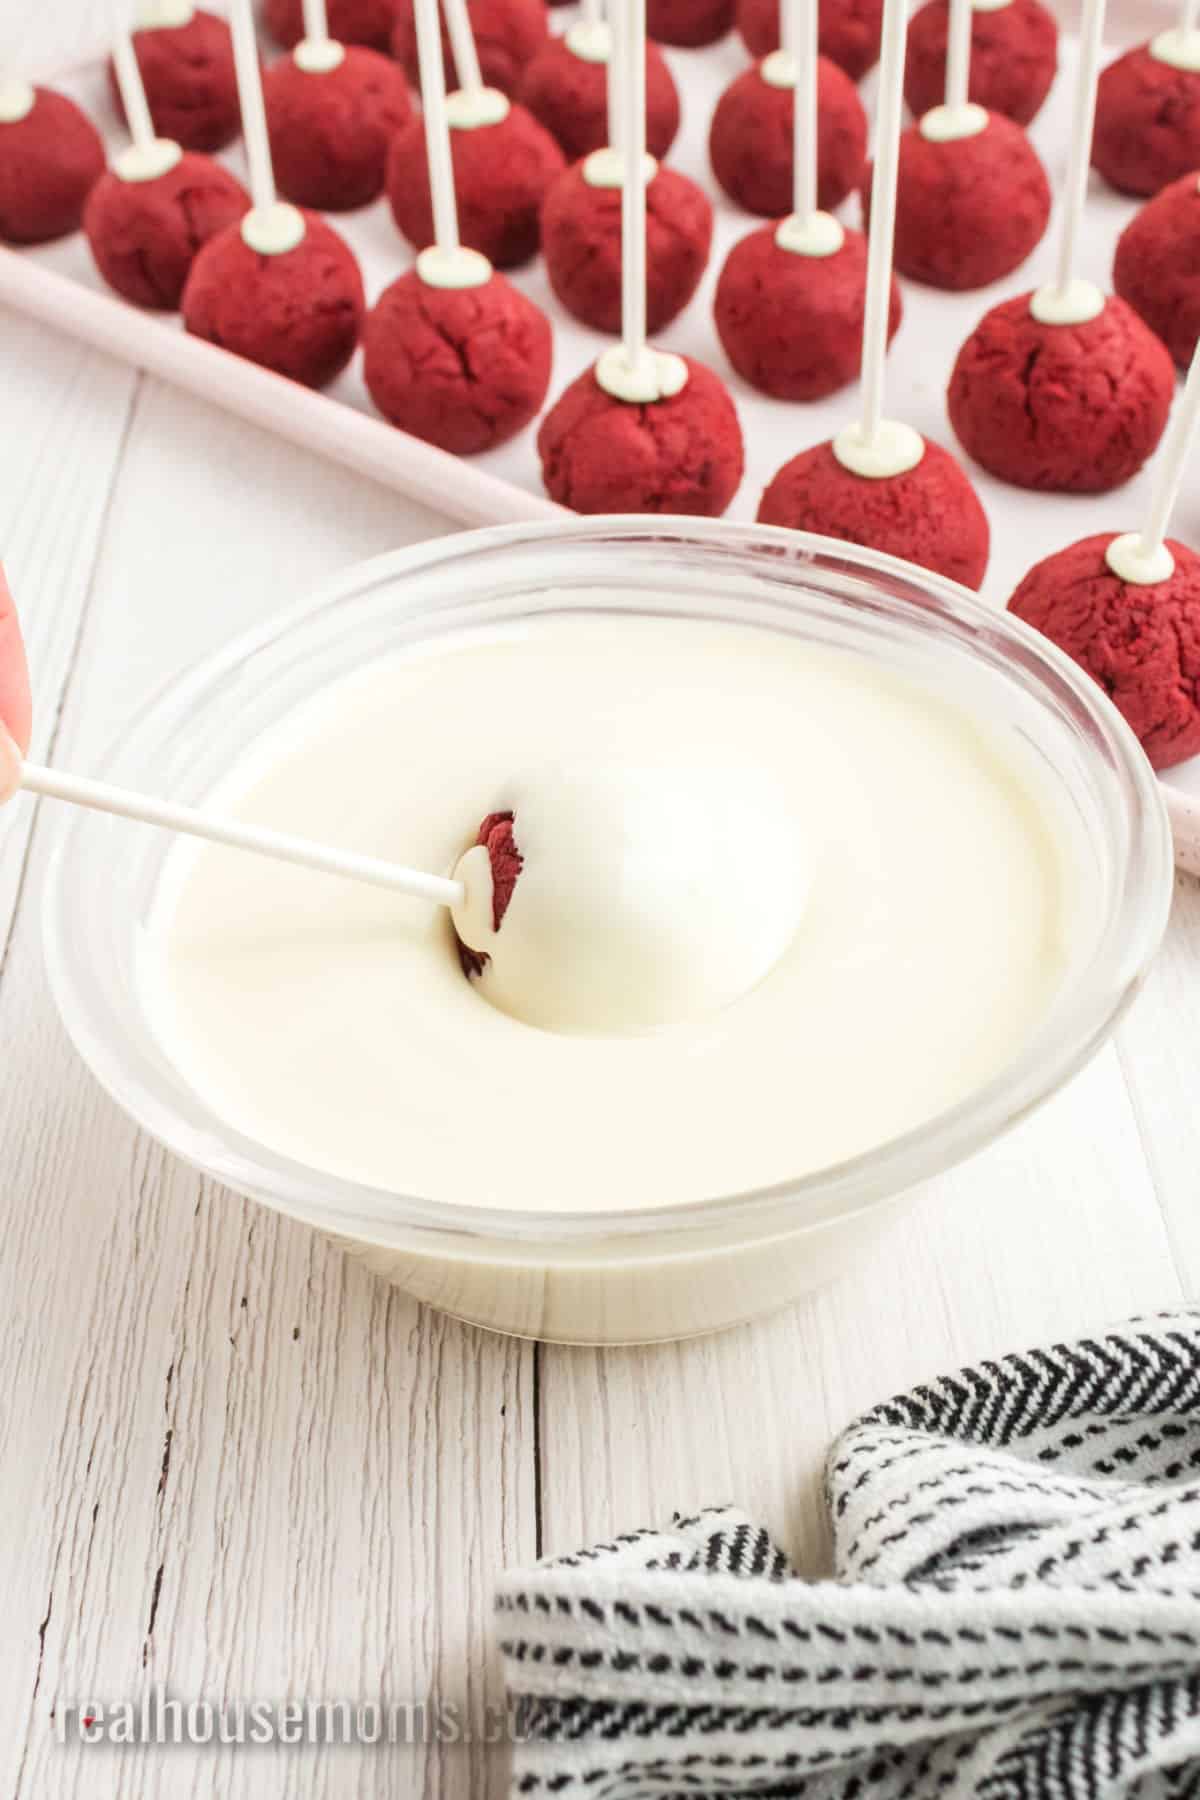
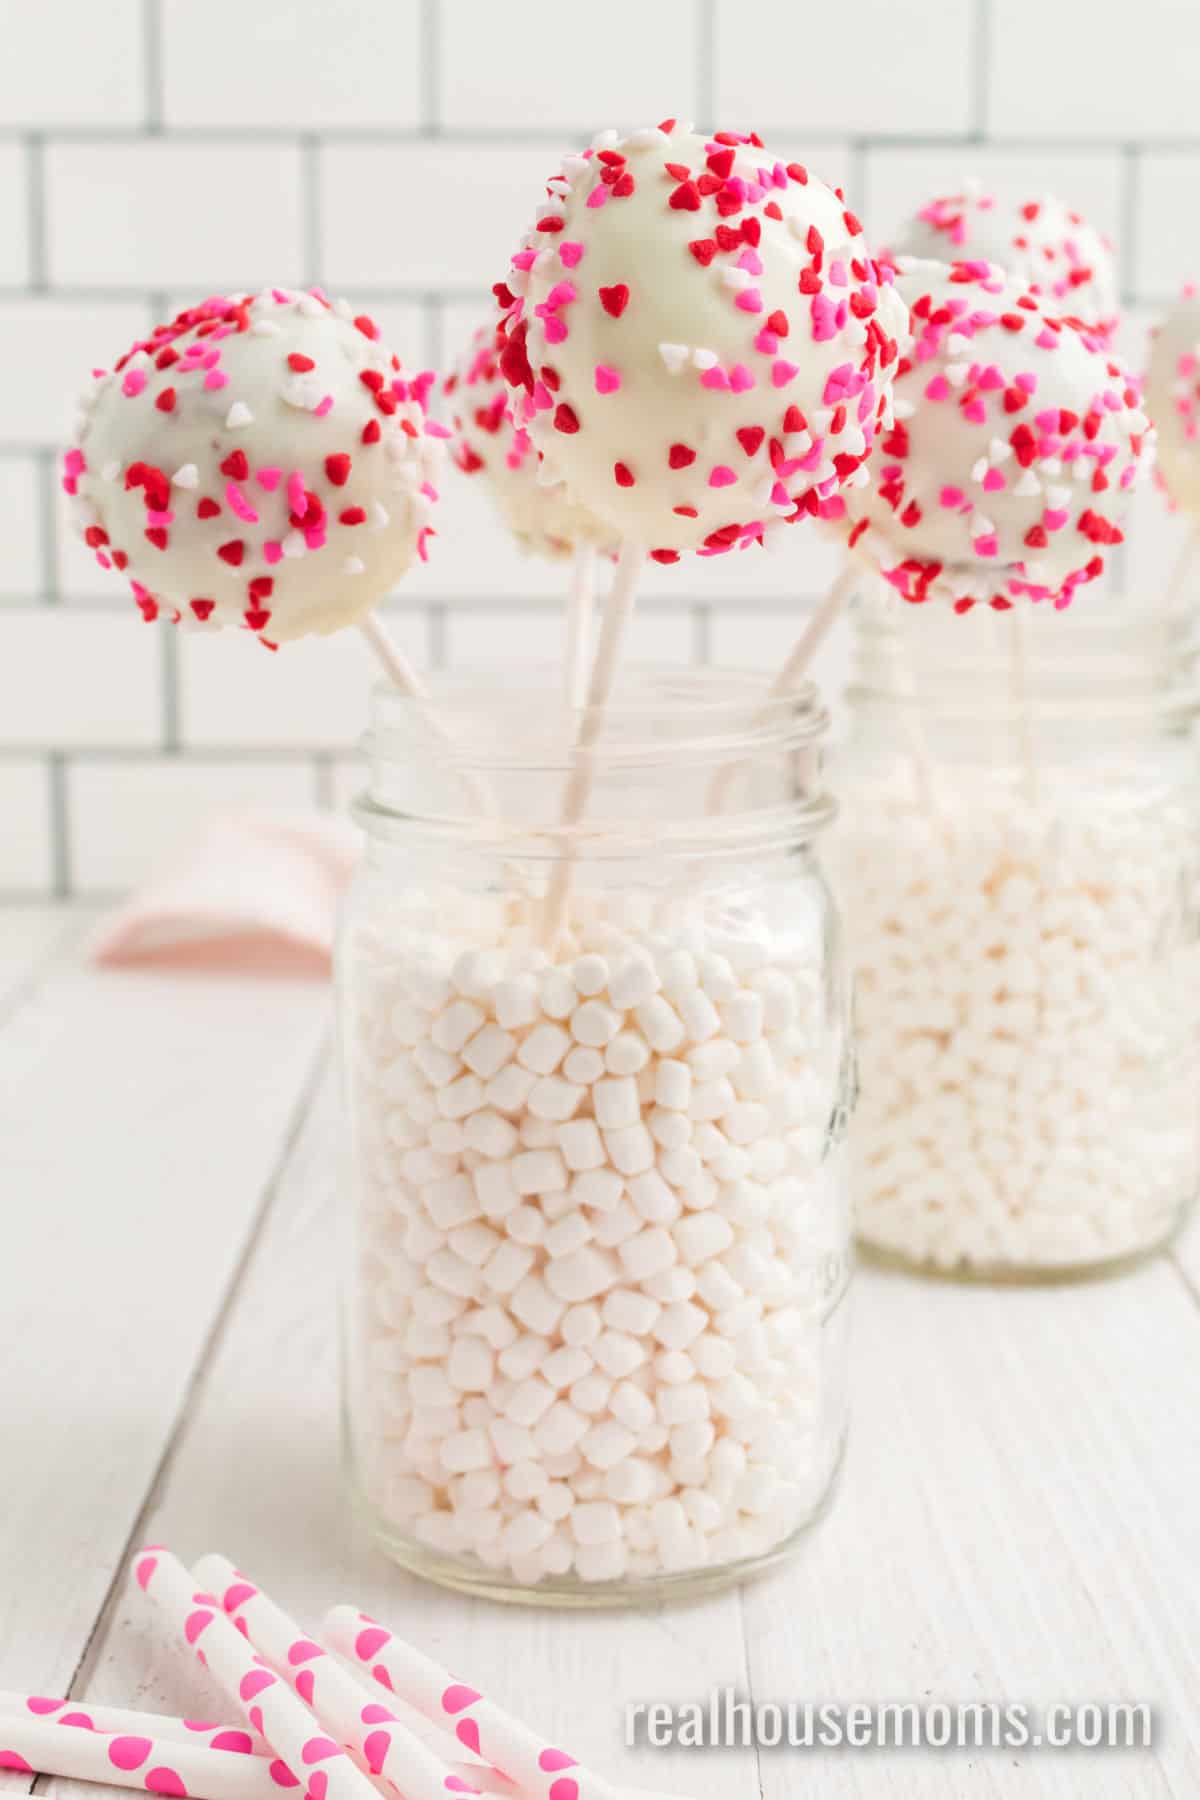
STEP FIVE: Once the cake pops are finished chilling, re-melt the candy and dip each cake pop into the melted chocolate so they are completely coated. Place the cake pops in a styrofoam block to set. If you’re decorating with sprinkles, add them before the coating sets up.
Tips for Success
- Cut away the firm outside edges of the cake before crumbling the cake. This will ensure no tough pieces of cake in your soft cake pops.
- Melt the candy melts in a container like a cup or a deep bowl so that the cake pops can be submerged into the candy to coat the cake pops better.
- Set out the cream cheese to soften well ahead of time so that making the frosting is easier and mixing the frosting into the cake is a cinch.
- If the candy melts are too thick, add a shortening or dipping aid to thin it out. You may also need to reheat a few times while dipping since the cake pops are cold.
- Store the cake pops covered and on the counter. Storing the pops in the refrigerator will cause them to sweat, and the condensation will affect the cake pop.
- These cake pops can be made for all kinds of different occasion just by changing the sprinkles. We love this recipe for the 4th of July, Valentine’s Day, and Christmas.

Can I use frosting instead of candy melts?
If you can’t locate candy melts or don’t want to use them, then frosting can coat the cake pops. The caveat is that frosting tends to melt at a lower temperature than hardened candy melts. So if your house is on the warm side, you may want to eat those cake pops just a little faster.
The finish will also be a little different when you use frosting instead of candy melts. You won’t get the glossy finish with frosting, but frosting can still be colored and sprinkles can still be added, so you will still end up with a deliciously colorful treat! Melted chocolate can also be used instead of candy melts, simply heat one tablespoon of oil with one cup of chocolate chips and then dip the cake pops as described in the recipe.
What is the secret to coating cake pops?
The first part of the secret is dipping the lollipop stick into the melted candy, inserting it into a cake ball, and then chilling it before coating the cake pop. This will help keep the cake pop in place as the candy acts like glue so the cake pop can’t slide down the stick or otherwise fall off.
The second part of coating cake pops is to dip them straight into the melted candy and then pull them straight out. Avoid swirling or twisting the cake pops in the melted candy, as this may loosen the cake from the stick. Allow the excess candy melt to drip off of the cake pop for a second and then place the cake pop into a stand to dry.
Spread the love with even more red velvet recipes!
- Red Velvet Cupcakes
- Red Velvet Cookies
- Red Velvet Pound Cake
- Swirled Red Velvet Brownies
- Red Velvet Cake Recipe
*This post was originally posted on 02/13/2013.
Ingredients
- 15.25 ounces red velvet cake mix plus ingredients to prepared (1 box)
- 16 ounces cream cheese softened (see note)
- 1 ¼ cups powdered sugar
- 2 teaspoons vanilla extract
- 12 ounces white candy melts or white chocolate melting wafers
- Sprinkles
Instructions
Cake
- Preheat your oven to 350 degrees F. Grease a 9-inch x 13-inch baking dish. Set aside.
- Mix together the cake batter as instructed on the box. Pour the batter into the prepared dish.
- Bake according to the package directions for a 9×13 pan until a toothpick inserted in the center comes out clean.
- Remove from the oven and cool the cake to room temperature, about 2 hours.
Cream Cheese Frosting
- Mix the cream cheese, powdered sugar, and vanilla together in a large mixing bowl with a hand mixer (or in your stand mixer) until smooth.
Cake Pops
- Crumble to cooled cake into the bowl with the cream cheese frosting. Use a rubber spatula to mix the frosting and cake together until you have a thick dough-like texture. (You may want to use your hands really make sure it's mixed well.)
- Using a tablespoon size cookie scoop to portion out the cake pop mixture onto a parchment paper-lined baking sheet. Then use your hand to roll each dough scoop into a ball.
- Melt the candy melts following the directions on the bag in a microwave-safe bowl.
- Dip one end of a lollipop stick into the melted chocolate and then insert the dipped side into a cake ball. (This will make sure the stick doesn't fall out.)
- Once all the cake pops are prepped, freeze them on the baking sheet for 1 hour.
- Re-melt the candy melts and then dip the cake balls into the melted chocolate so they're completely coated. Add sprinkles to the outside of the cake pops before the coating sets.
- Place the cake pops back onto the baking sheet, stick side up, or place them in a styrofoam block to keep the rounded shape on top.
- Store covered on the counter until ready to serve. (Storing in the fridge may cause the cake pops to sweat.)
Notes
- You can substitute low-fat cream cheese or Neufchâtel cheese if desired.
- You can choose to make your cake pops bigger (1.5 tablespoons), just know that the yield will go down as well.



Bill says
How many points are those on weight watchers, do you know? My girlfriend is on weight watchers and I’d love to make these for her for Valentine’s day, but I don’t have access to weight watchers to check how many points they are.
Cindy {crazylou} says
Yum! Have to try these…REAL SOON!
Thanks!
Diana Rambles says
I am NOT skinny, but I’d love to eat these!! LOL!
Theresa says
These are too cute and I bet taste just as great! Thanks for sharing the recipe!