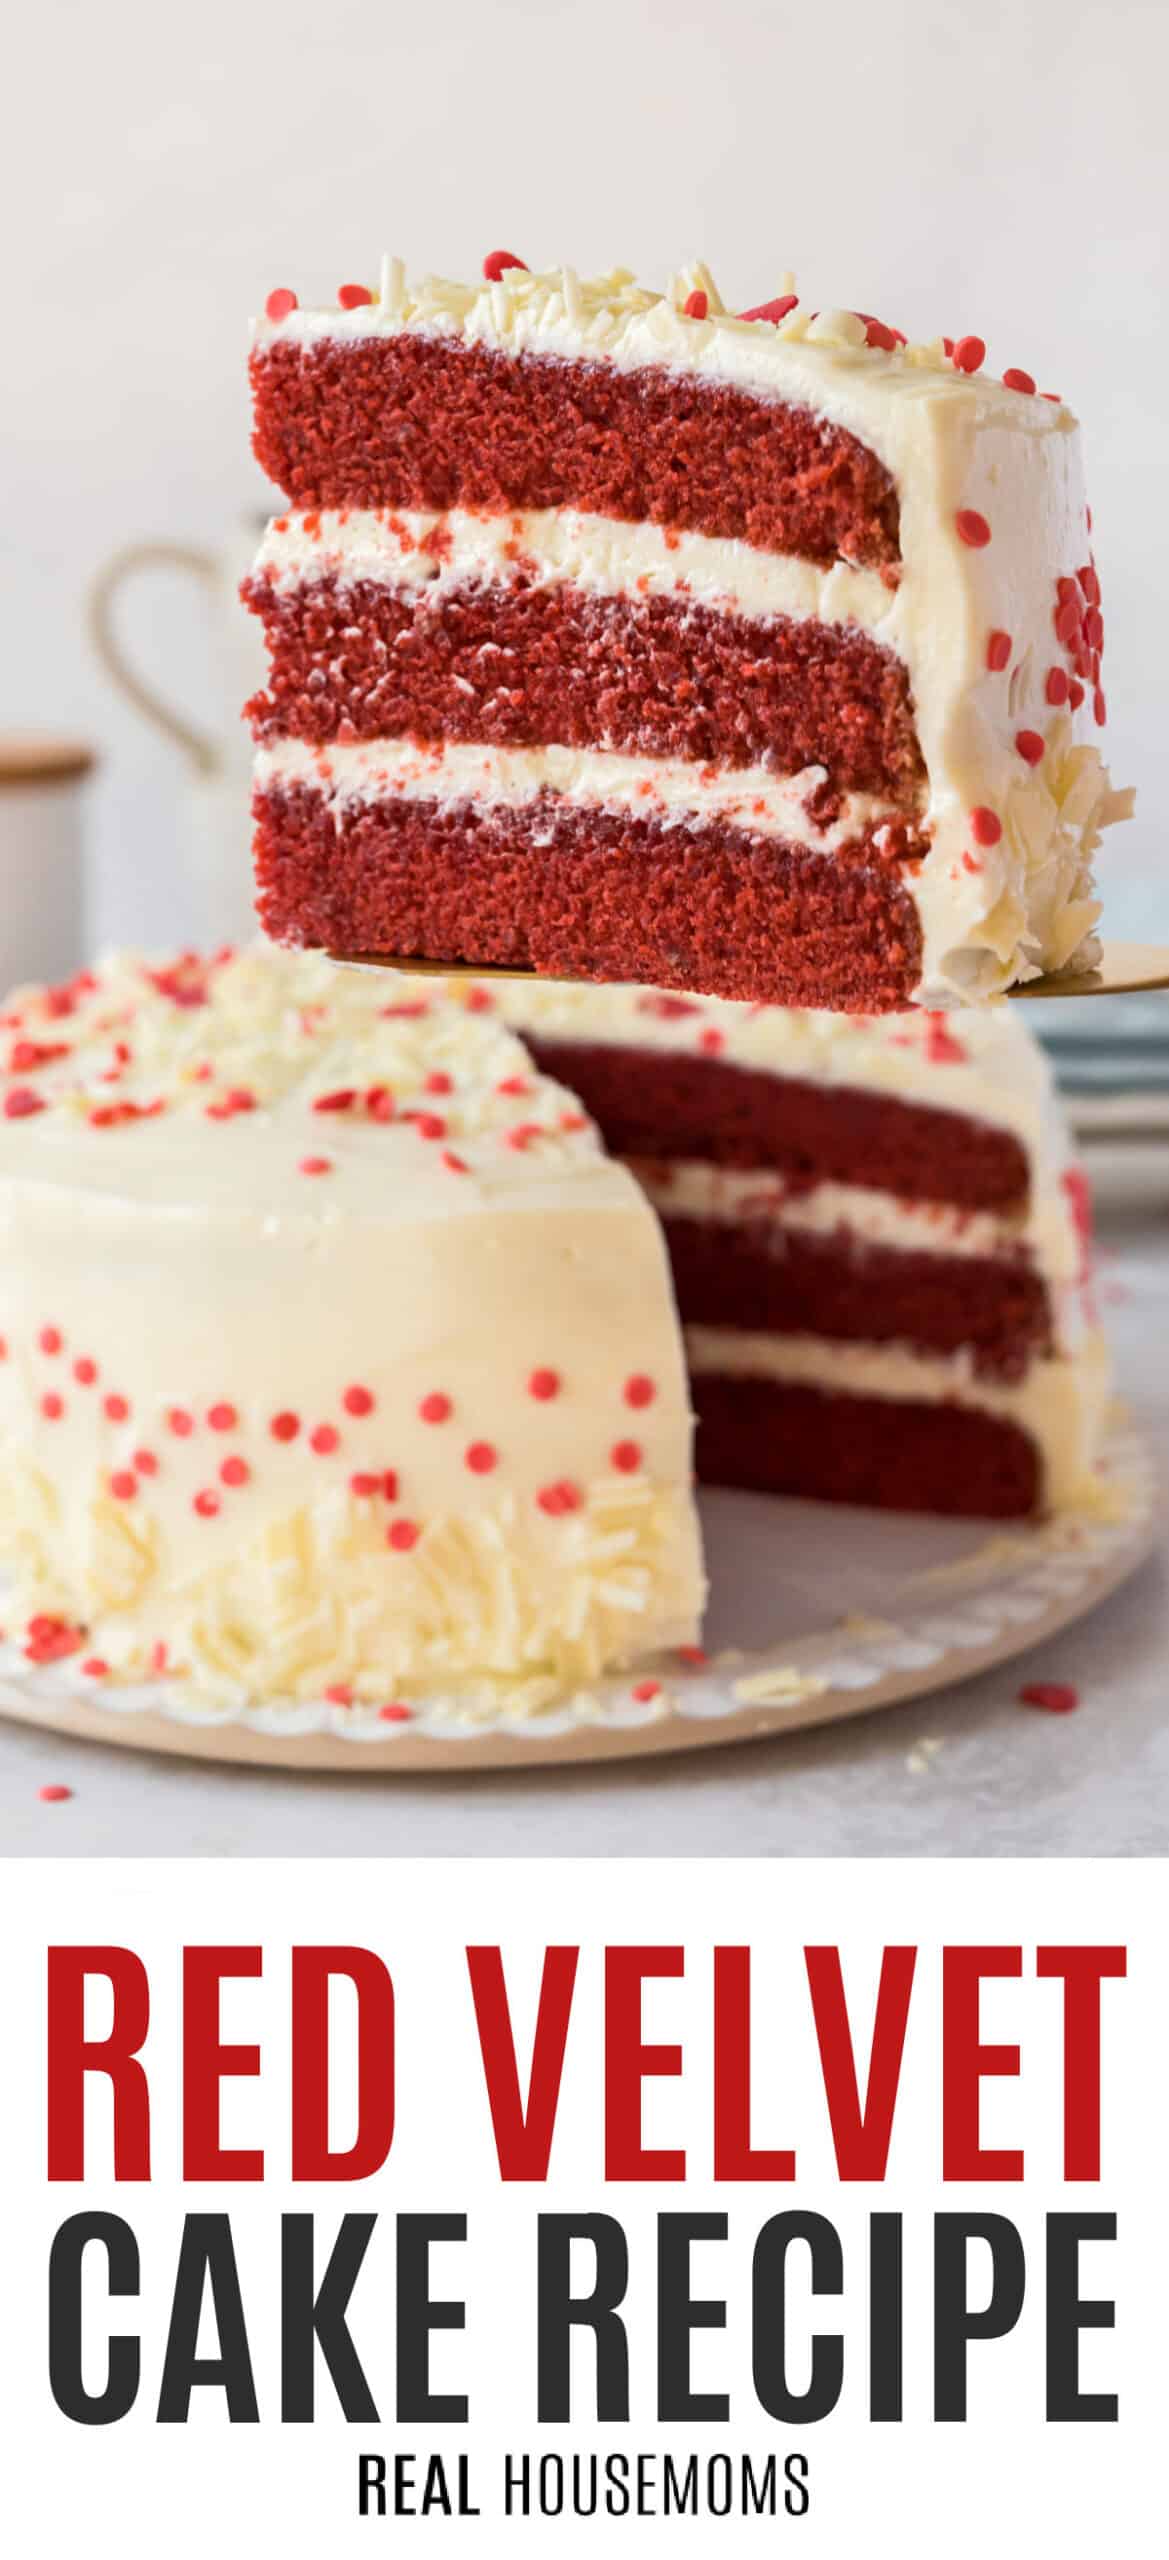
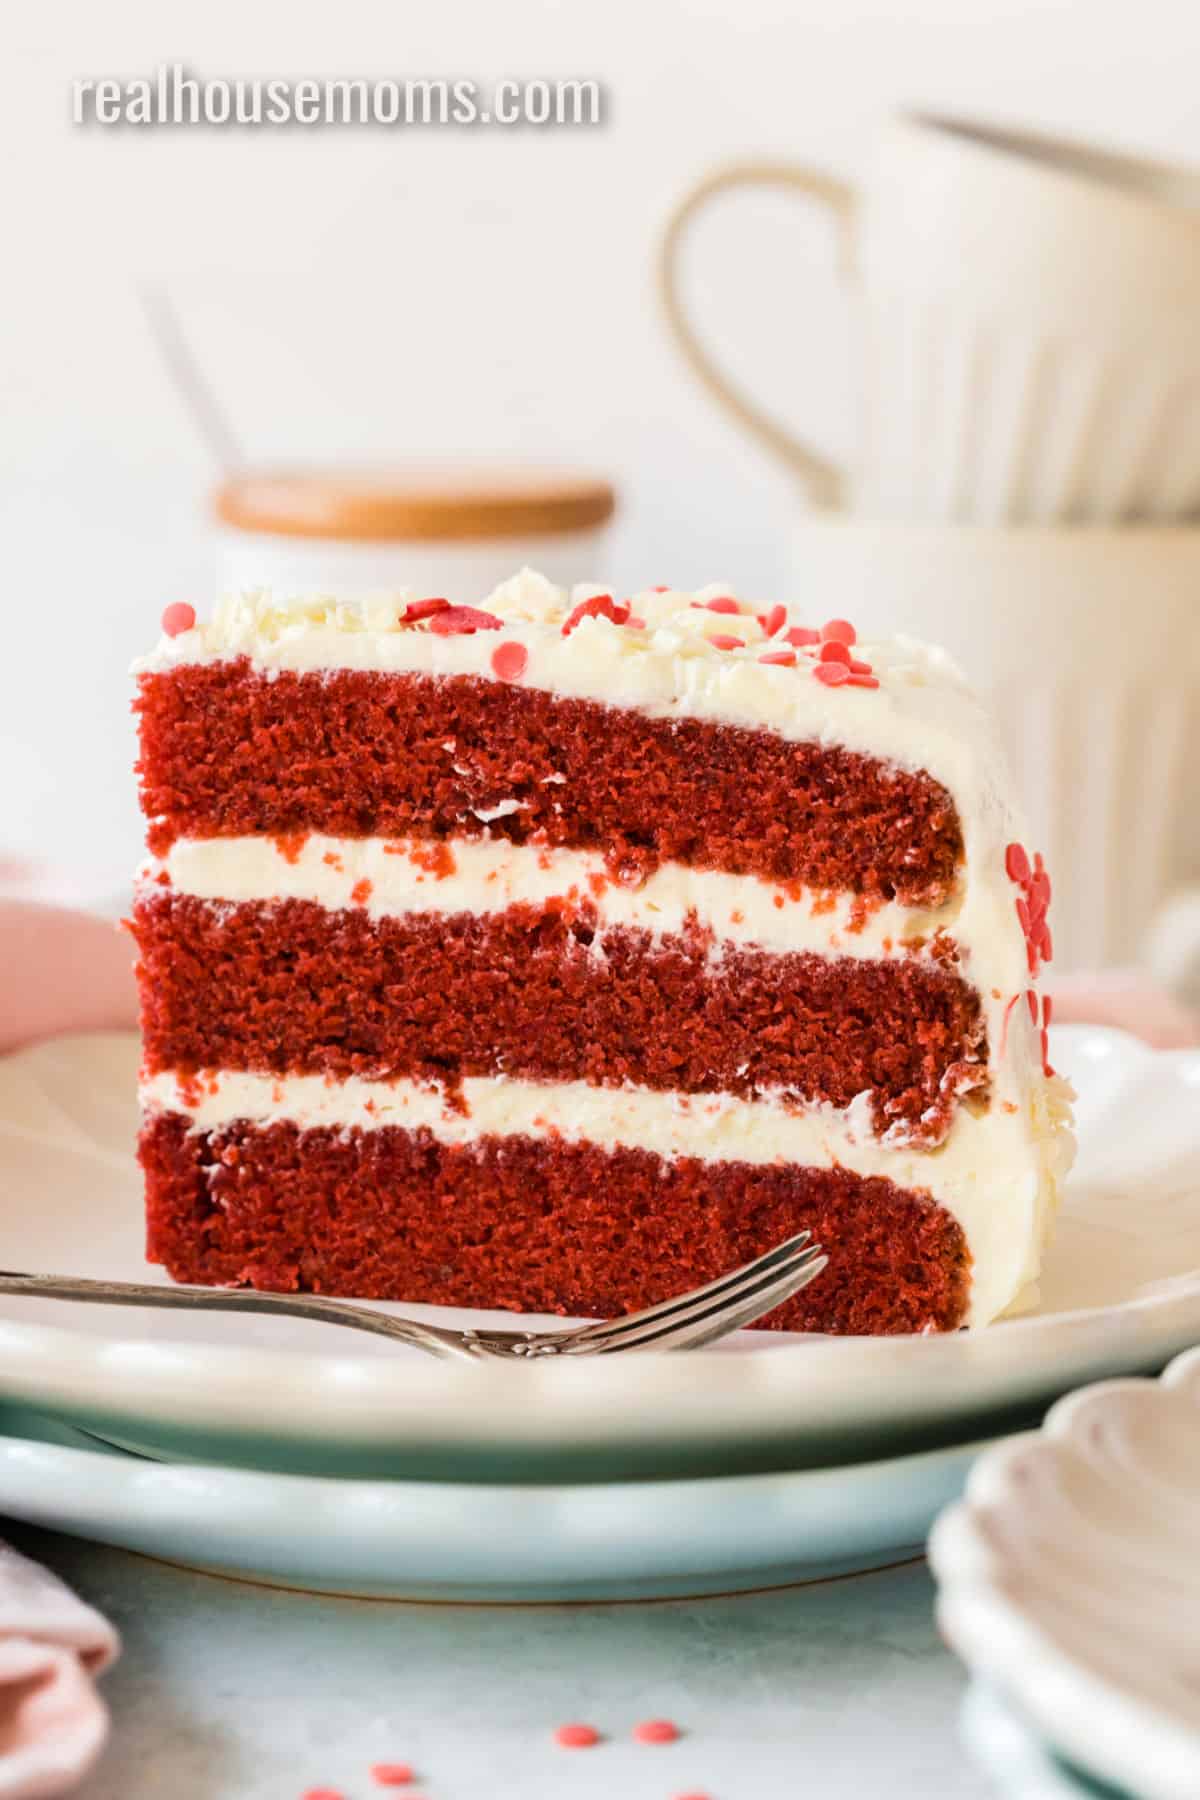
Create your own classic Red Velvet Cake at home and see how easy it is to make each tangy chocolaty layer and luscious cream cheese frosting!
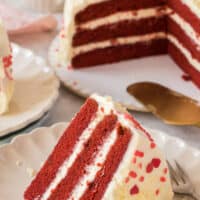
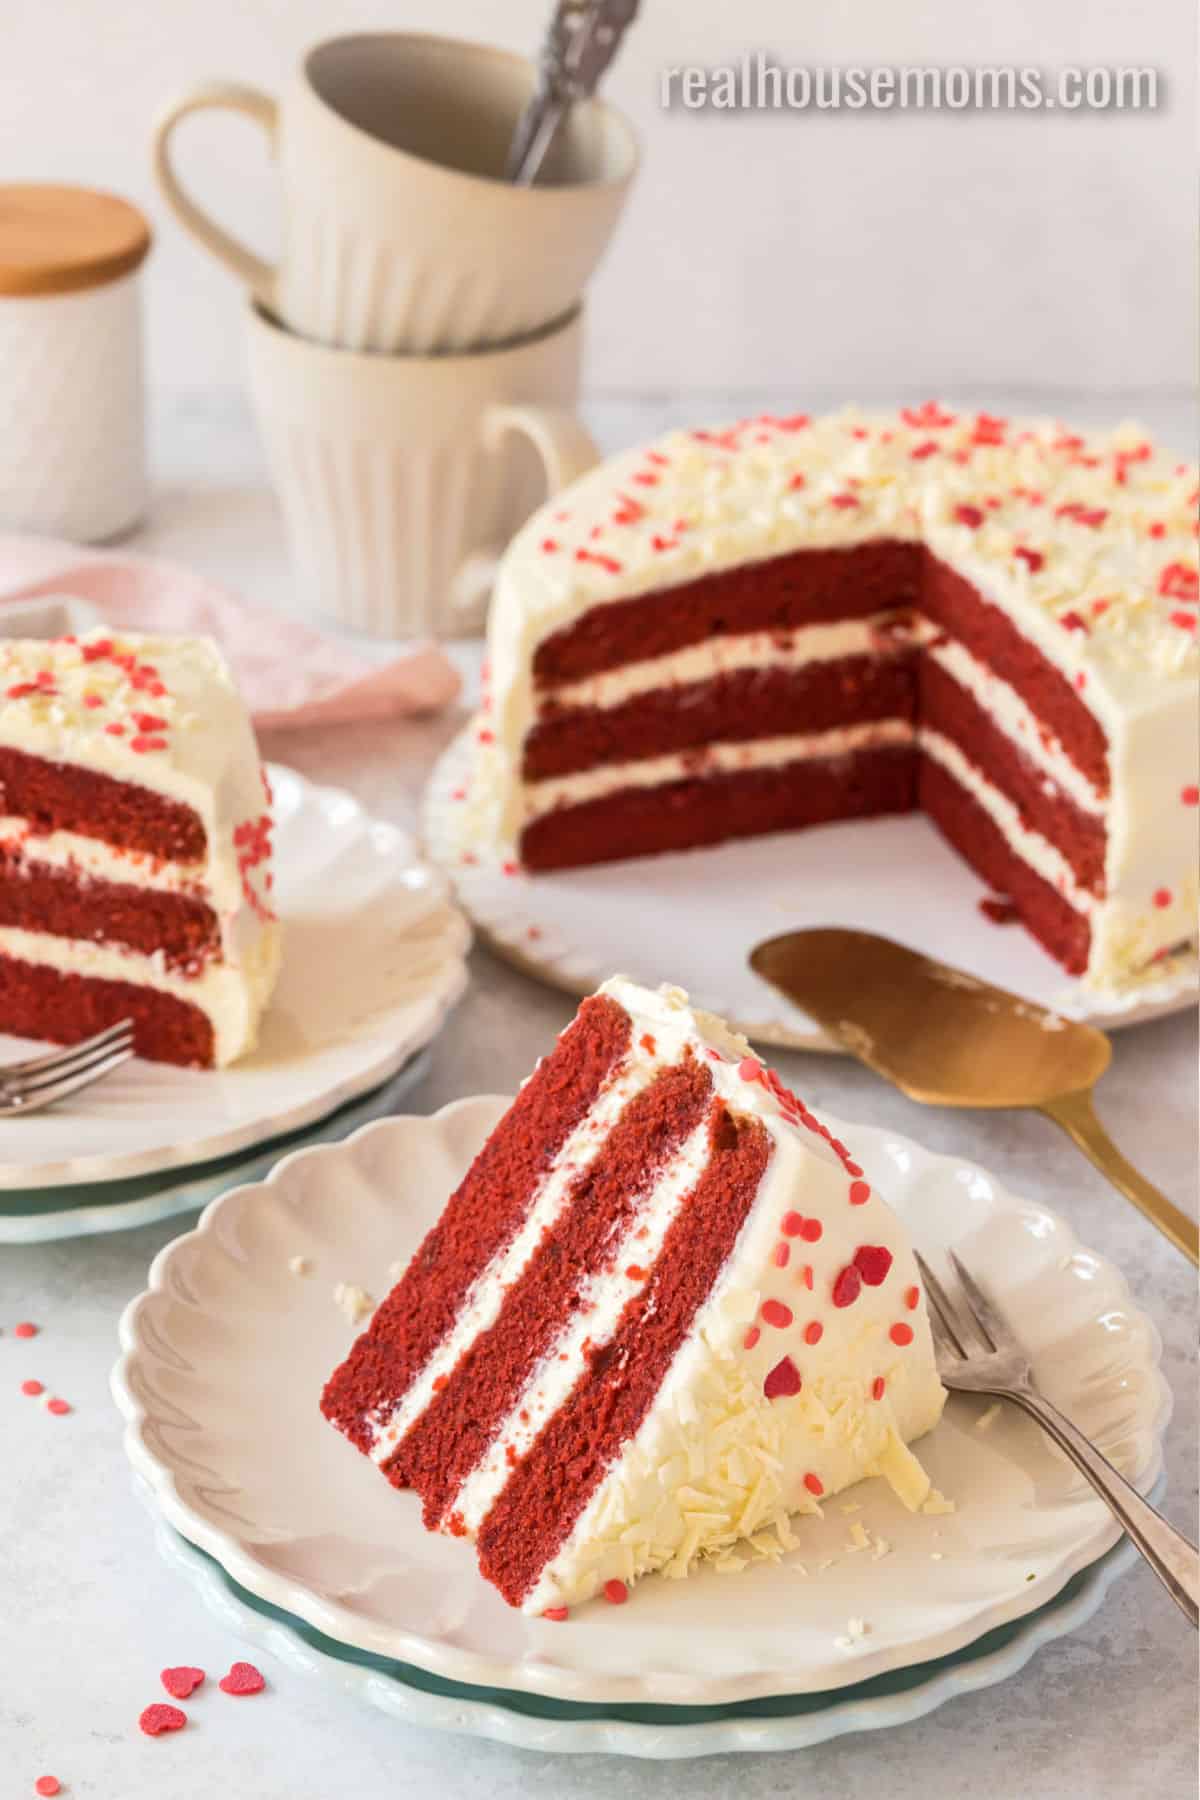
Show-stopping Red Velvet Cake is a layered dessert with hints of chocolate and a sweet cream cheese frosting that is beautiful and decadent! The layers are made with ingredients you probably already have on hand, like flour, sugar, red food coloring, and cocoa powder, which makes it easy to bake this cake for every special occasion.
Vevlet You Can Eat
It is said that you eat with your eyes first and when it comes to Red Velvet Cake, I totally get what this means! Seeing the beautiful red layers and the creamy white frosting is a contrast in colors that is a treat to behold. I also love that this cake looks like a labor of love but is actually so easy to make, which makes it perfect for birthdays, Valentine’s Day, or any special occasion.
A beautiful presentation to wow friends and family is easy to do with red velvet, like with these Mini Raspberry Mousse Cake, or Skinny Red Velvet Cake Pops which is something fun for the kids!
Other Recipes to Serve with Red Velvet Cake
- Red Velvet Cupcakes have all the delicious flavors of a whole layer cake but in a fun, portable size to easily take to parties and potlucks!
- Wish you could make a few batches of cookies instead of a big cake? Red Velvet Cookies have got you covered!
Ingredients
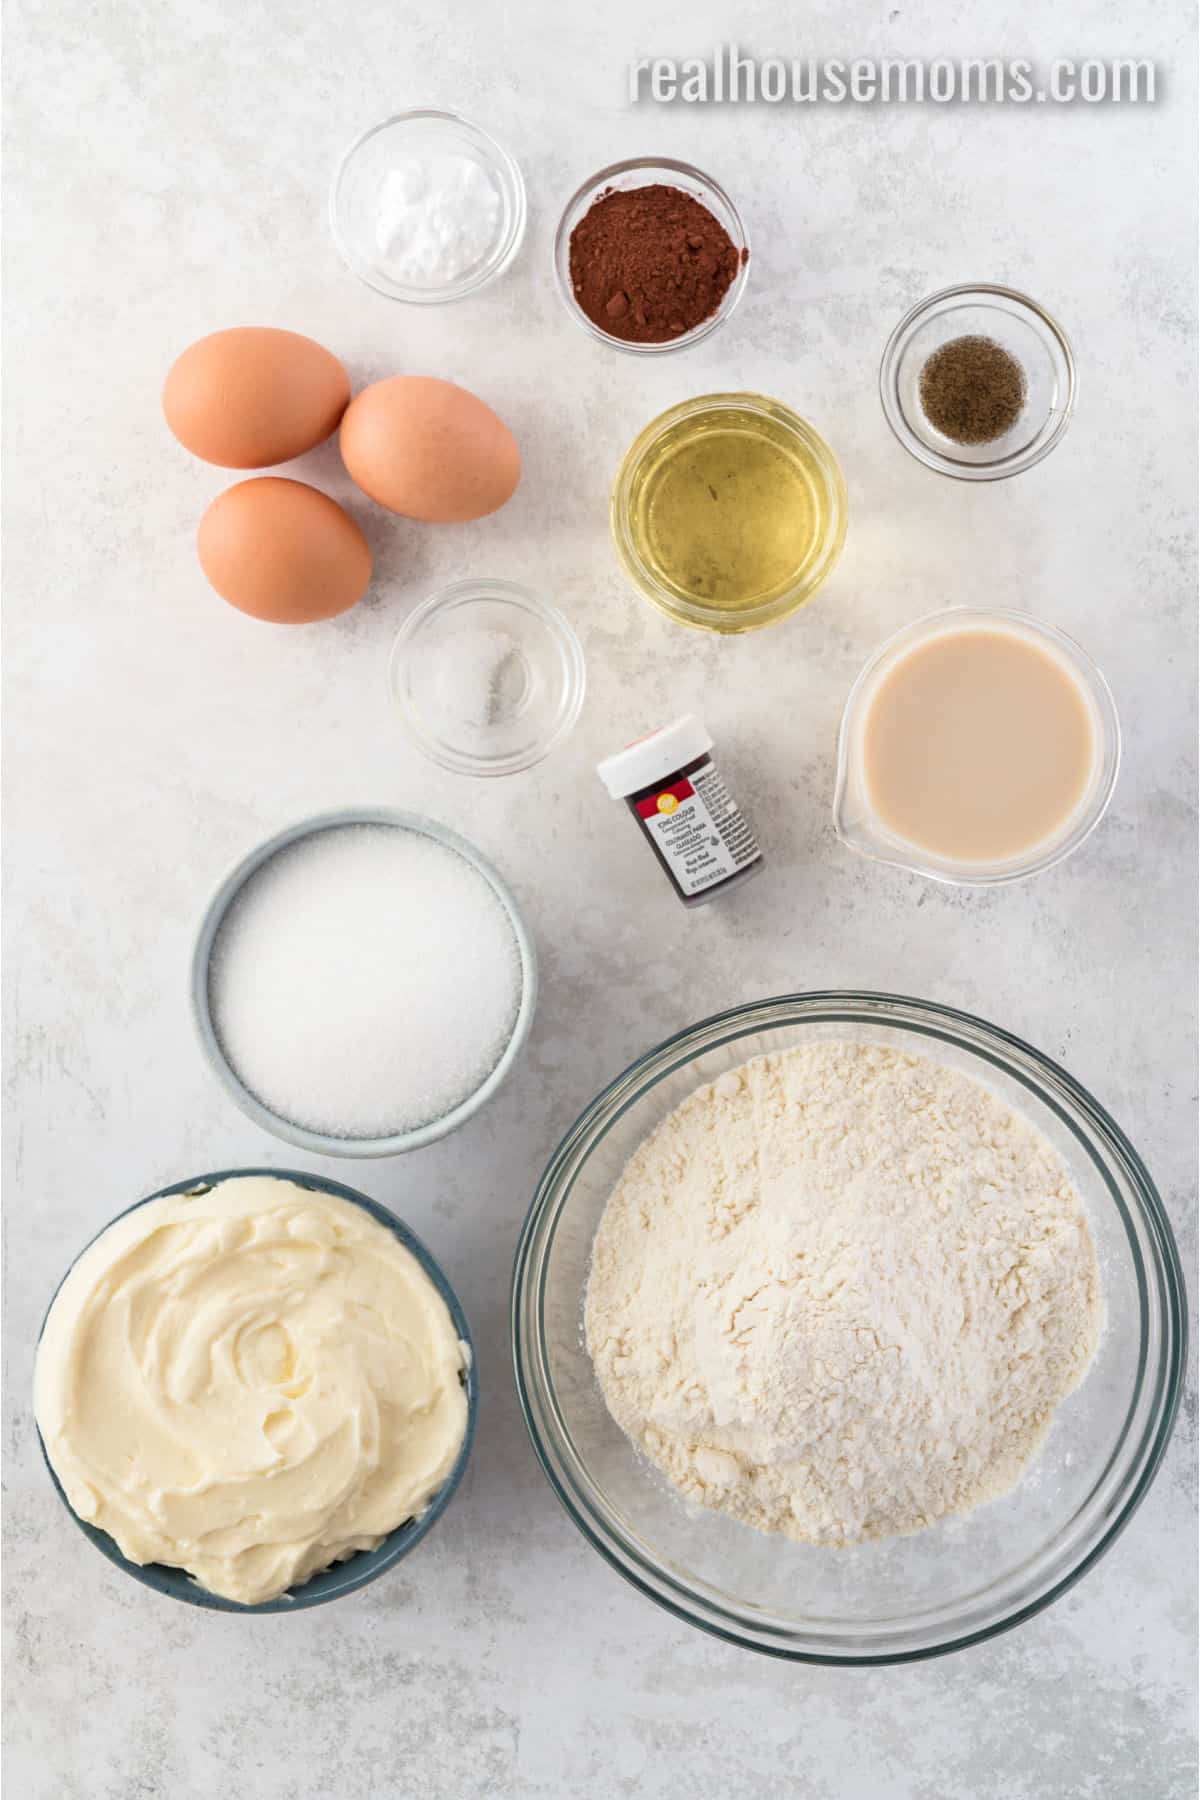
Pantry Items: For this recipe, you will need all-purpose flour, granulated sugar, unsweetened cocoa powder, vegetable oil, and baking soda.
Refrigerated Items: A few large eggs and buttermilk are needed. Check out the tips section if you don’t have buttermilk.
Spices/Food Coloring: This recipe calls for salt, vanilla extract, and red food coloring. Gel food coloring is recommended because it’s the easiest to use and produces a more vibrant color.
Frosting: Check out how to make the Best Cream Frosting, but make 1 1/2 times more to frost and decorate the cake fully.
How to Make Red Velvet Cake
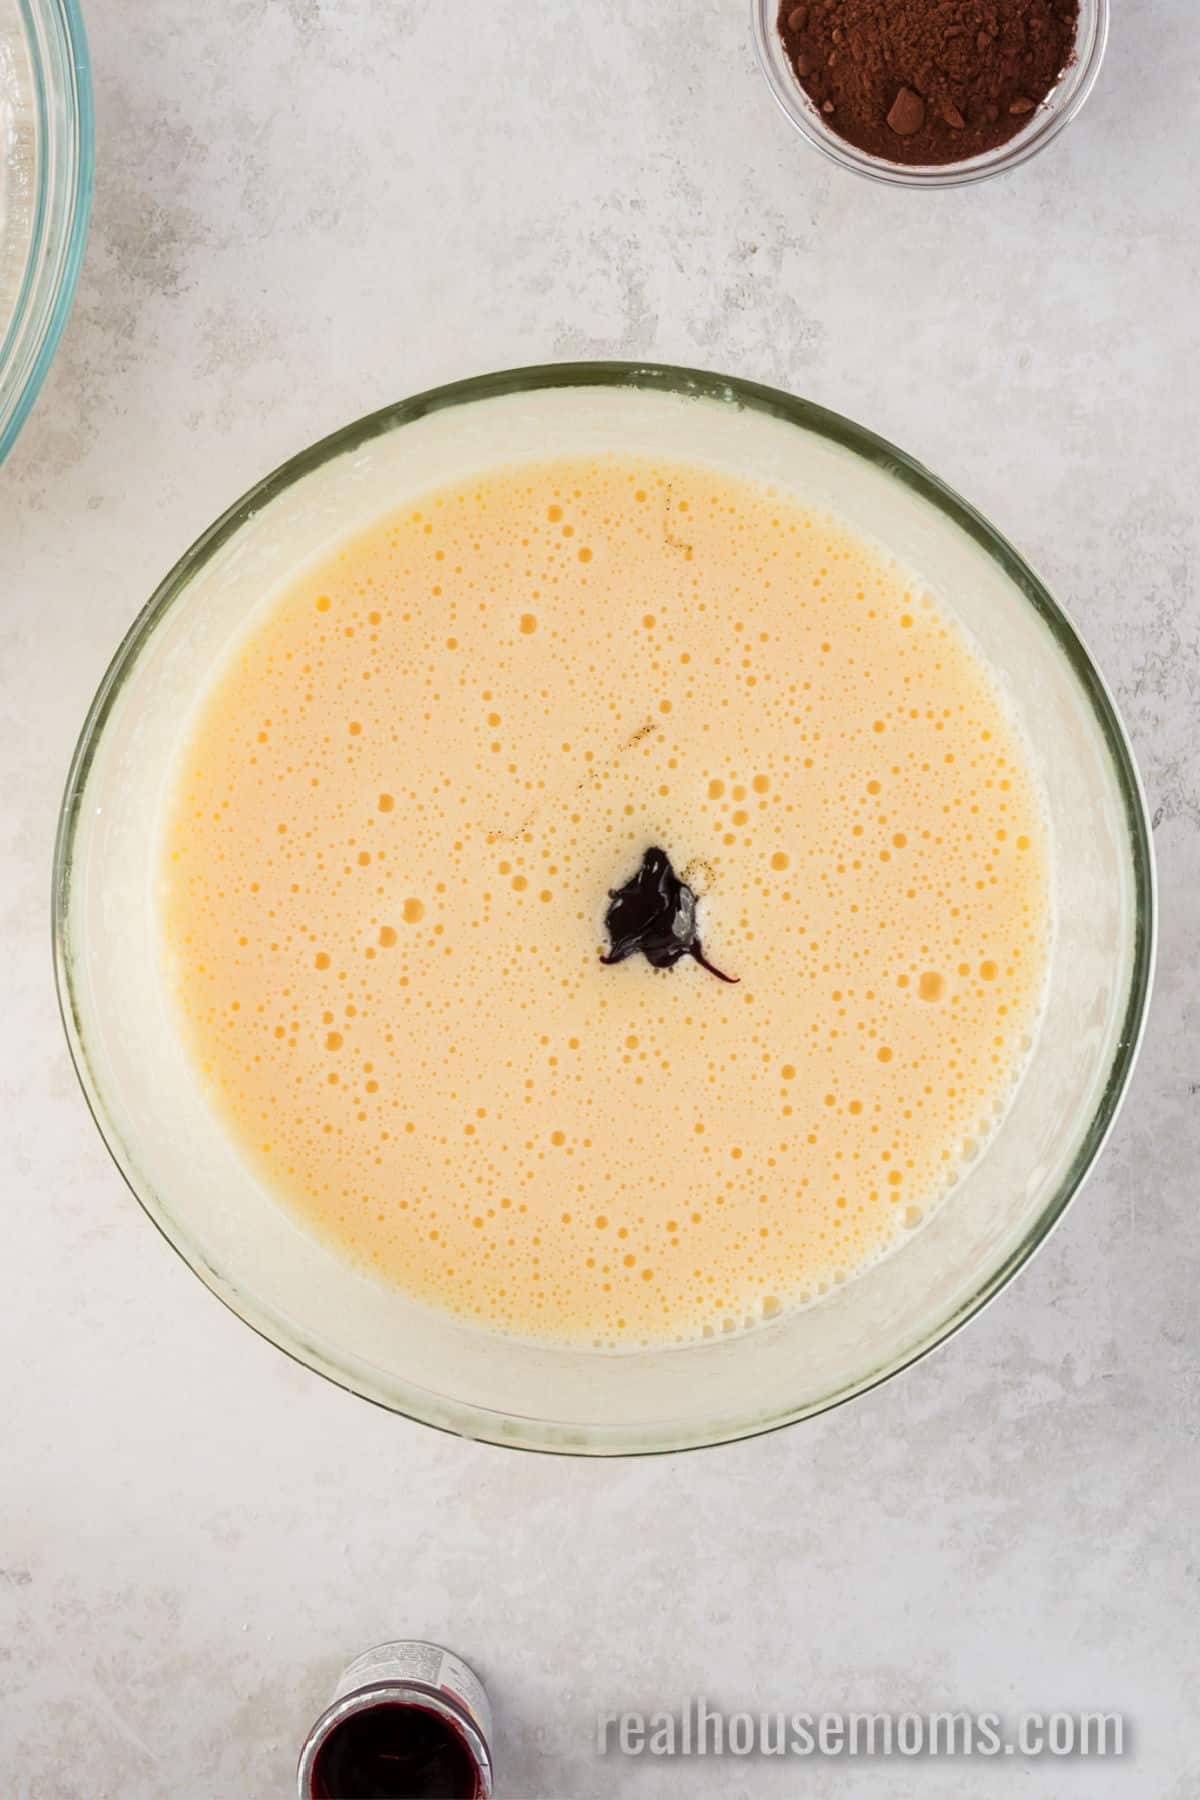
STEP ONE: Preheat the oven to 350 degrees F and line 3 round cake pans with parchment paper. Lightly spray each pan with non-stick spray and set them aside. Cream the oil and sugar together using a stand mixer or a large bowl with beaters. Add the eggs, and once fully mixed, add the vanilla extract and red food coloring.
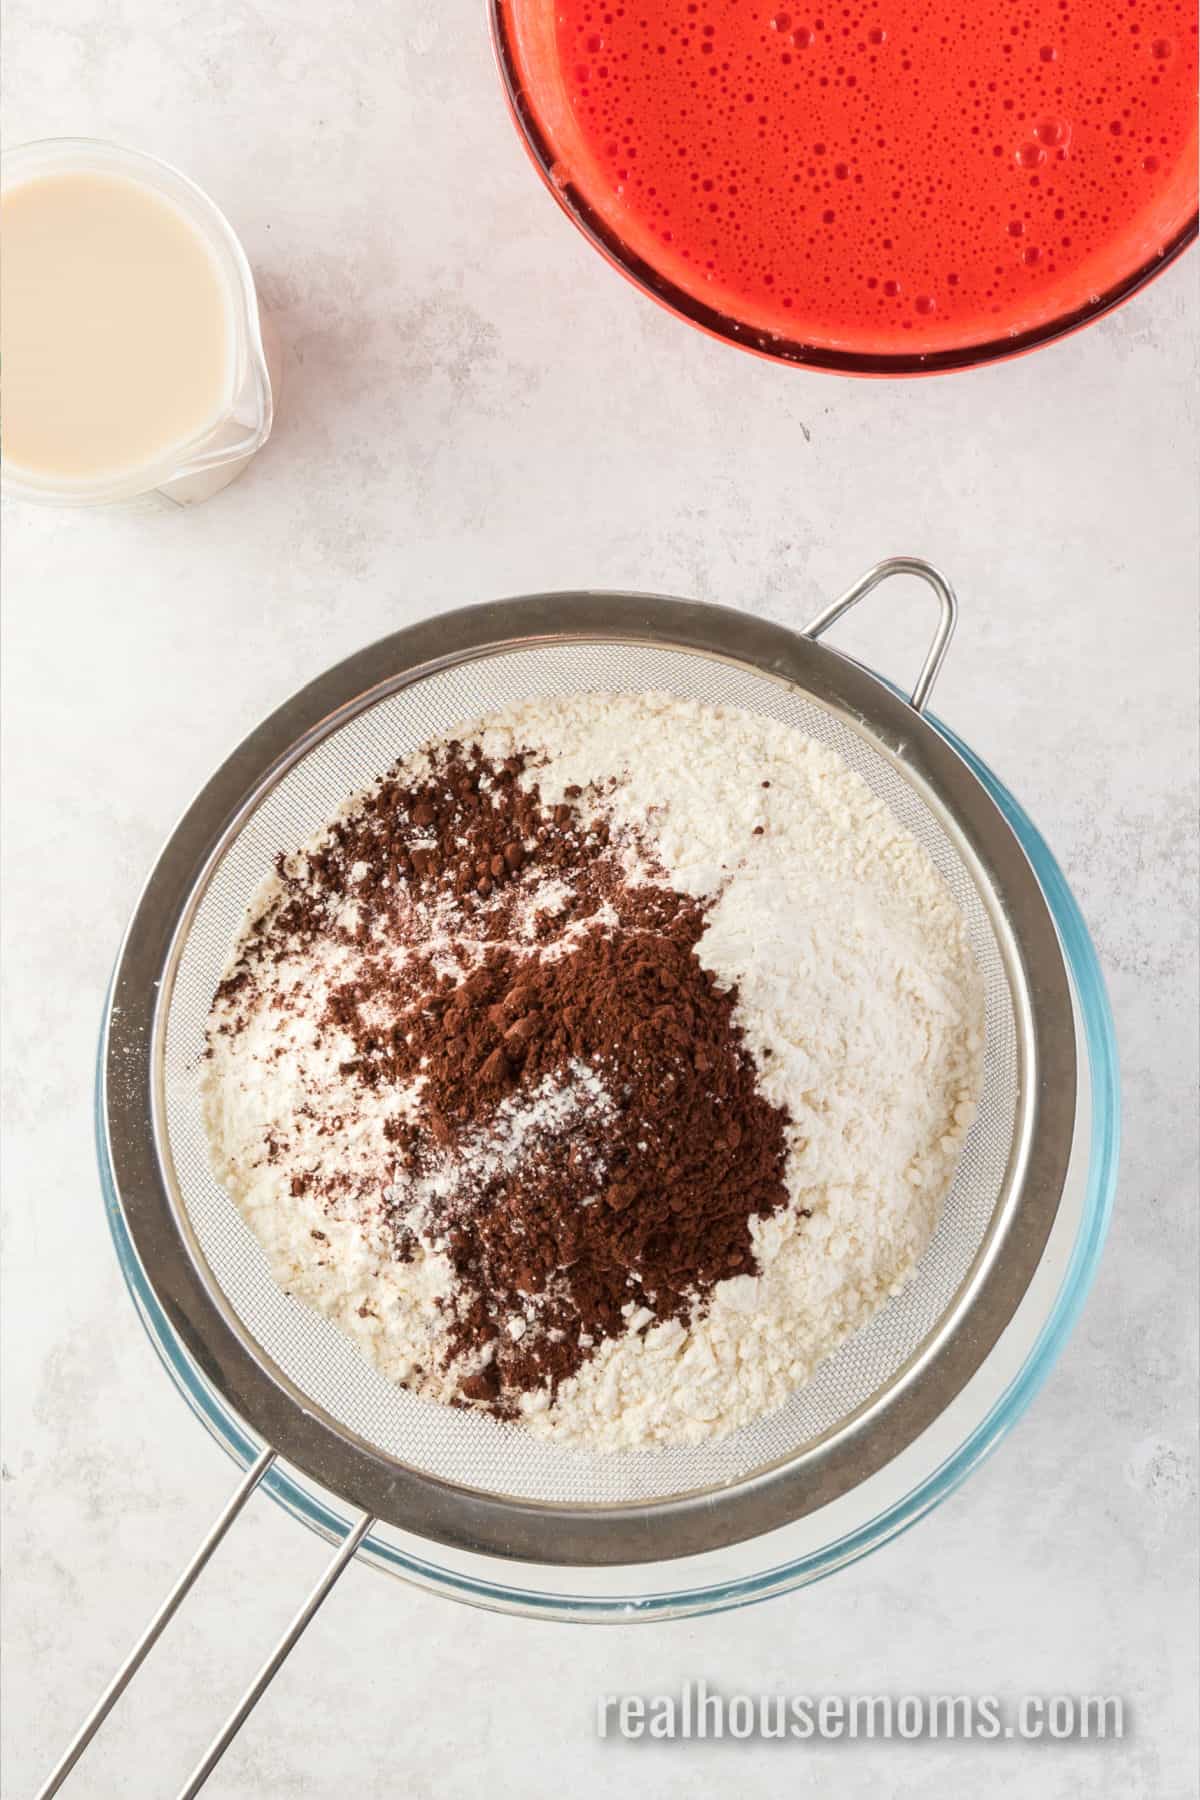
STEP TWO: In a medium bowl, whisk together the flour, cocoa powder, and salt, making sure there are no lumps. Whisk together the buttermilk and baking soda in a separate bowl until it becomes a little frothy.
STEP THREE: Add half of the dry ingredients to the wet ingredients, followed by all of the buttermilk and then the rest of the dry ingredients. Mix until everything is combined and smooth.
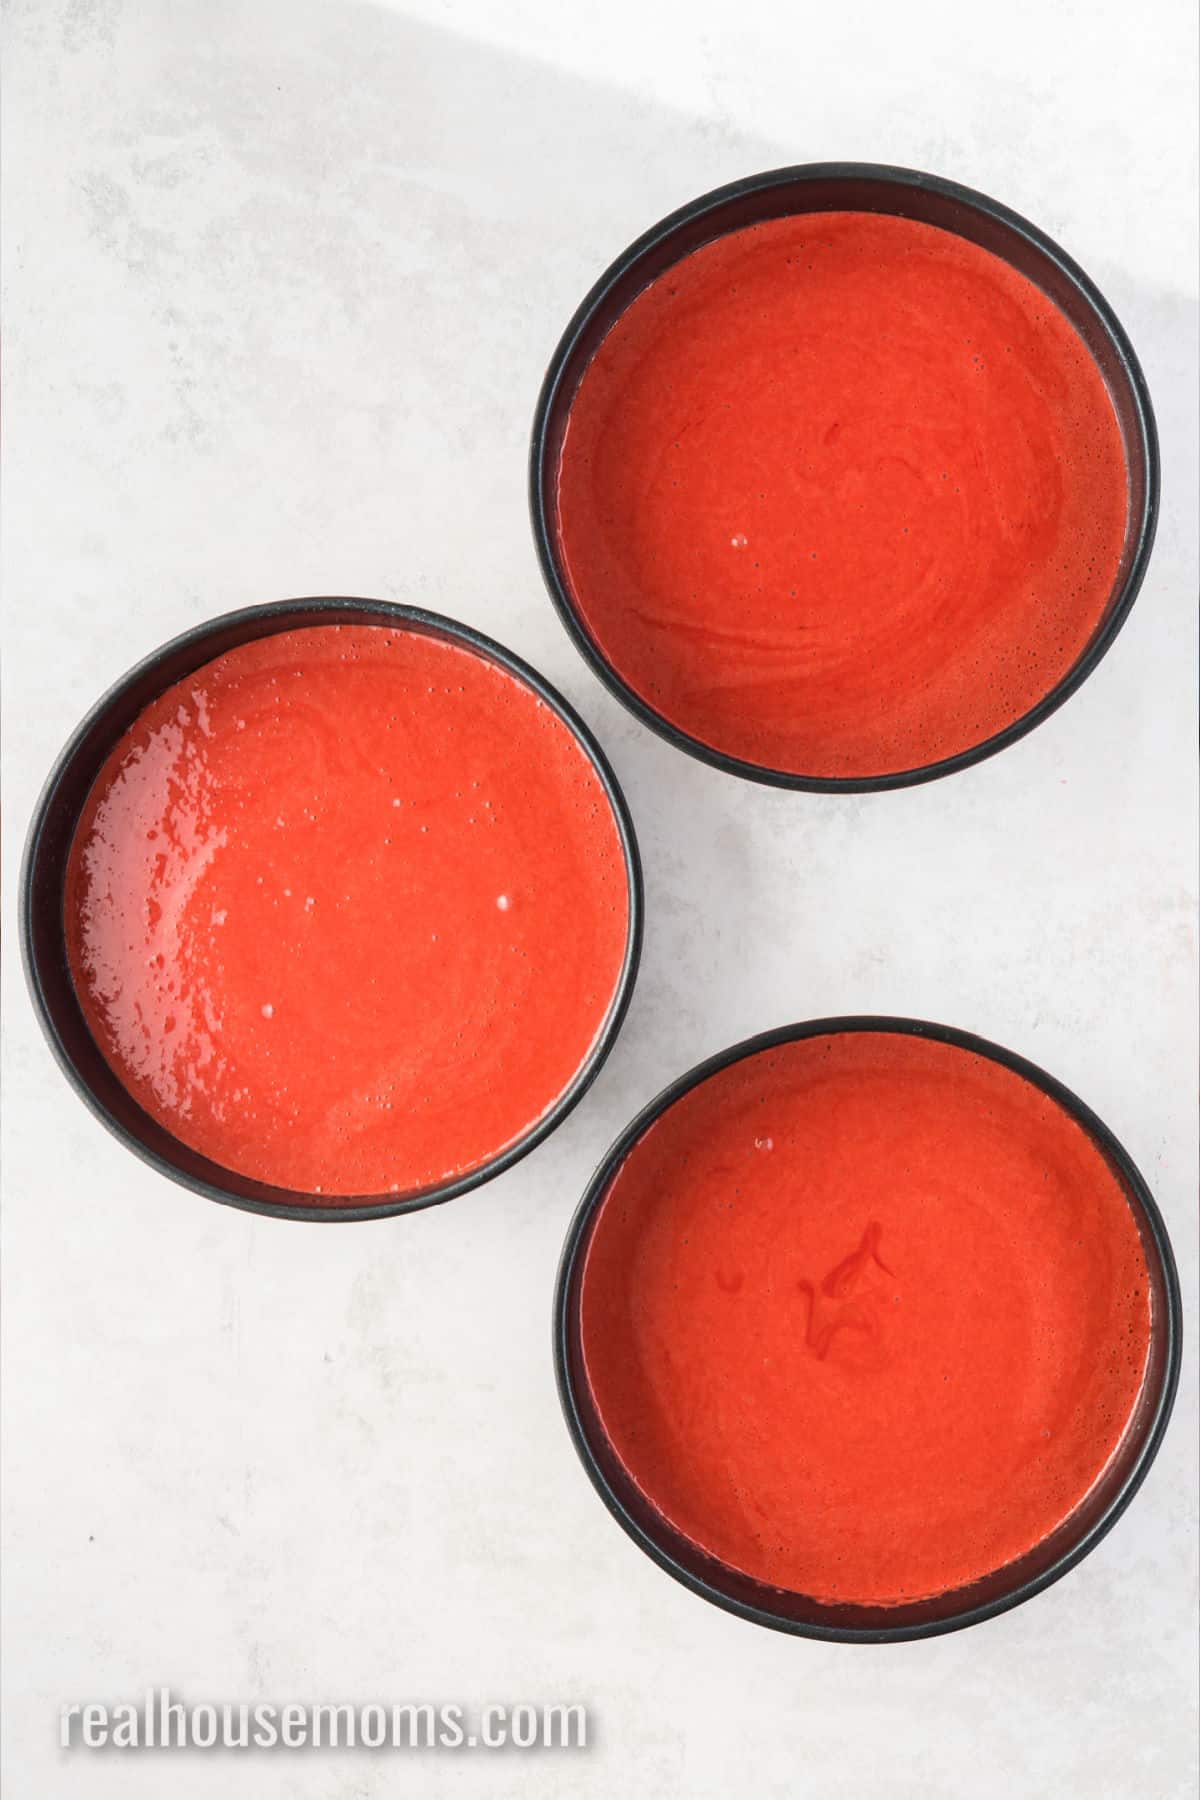
STEP FOUR: Divide the batter evenly between the three cake pans and bake for 28-30 minutes, depending on the size of your cake pans. Use a cake taster to determine if the cakes are done. Once out of the oven, let the cakes cool for 10 minutes before moving them to wire racks to cool completely.
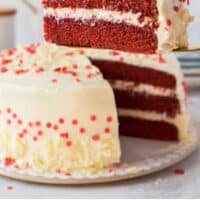
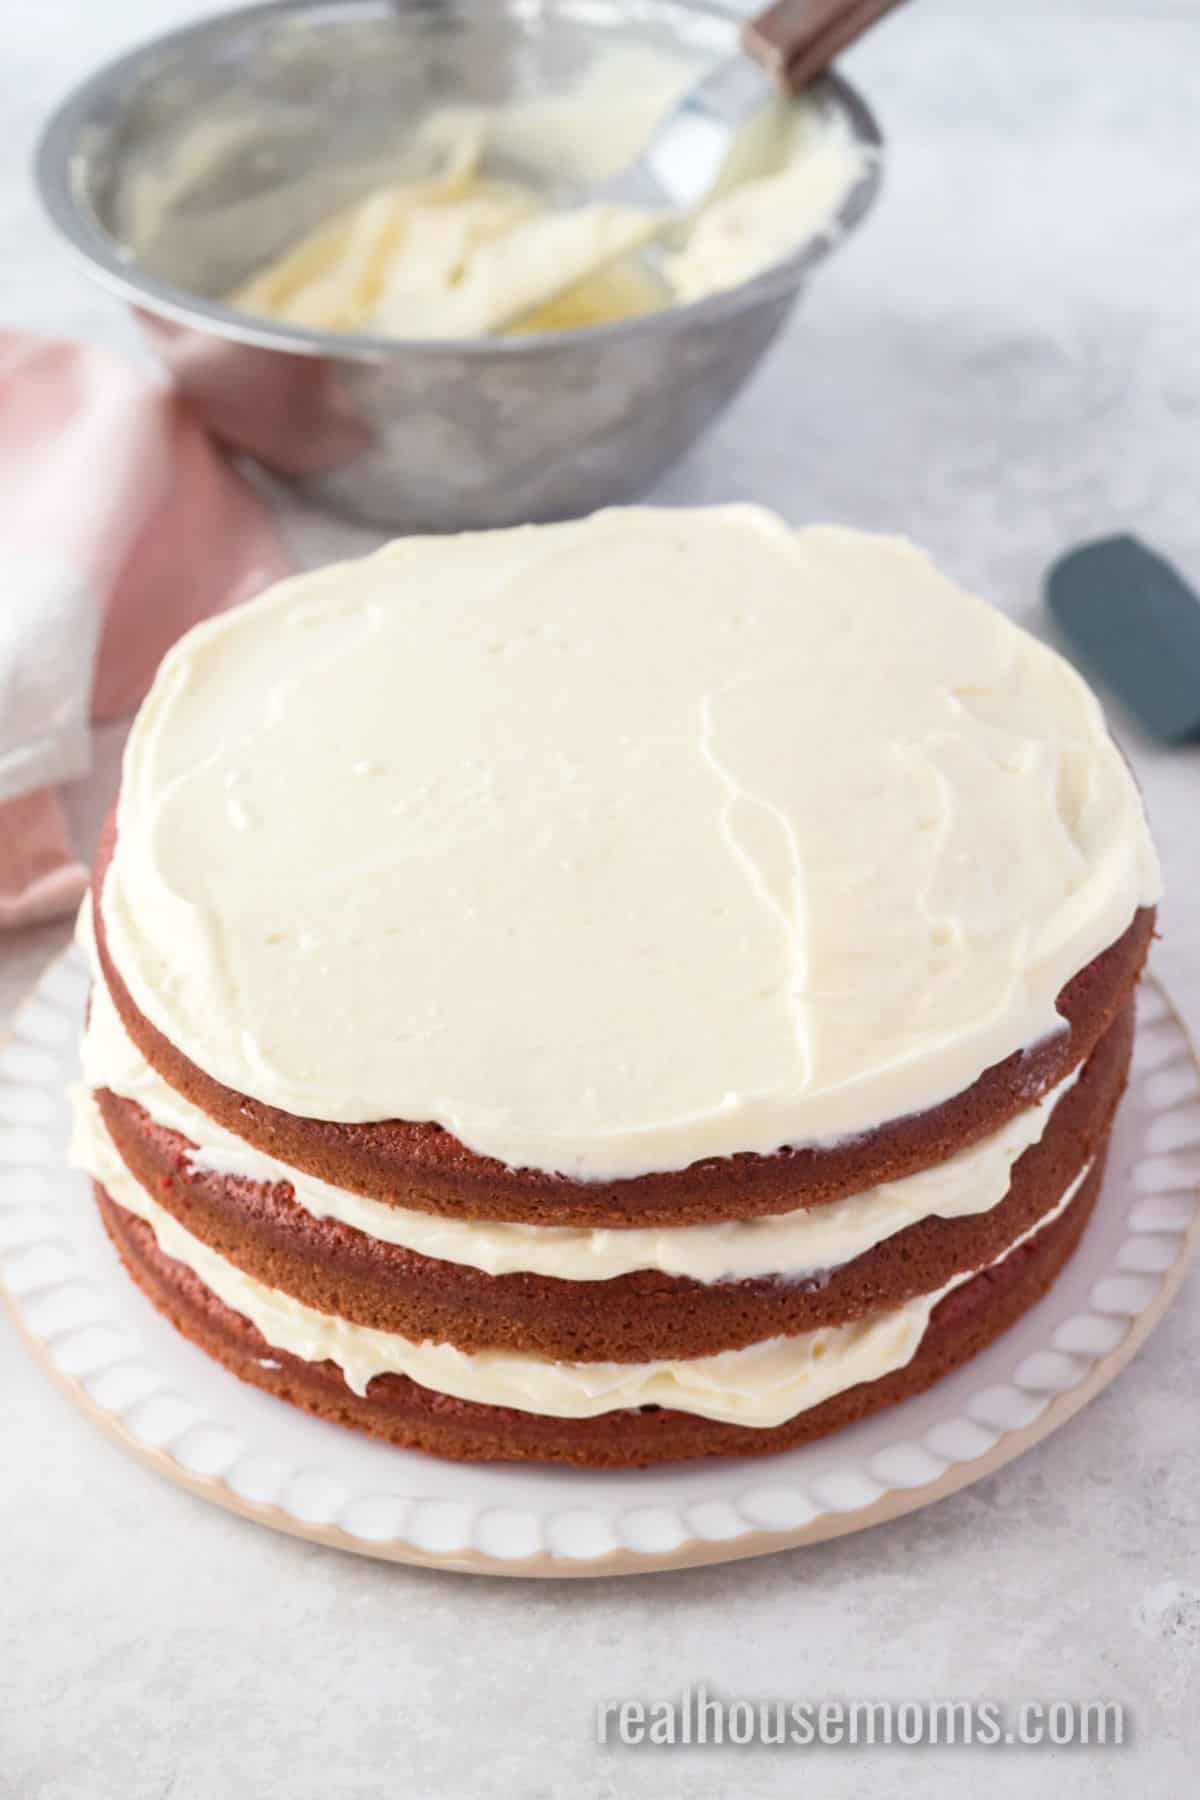
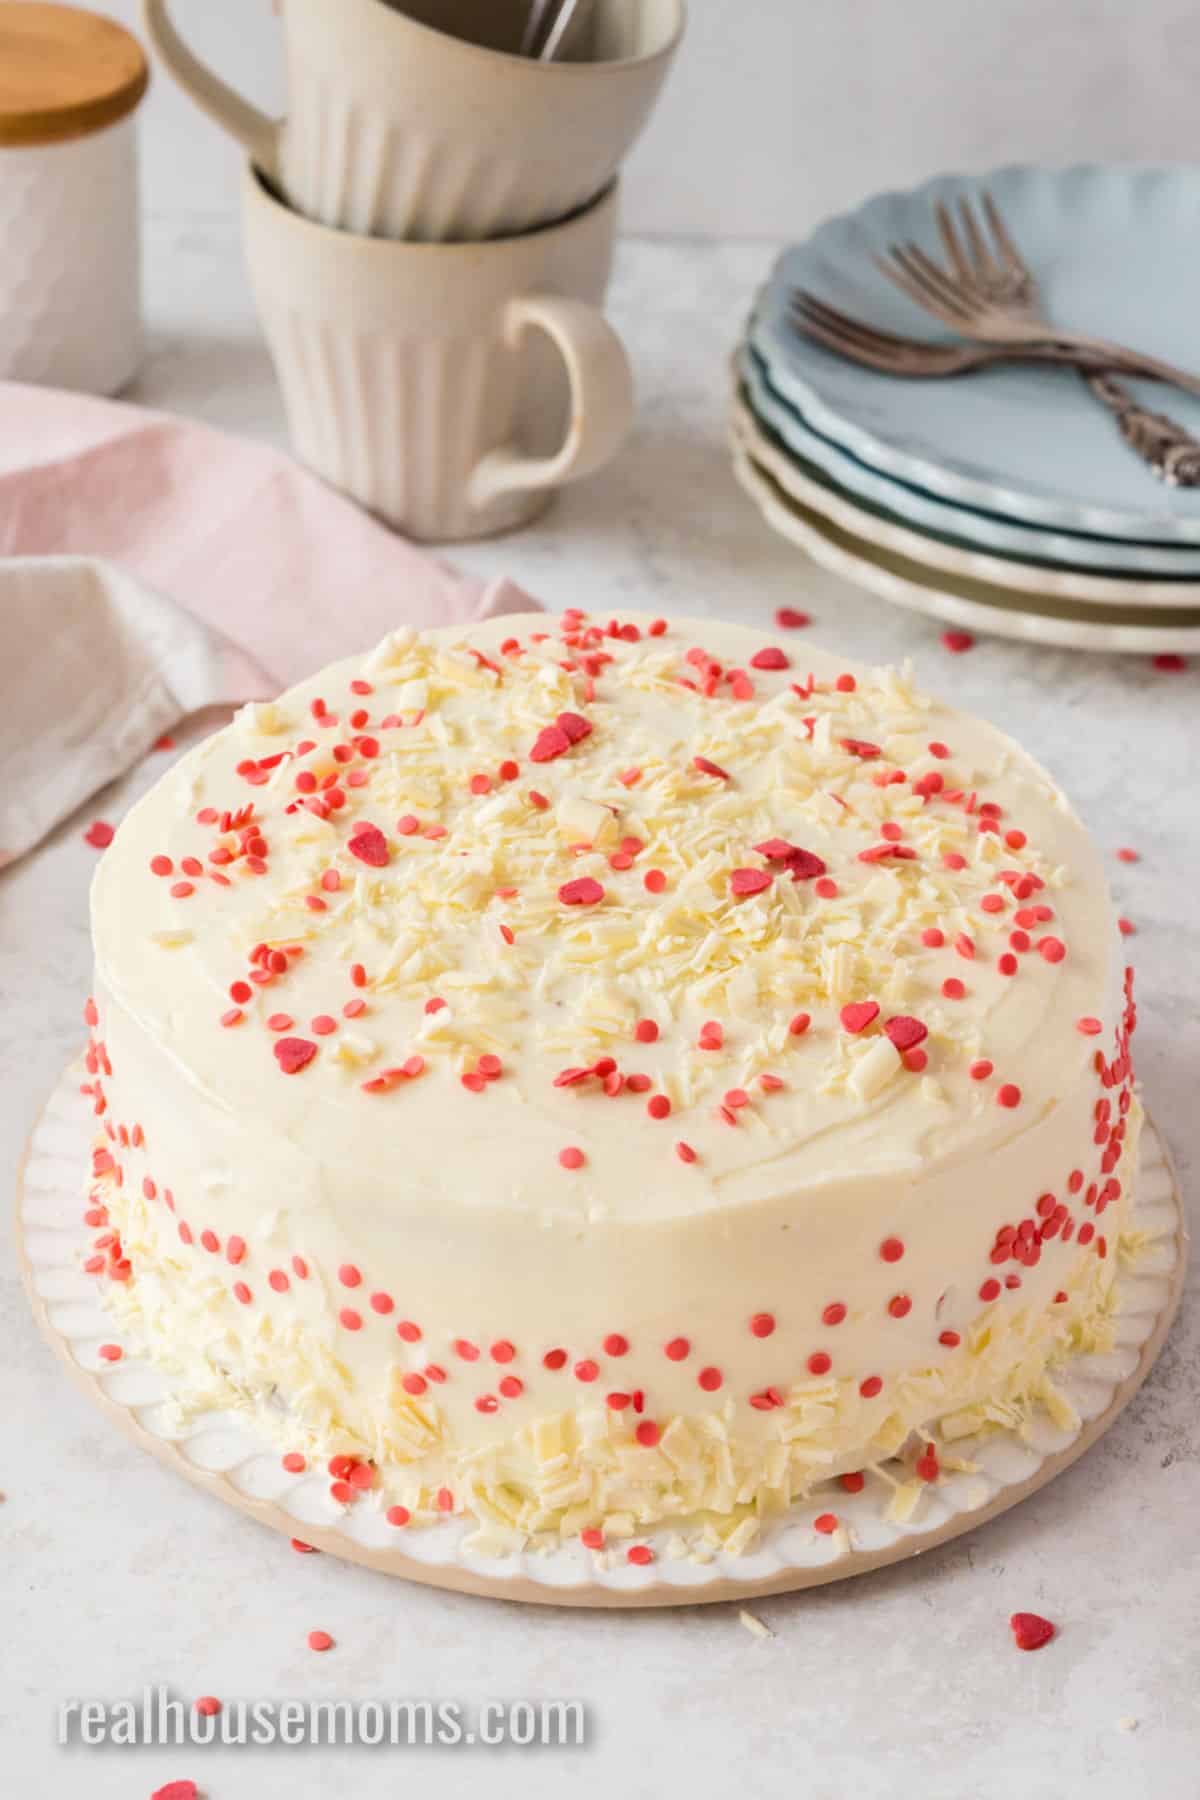
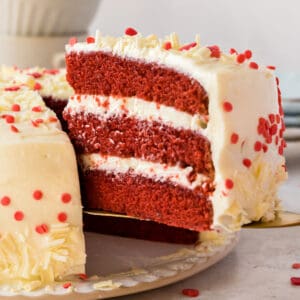
STEP FIVE: When the cakes are cooled, prepare the cream cheese frosting and remove the parchment paper from the bottom of each cake. To frost, the cake, place one cake layer on a cake plate or serving platter and spread an even coating of frosting over the top. Repeat this with the other two cake layers. Then frost the sides of the cake and decorate the cake with sprinkles and/or white chocolate shavings as desired.
Tips for Success
- If you’re short on time or just don’t want to make frosting, then store-bought cream cheese frosting is just fine to use on this cake.
- Don’t have buttermilk? No problem! Add 1 1/2 tablespoons of white vinegar to a measuring cup, then fill it with milk to the 1 1/2 cup line. Stir, let that sit for a few minutes, and then use it as you would buttermilk in this recipe.
- If you want to decorate your cake with frosting swirls, make a batch and a half of the cream cheese frosting. One batch of the frosting recipe is just enough to fill in between the cake layers and frost the outside.
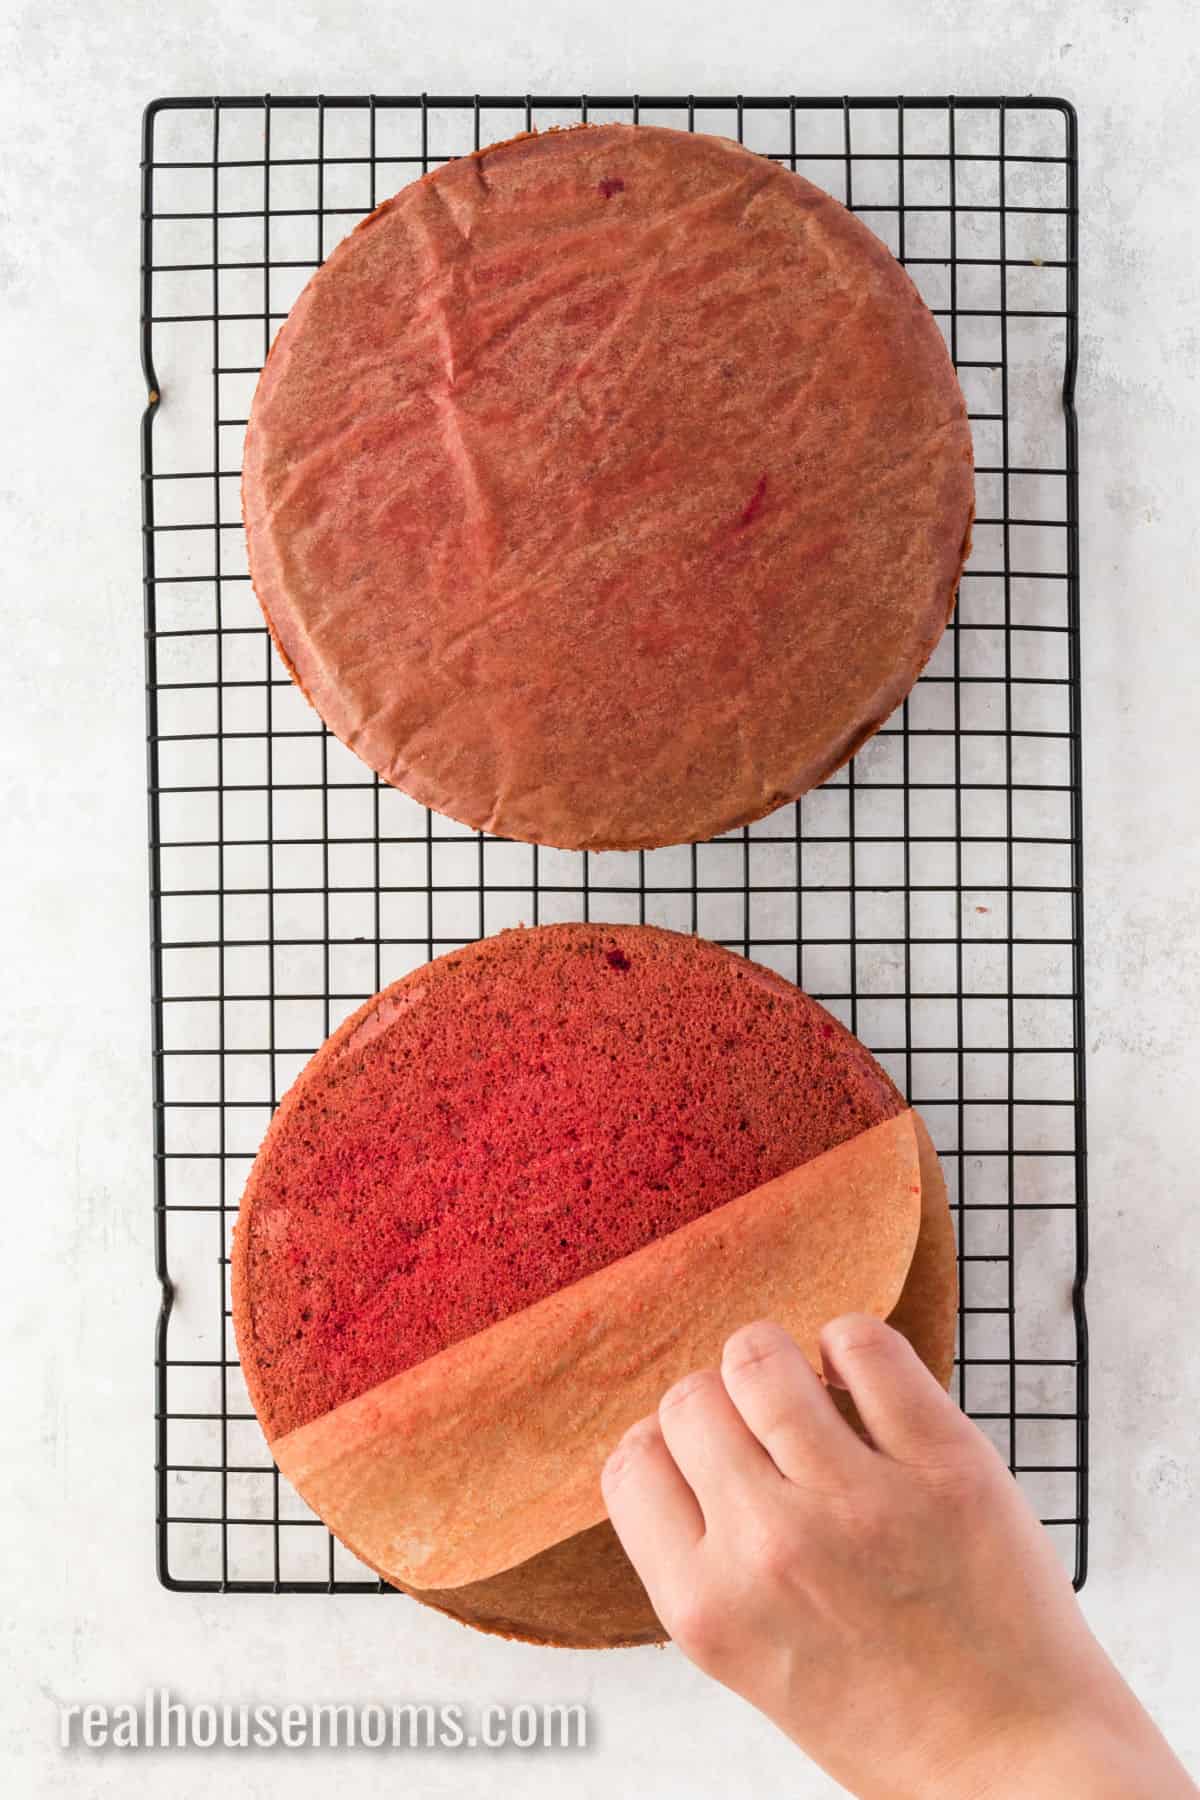
- To ensure that the layers of cake lay flat once stacked, cut away the domed middle of the cakes for a nice flat surface. You can also flip the top cake layer upside down before stcking it so the flat bottom side faces up.
What makes red velvet cake different from chocolate cake?
Chocolate cake has a much high chocolate content, from the cocoa powder to the chocolate chips that are sometimes included in chocolate cake. Red velvet cake is different, however, as it only has a small amount of cocoa powder in the recipe, just enough to give the cake a hint of chocolate flavor. There is no main flavor of a red velvet cake. Rather it is a mix of tangy, chocolaty, vanilla, and a little tartness. The acid in the buttermilk reacts with the cocoa powder to produce not only the red coloring of the cake but also the tangy chocolate flavor.
Can I make this cake ahead of time?
The cake and the frosting layers can be made ahead of time and stored separately in the refrigerator in airtight containers. When you are ready to assemble the cake, let the frosting warm up just a bit for easy spreading, and frost the cake as directed. Once assembled, this cake will last for five days, covered in the refrigerator. You can also make the layers, and once they are completely cooled, wrap them tightly in cling wrap and freeze them for two months. Let them come to room temperature before frosting and serving. You can also freeze the entire frosted cake for two months and let it thaw in the fridge when ready to enjoy it.
Can’t get enough of red velvet? Try these delicious recipes!
- Swirled Red Velvet Brownies
- Easy Red Velvet Fudge
- Red Velvet Waffles
- Cake Mix Red Velvet Donuts
- Red Velvet Pound Cake
*This post was originally posted on 02/15/2018.
Red Velvet Cake Recipe
Equipment
- 8-inch Cake Pans (see note)
Ingredients
- ⅔ cup vegetable oil
- 2 ¼ cup granulated sugar
- 3 eggs
- 1 ounces liquid red food coloring (see note)
- 1 ½ teaspoon vanilla extract
- 3 cup all-purpose flour
- 1 tablespoon unsweetened cocoa powder
- ½ teaspoon salt
- 1 ½ cup buttermilk
- 1 ½ teaspoon baking soda
- 1 batch Best Cream Cheese Frosting (see note)
- Sprinkles for decorating
- White chocolate shavings for decorating
Instructions
- Preheat your oven to 350 degrees F. Spray the bottom of three 8-inch round cake pans with non-stick spray and then line with parchment paper. Lightly spray the paper too and then set the pans aside.
- In a large mixing bowl, beat together the oil and sugar. Add the eggs, one at a time, with the mixer running on the lowest speed until the eggs are completely combined. Add the food coloring and the vanilla and mix until evenly combined.
- In a separate mixing bowl, sift together the flour, cocoa powder, and salt – making sure there are no lumps. Set aside.
- In a medium bowl, whisk together the buttermilk and baking soda. The milk will become slightly frothy.
- Add half of the dry ingredients to the wet ingredients and mix. Then add the buttermilk mixture and mix. Add the rest of the dry ingredients and mix until smooth and combined. Scrape the sides of the bowl as needed. Divide the batter equally between the three prepared cake pans.
- Bake the cakes for 28-30 minutes, or until a toothpick inserted in the center of the cake comes out clean and crumb-free. (see note)
- Let the cakes cool in the pans for approximately 10 minutes. Then slide a knife around the edges of the pan and invert the cakes onto a wire rack to cool completely.
- Once cakes are completely cool prepare the cream cheese frosting.
- Place one cake layer on a cake stand or serving plate. Spread a generous amount of frosting over the layer all the way to the edges. Top with another layer and frost. Then place the last cake layer upside down so the flat bottoms side is facing up. Then frost the top and sides of the cake.
- Decorated the cake as desired with sprinkles and/or white chocolate shavings. Refrigerate the cake until ready to serve. (I recommend letting the cake sit out for at least 15 minutes before serving if it's chilled.)
Notes
- If you are using gel food coloring instead of liquid, start with a 2 teaspoons of gel coloring. Then mix into the wet ingredients and add more as desired to reach your preferred color.
- If you’re in a pinch, you can use store-bought cream cheese frosting (2 tubs), but the homemade frosting is SO much better!
- If you don’t have 8-inch cake pans, you can use 9-inch pans instead. If you are using 9-inch cake pans, bake for 22-25 minutes.
- My cream cheese frosting recipe makes just enough to fill between the layers and frost the outside of the cake. If you want more frosting to use for decorating, make 1 1/2 batches of cream cheese frosting.


Cat says
I made this cake for my son’s birthday. The cake tasted ok but the cake turned brown instead of red. I was so embarrassed. There was probably 25 people at his birthday celebration and they all saw the brown cake.
I used the gel color that the recipe called for and followed the recipe exactly. From now on I think I will make a test cake first before making for any occasion.
ubaid says
The red velcake cake recipe looks easy and straight forward. i’m gonna try this at home.
Aubrey Cota says
You should!