Save the stress and consider this super easy, creamy, and delicious No Bake Peppermint Pie your holiday gift to yourself this year!
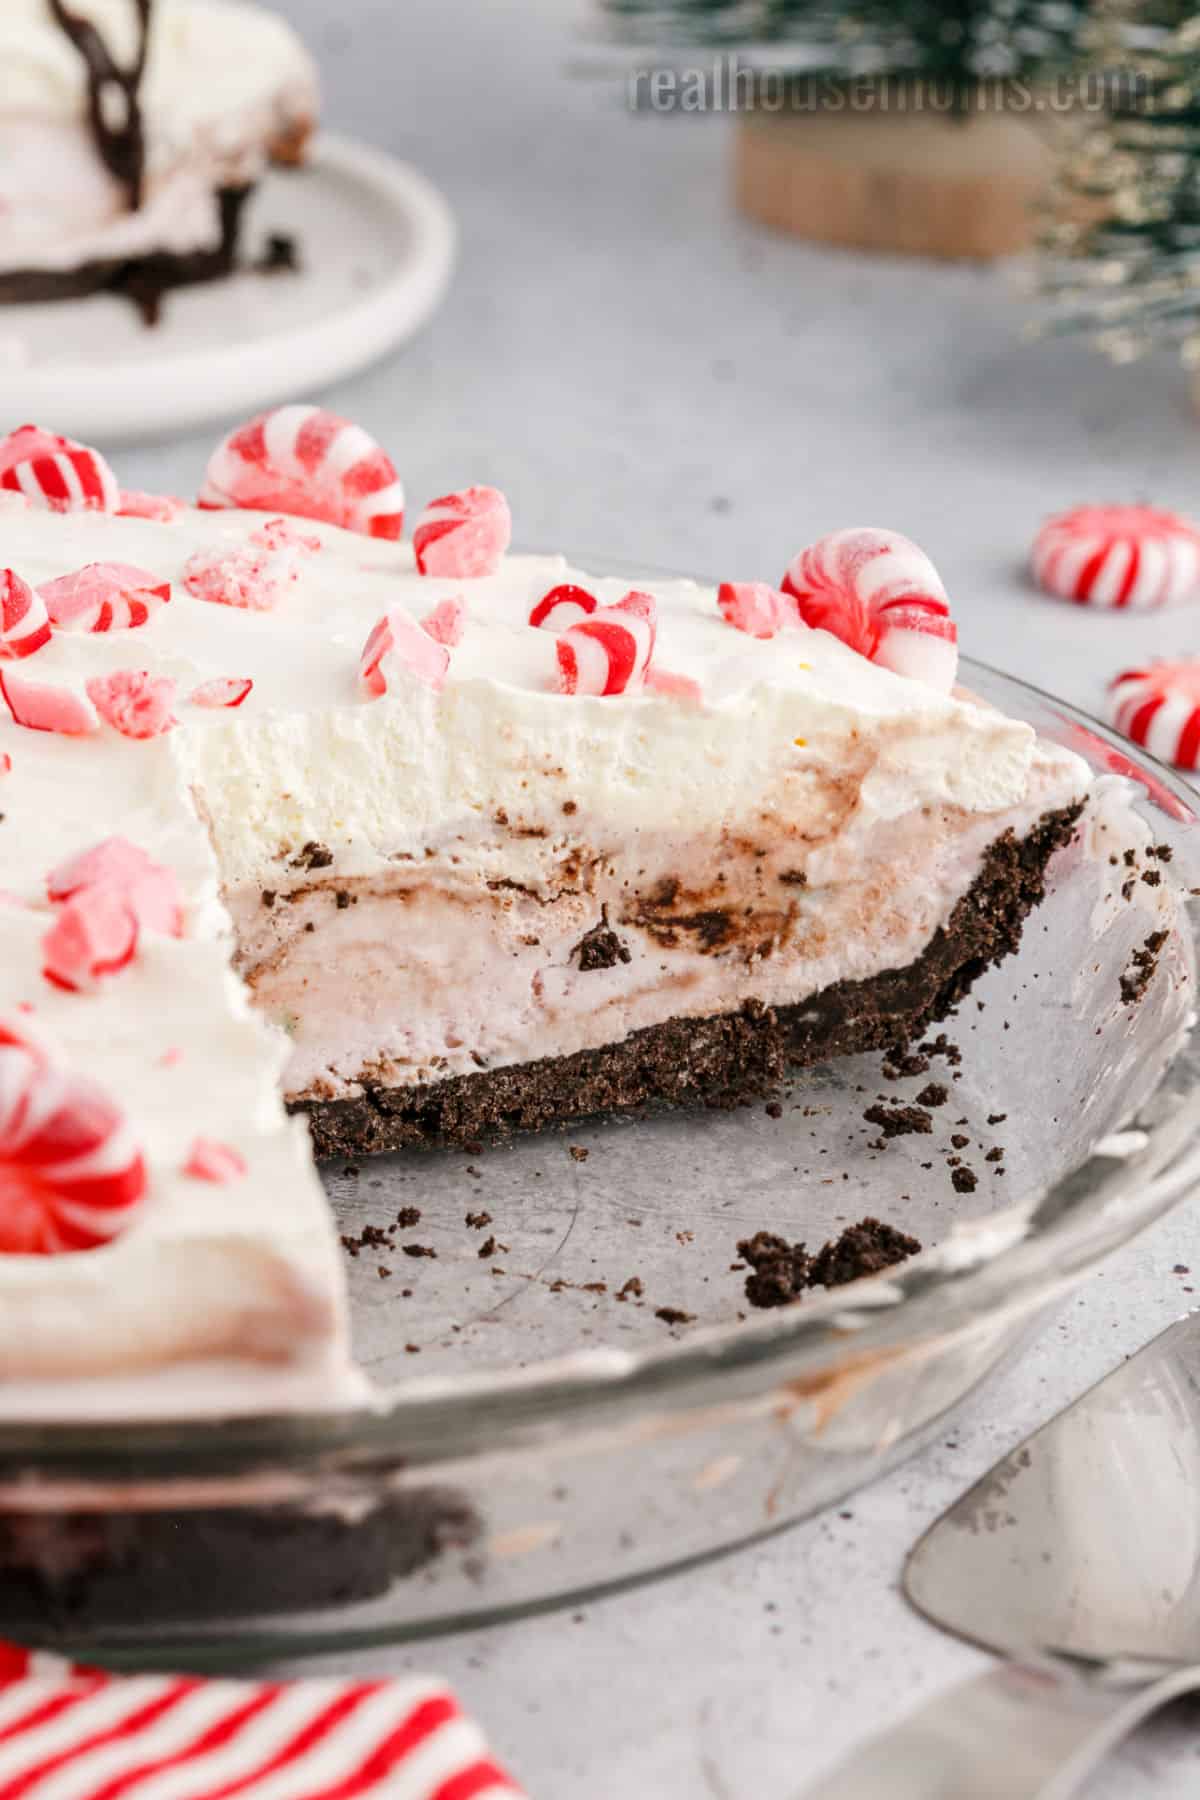
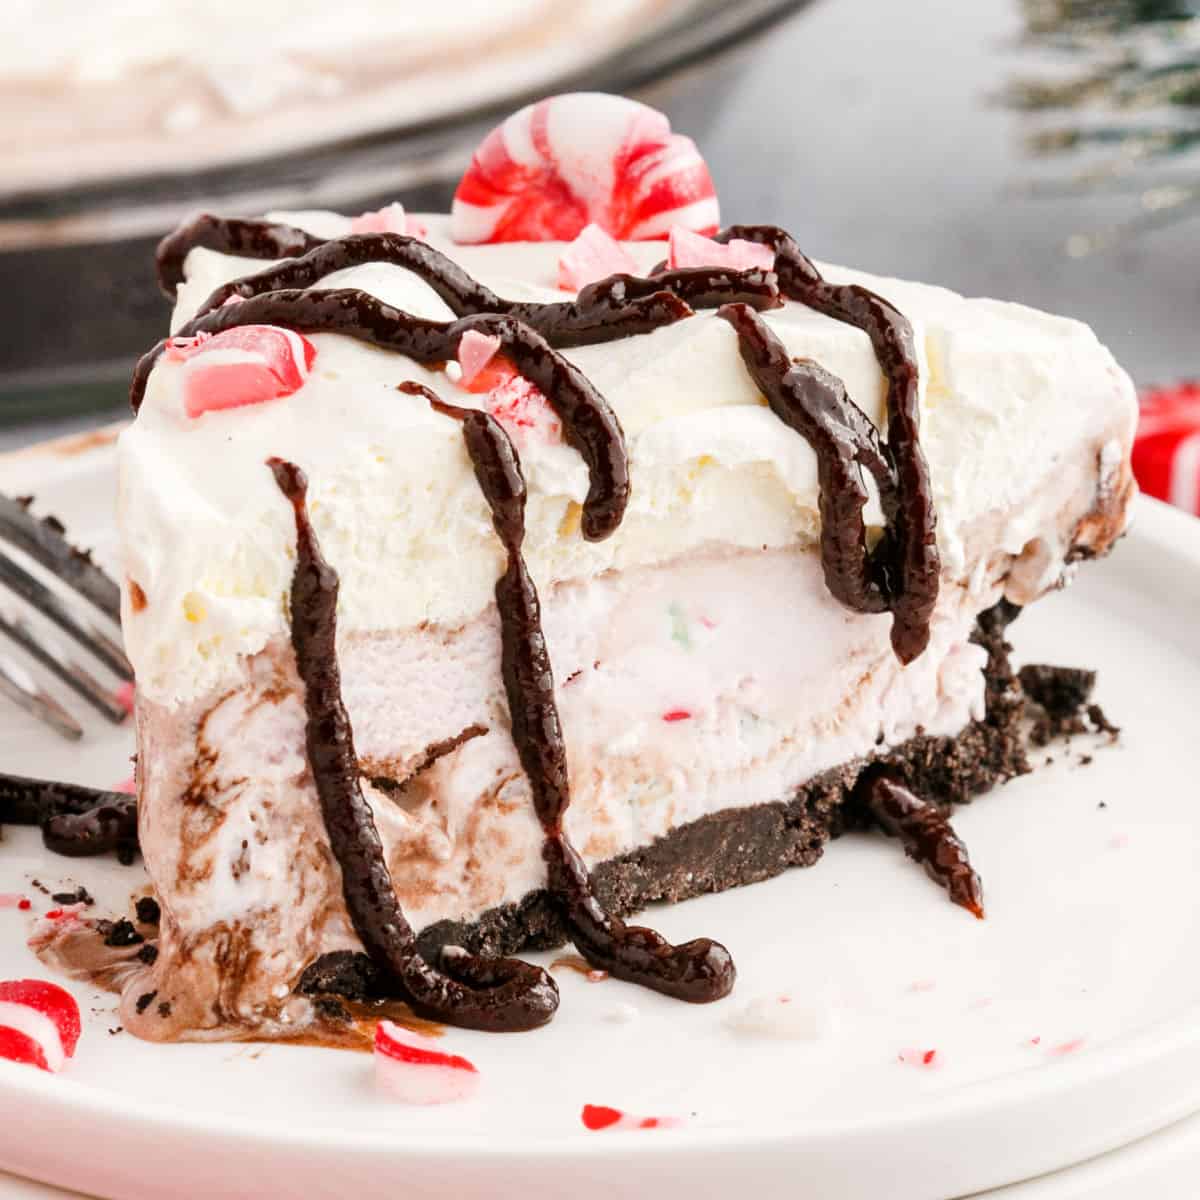
Fresh, cool, and creamy No Bake Peppermint Pie is the seasonal treat you’ve been waiting all year for! This easy-to-make three-layer pie has an Oreo cookie crumb crust topped with refreshing peppermint ice cream and creamy Cool Whip, all drizzled with chocolate syrup and topped with crunchy peppermint candies.

FRESH, EASY & FUN!
Peppermint and chocolate are always a winning combination, so the second I feel a fall chill, I immediately dust off this recipe! No Bake Peppermint Pie is the perfect dessert to ease into holiday baking with because it has all the flavors of the season without having to turn on the oven! Let’s face it. Sometimes we are ready to dive head first into the holidays long before the weather reflects our enthusiasm.
If you think this pie is cool, you’ll swoon over Andes Mint Pie or No Bake Mint Chocolate Chip Cheesecake.
OTHER RECIPES TO SERVE WITH PEPPERMINT PIE
- Homemade Cool Whip – Have you ever tried to make your own Cool Whip at home? It’s surprisingly easy!
- Cream Cheese Mints – These soft little mint candies are fun and easy to make and can be customized and even used to decorate this peppermint pie!
- Andes Mint Martini – Celebrate the return of the holidays in style with this cool mint cocktail.
INGREDIENTS

Crust: This simple crust is a mix of Oreos and melted butter.
Ice Cream: The main layer of this no-bake pie is cool peppermint ice cream.
Topping: The second layer of this pie is easy, with no fuss Cool Whip.
Extras: Top refreshing No Bake Peppermint Pie off with creamy Reddi Whip whipped cream, extra peppermint candies, and a sweet chocolate drizzle!
HOW TO MAKE NO BAKE PEPPERMINT PIE
STEP ONE: Start by placing 24 Oreos in a food processor and processing them until they turn to fine crumbs. Place the Oreo crumbs into a medium-sized mixing bowl and add 1/4 cup of melted butter. Mix the crumbs and butter together well and pour it into a 9-inch pie pan. Evenly distribute the crumb crust over the bottom of the pan, making sure to fill in the edges. Press the crust firmly down and refrigerate it for an hour before adding the filling.
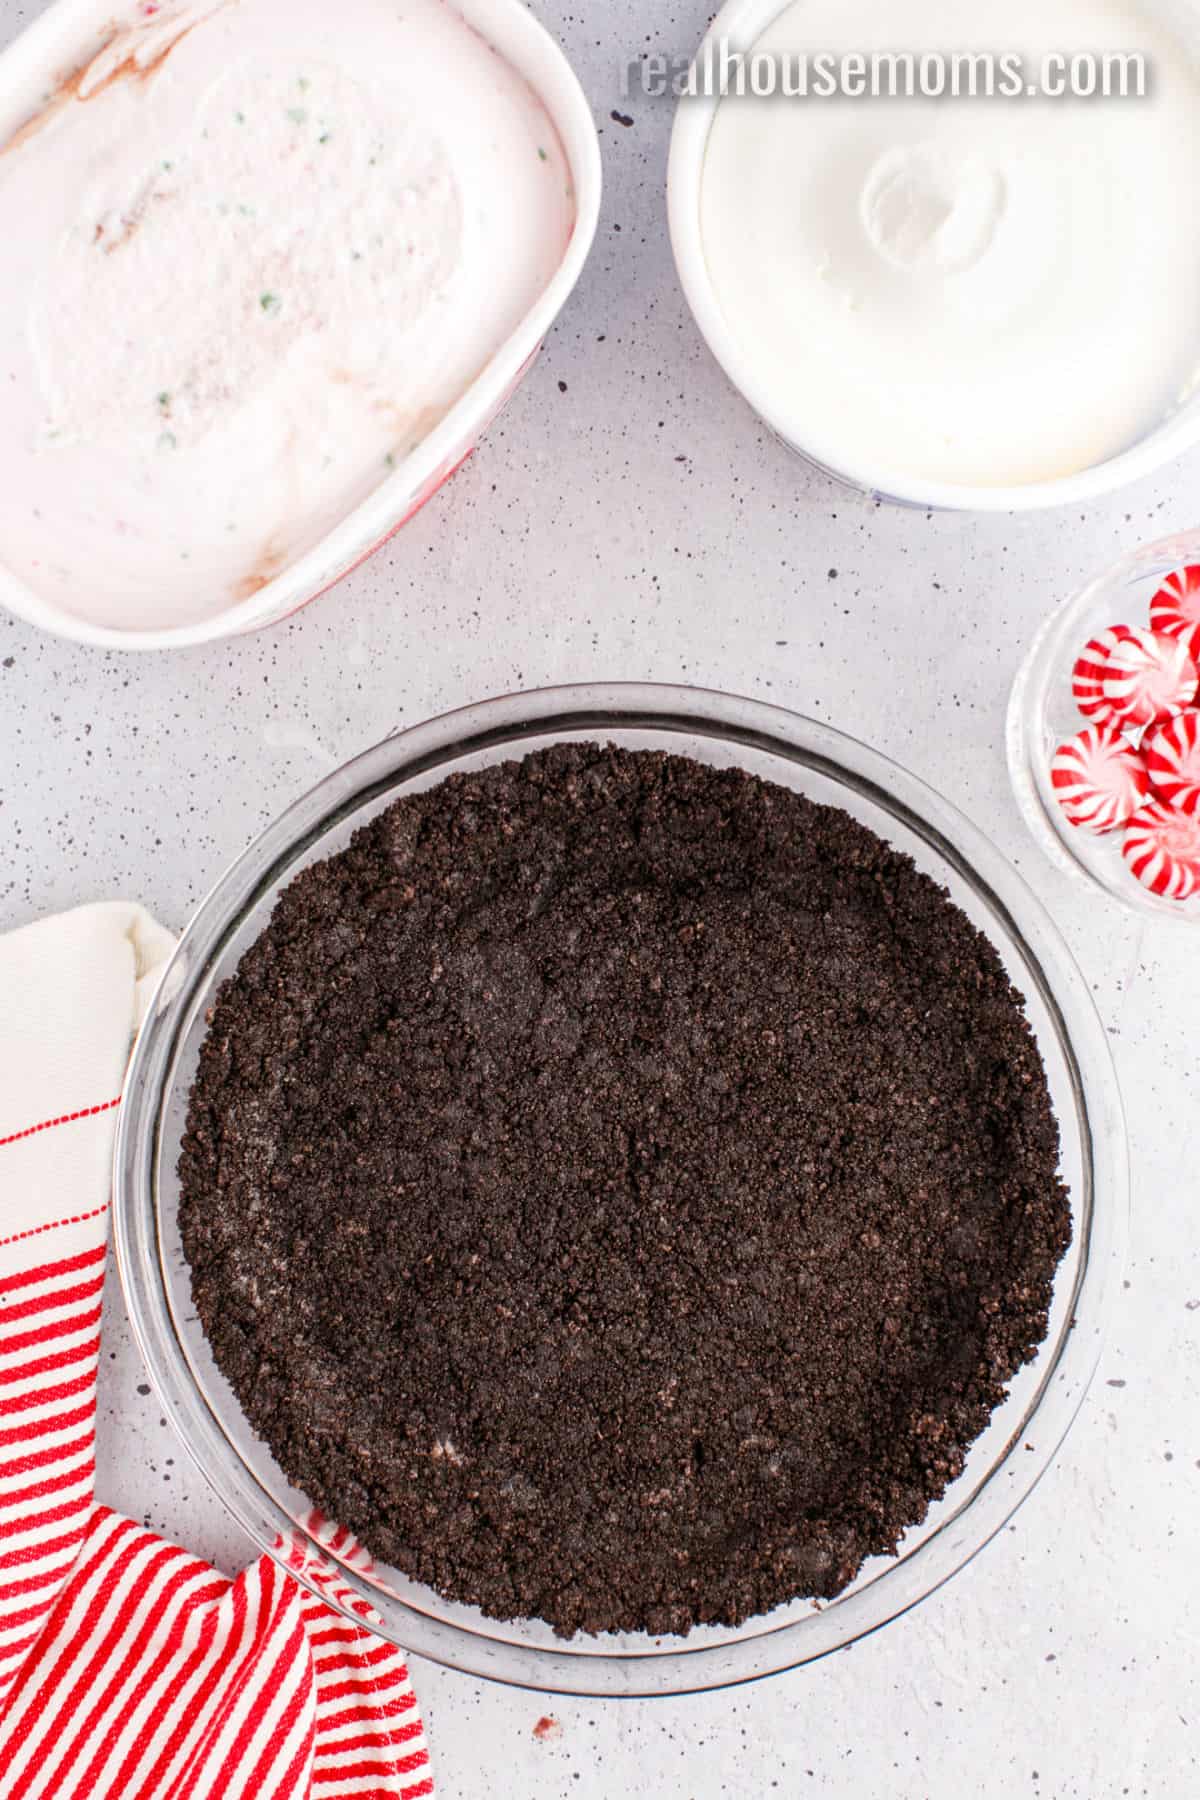
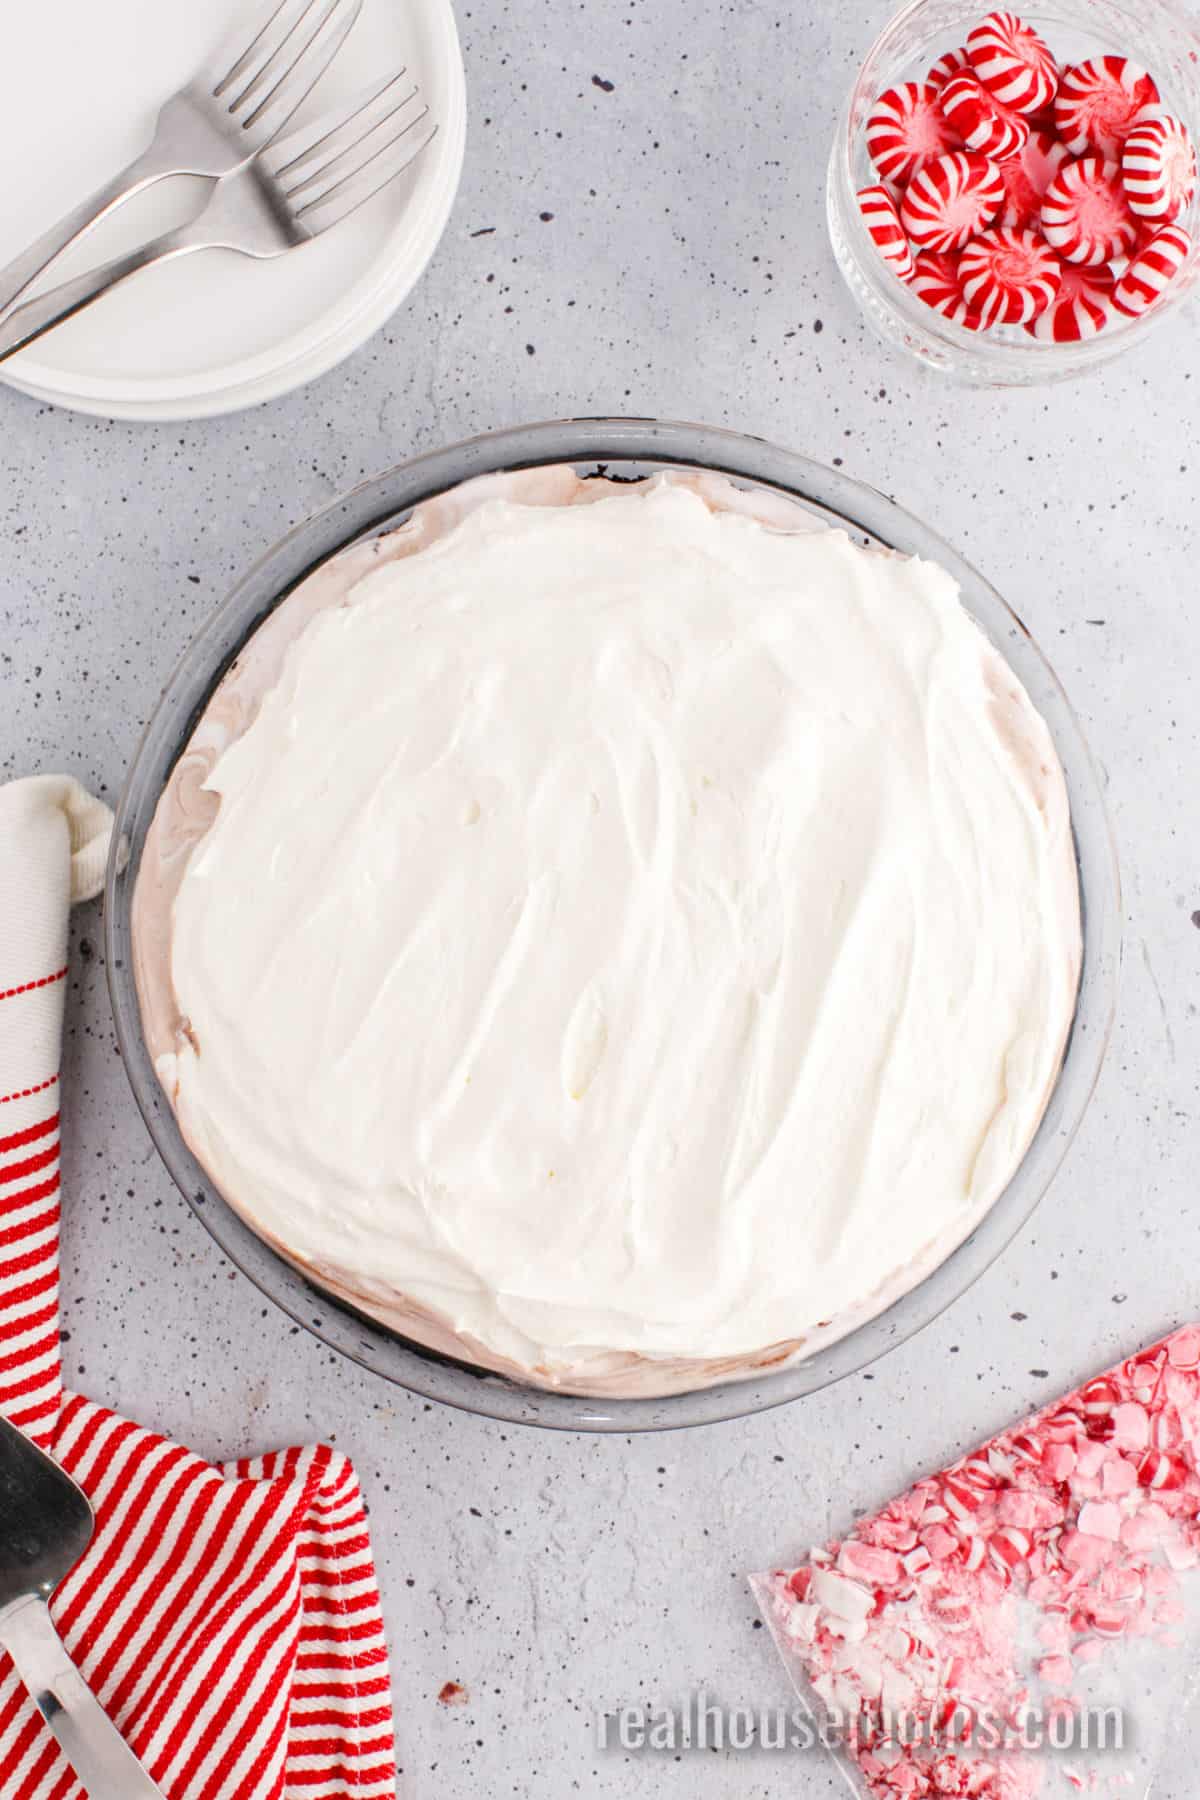
STEP TWO: Once the crust has set, remove it from the fridge. Gently scoop the thawed ice cream over the crust and spread it to fill the pie pan. Next, add a layer of crushed peppermint candies over the top of the ice cream. Lastly, add the Cool Whip topping and spread it evenly over the ice cream layer. Place the entire pie in the freezer for several hours to harden.
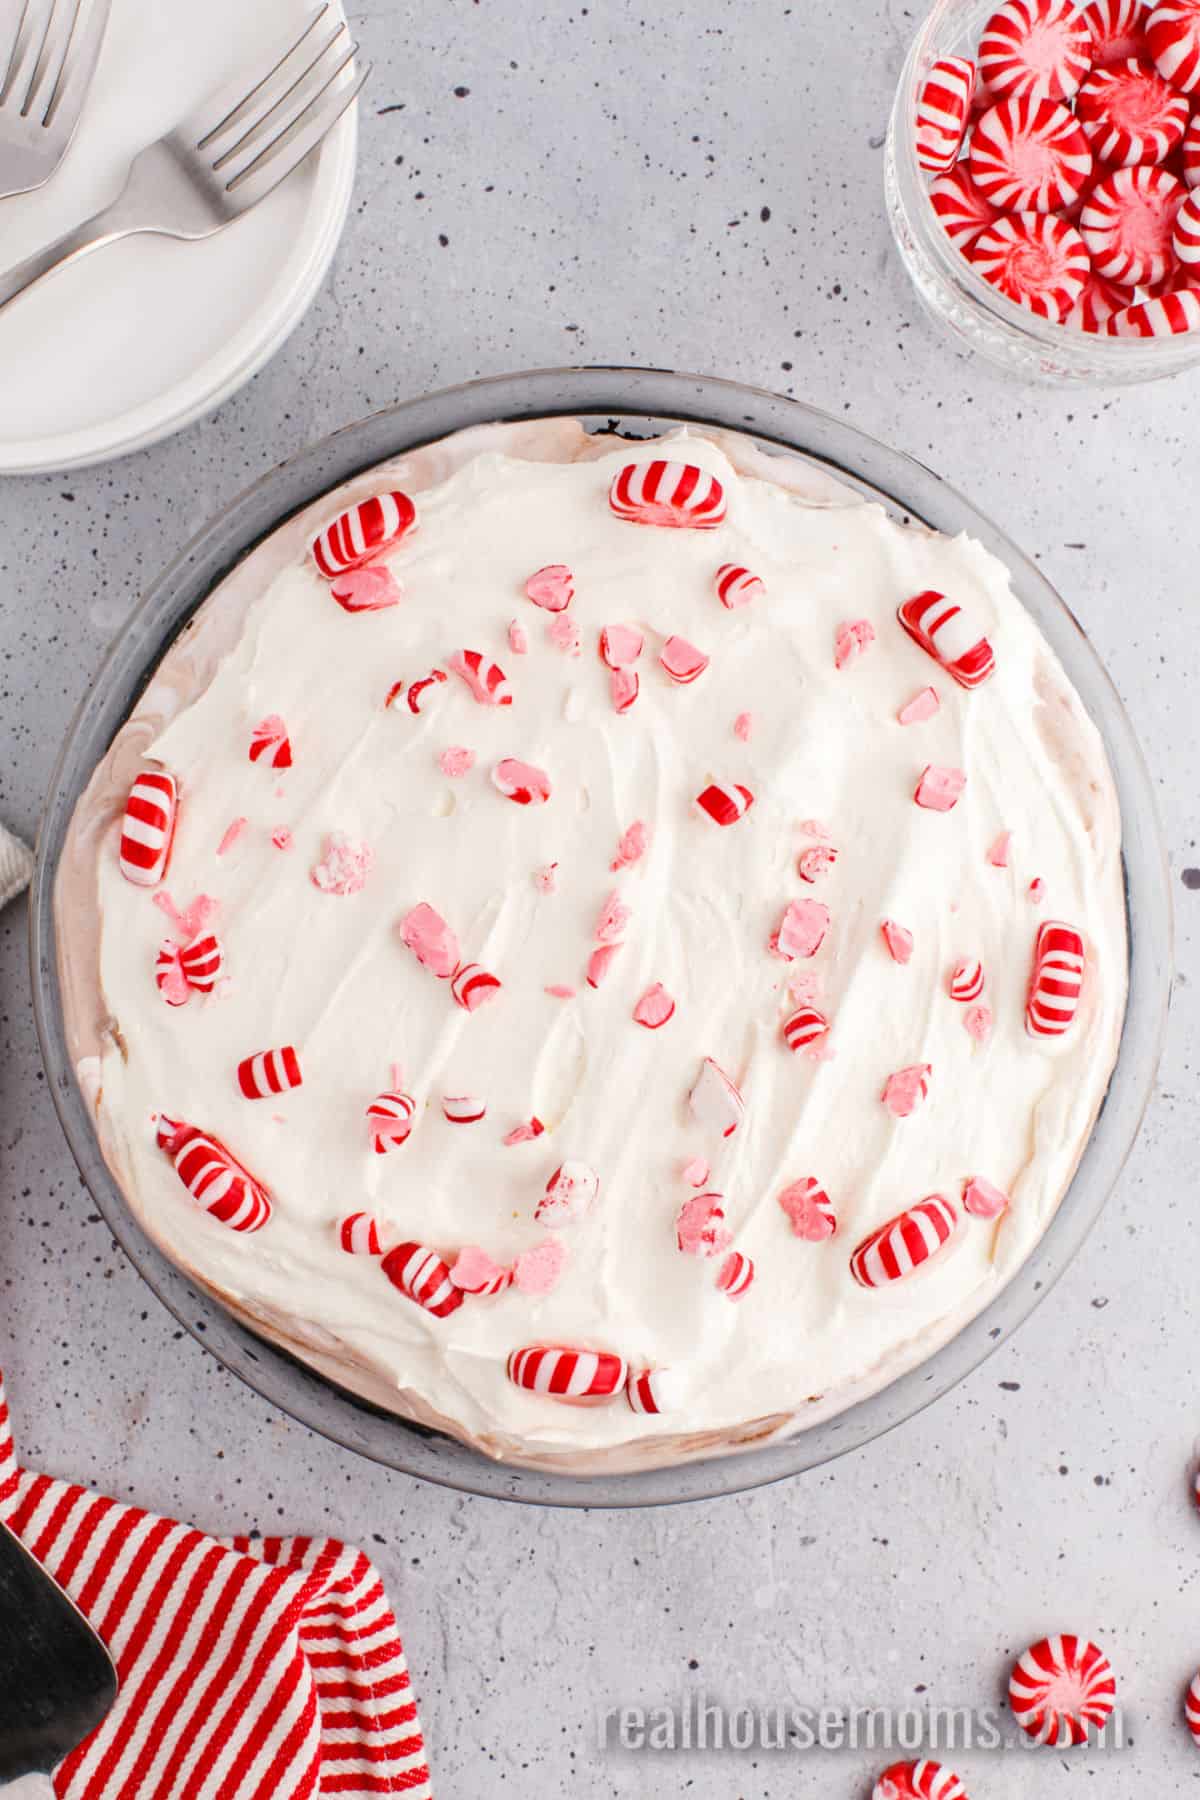
STEP THREE: To serve this No Bake Peppermint Pie, remove it from the freezer for 10 minutes to allow it to soften enough to slice. Top it with dollops of whipped cream, a drizzle of chocolate syrup, and the remaining peppermint candies. Slice and serve!
TIPS FOR SUCCESS
- You can use a rolling pin, heavy pan, or kitchen mallet to crush the peppermint candies.
- Allow the ice cream to thaw just enough so it is easily spread over the pie crust, but do not let it melt into a liquid.
- Peppermint ice cream may be a seasonal find, but many grocery stores start stocking it as early as October!

HOW TO STORE NO BAKE PEPPERMINT PIE
Because this pie has an ice cream base, it needs to be stored in the freezer. If you plan on enjoying the leftover pie sooner rather than later, you can cover the entire pie and place it directly in the freezer. I recommend serving it within a week because ice crystals will naturally start to form each time you thaw and refreeze it.
If you want to extend the freezer life of this No Bake Peppermint Pie, I recommend you freeze individual slices by wrapping them in plastic or foil and storing them in an airtight container. Individual slices can last a couple of months in the freezer when stored properly.
POPULAR ICE CREAM PIE VARIATIONS
Once you have mastered this recipe, you’ll realize how easy it is to swap out a couple of ingredients and create a new masterpiece! First, you can never go wrong with the Oreo crust, but don’t limit yourself to original Oreos! Go crazy with Golden Oreos, Mint Oreos, Lemon Oreos, Pumpkin Oreos, and Birthday Cake Oreos… there are so many flavors now!
While you’re experimenting with the crust, feel free to use any flavor of ice cream your heart desires! From cookies and cream to chocolate peanut butter to butter pecan– the sky is the limit! And don’t be afraid to get creative with candy toppings and sauces. There’s a ton of family fun to be had here!

OTHER MINTY FRESH RECIPES
- Peppermint Patty Stuffed Chocolate Crinkle Cookies
- Irish Cream & Mint Iced Mocha
- Mint Fudge Stuffed Brownies
- Icebox Christmas Cookies
- Grasshopper Pie
- Mint Balls
*This post was originally posted on 11/29/2016.
Equipment
Ingredients
- 24 Oreo cookies (almost a full package)
- ¼ cup butter melted
- ½ gallon peppermint ice cream
- 8 ounces Cool Whip (1 tub)
- 20 peppermint candies divided (wrappers removed)
- Whipped cream for garnish
- Chocolate syrup for garnish
Instructions
- Place the Oreos in a food processor and process until you have fine crumbs. (see note) Place Oreo crumbs in a medium mixing bowl, add the melted butter, and mix until the cookie crumbs are moistened.
- Pour Oreo crumbs mixture into a 9-inch pie plate. Press them down to evenly cover the bottom and sides of the pie pan. Refrigerate the crust for 1 hour before adding the filling.
- While the crust sets up, set out the ice cream and Cool Whip to thaw. Place 12 peppermint candies into a food storage bag. Seal the bag and smash the candies into little bits using a heavy pan or rolling pan. Set aside.
- Remove the crust from the refrigerator and gently scoop the ice cream into the pie plate, spreading it out to fill the pan. Add a layer of crushed peppermints over the ice cream. Then spread the Cool Whip all over the top of the pie.
- Place the entire pie in the freezer for at least 4 hours or until hardened.
- To serve, remove the pie from the freezer 10 minutes before serving. Top the Cool Whip with more whipped cream, a drizzle of chocolate syrup, and the remaining peppermint candies before cutting into 8 slices.




Leave a Reply