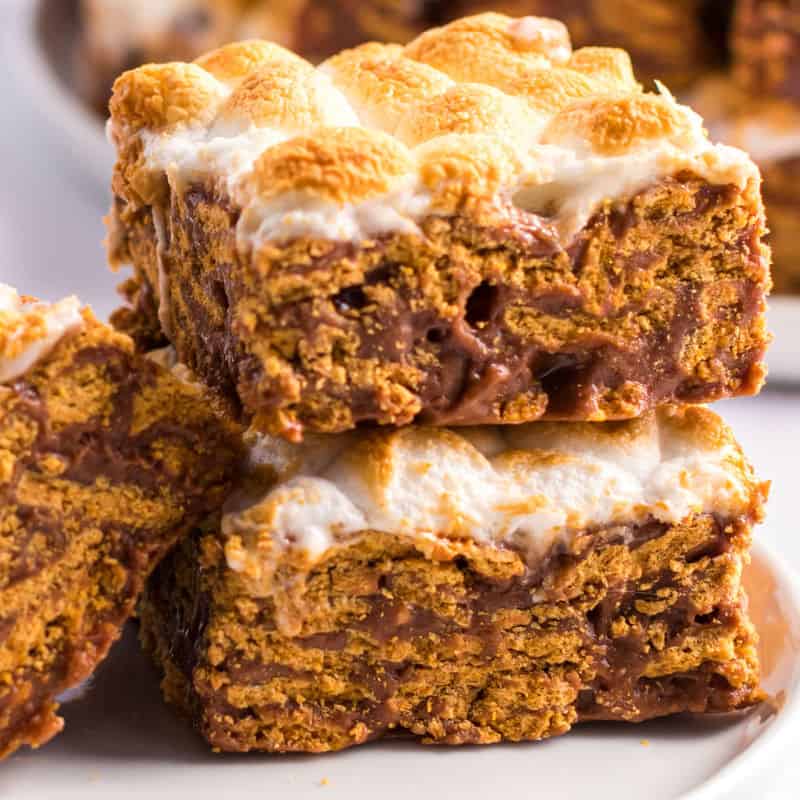
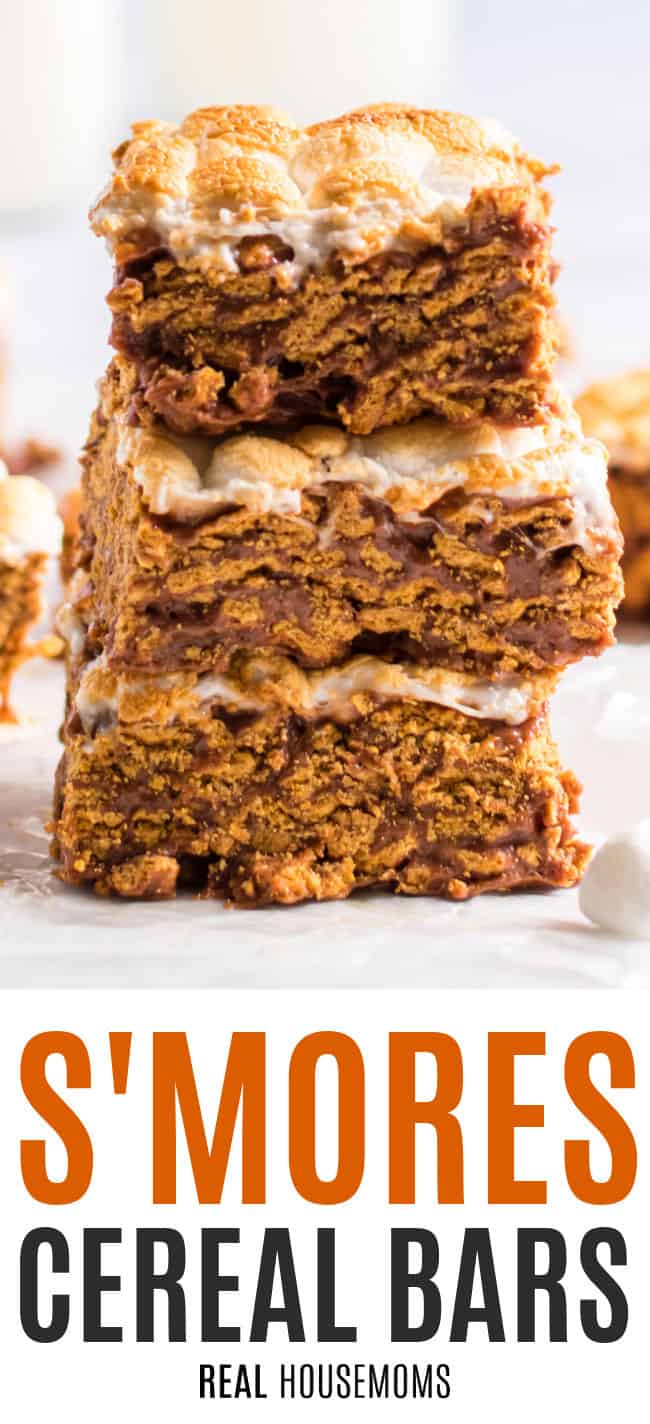
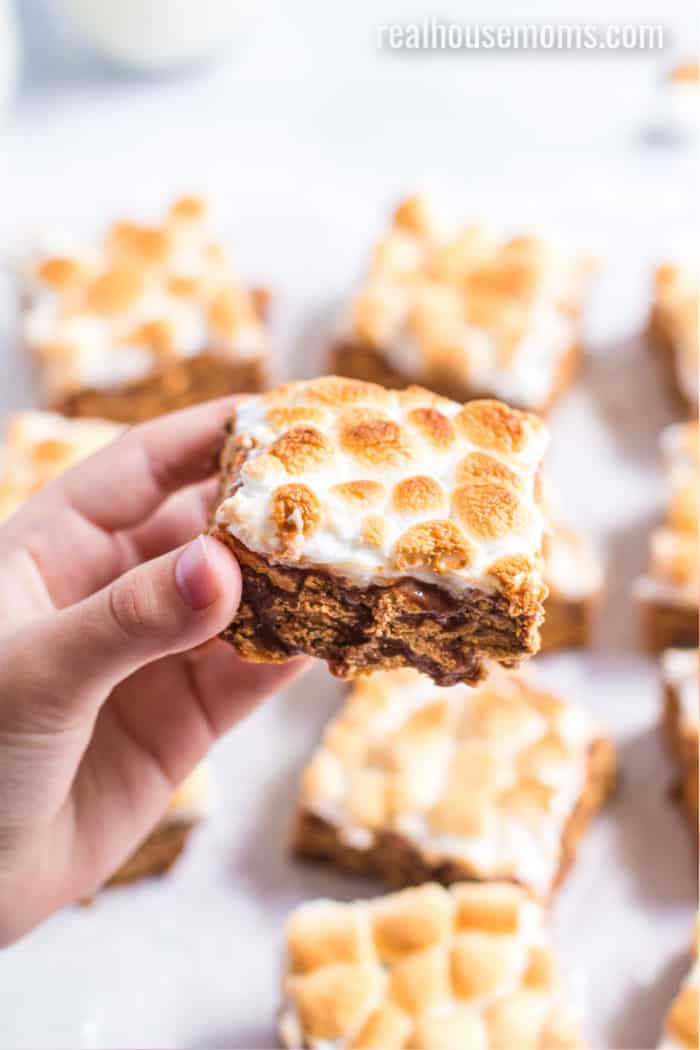
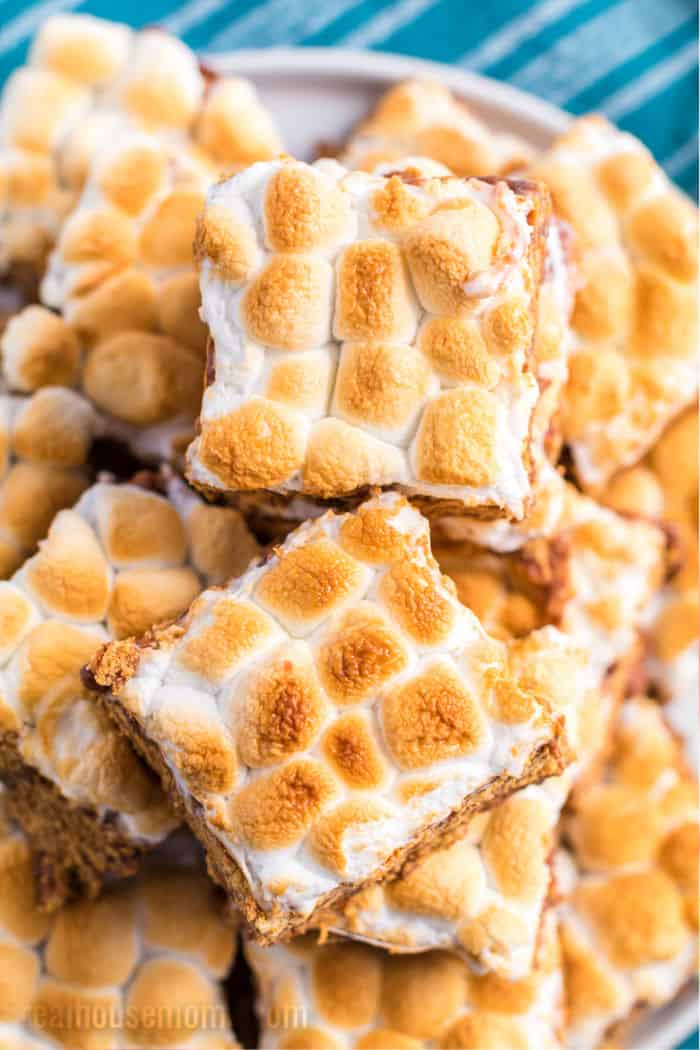
S’mores Cereal Bars taste just like camp to me! Crunchy cereal covered in smooth milk chocolate and topped with gooey toasted marshmallows – what could be better?
I love camp food, especially a great big messy s’more. These S’mores Cereal Bars are just as delicious without all that mess and from the comfort of your kitchen! The crunchy cereal is covered in smooth milk chocolate and topped off with perfectly toasted marshmallows for one amazing bite! Want to try a peanut butter cup version? Check out my Reese’s Peanut Butter Cup S’mores Bars!
S’MORES CEREAL BARS
Like this recipe? Pin it to your APPETIZER pinboard!
Follow Real Housemoms on Pinterest
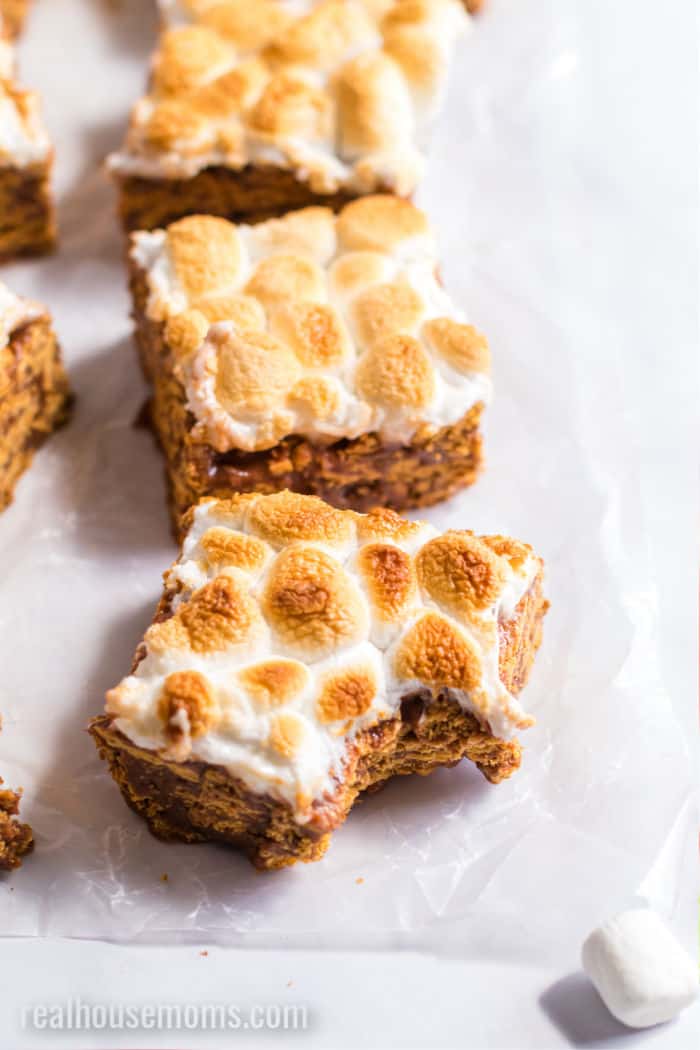
I never know whether to call these S’mores Cereal Bars dessert or a snack, but let’s say they’re both! These can easily be made ahead of time and pre-portioned for school lunches, field trips, parties, and more! I wrap them in parchment paper for easy separation later.
These Golden Graham s’mores bar ingredients are similar to a Rice Krispie Treat, but with a different cereal and more mix-ins!
Ingredients for S’mores Cereal Bars
- Butter
- Mini marshmallows — for the filling and the top!
- Golden Grahams cereal
- Light corn syrup
- Milk chocolate
Want to add a little more to your bars? Add some unmelted chocolate chips to the pan right before toasting the marshmallows for extra chocolate inside, or toss in some peanut butter cups for a double decadent dessert!
How to Make S’mores Cereal Bars
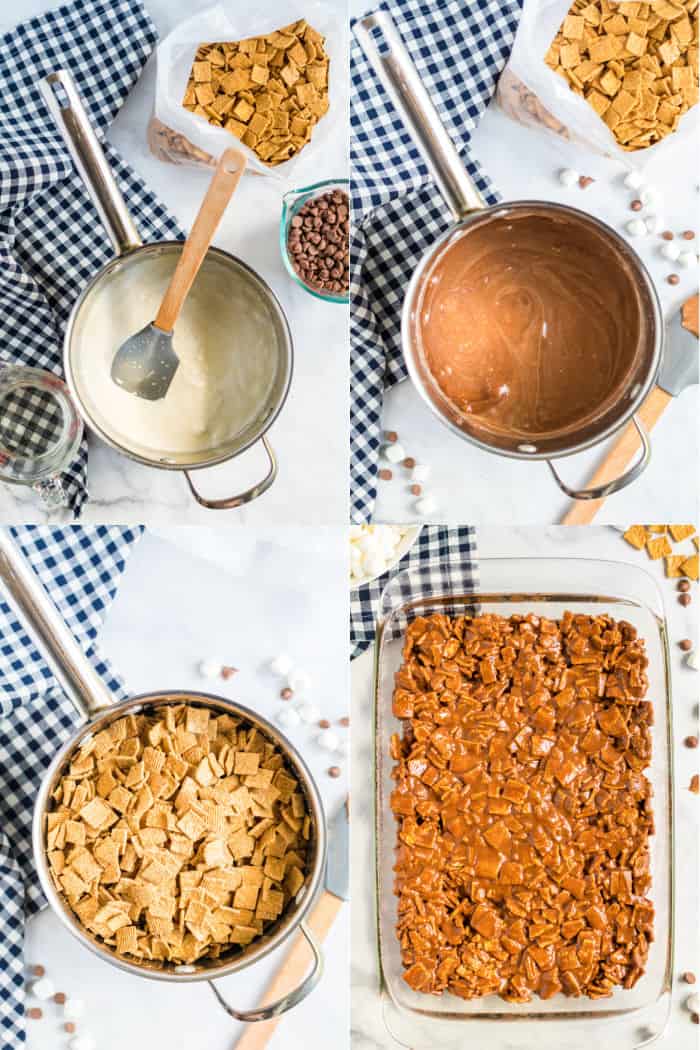
- Start by greasing the inside of a 9-inch x 13-inch baking dish. Go ahead and set this aside for now.
- Next, place a large pot over medium heat and melt the butter along with half of the marshmallows. Use a wooden spoon you’ve greased to stir it all together until the marshmallows are melted and you have a smooth mixture.
- After that, add the light corn syrup and stir it into the marshmallows.
- Once that’s mixed, you’ll add in the milk chocolate chips and stir constantly until they’ve melted into the marshmallow mixture.
- Now it’s time to add in the cereal. Quickly stir the cereal into the chocolate/marshmallow mixture until all the pieces are nice and coated.
- Carefully pour your cereal mixture into your greased baking dish. Use your hands to press it into an even layer.
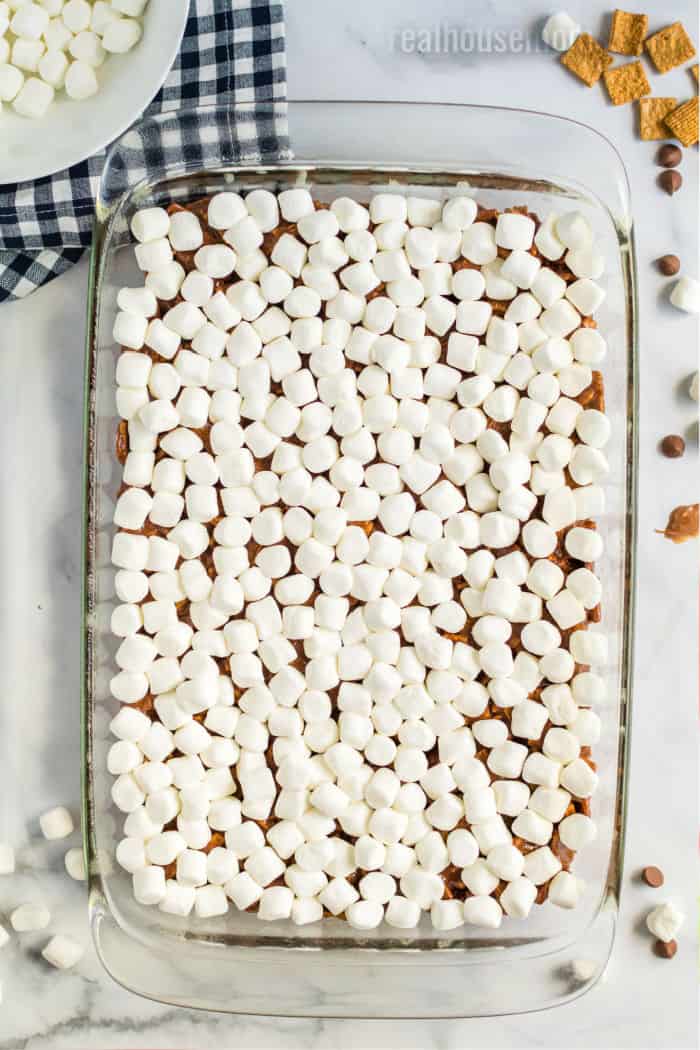
Pro-tip: Spray your freshly washed hands with a little cooking oil to help keep the cereal mixture from sticking to your hands while you press it down. - Here’s the fun part. Grab the rest of your mini marshmallows and spread them all over the top of the cereal in an even layer.
- Now, move one of your oven racks to the top slot and turn your oven to broil. Once your oven’s preheated, place the baking dish on the top rack.
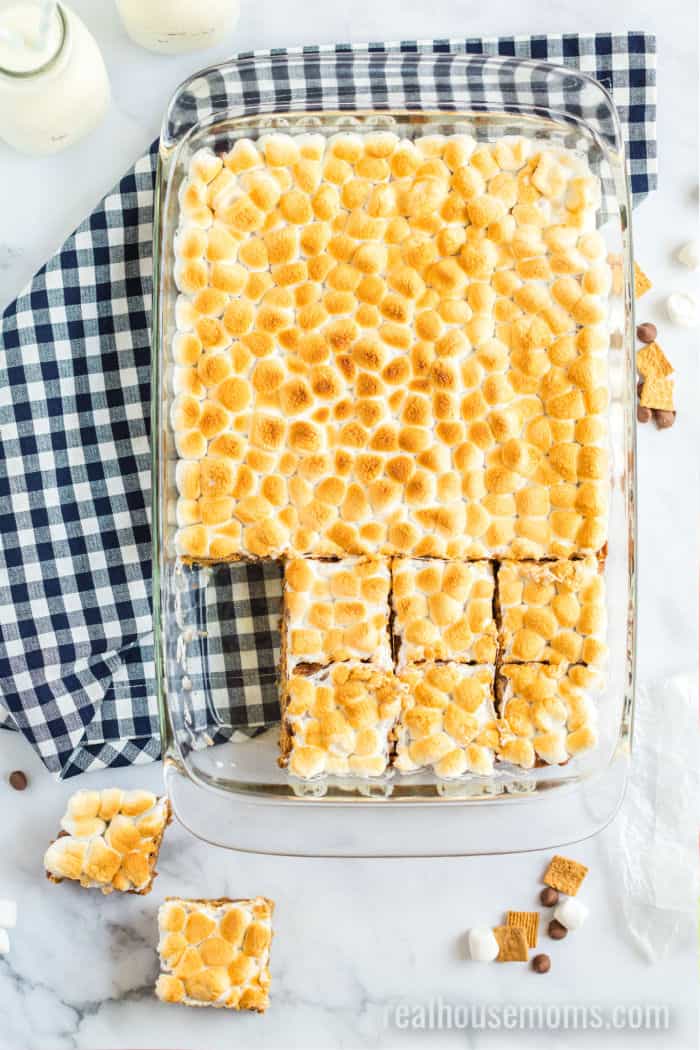
- Keep your eyes peeled here! You only want to toast the marshmallows to a nice golden brown. This happens FAST, so don’t walk away!
- After that, you’ll carefully take the baking dish out of the oven and cut your treats into 12 bars. If you want a cleaner edge on your bars, you can let them cool for 5 to 10 minutes before cutting.
I basically grease everything that I use to make this recipe, except the pot. This helps keep the marshmallows from sticking and makes clean up easier.
What is a s’more?
S’mores are my FAVORITE camping treat, but what makes it a s’more?
A contraction for “some more,” this recipe dates back to a 1920s cookbook for a “Graham Cracker Sandwich,” though it notes this delight was already very popular with Boy Scouts and Girl Scouts by publication.
Traditionally, a toasted marshmallow is placed between 2 graham crackers alongside a square of milk chocolate. The level of toastiness usually depends on the person roasting the marshmallows, but the general goal is to brown and toast the marshmallow without burning it. However, some folks enjoy the burnt crunch in their s’mores, so have at it!
Other s’mores recipes
I know I’ve told you by now about my love of s’mores, but it really shows with my many, many recipes based around graham crackers, marshmallows, and milk chocolate.
These Chocolate Chip Cookie S’mores Bars are similarly handheld with a cookie bottom and a melty, gooey s’mores top. These S’mores Cookies are also portable with all the flavor-packed inside one handy cookie!
Looking for a more decadent dessert? Try my S’mores Cheesecake, with all the s’mores goodness — a marshmallow topping and graham cracker crust — sandwiched around a creamy cheesecake filling.
Need a little s’mores for breakfast? These Golden Graham S’mores Bars could work, but also try my S’mores Chocolate Chip Pancakes with graham cracker crumbs IN the pancakes, covered with chocolate ganache and marshmallow fluff.
Need more s’mores? Try…
- S’mores Sundae Cookie Cups
- Brownie Batter S’mores Dip
- Candy Corn S’mores Gifts
- S’mores Crescent Rolls
- Baked S’mores Donuts
- More s’mores recipes…
Tools used to make this S’mores Cereal Bars recipe
Baking dish: This baking dish is so great! I love its ergonomic handles to easily move it around and the perfect fitted lid for travel.
Large pot: This saucepot is perfect for homemade soups and sauces or mixing together pasta dishes.
*This post originally posted on 08/31/2012.
Ingredients
- 3 tablespoons butter
- 12 cups mini marshmallows divided
- 12 ounces Golden Grahams (1 box)
- ½ cups light corn syrup
- 2 cups milk chocolate chips
Instructions
- Grease a 9-inch x 13-inch baking dish and wooden spoon. Set aside.
- Place a large pot over medium heat. Melt butter and 6 cups mini marshmallows together using your prepared spoon to stir things up.
- Add the light corn syrup and stir to combine.
- Add the chocolate chips and cook until melted, stirring constantly.
- Once the chocolate is melted, pour in the Golden Grahams cereal. Stir until cereal is coated in marshmallow/chocolate mixture.
- Pour cereal into your prepared pan and press down into an even layer. (I like to spray some non-stick cooking spray on my hands to keep things from sticking to them.)
- Spread the remaining 6 cups mini marshmallows on top of the treats in an even layer.
- Move oven rack to top slot and preheat the oven to broil.
- Once preheated, place pan into the oven. Toast until marshmallows are golden brown. This happens very quickly, so DO NOT walk away!
- Carefully remove from oven. Cut into 12 bars immediately, or let rest 5 to 10 minutes before cutting for cleaner edges.
Notes





Leave a Reply