Sweet, tart cherries wrapped in a flaky pie crust and covered in glaze – Cherry Hand Pies are the ultimate dessert in a cute compact shell!

I am a BIG fan of pies and everyone knows it. I’m always in charge of baking pumpkin pies at Thanksgiving, I make peanut butter pie instead of birthday cake, and everyone requests my Cherry Hand Pies. These deliciously sweet hand pies are the perfect hand-held treat for ANY occasion – Valentine’s Day, summer BBQs, or just any regular old Wednesday!
CHERRY HAND PIES
Like this recipe? Pin it to your DESSERT board!
Follow Real Housemoms on Pinterest
Beach trips, family BBQs, s’mores around a campfire….gosh I wish summer would just HURRY UP already! There’s nothing better than summer recipes (ok, maybe Thanksgiving recipes are my favorite…or Christmas desserts….ok fine, I love all food.). I especially love pies with fresh summer fruit.
But, sometimes (like 3/4 of the year) it’s not summertime and I just want some dang fruit pie. Is that too much to ask for?
Well, I’m here to tell you that no, it’s absolutely NOT too much to ask for! I’ve found a way to enjoy a sweet summer pie in a cute, compact, year-round way. Enter the Cherry Hand Pie!
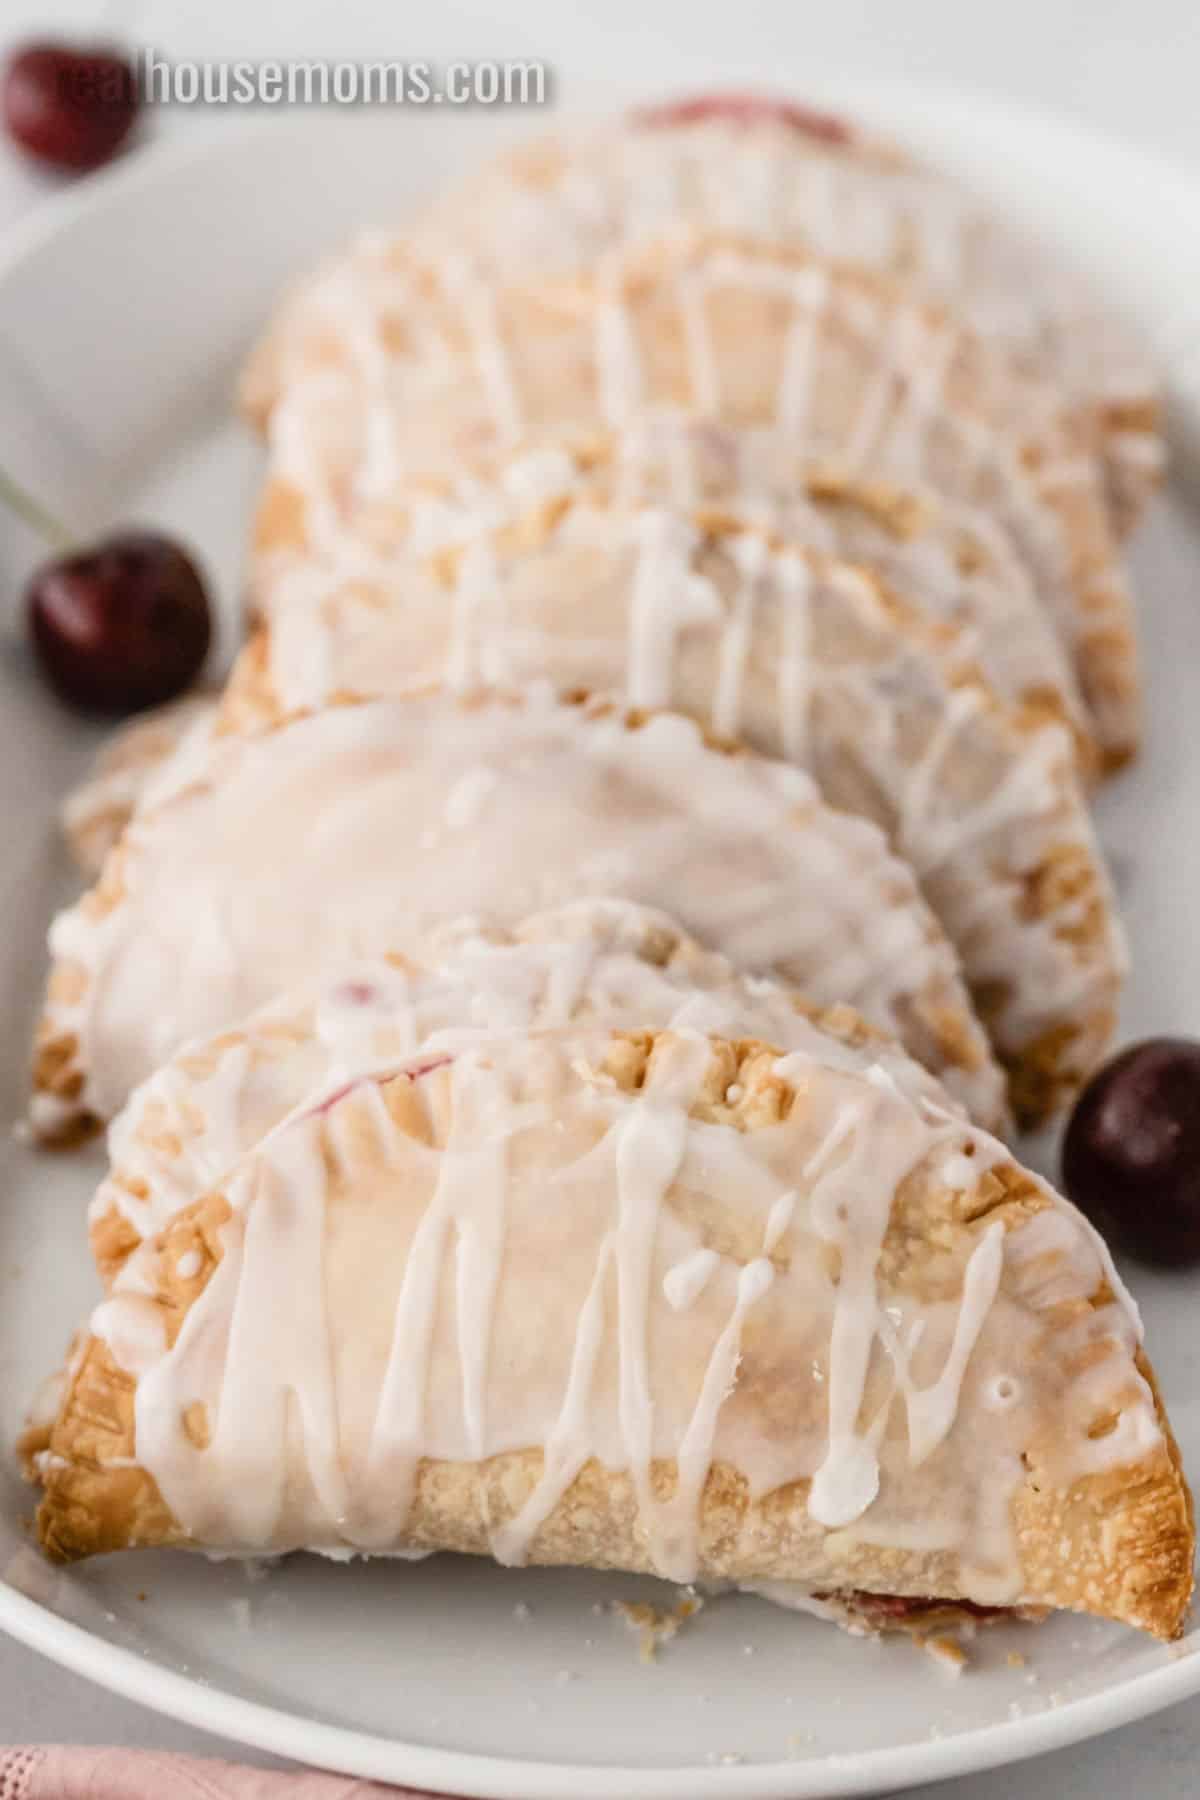
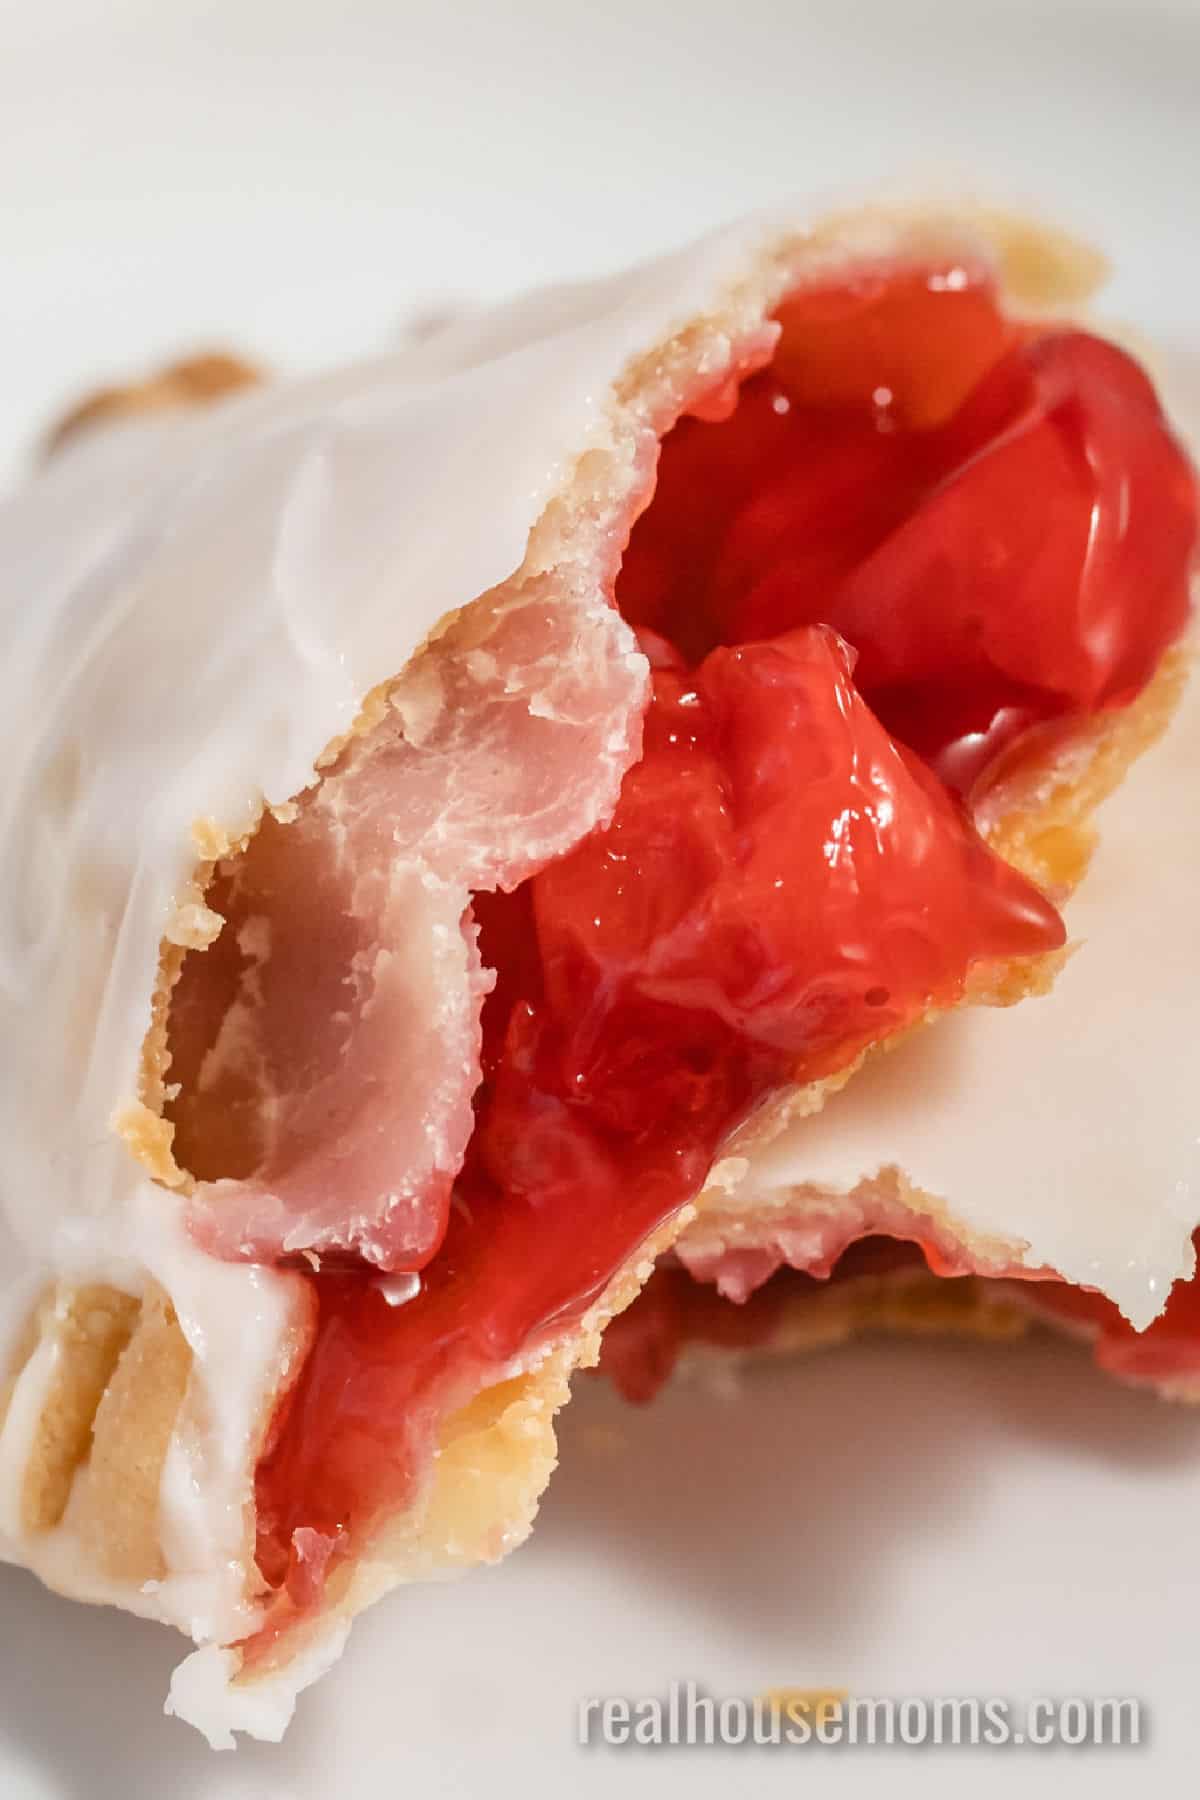
These canned cherry hand pies are the most adorable, hand-held pies I’ve ever seen (and they taste incredible). They taste like a grown-up Pop Tart and I am absolutely here for it. Now I can enjoy my summertime favorite cherry pie year-round and on the go!
Not only do I personally love a tart cherry pie, but it is my husband’s favorite dessert of all time. So, I’ll definitely be making him some heart shaped cherry hand pies for Valentine’s Day this year!
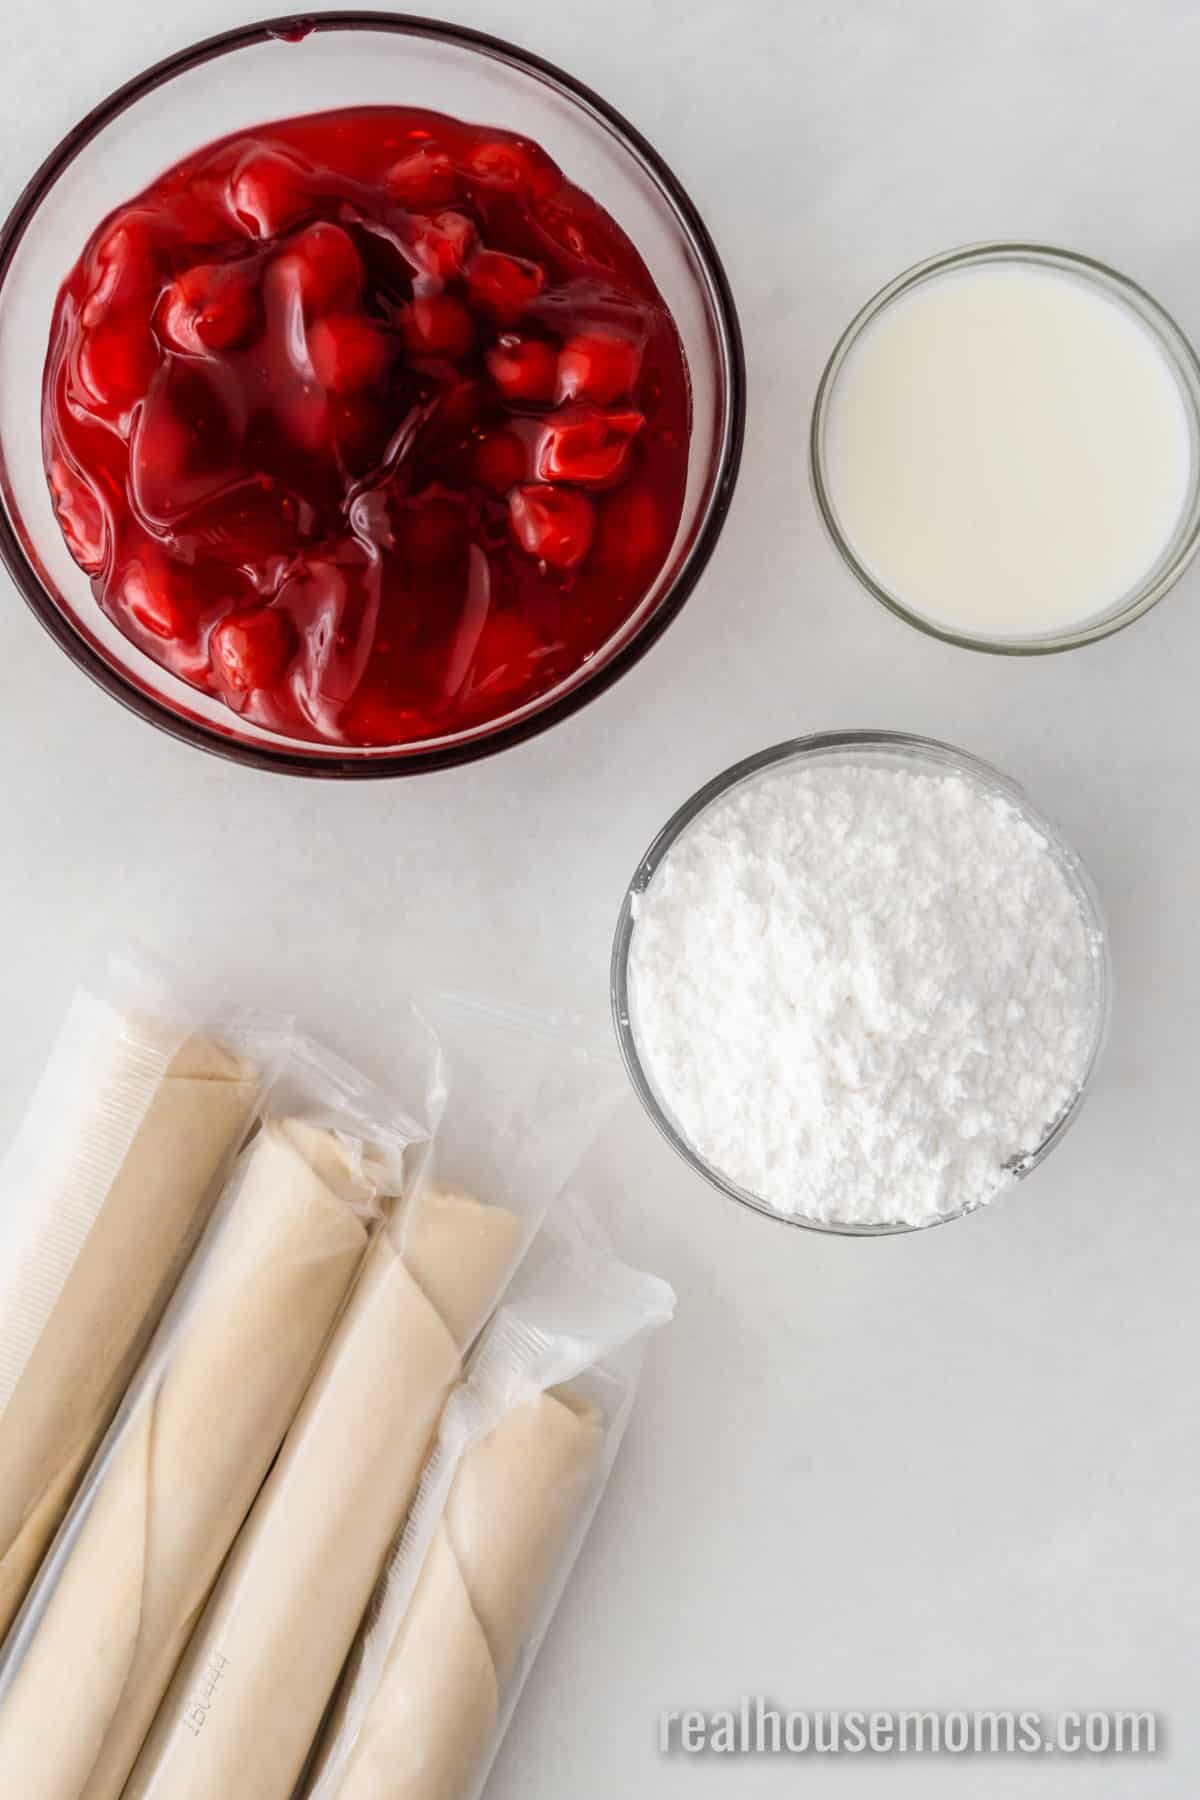
Cherry Pie Ingredients
Cherry pie filling – if you are one of those super chefs who has mastered the art of homemade cherry pie filling, absolutely go for it when making your cherry hand pies. If you’re like me and you like a recipe that leaves little room for error, go ahead and use a canned cherry pie filling. The best thing about using canned filling is that it’s available year-round (which means that these easy cherry hand pies are able to be made year-round too). No more waiting for summer cherries!
Pie Crust – this cherry hand pie recipe can be made one of two ways (both of which taste incredible). First, you can take the easier way and make cherry hand pies with Pillsbury pie crust. Super simple, super delicious!
If you’ve got a little more time on your hands, go ahead and make a homemade pie crust for your cherry hand pies. No matter what method you choose, you’re in for a tasty portable dessert that everyone will love!
Icing – a simple combo of confectioners sugar and milk is literally the icing on the cake (or hand pie…) for these cherry hand pies. While it’s not necessary, I find a nice icing drizzle or dip makes these hand pies even yummier!
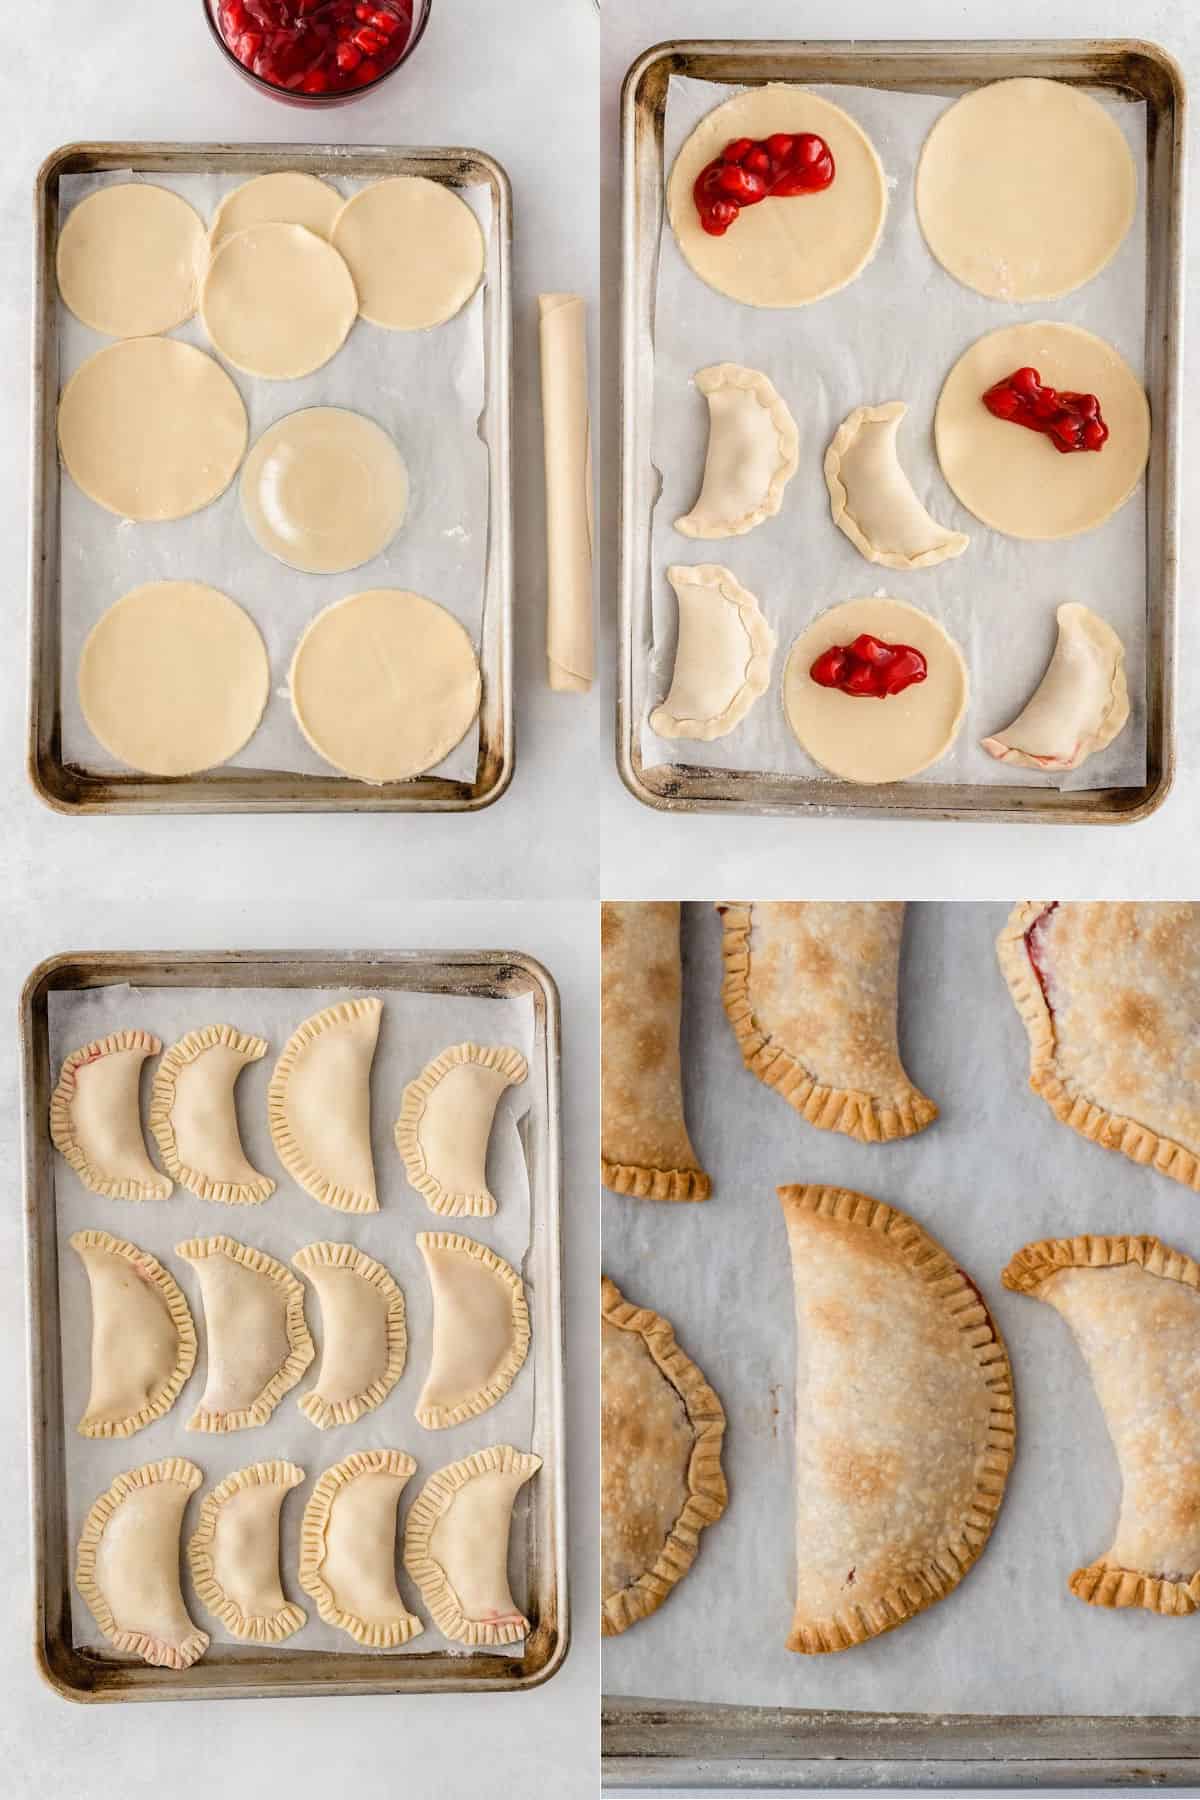
How to Make Cherry Hand Pies
If you’ve got 30 minutes, then you’ve got plenty of time to make this baked cherry hand pies recipe. Grab your ingredients and get baking, you’ll be biting into the taste of sweet summertime in no time!
- Start by preheating your oven to 425 degrees and line a rimmed baking sheet with parchment paper.
- Now it’s time to get forming those cherry hand pies! Roll out your pie crust on a lightly floured counter.
- Next, cut circles of pie crust large enough to fold over with filling inside. For me, this recipe typically makes about 12 hand pies, so just estimate with that number in mind 🙂
- Put about 3 cherries in the middle of a pie crust circle and fold in half over the filling.
- Press the two sides together to seal and place on the baking sheet. I’ve found that the most effective way to seal your hand pies is by crimping the edges closed with a fork. This helps to keep the filling from spilling out while baking!
- Once all of your rounds are filled and pressed together, pop them in the oven for 15 minutes. The edges will just begin to brown and the tops will be a beautiful, crispy golden color once the baking time is up!
- Next, cool your cherry hand pies to room temperature by placing the baking sheet on a wire rack.
- Once your hand pies are cool, it’s time to make some icing! Mix together your confectioners sugar and one tablespoon of milk. Test to see if the icing is thick enough to hold, but still run over the sides of the pastry. Add milk in small amounts until desired consistency is attained.
*Add more sugar if the icing does become too runny. - Ice your hand pies however you prefer – dip the tops of them completely into the bowl, drizzle the icing on top, or my personal favorite, a combination of both!
- Once the icing has dried or has a firmness to it – the hand pies are ready to serve!

What is the best canned cherry pie filling?
Ok so I’m no canned pie filling expert, but I’ve tried out a few when trying to master this cherry hand pie recipe and I’ve got two winners (both for different reasons). Here are my findings:
Best Flavor – For a canned pie filling that is most true to a homemade pie flavor, I chose the Target brand Market Pantry Pie Filling. It’s the perfect combo of sweet and tart and sets perfectly inside your cute little cherry hand pies. We all know that I am a BIG fan of Target, so I’m more than happy to make a Target run for some canned cherry pie filling!
Best Ingredients – So many brands of canned pie filling use “fillers” and artificial ingredients to achieve the glistening filling that people expect. However, Duncan Hines’ “Comstock Simply Cherry Pie Filling & Topping uses a short list of ingredients, all of which I can pronounce! As far as flavor goes, this one is a bit sweeter (and less tart) than I’d like, but overall it works great in a cherry hand pie!

Want some more berry-licious desserts? Try out some of these other Real Housemoms recipes!
- Strawberry Cheesecake Bites
- Cherry Cheesecake Dip
- Strawberry Jello Cake
- White Chocolate Cherry Pudding Cookies
- Chocolate Covered Cherry Cheesecake Brownie Bars
- more DESSERT recipes…
Tools used to make this Cherry Hand Pies recipe
Mixing Bowl: These glass Pyrex bowls have been around forever and for good reason. They’re my go-to mixing bowls!
Baking Sheet: These half-sheet baking pans are the perfect size for baking up these easy cherry hand pies!
Dough Press: Forming and crimping hand pies is SUPER easy with this dough press. It’s fun for making PB&J’s for school lunch too!

Ingredients
- 2 boxes refrigerated pie crust (4 crusts total)
- 21 ounces cherry pie filling (1 can)
- ½ cup powdered sugar
- 2-3 tablespoons milk
Instructions
- Preheat oven to 425 degrees F. Line a baking sheet with parchment paper. Set aside.
- Roll out pie crusts on a floured counter or workspace. Cut circles large enough to fold over with filling inside, about 4 to 5 inches each.
- Add 1-2 tablespoons of pie filling to the middle of each pie crust circle. Fold pie crusts in half over the filling.
- Press the edges together and transfer to the prepared baking sheet. I like to crimp the edges closed with a fork so none of the filling gets out.
- Bake for 15 minutes until golden brown. Remove pies from the oven and place baking sheet on a wire rack to cool.
- Once the pies are at room temperature, make the glaze. Whisk together the powdered sugar and 2 tablespoons milk in a mixing bowl until smooth. Add more milk as needed until your desired consistency is reached. (If the glaze becomes too runny, add more sugar.)
- Spoon glaze over the pies so the tops are completely coated. Allow icing to dry until it has some firmness to it. Serve at room temperature.


Leave a Reply