No Bake Berry Icebox Cake is the easiest summer recipe around! You’ll definitely want to make this tasty dessert for the 4th of July!
If it’s summer, my fridge is almost guaranteed to be stuffed to the brim with fresh fruit. I absolutely hate when berries are out of season. (But I do still get my berry fix with my favorite strawberry banana smoothie!)
Summer berries are the perfect snack, but man-oh-man do they work amazingly in desserts! If I’ve got strawberries and blueberries on hand, you’d better be that I’m making this No Bake Berry Icebox Cake! It’s refreshing, sweet, and a true crowd pleaser!
NO BAKE BERRY ICEBOX CAKE
Like this recipe? Pin it to your DESSERT board!
Follow Real Housemoms on Pinterest
It would be an understatement for me to say that I LOVE summer berries. I think I have a borderline obsession… fresh strawberries, blueberries, blackberries, raspberries, I love them all. Sure, you can get them in your local grocery store year-round, but there’s something about in-season berries that just hit differently.
My kids know that when summer comes, we’ll be visiting the farms on a weekly basis. Sure, the pick-your-own berries are slightly more expensive than the ones you grab pre-packaged at the grocery store. But, I love supporting our local farms AND it’s a fun family activity!
A few weeks ago we had a huge strawberry haul at our local farm and I just knew that I had to come up with a delicious dessert to highlight them! Let me introduce you to…. the no bake summer berry icebox cake! This chilled dessert is scrumptiously delicious and couldn’t be any easier to make!
What is an Icebox Cake?
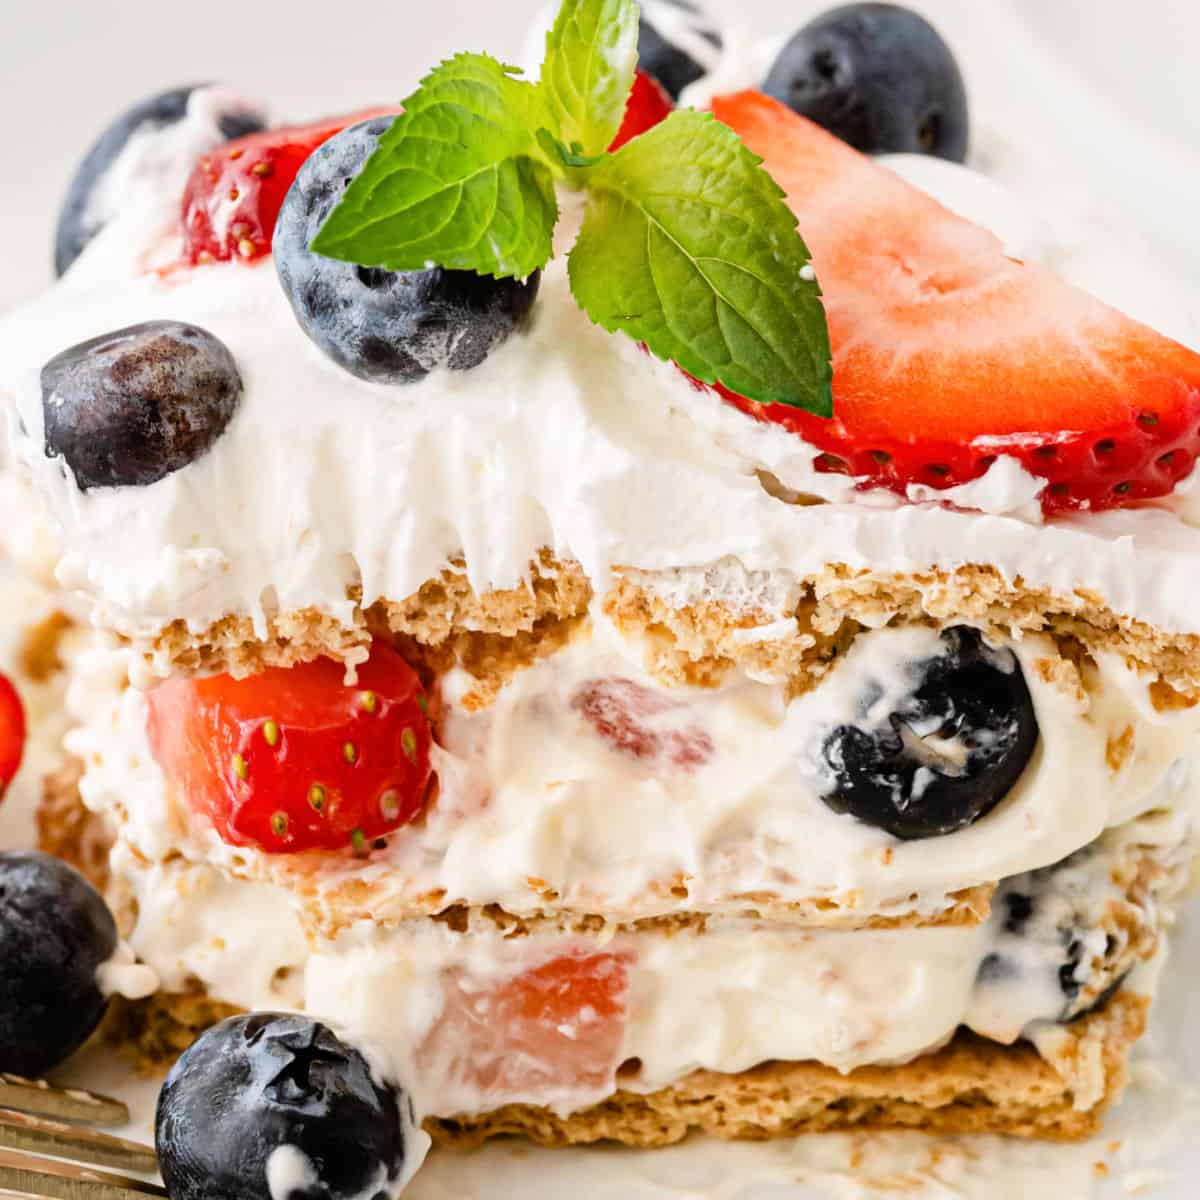
Icebox cakes have been around since the 1920’s before the days of refrigerators. Instead, houses had iceboxes to keep their perishables cool. Icebox cakes are simple, delicious desserts that require no baking and kind of resemble a trifle. Layers of sweet creamy “frosting,” fresh fruit, and graham crackers or wafers, icebox cakes are the busy mom’s dream come true!
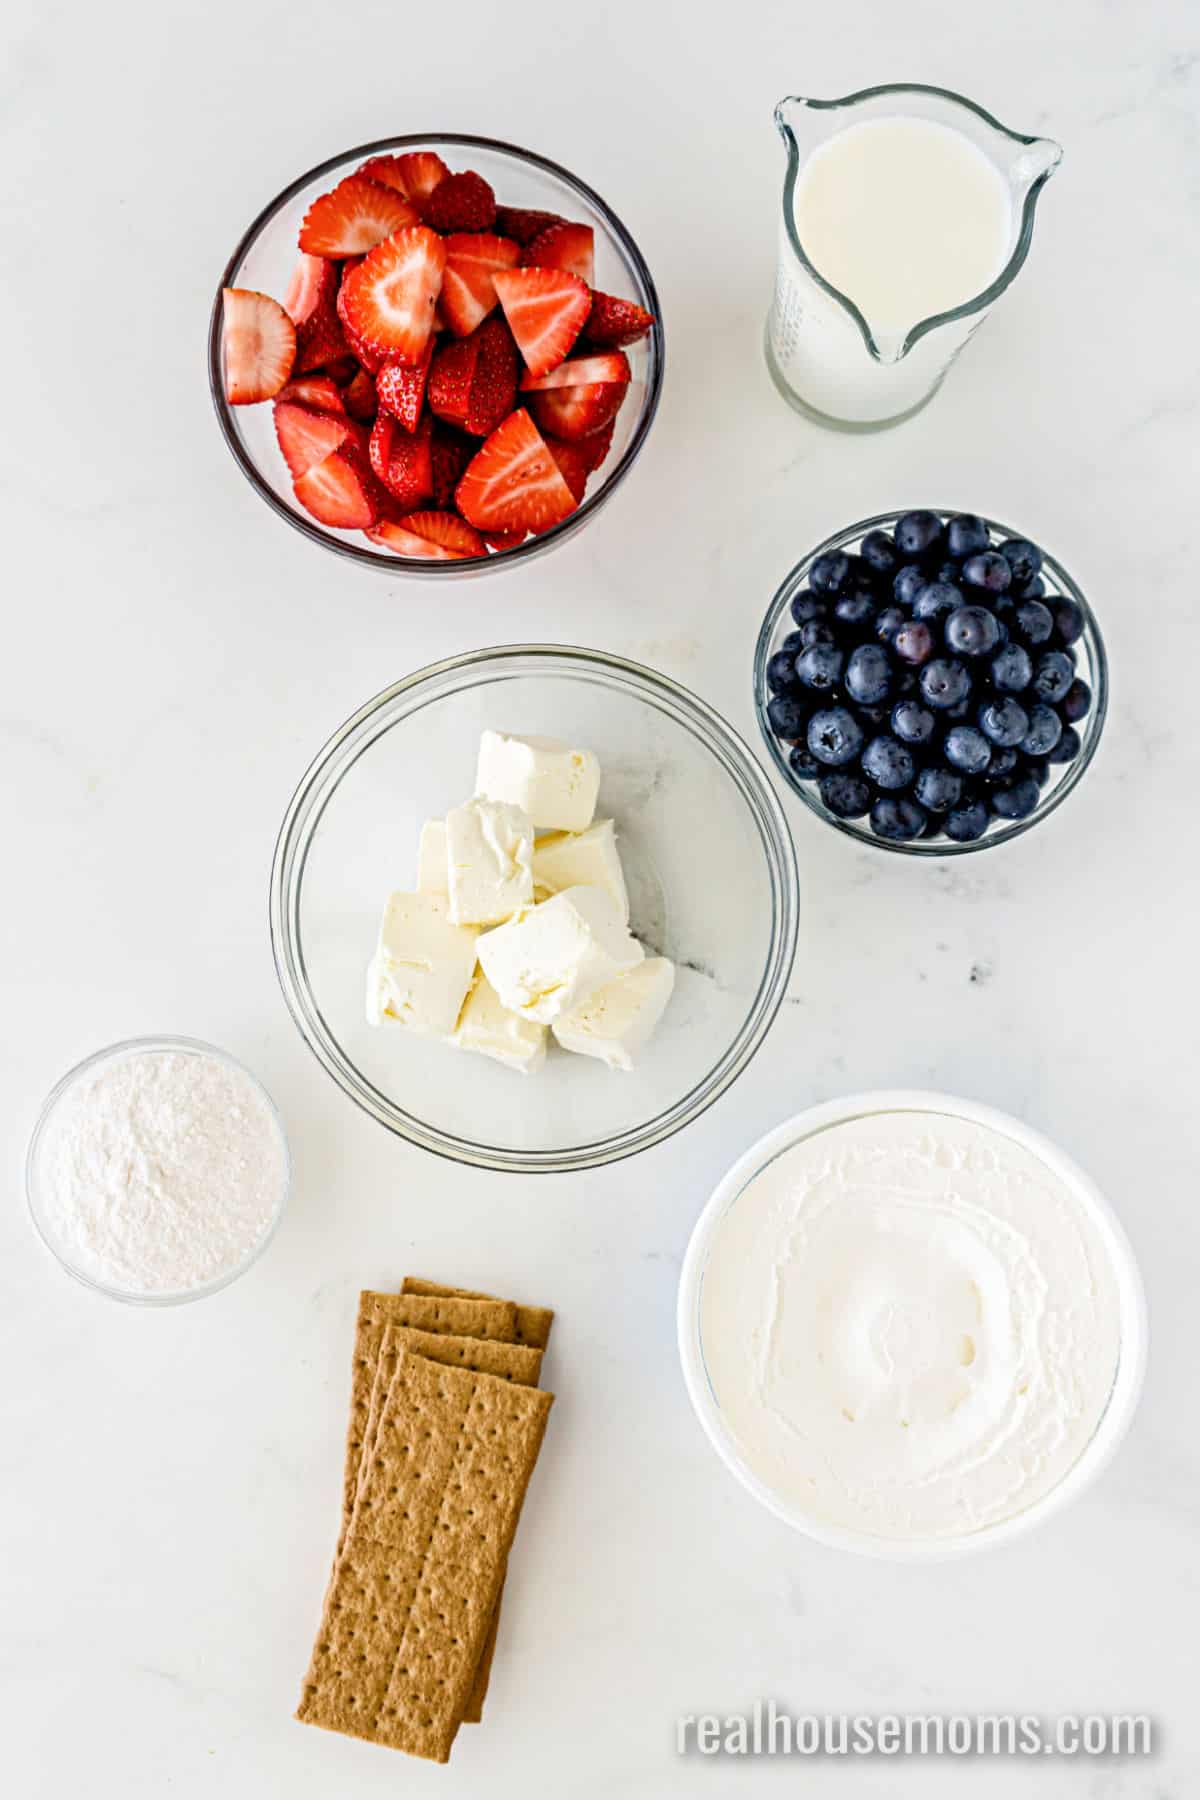
For this graham cracker icebox cake you’ll need:
Vanilla Instant Pudding – Yup, you read that right. Instant pudding! Couldn’t get any easier than that, right? Grab a box of your favorite vanilla pudding and you’re well on your way to a delicious berry icebox cake!
Dairy – To finish off the pudding “frosting” you’ll need some cream cheese, milk, and of course, some classic cool whip!
Berries – I absolutely love the combination of blueberries and strawberries, so when I make this icebox cake recipe, those are the summer berries I choose. You can absolutely use other fresh berries that you have on hand! I bet blackberries and raspberries would add a wonderful flavor to your icebox cake!
Graham Crackers – I like using graham crackers for the cake because we always have a box in the pantry. You could also use vanilla wafers or ever chocolate graham crackers to change things up!
How to Make No Bake Summer Berry Icebox Cake
One of my least favorite things to do in the summer heat is turn on my oven. It turns my nice cool house into a hot, humid cave in almost an instant. That’s why icebox cakes are the BEST, dessert, but with no baking! Here’s how to do it:
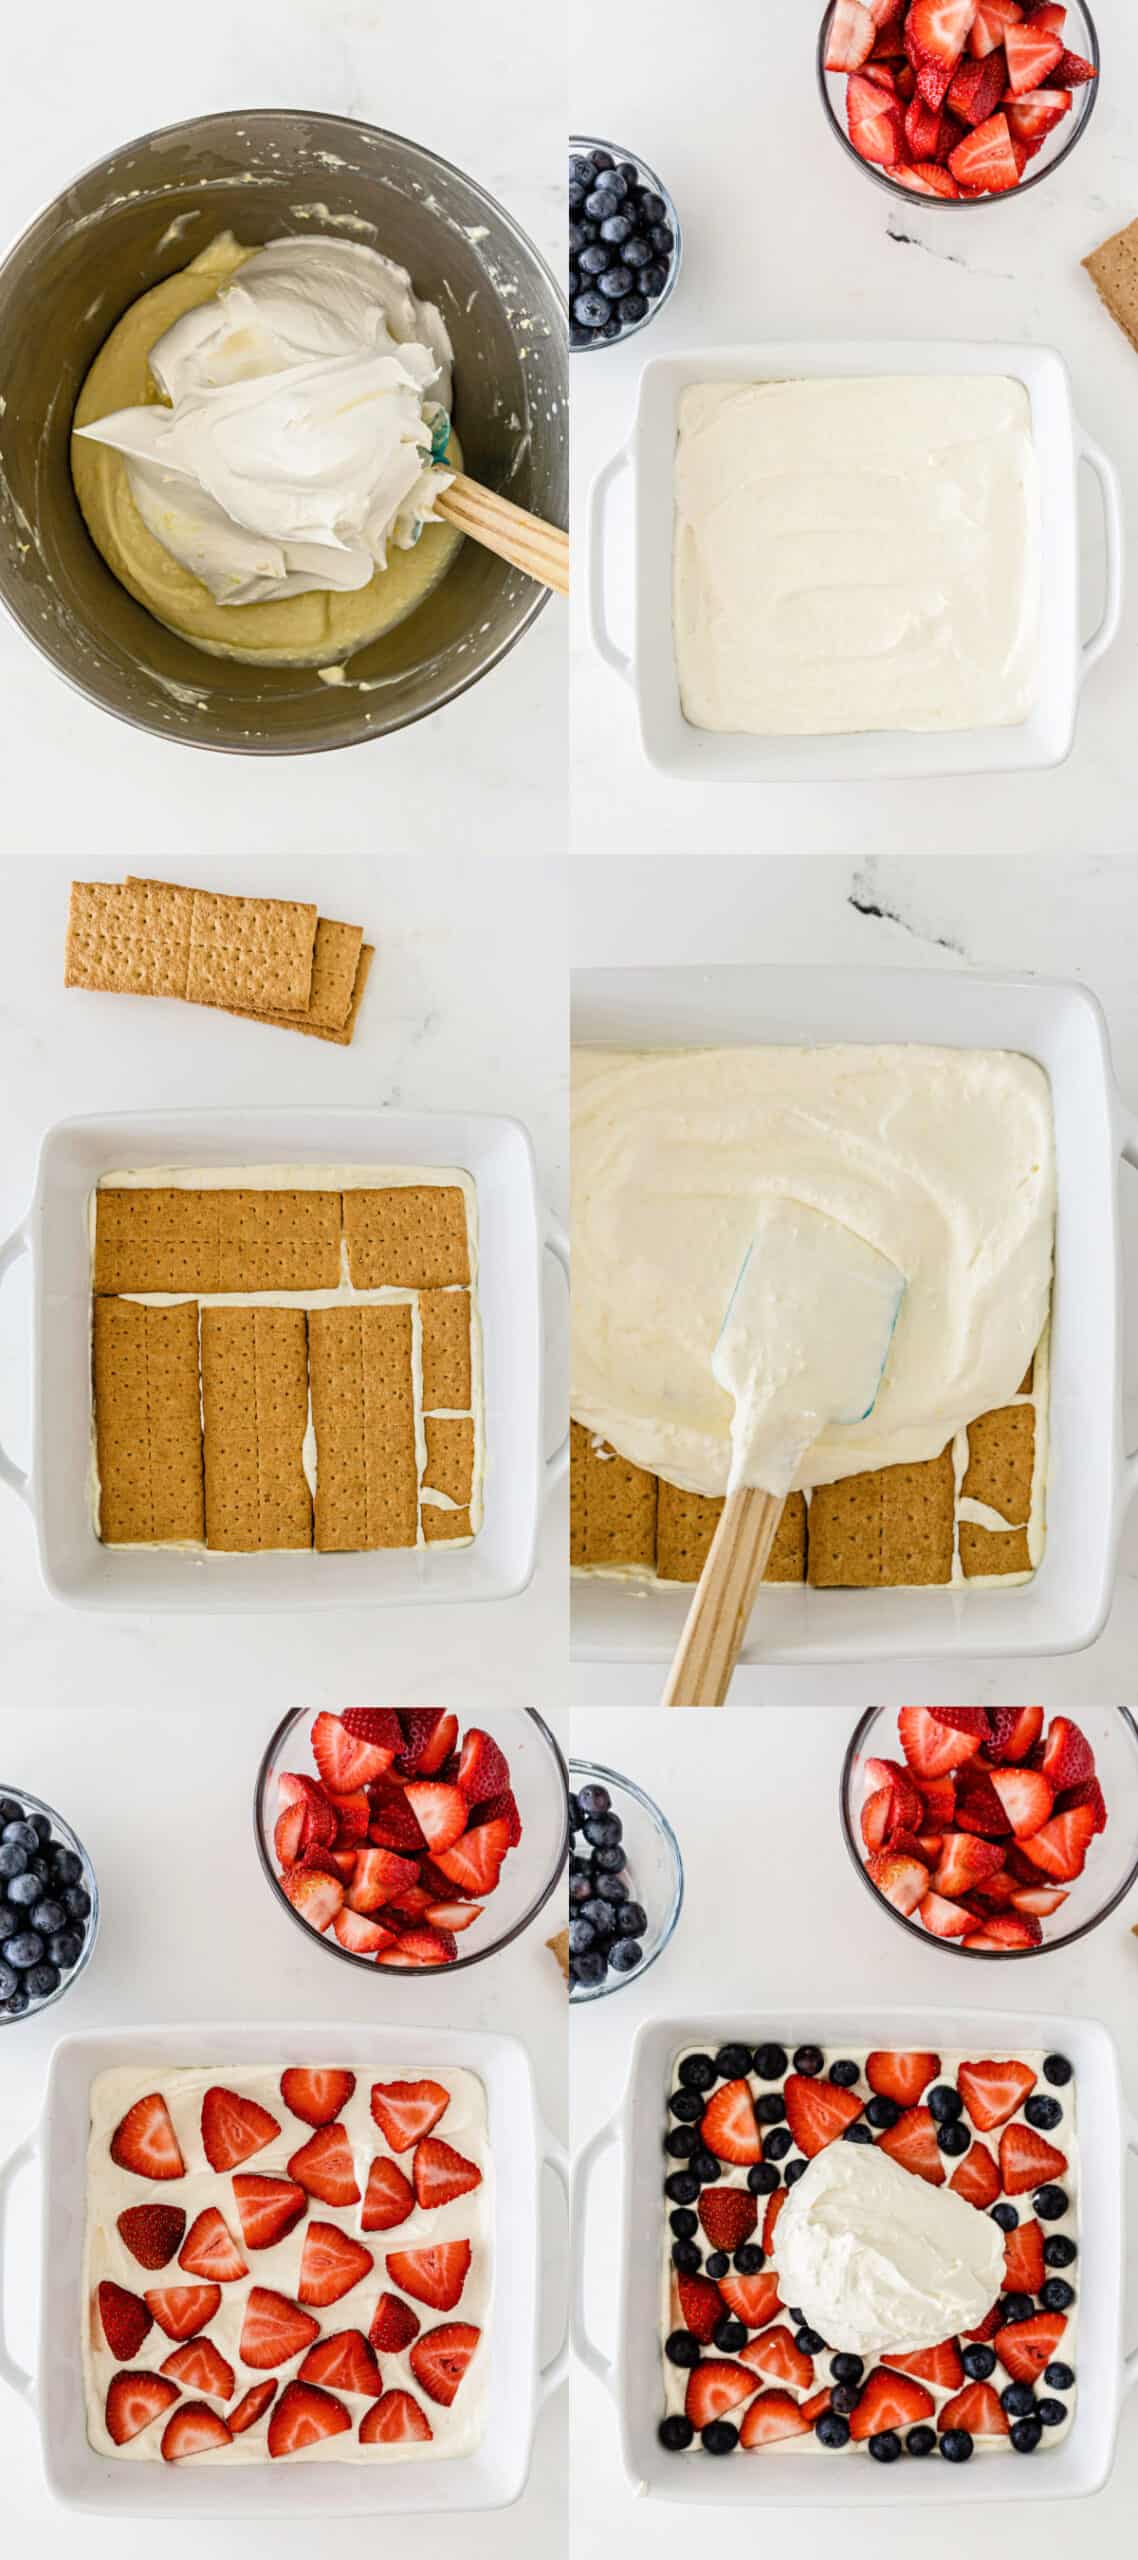
- Grab your favorite large bowl and beat the cream cheese and pudding mix together with a hand mixer. (You can do this with your stand mixer too.)
- Add in milk a little at a time to allow it to really incorporate into the pudding.
- Fold in the container of Cool Whip whipped topping – yes, folding is important! We don’t want this mixture getting overly mixed and melty!
- Now it’s time to layer your berry icebox cake! Completely cover the bottom of an 8×8 baking dish with graham crackers. Try not to overlap them. The whole bottom does need to be covered, so you may need to break some of the crackers to fit.
- Over the graham crackers, place a layer of your pudding/cream topping.
- Next layer? The berries! Place some sliced strawberries and some blueberries.
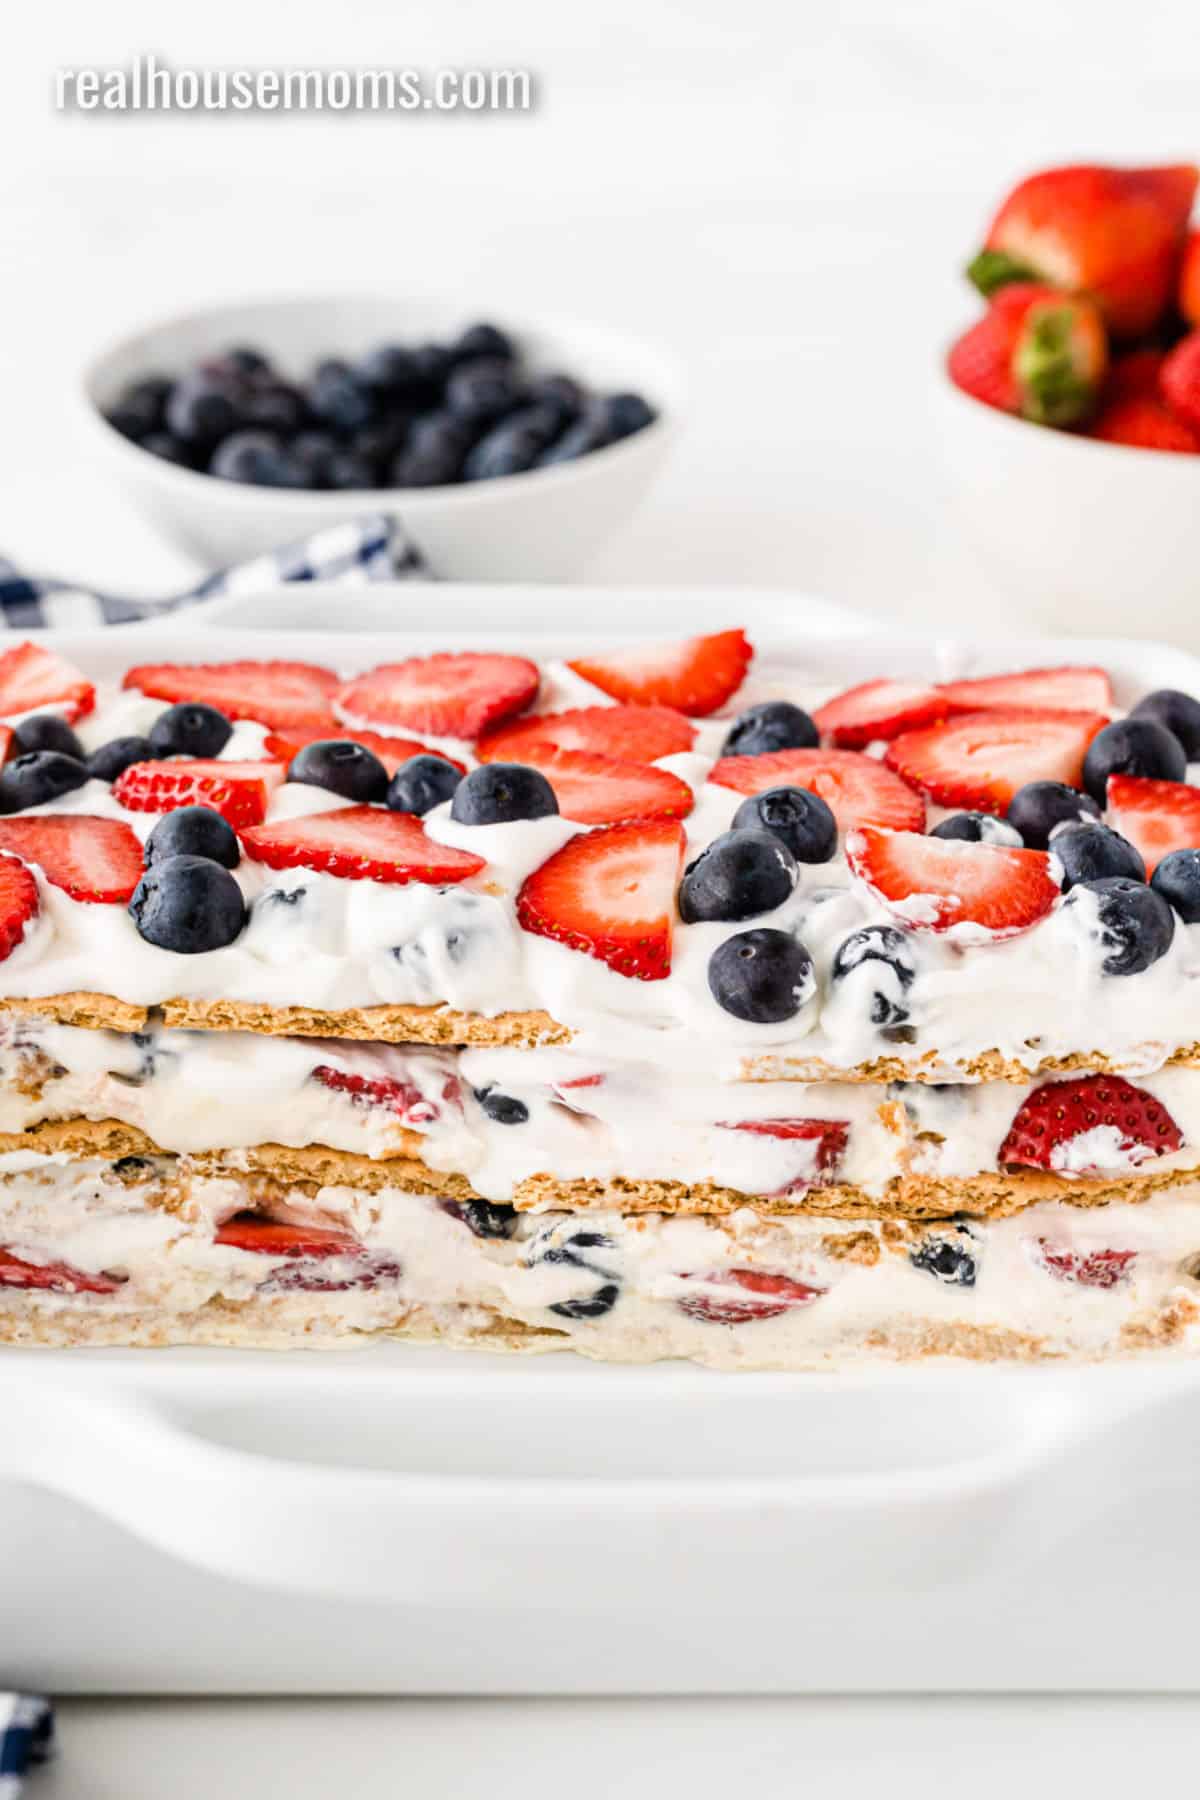
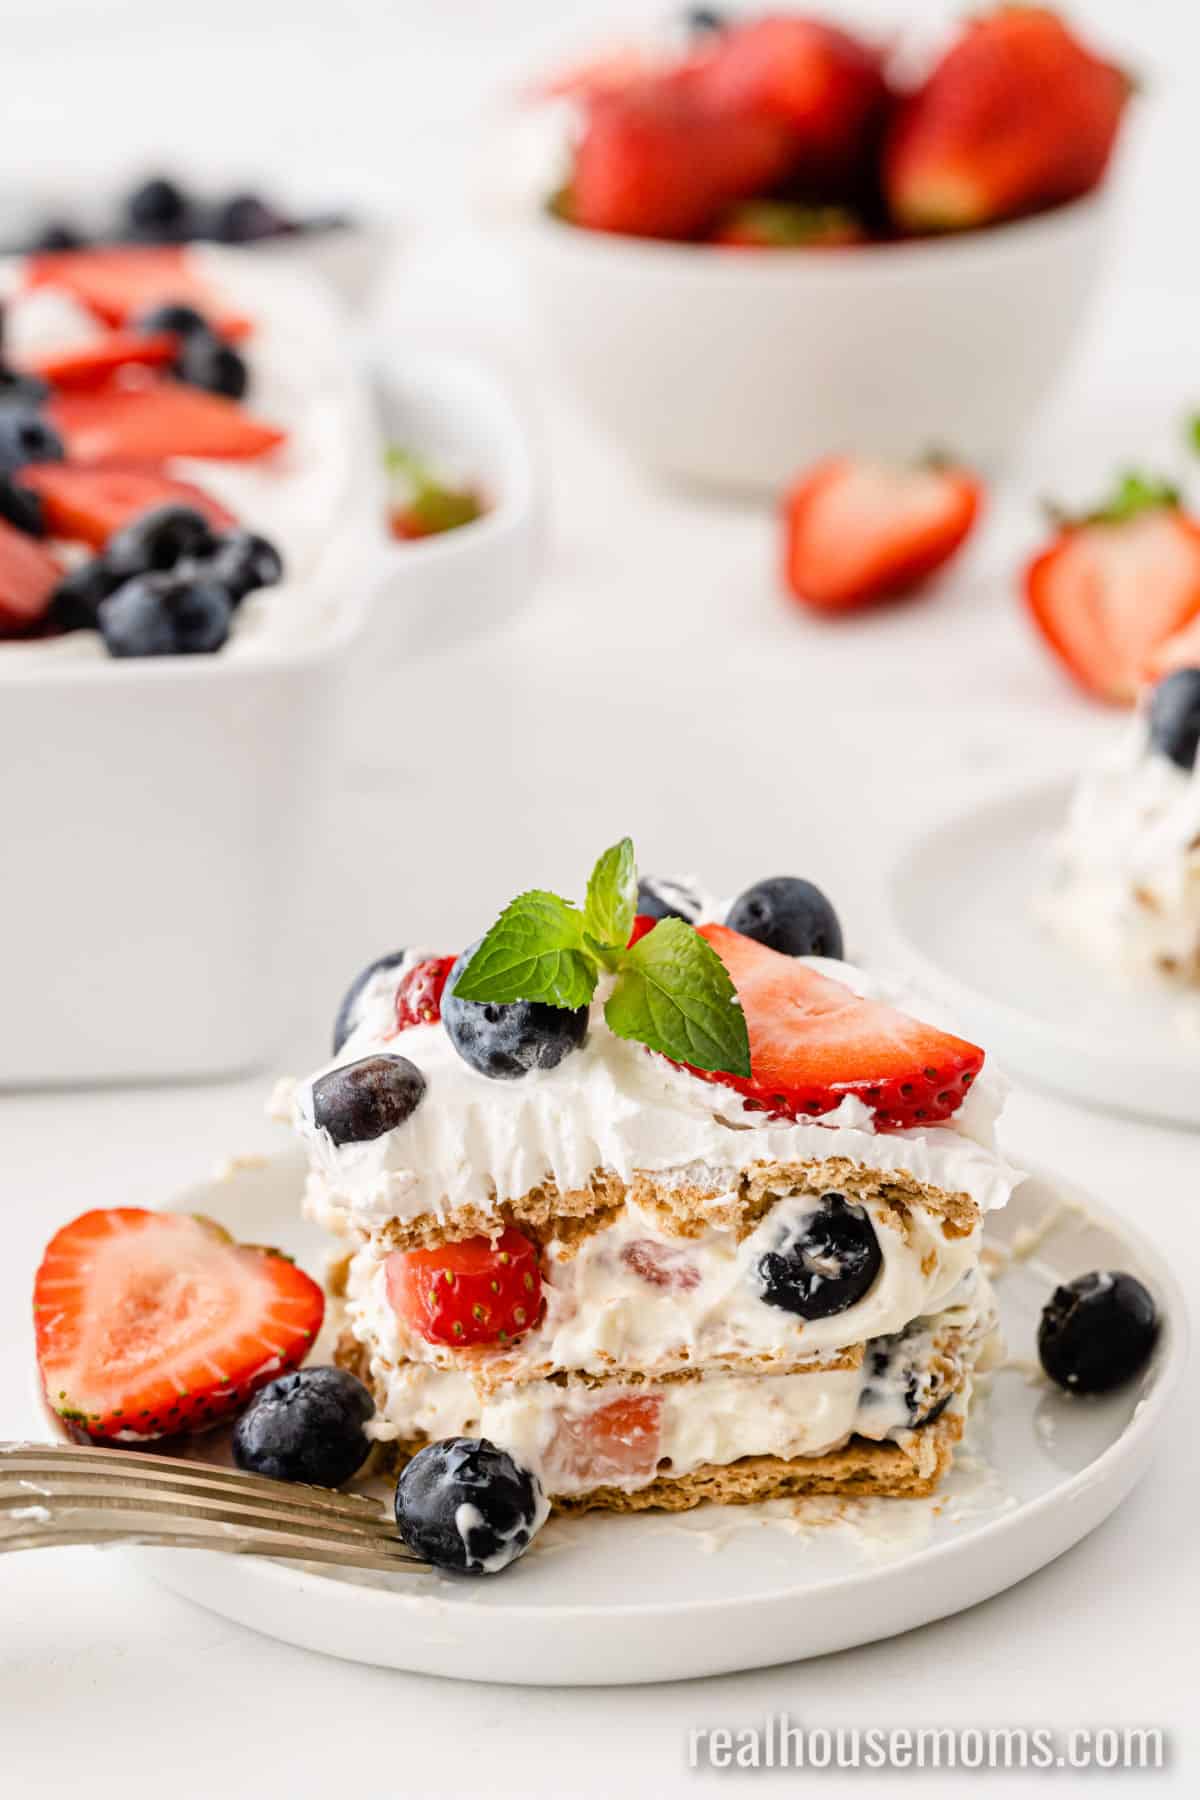
- Add another layer of the cream mixture on top of the berries. Then another layer of graham crackers over that. Continue layering until you reach the top of the dish. I usually have 3 layers total.
- Once the top layer is reached, cover your icebox cake with plastic wrap and place in the refrigerator for at least 4-6 hours. You really want to give it time to set and chill so that your berry icebox cake isn’t a melty mess.
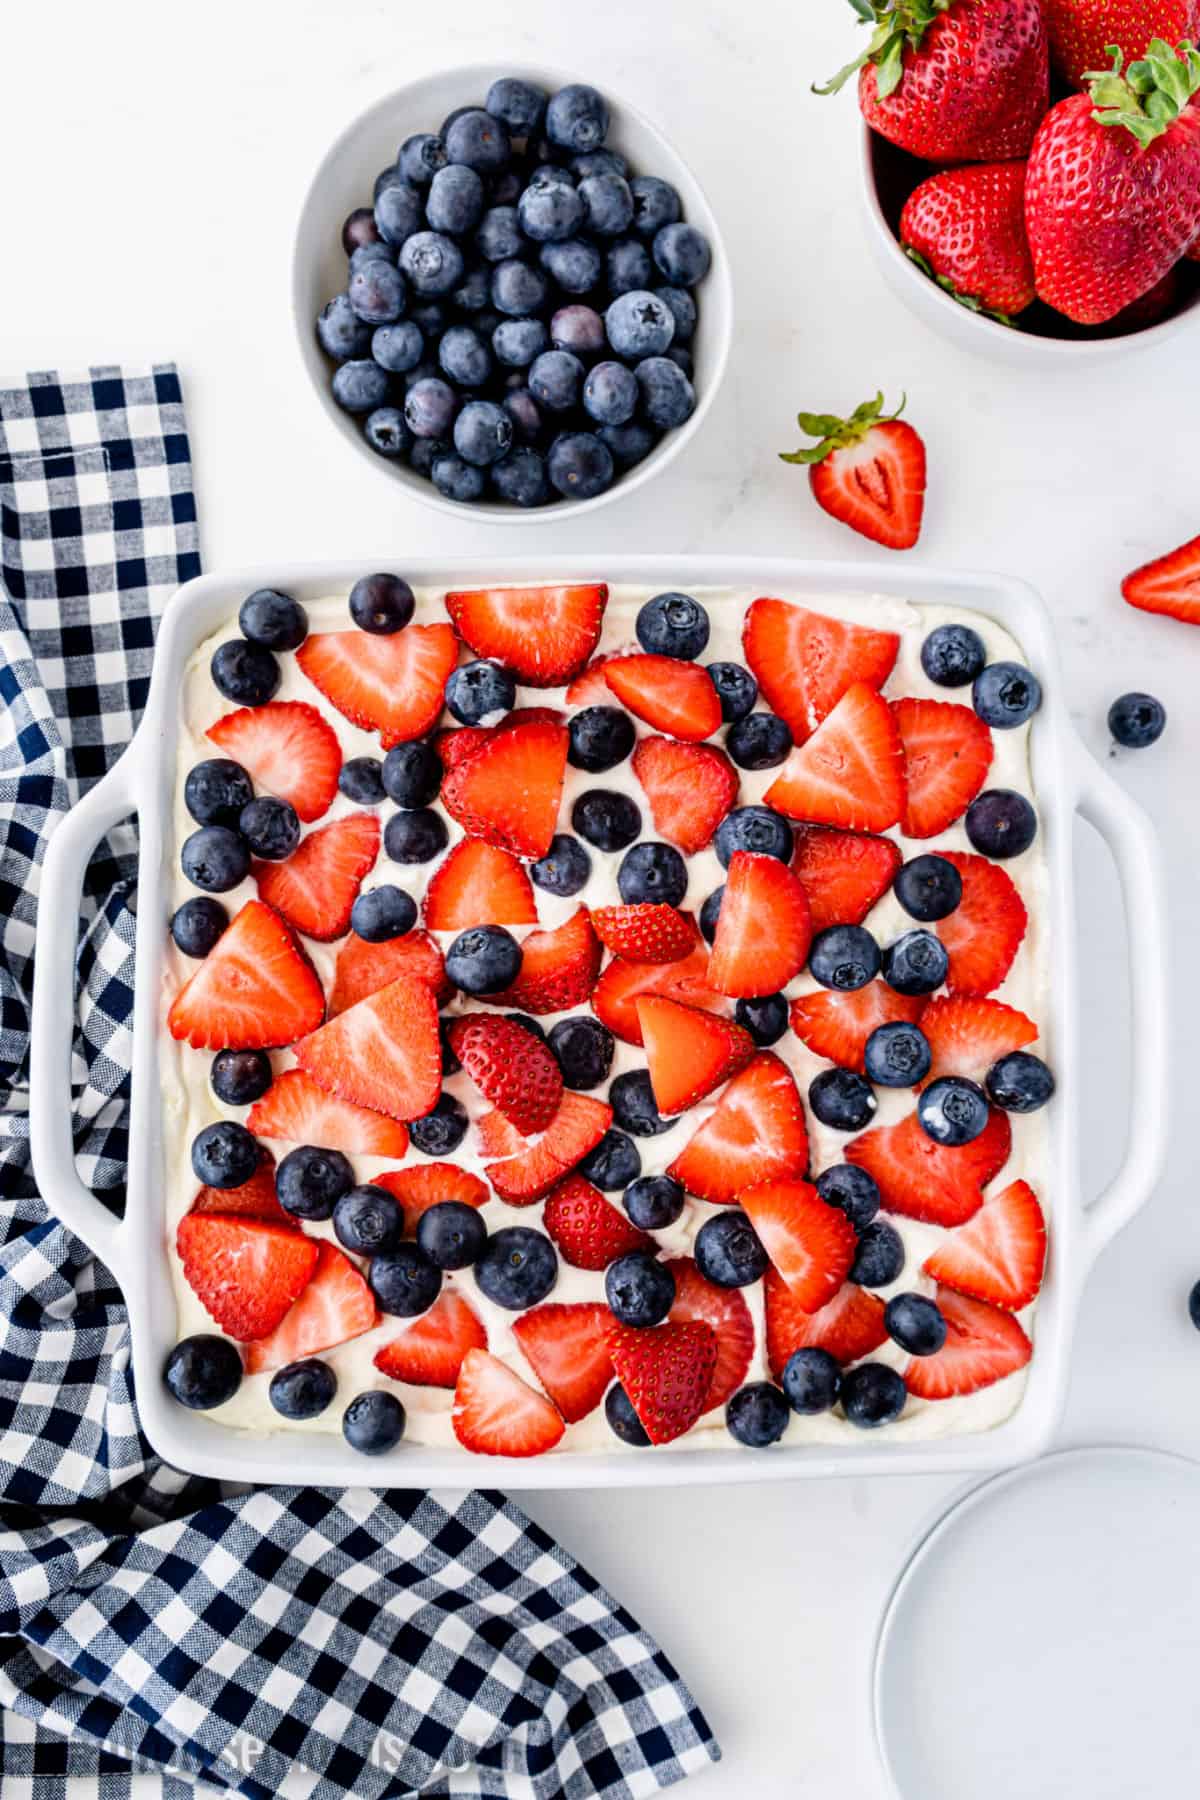
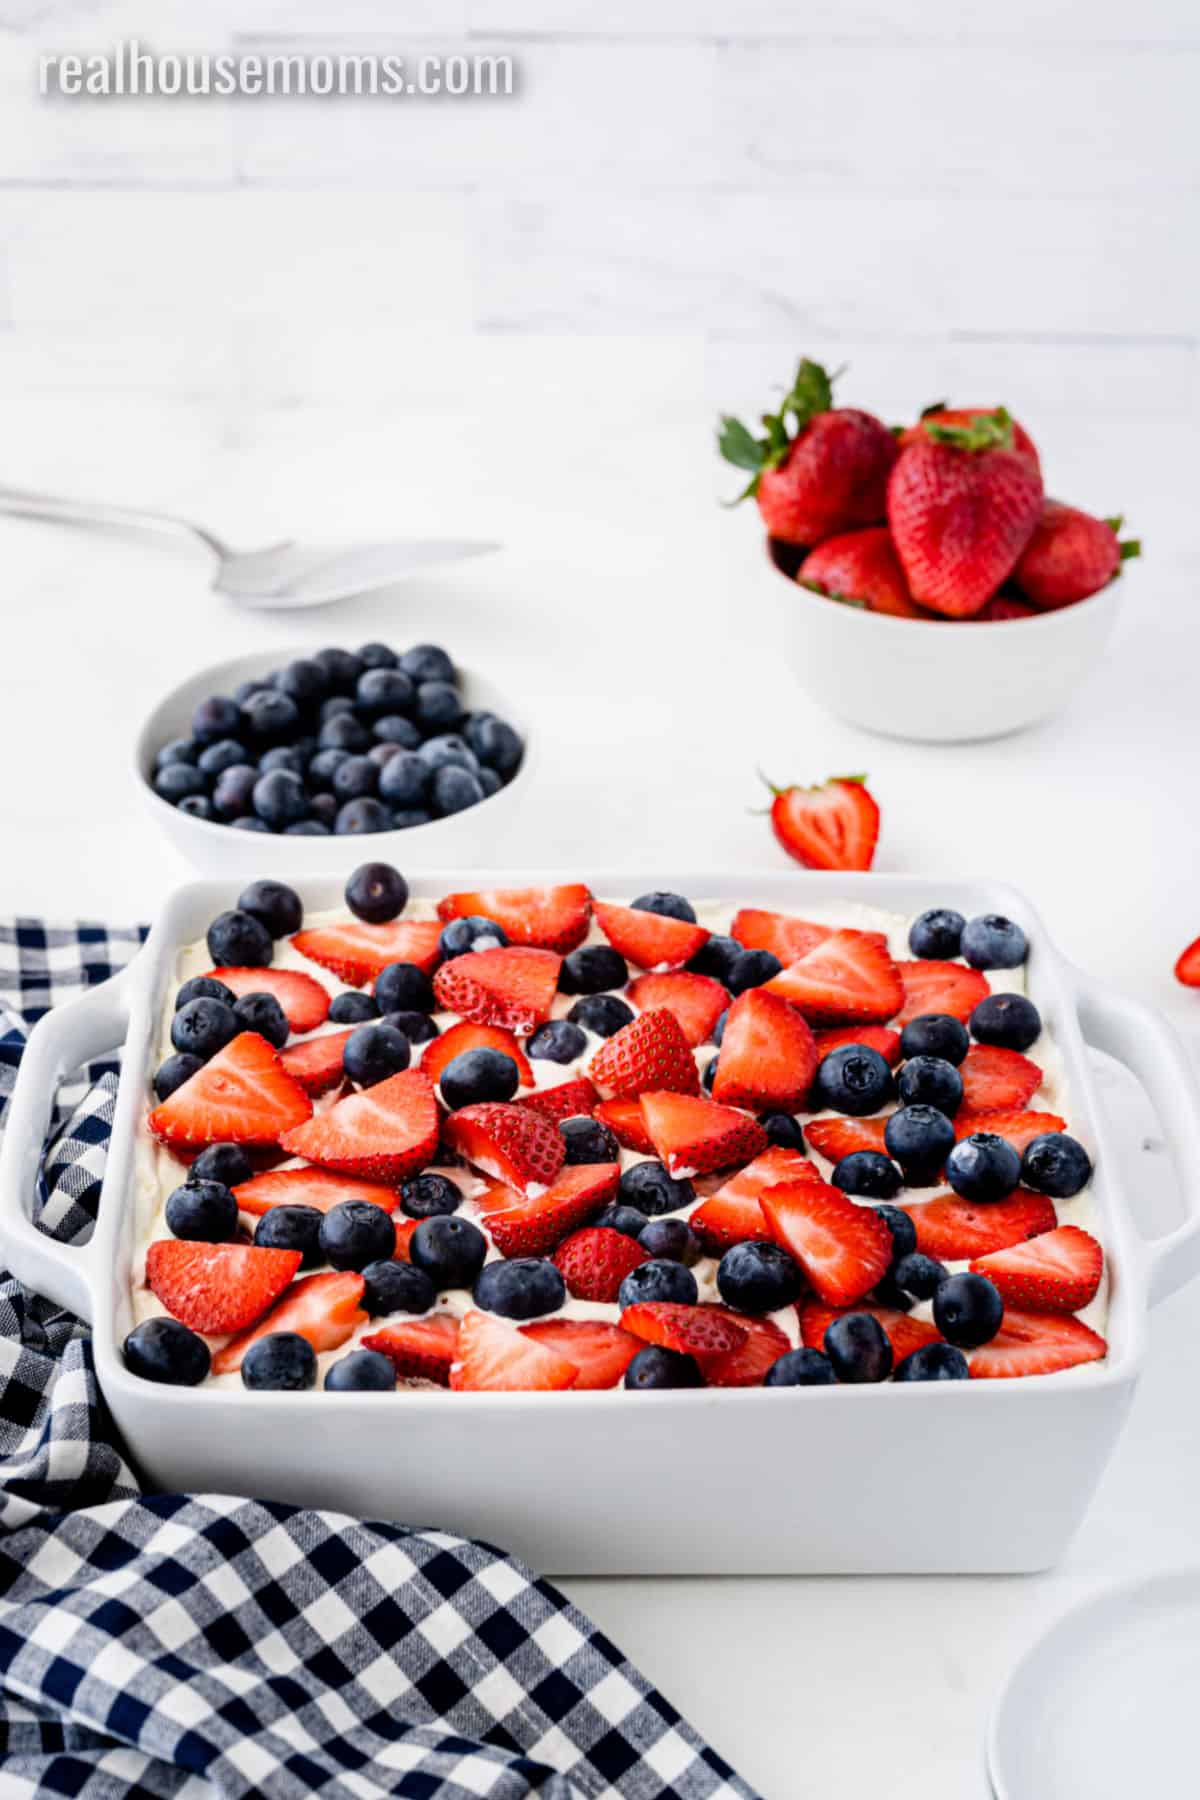
- When you’re ready to serve your icebox cake, place a few more sliced strawberries and blueberries on top for the finishing touch!
I’ve found that the sweet spot for chilling your graham cracker icebox cake. Think perfectly soft but not soggy graham crackers, is right around 6 hours in the fridge. So, when I want to serve an icebox cake for dessert after dinner, I’ll typically make it mid-morning so it can spend the day chilling out in the fridge!
Need more summertime dessert ideas?
- Easy Ice Cream Sandwich Cake
- Banana Split Trifle
- Strawberry Dessert Nachos
- Mississippi Mud Pie
- No Bake Peanut Butter Icebox Cake
- more DESSERT recipes…
Tools used to make this easy no bake dessert
Mixing Bowls: I love this set of mixing bowls, functional and cute as can be!
8×8 Baking Dish: I love this classic baking dish. It’s reliable enough to bake in, but also beautiful enough to serve your dish to guests in!
Ingredients
- 3.4 ounces instant vanilla pudding mix
- 8 ounces cream cheese softened
- 1 cup milk
- 8 ounces Cool Whip
- 2 cups strawberries hulled and sliced
- 1 cup blueberries
- 18 graham crackers (2 sleeves)
- Fresh mint for garnish
Instructions
- Add pudding mix and cream cheese to a large bowl and beat until smooth.
- Add milk a little at a time until completely mixed the cream cheese.
- Using a rubber spatula, fold the Cool Whip into the cream cheese mixture until evenly combined.
- Place a layer of graham crackers in the bottom of an 8-inch x 8-inch baking dish. Break the graham crackers as needed to fill in any gaps without overlapping.
- Cover the graham crackers with 1/3 of the pudding mixture and spread it out edge-to-edge in the dish. Top the pudding with 1/3 of the strawberries and blueberries.
- Repeat layering the graham crackers, pudding, and berries two more times until you reach the top of the dish.
- Cover the cake with plastic wrap and chill for at least 4-6 hours, up to overnight.
- When ready to serve, cut the cake into 6 slices and plate. Garnish with a sprig of mint and serve immediately.




Leave a Reply