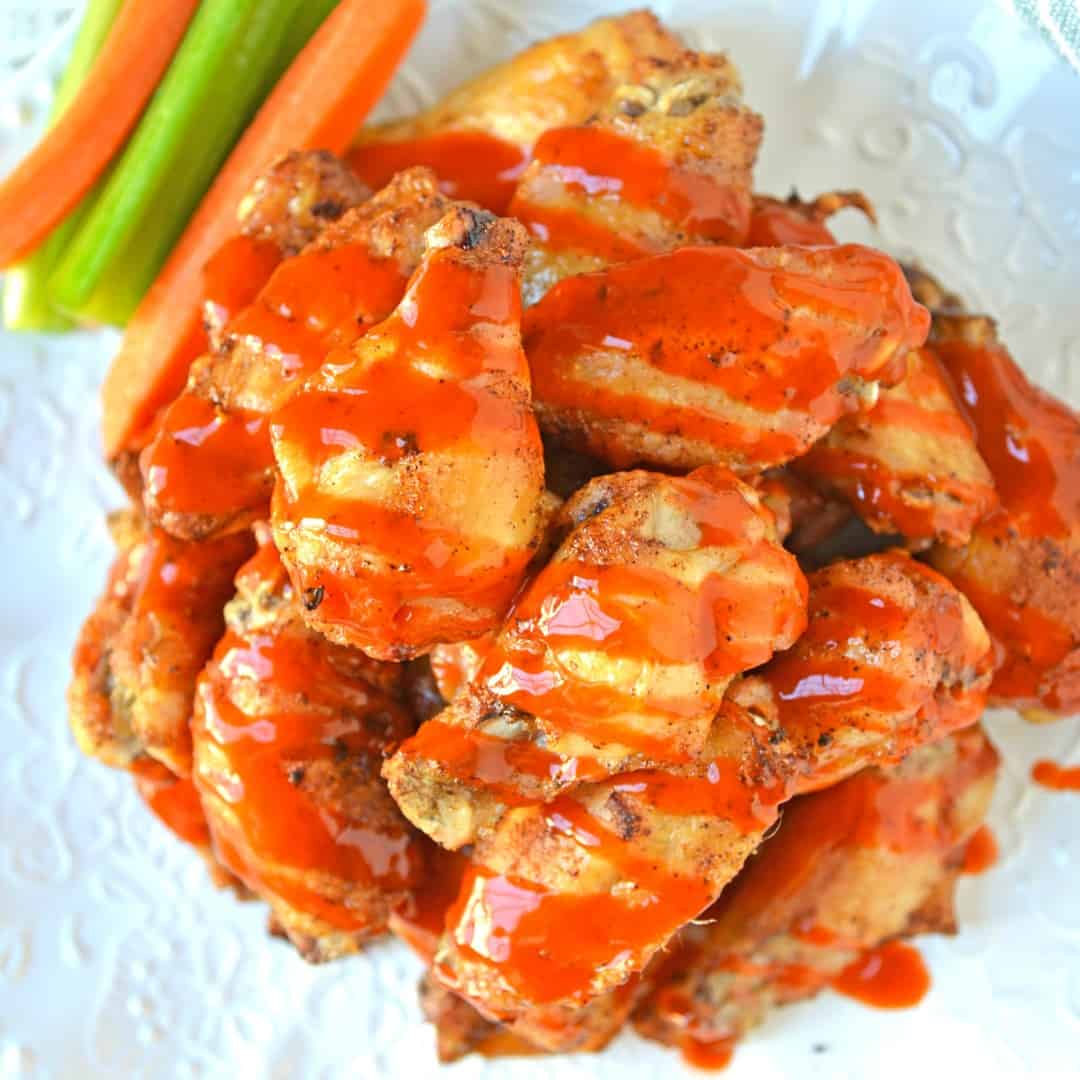
Crispy Baked Buffalo Wings are easier to make than you think. Only 5 ingredients and a simple buffalo sauce give you a low carb appetizer!

Crispy Baked Buffalo Wings are tricky business. As hubby reminded me, even a fried buffalo wing can be challenging! Here is an easy and foolproof way to make super crispy wings with an easy buffalo sauce every time!
CRISPY BAKED BUFFALO WINGS
Like this recipe? Pin it to your NAME pinboard!
Follow Real Housemoms on Pinterest
Through the years of chicken wing tasting, I’ve found that finding the perfect crispy chicken wing isn’t as easy as one would think. In my quest to find perfectly crispy baked chicken wings I decided to do my research first. I had a hunch that the brilliant J. Kenji López-Alt had already tackled the case of crispy wings. It seemed like the type of task that was right up his alley. I happened to be right! And in the rest of my research, I quickly found that most other crispy baked buffalo wing recipes also followed his exact instructions.
The trick isn’t much of a trick at all, more common sense. Using the same technique as we do to make the super crispy skin on a whole roasted chicken or turkey, you need to allow the skin to dry out prior to baking. In addition to cold drying, we also tossed the wings in a salt and baking soda combo. To throw my own spin on the recipe, I also made a basic dry rub before baking. Onion and garlic powder with chili powder makes the best simple and flavorful mix.
So flavorful, in fact, that these crispy baked buffalo wings don’t even need sauce. But I am sauce person, so that isn’t negotiable. Buffalo sauce is another recipe often over thought. The experts at Anchor Bar, the birthplace of the buffalo wing, will tell you that the best sauce is best in its simplicity. You can hop on over to my site to get the Anchor Bar Buffalo Sauce recipe AND read about my date with John Stamos (yes, Uncle Jesse)! The link is in the recipe.
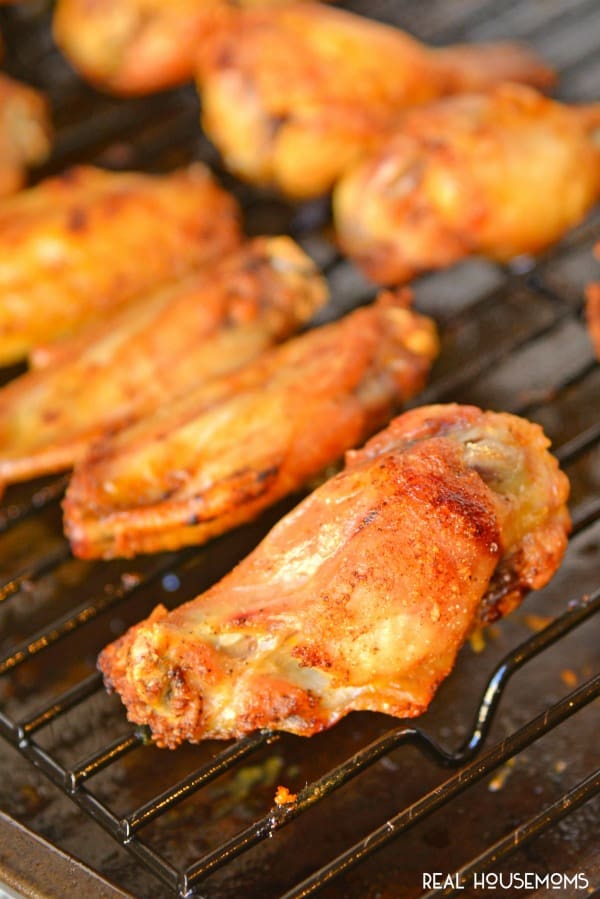
The last trick for seriously crispy baked buffalo wings is to bake them on a broiler pan or wire rack on a rimmed baking sheet. This allows heat to circulate all the way around the wing and fat or liquid to drip off.
Want more chicken wing recipes?
- Jalapeno Lime Chicken Wings
- Grilled Honey Sriracha Chicken Wings
- Jerk Chicken Wings
- Honey BBQ Chicken Wings
- Crock Pot Chicken Wings Recipe
- More appetizer recipes…
Tools used to make this Crispy Baked Buffalo Wings recipe
Mixing Bowl: These mixing bowls are perfect for mixing and serving. I love the varied sizes so I always have to right size bowl for all my mixing needs.
Baking Sheet: A nice big baking sheet is a must have for any kitchen. This half pan sheet is large than a regular cookie and works great for anything you’re baking.
Wire Rack: I keep a few of these cooling racks in my kitchen so I’m ready for any recipe I want to bake.
Tongs: A good pair of tongs is a kitchen essential. I like having a couple sizes – a longer set for grilling and a shorter set for stovetop cooking.

Ingredients
- 2 pounds chicken wings drumettes & wings
- 2 teaspoons baking soda
- 2 teaspoons Kosher salt
- 2 teaspoons garlic powder
- 2 teaspoons onion powder
- 1 teaspoon chili powder
- 1 cup Homemade Buffalo Sauce or your favorite store-bought brand
Instructions
- Rinse chicken and pat dry. In a large mixing bowl, toss chicken with baking soda Kosher salt. Arrange in a single layer and place, uncovered, in the refrigerator for 12-24 hours.
- When ready to bake, preheat oven to 450 degrees. Prepare a broiler pan or place a wire rack on top of a rimmed baking sheet to allow fat and liquid to drip off.
- In a small bowl, mix together garlic and onion powder and chili powder. Toss with dried chicken wings.
- Arrange in a single layer on wire rack. Bake for 15 minutes. Remove, turn each wing over, and return to oven for an additional 15 minutes.
- Remove and either toss crispy baked buffalo wings in Homemade Buffalo Sauce or serve on the side for dipping.
If you are looking for another fun way to make crispy baked buffalo wings, check out my Baked Garlic Buffalo Chicken Wings.


Leave a Reply