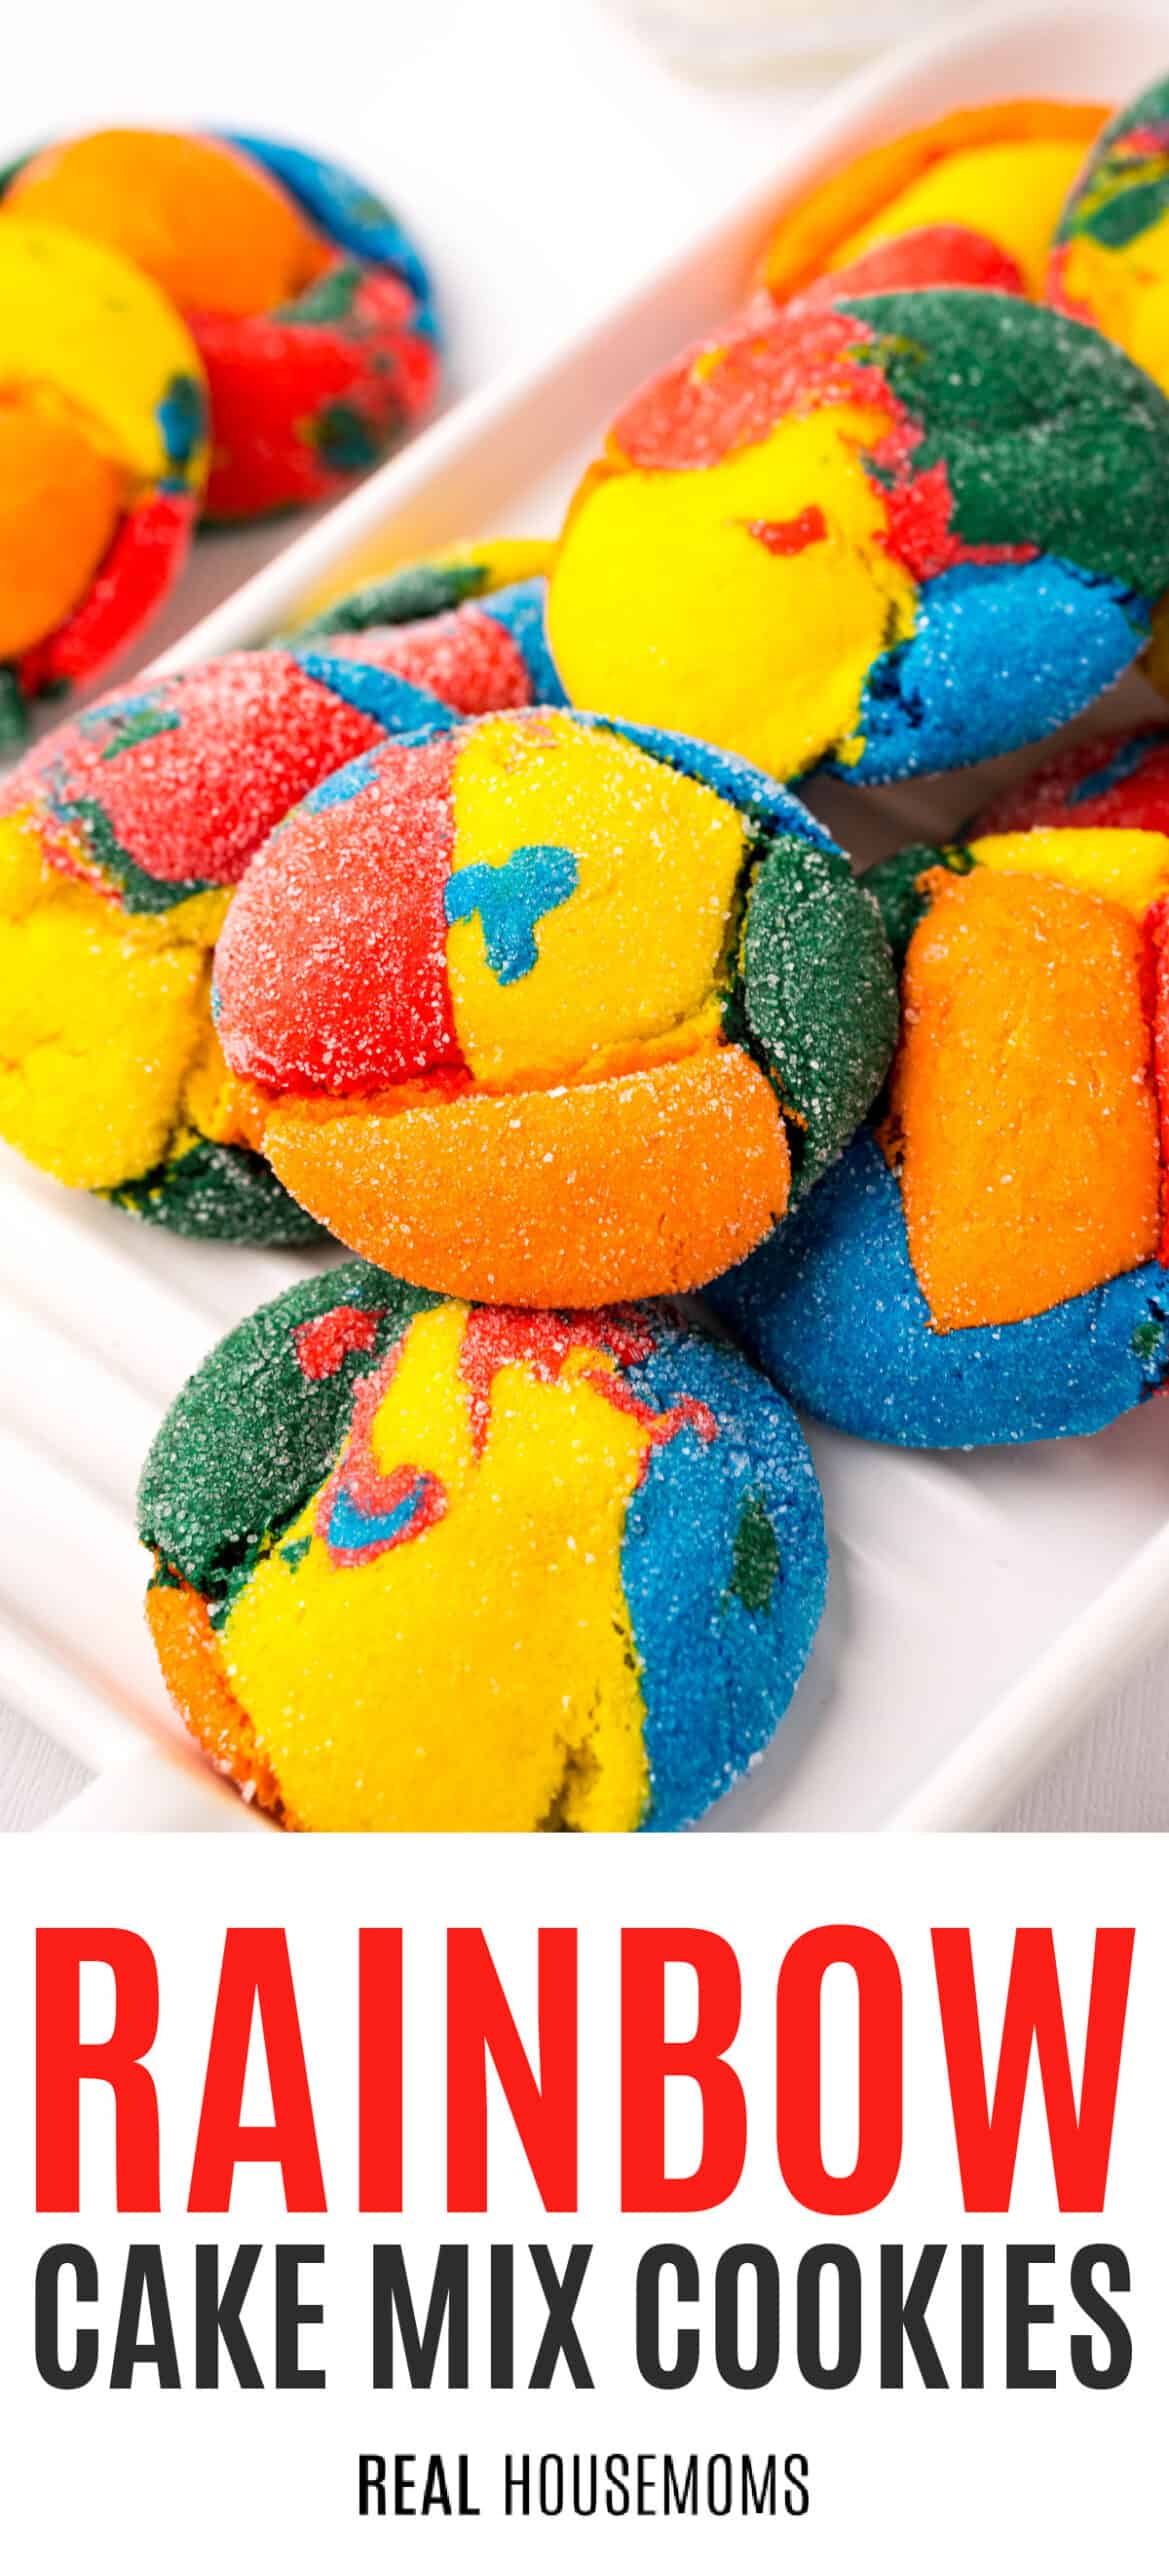
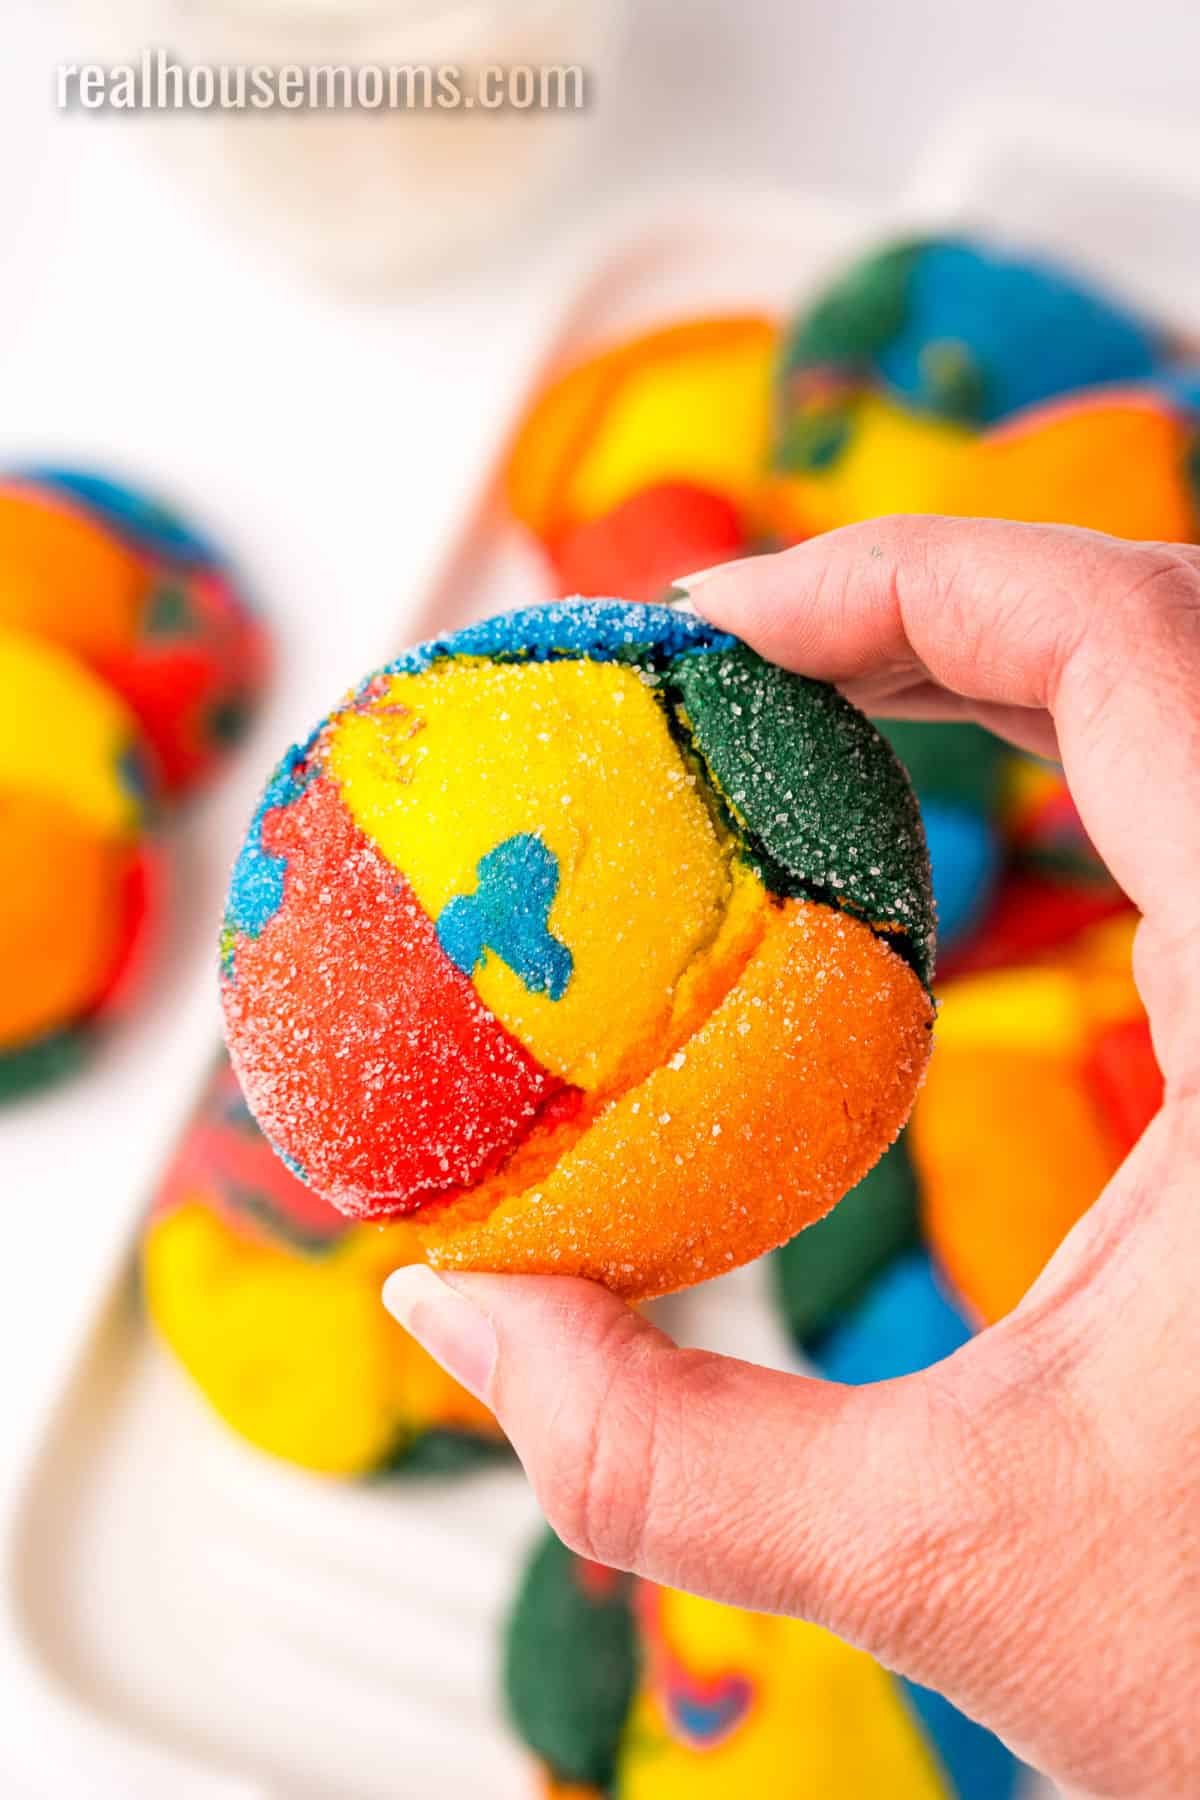
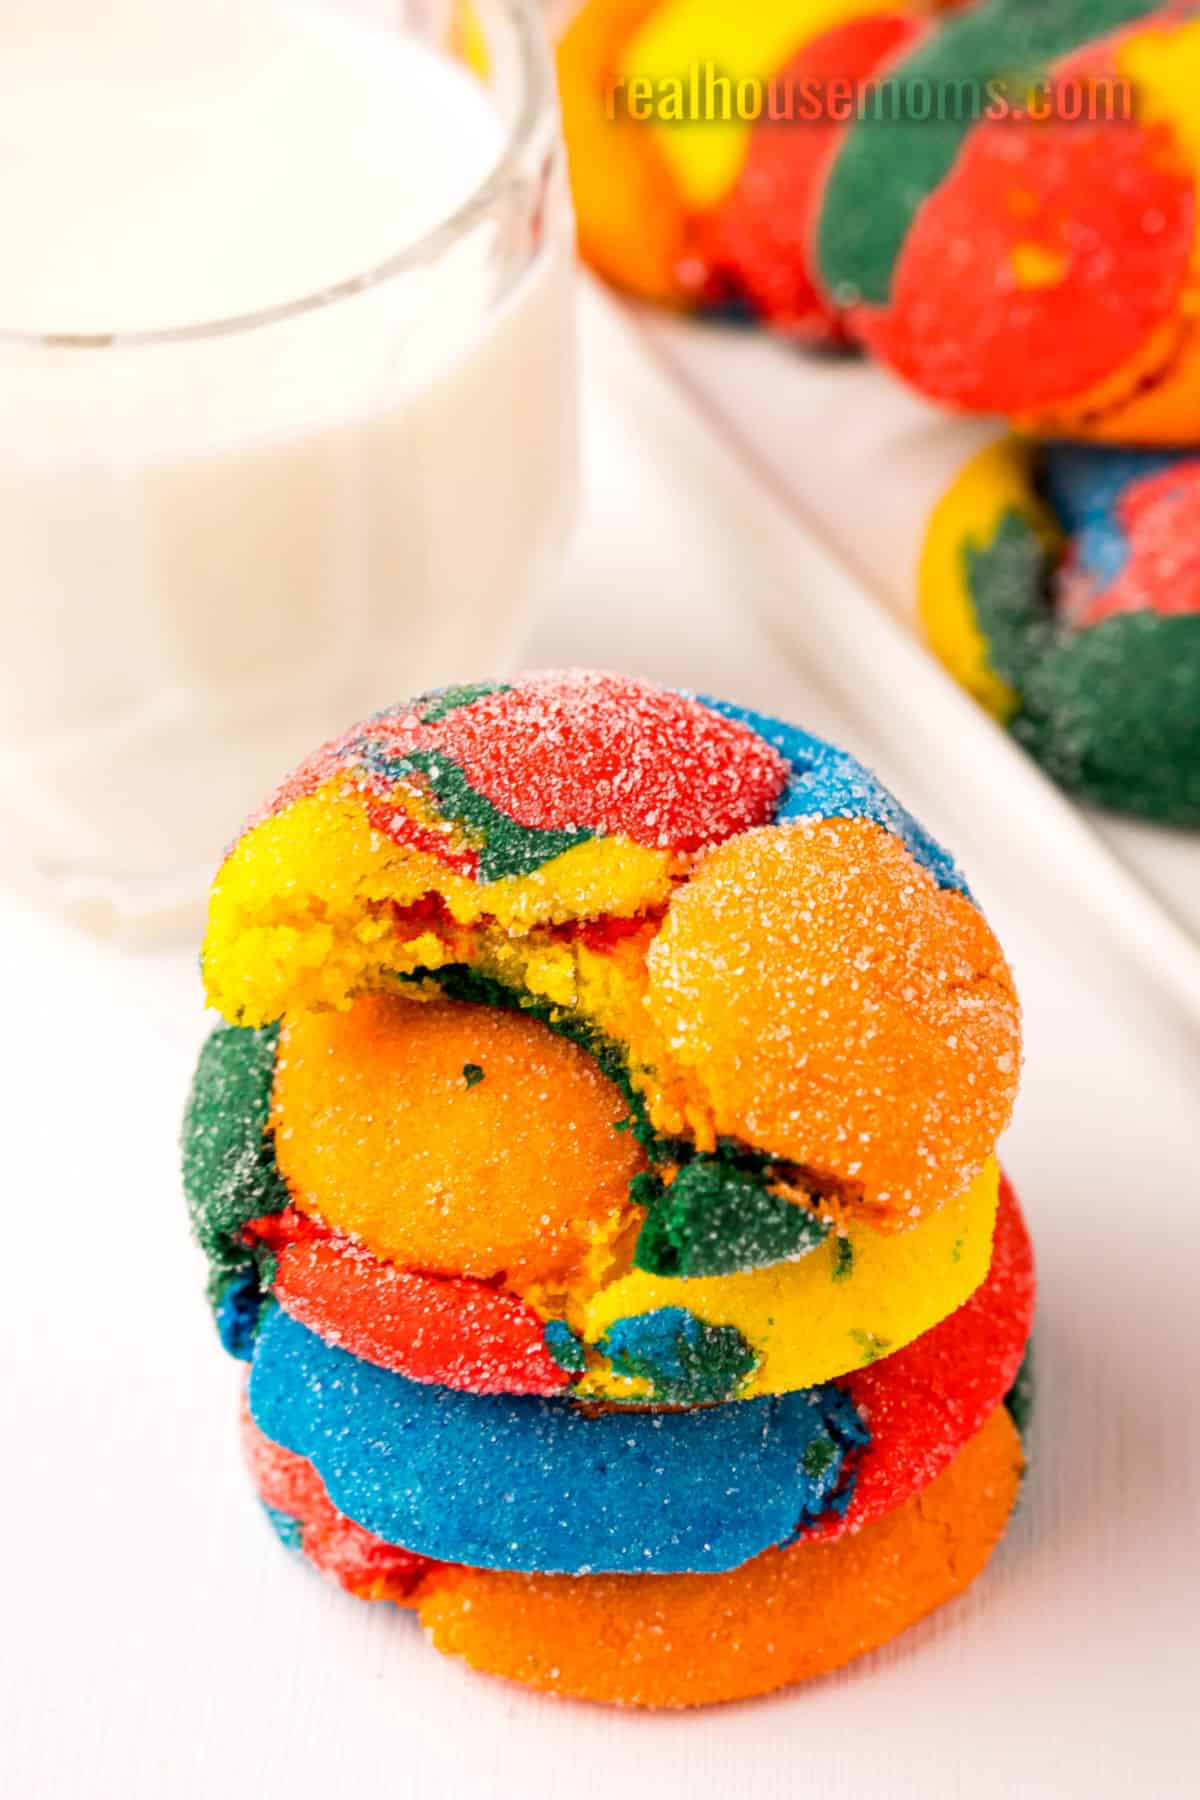
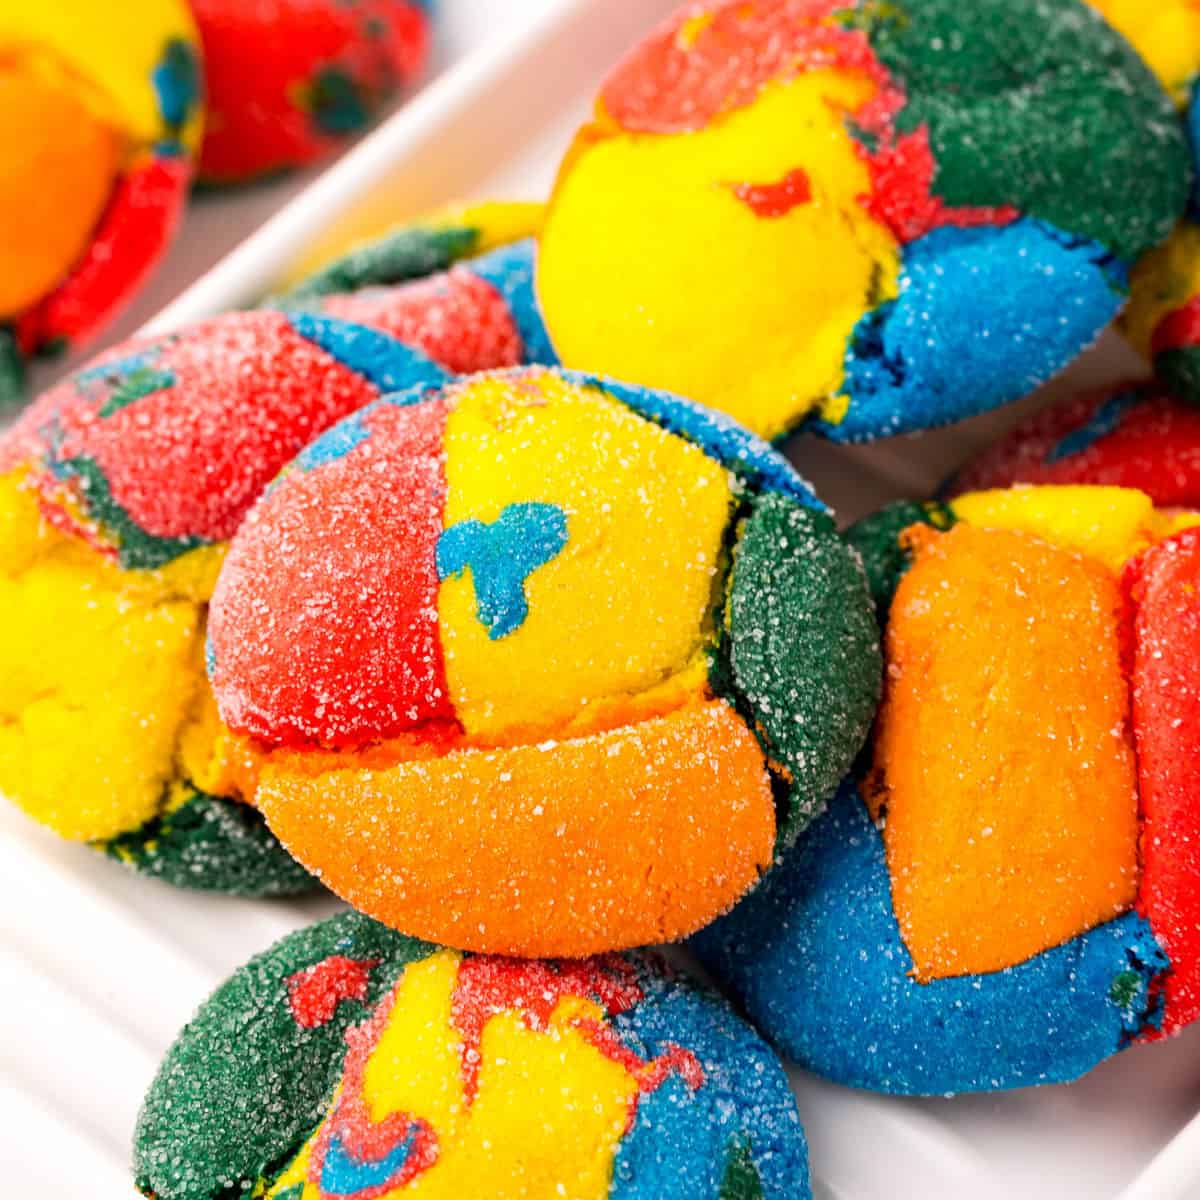
Celebrate your kids with these festive Rainbow Cookies! Super fun to make, these bright & cheerful soft cookies turn any day into a party!
Your kids are going to LOVE these Rainbow Cake Mix Cookies – making them is as much fun as eating them! A white cake mix, oil, eggs, sugar & food coloring, is all you need to make these chewy, colorful cookies!
The Most Fun Cookie to Make with Your Kids
Sometimes you need pure fun, right? Well, this cookie is it! Whether it’s a day that needs celebrating…or a day that needs cheering up Rainbow Cake Mix Cookies are the answer! Making these is like play-doh creating, so your kids will love their time in the kitchen with you. And every beautiful cookie is like having your little party. Seriously, these are just the best!
Other Fun Recipes!
- Birthday Cake Waffles are the ultimate celebration breakfast or even dinner!
- Orange Juice Ice Pops are so festive for patio parties or pool days!
Ingredients
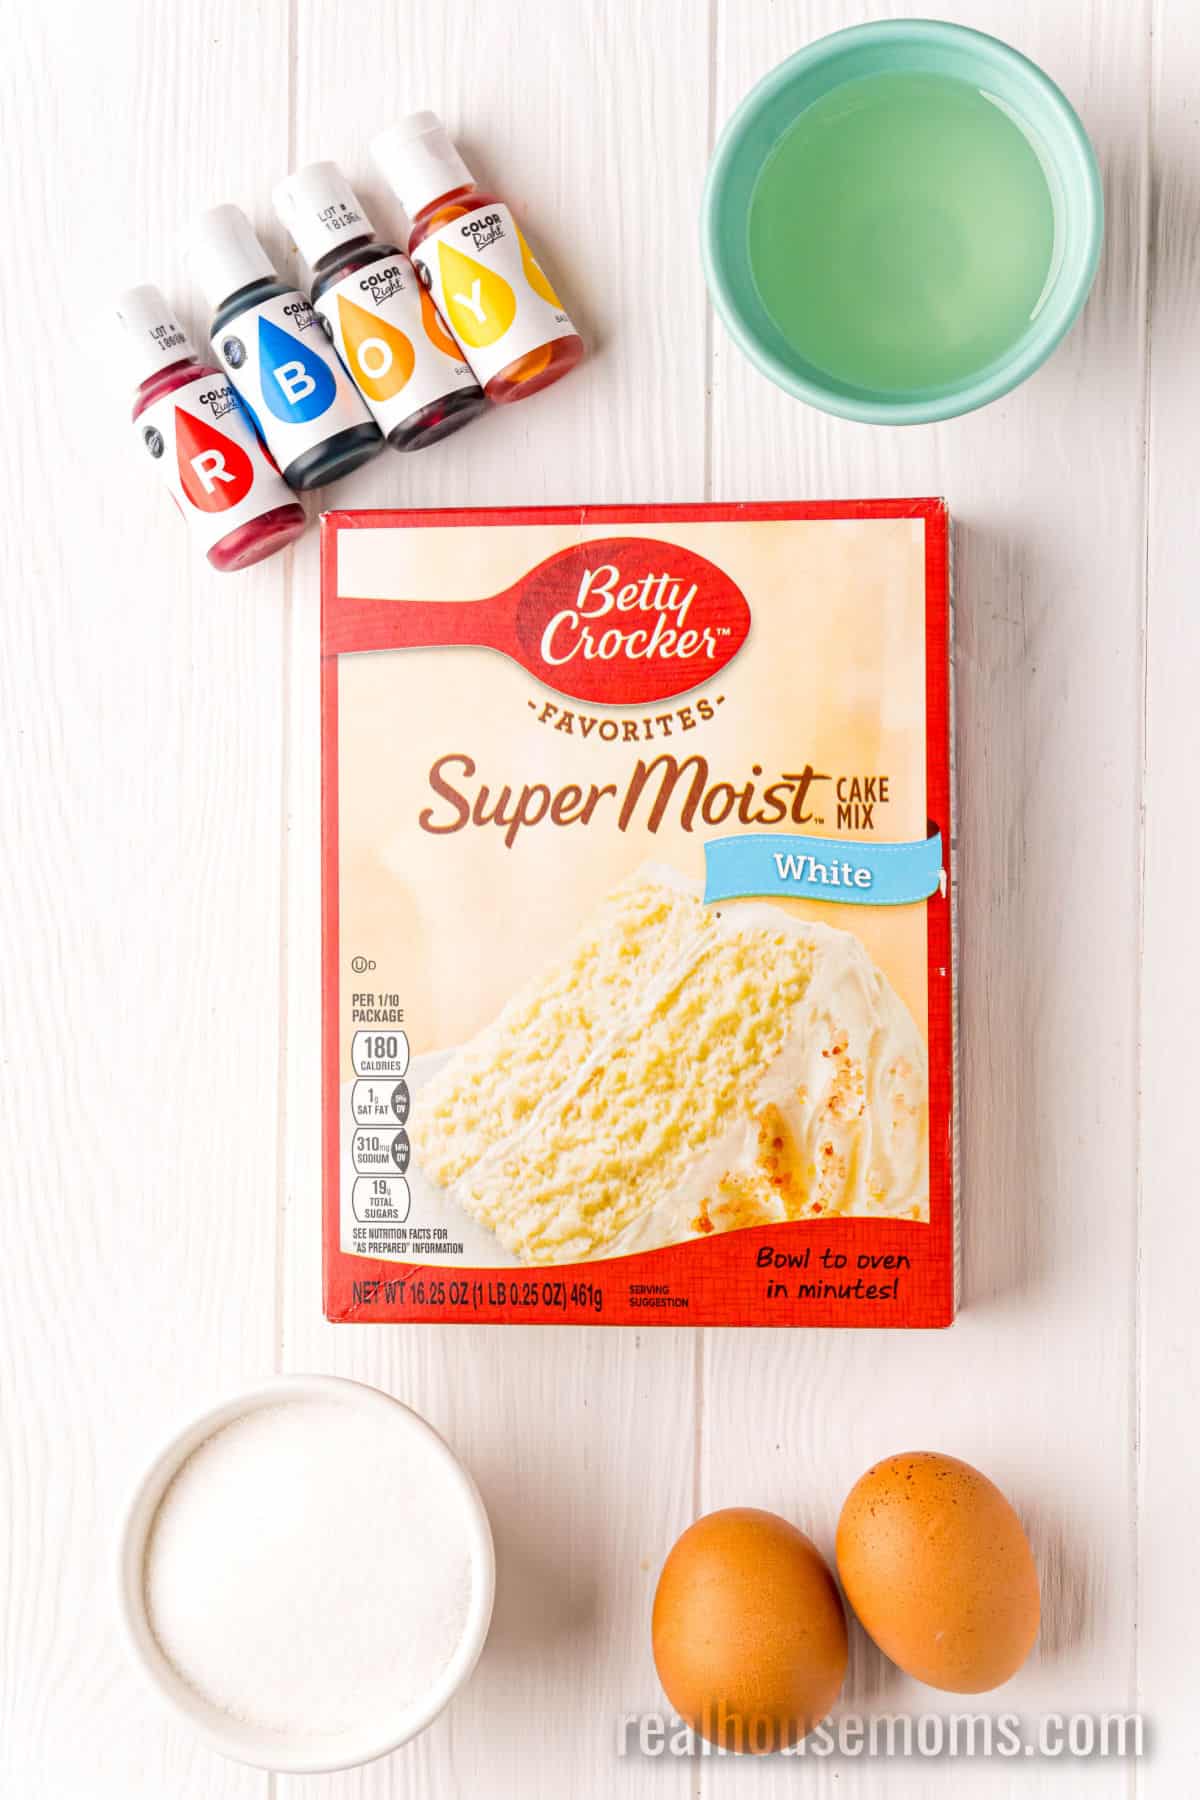
Cookie Dough: These yummy cookies use a boxed white cake mix, some vegetable oil, eggs, and some sugar to roll them in before baking.
Rainbow Color: Food coloring! You can use as few or as many colors as you want – we used five different bright colors when we made these!
How to Make Rainbow Cake Mix Cookies
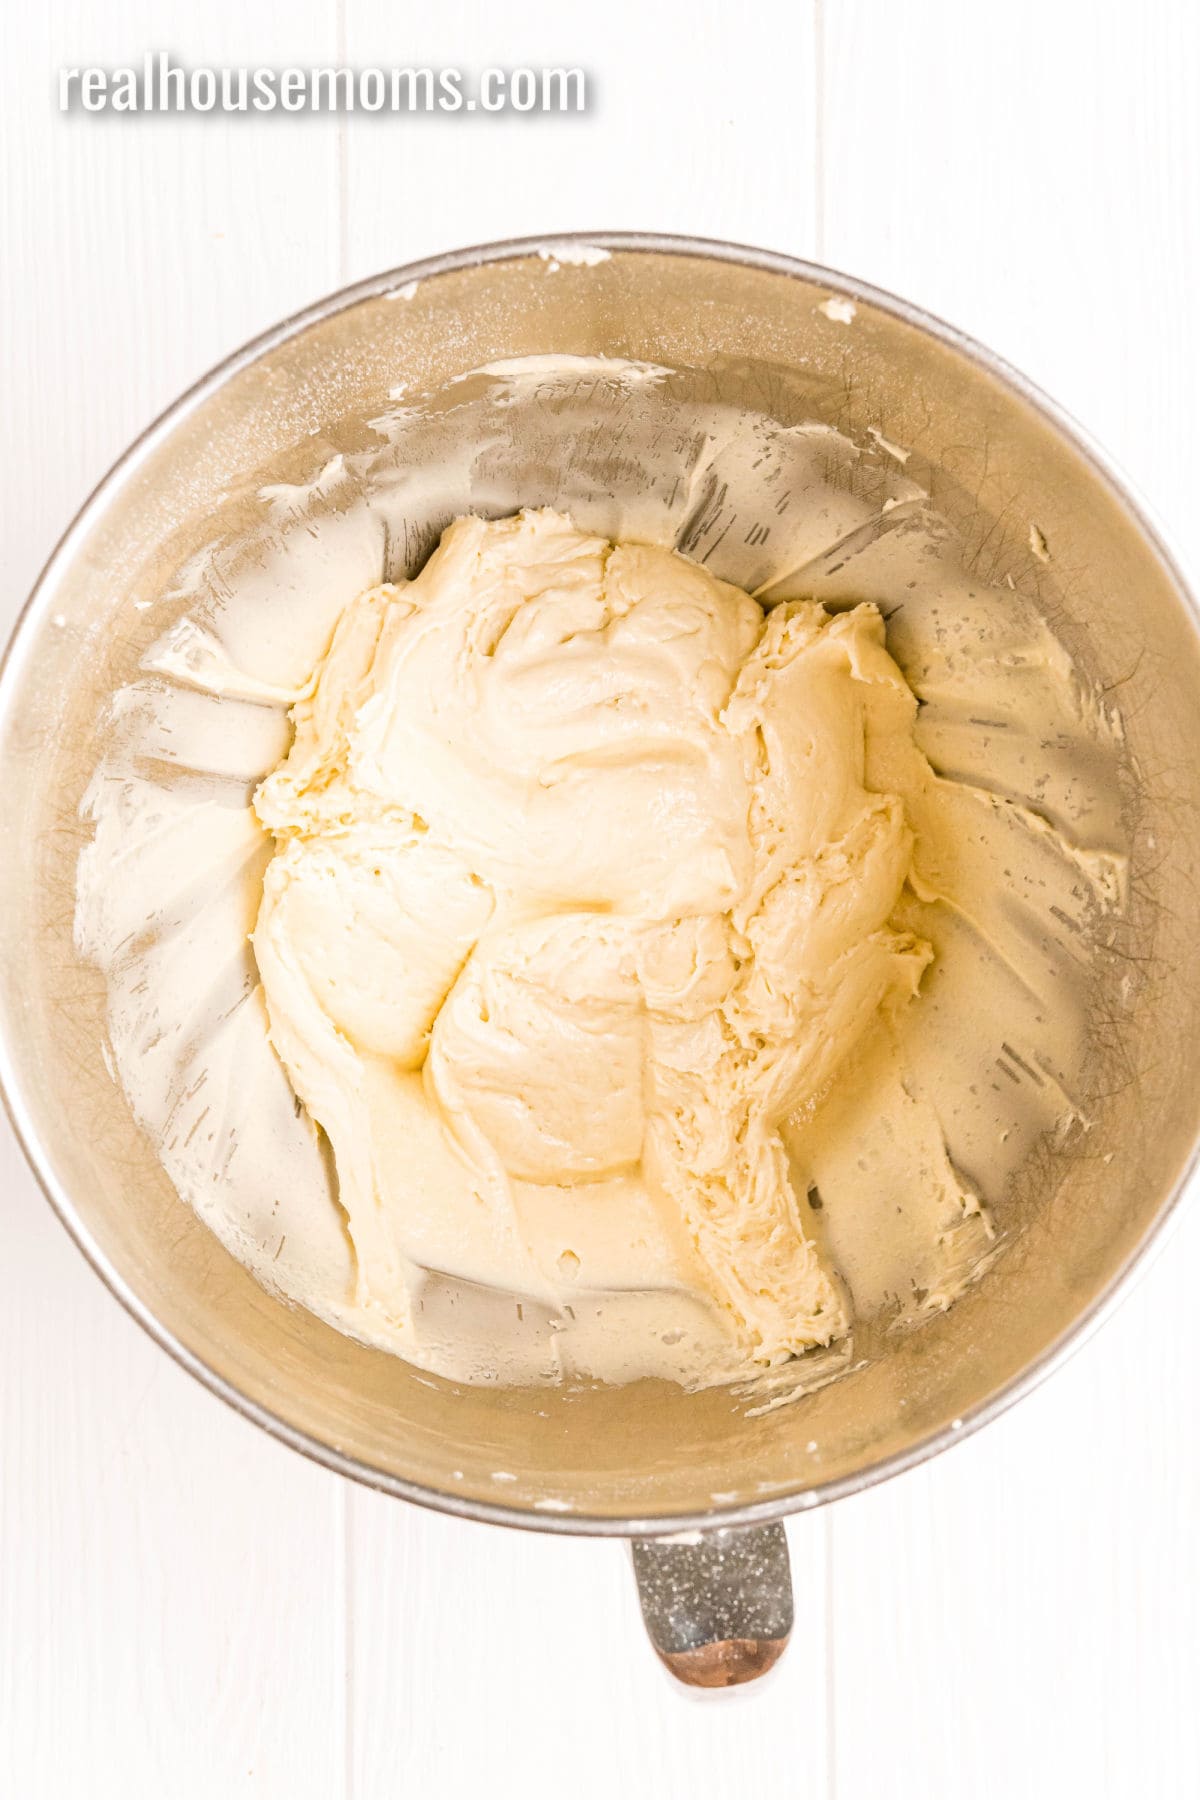
STEP ONE: In a large mixing bowl, add the cake mix, oil, and eggs and beat with a mixer until combined.
STEP TWO: Divide the dough into the number of different colors you want (we did 5), and then use a hand mixer to add a single color to each section of dough. Chill the colored cookie dough for 45 minutes.
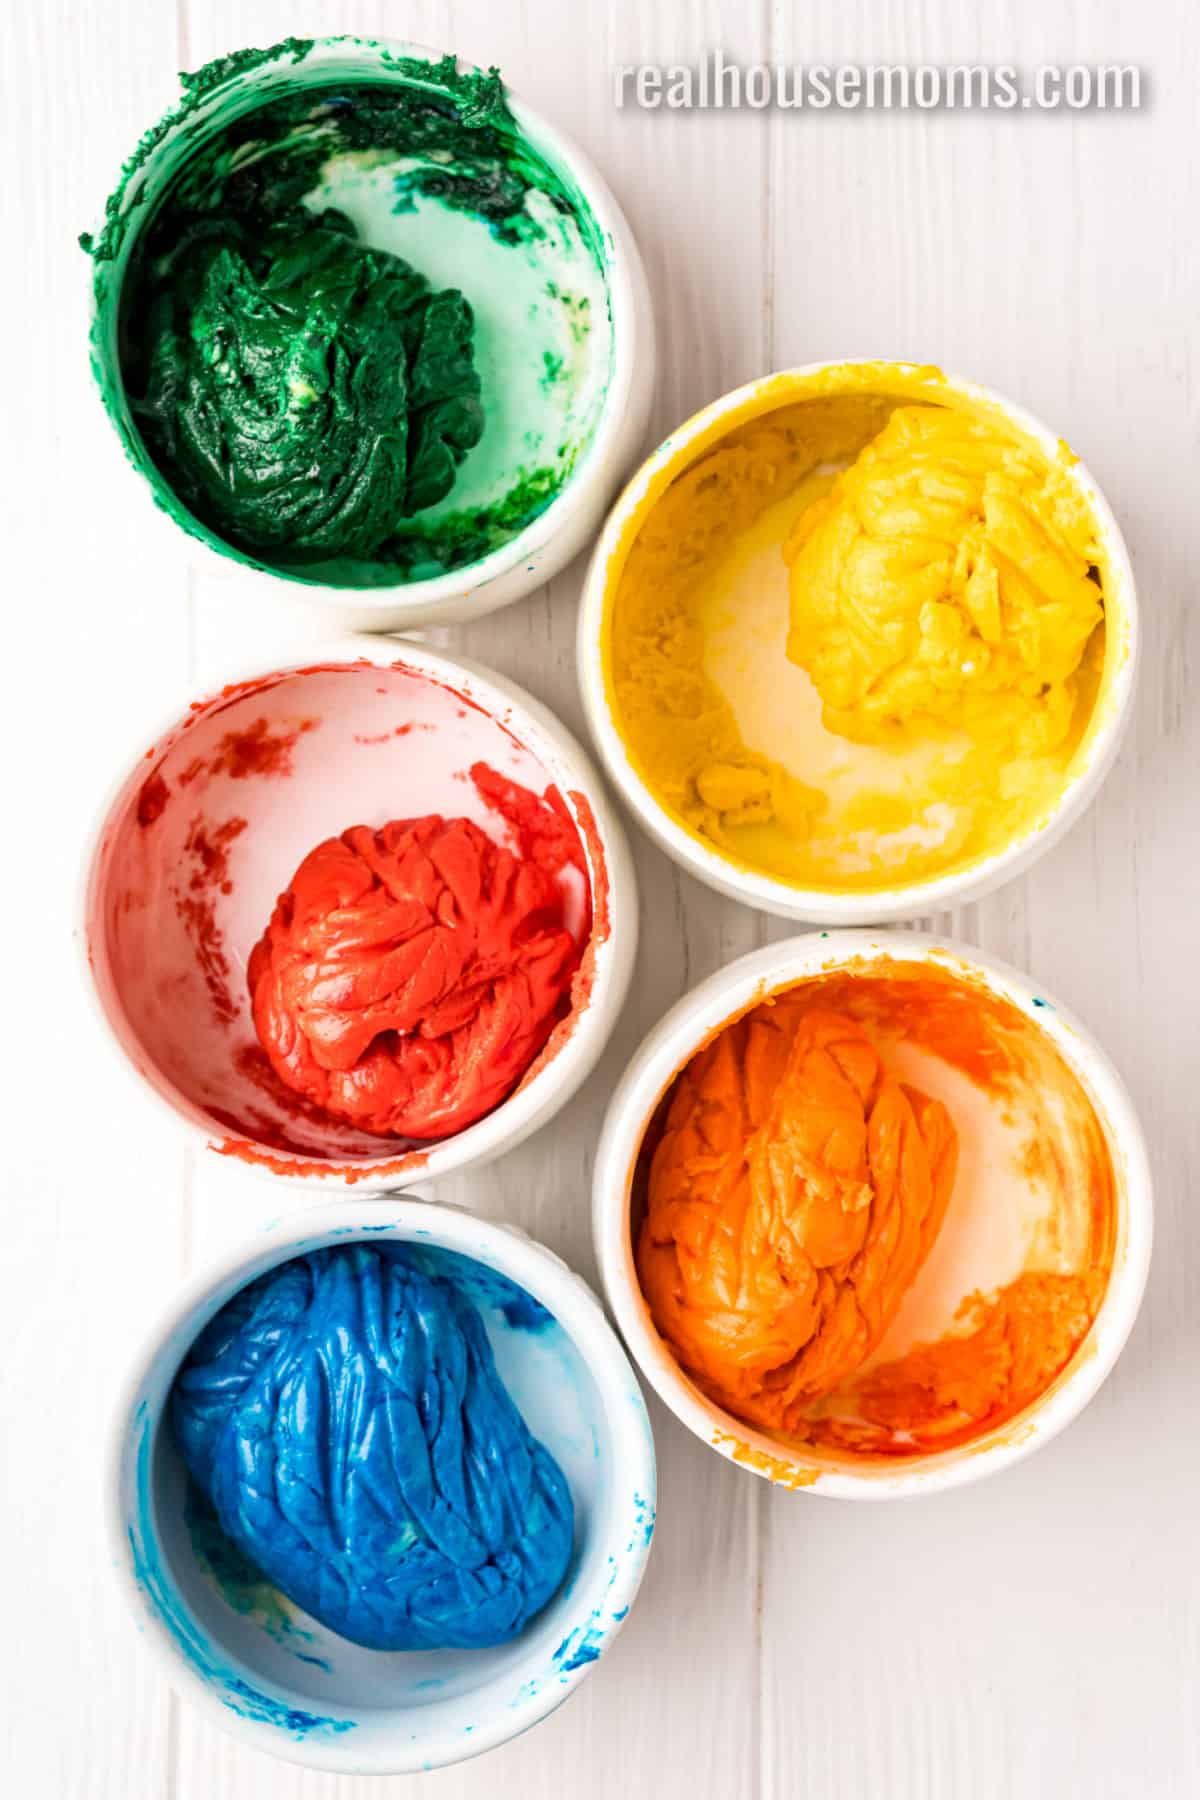
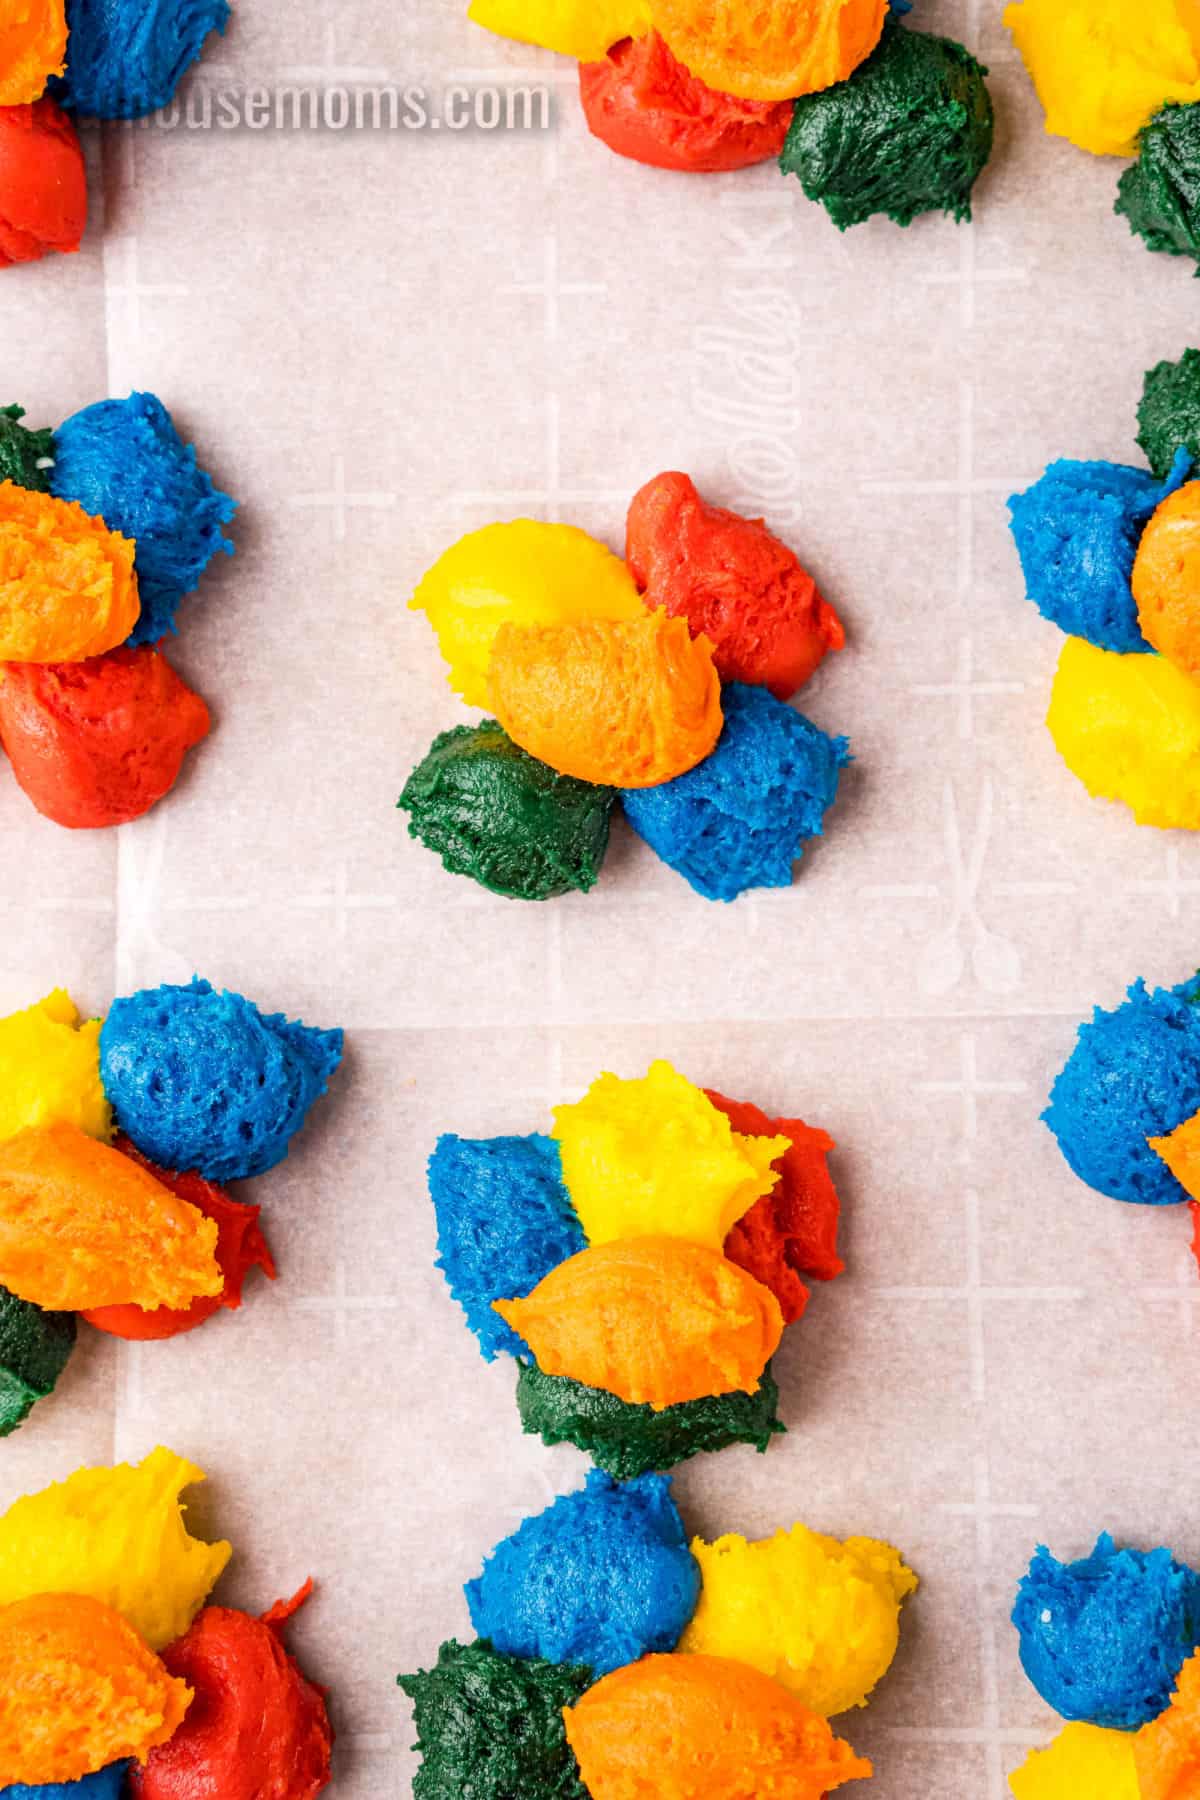
STEP THREE: Preheat your oven to 350 degrees F and line a baking sheet with parchment. Now break off little dollops of each color and roll them into rainbow balls or use a cookie scoop if you don’t want food coloring on your hands. (Reference the pictures for details.)
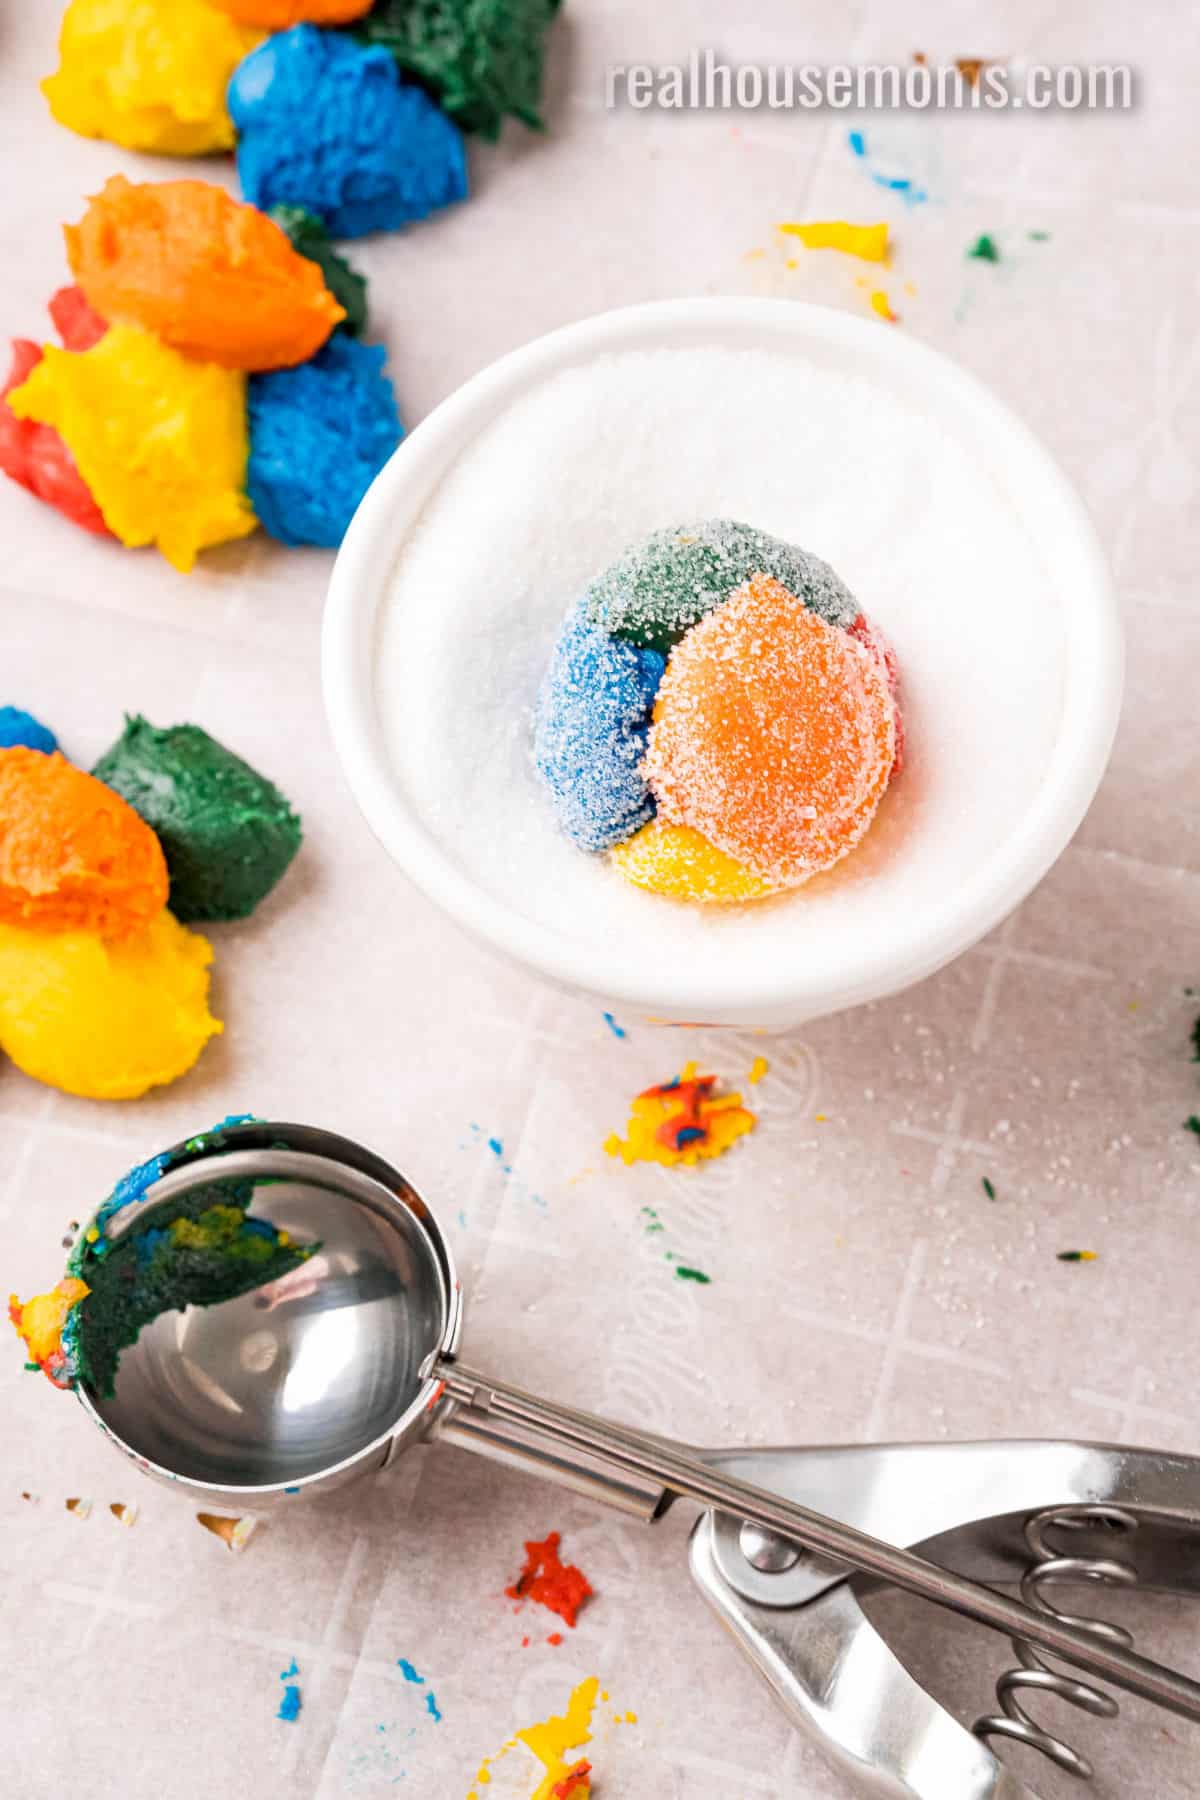
STEP FOUR: Roll each cookie in the sugar to coat and place the cookies 2 inches apart on the baking sheet.
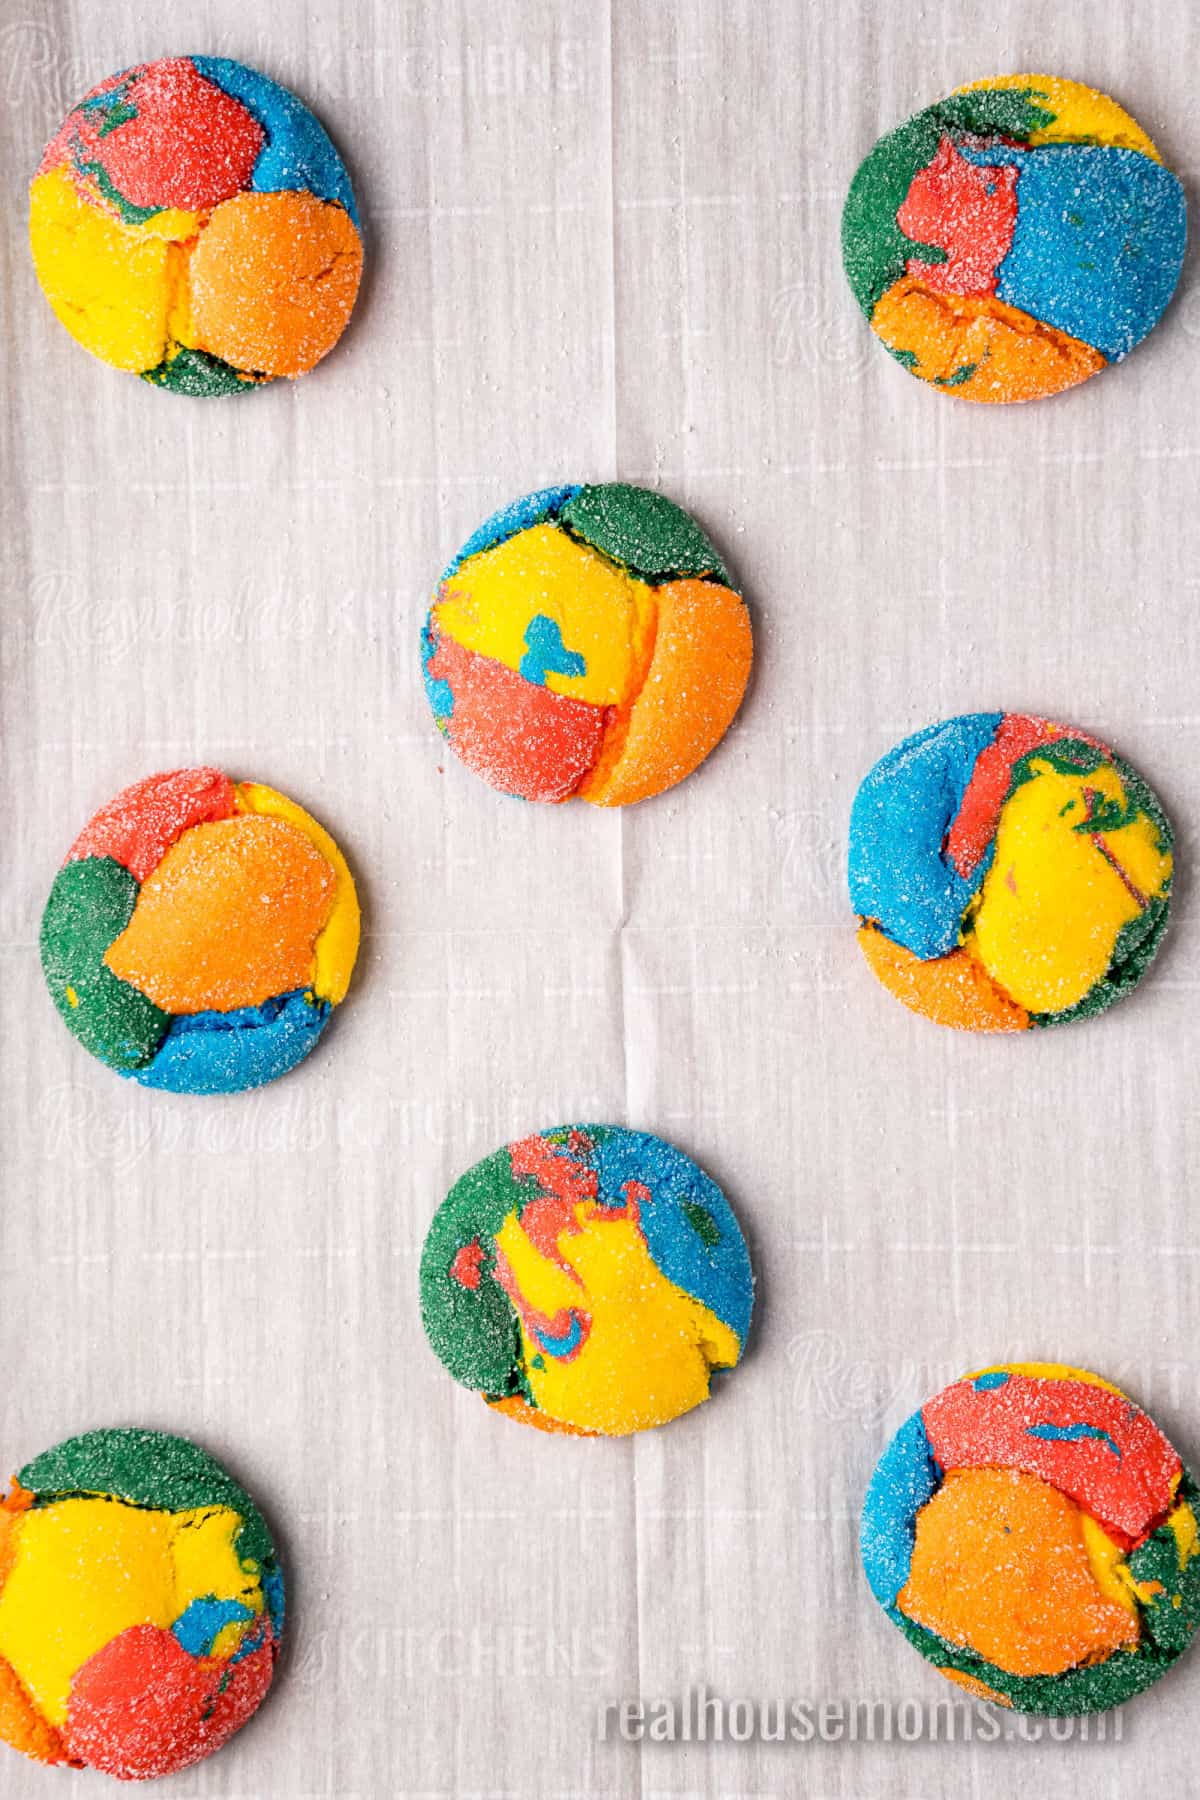
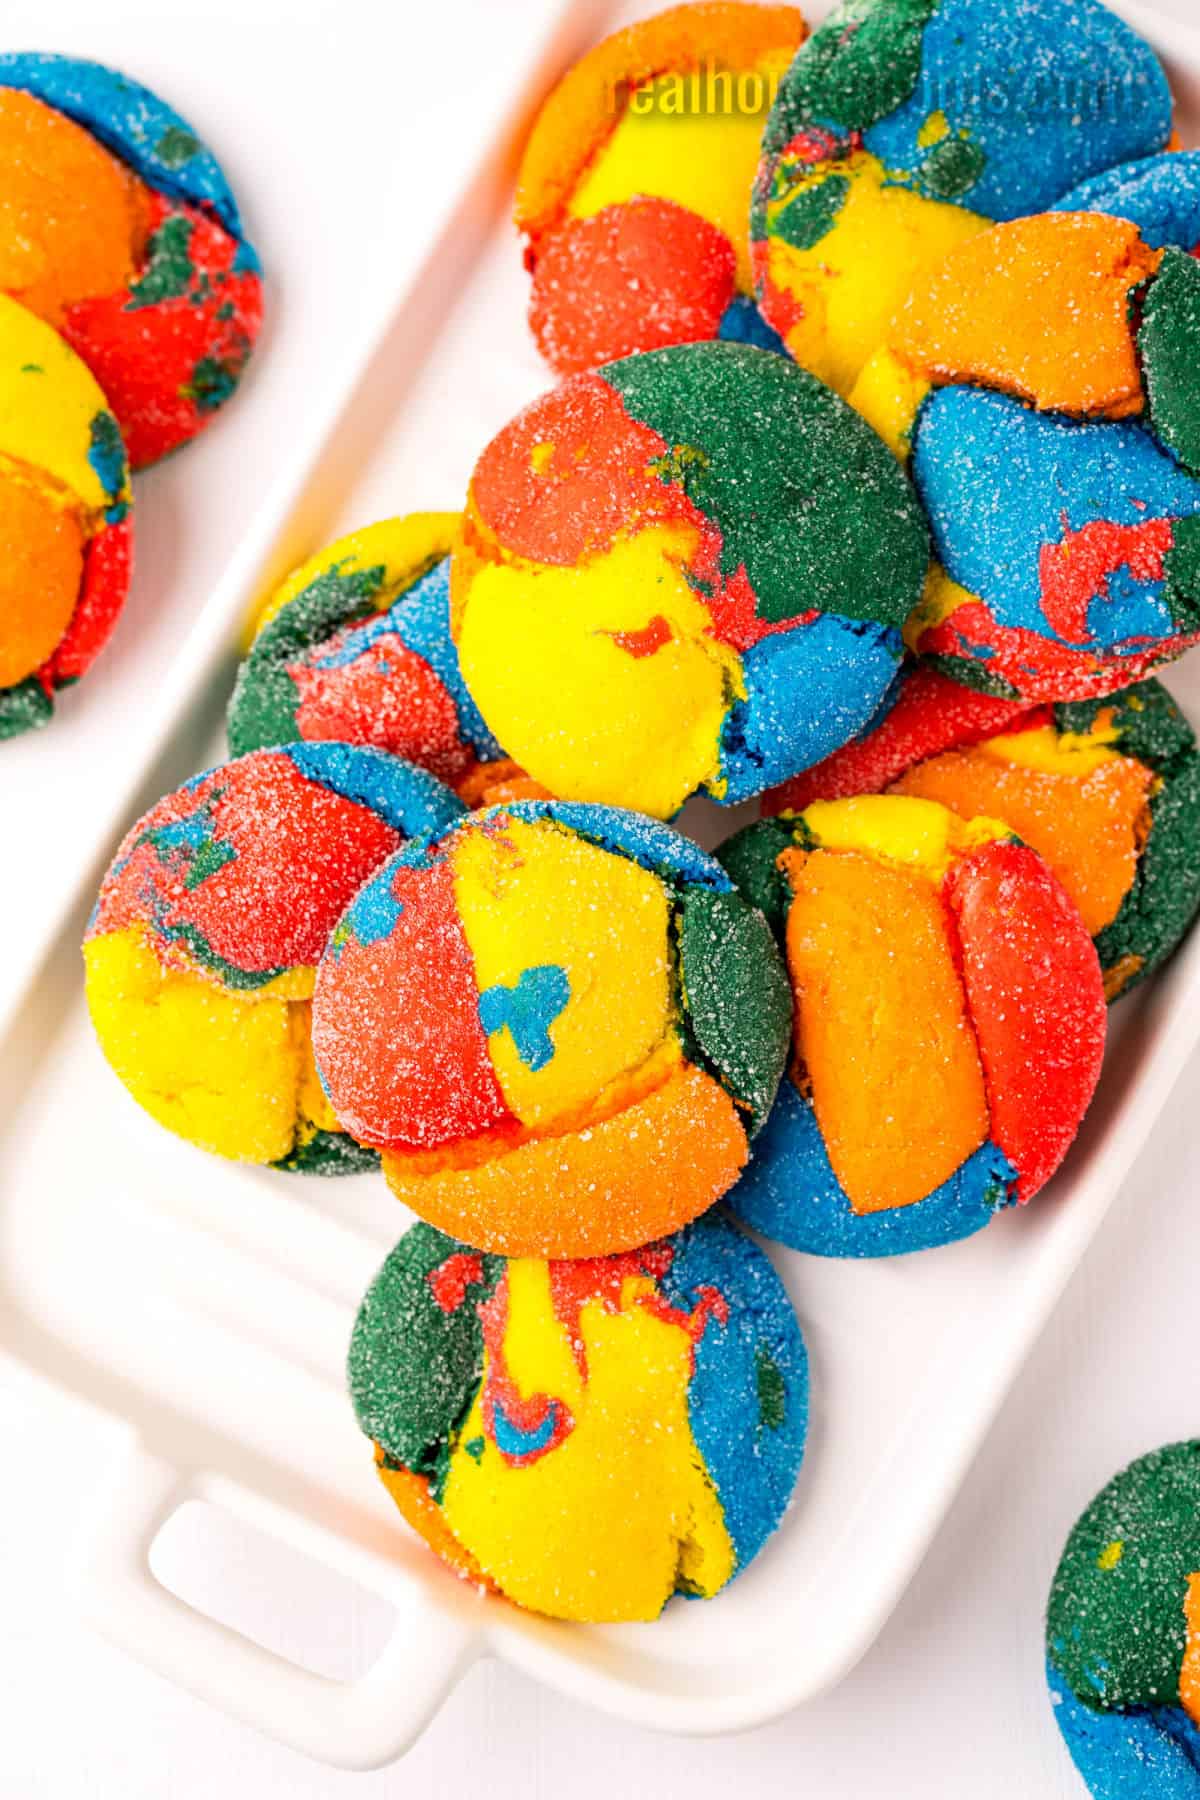
STEP FIVE: Bake for 8 to 9 minutes. The cookies may look underdone, but they will finish cooking after they come out of the oven. Let the cookies cool on the baking sheet for 5 minutes before transferring to a wire rack to complete cooling. Enjoy!
Tips for Success
- Refrigerating the dough for at least 45 minutes, but no longer than an hour, is of the utmost importance for these cookies to work. The dough will be too soft to make suitable rainbow shapes if it isn’t cool enough. If it’s in the fridge too long, the cookies will become hard and crunchy instead of soft and chewy.
- Have fun with these cookies! You can customize the number of colors you choose, making them work for virtually any color scheme! (Think blue and green to make little “earth” cookies…or pink, blue and yellow for a baby shower…or dark pink, light pink and yellow for a Barbie theme. Go crazy!)
- Use a WHITE cake mix to get the brightest, most accurate colors.
- Feel free to customize these cookies with sprinkles or candies or additional flavorings like almond or strawberry.
- This is a PERFECT recipe for a Pride Month celebration!
What are Italian Rainbow Cookies?
Italian Rainbow Cookies are a layered cake that is cut into small squares. Sometimes called Neapolitans or Italian Flag Cookies, they are a 3-layered almond cake – each layer a different color – with a raspberry jam between the layers and smooth chocolate icing. Italian Rainbow Cookies are beautiful and delicious but other than our kid-friendly, easy-to-make Rainbow Cake Mix Cookies!
Can I Freeze Rainbow Cookies?
Any extra cookies you have will freeze beautifully with this 2-step process! Ensure they are completely cool, then place them on a cookie sheet and freeze for half an hour (this step keeps the cookies from sticking together.) Once frozen, place the cookies in a freezer-friendly container or a bag and freeze for up to 3 months. Thaw for 3+ hours before eating.
Other Rainbow Recipes!
- Rainbow Sprinkle Cookies
- Rainbow Party Punch
- Cosmic Brownies
- Rainbow Macaroni Salad
- Funfetti Cake Mix Blondies
- Rainbow Sherbet Punch
- Cream Cheese Mints
Ingredients
- 15.25 ounces white cake mix (1 box)
- ⅓ cup vegetable oil
- 2 large eggs
- Food coloring (see note)
- ½ cup granulated sugar
Instructions
- Add the cake mix, vegetable oil, and eggs to a large bowl or stand mixer fitted with a paddle attachment and beat until combined.
- Divide the dough evenly into the number of different colors you want, putting each portion into its own bowl. (In this recipe, we did 5.)
- Mix each portion of dough with the desired color using a hand mixer for even coloring and the easiest mixing method. (Be sure to wash the beaters before moving on to the next bowl.)
- Chill the dough for 45 minutes. (see note)
- Preheat your oven to 350 degrees F and line a baking sheet with parchment paper.
- Use two teaspoons to portion out the dough into dollops, using the spoons to work the dough back and forth between them until the dough drops onto the parchment. (The dough will be very sticky.) Drop one dollop of each color of dough per cookie.
- Use a medium cookie scoop to scoop the colored dollops together. Gently roll them into balls, you want to avoid getting food coloring all over your hands. Then roll the dough balls in the sugar to coat. Place the cookie dough balls on the prepared baking sheet at least 2 inches apart.
- Bake for 8 to 9 minutes. Do not overbake these cookies, they will look puffy and slightly underdone, but they will finish cooking after coming out of the oven.
- Let the cookies cool on the baking sheet for about 5 minutes before transferring to a wire rack to cool completely.
Notes
- It is extremely important that you chill these cookies for at least 45 minutes and not longer than 1 hour. The dough will be too soft to shape and roll without chilling. Prior to the 1-hour mark, these cookies really puff up and have more of a soft and chewy texture. After 1 hour they can become hard and crunchy.
- I used Wilton Color Right food coloring, but you could also use regular food coloring or gel coloring. These will have varying strengths and certain colors may transfer off the other dough more than others. You can do anywhere from 2 to 6 colors with this method and the colors can be customized to match your celebration.
- If you don’t want to use a cookie scoop, or don’t have one, you can pop on some food-safe gloves to help protect your hands from the food coloring.
- Store in an airtight container for up to 1 week or freeze for up to 3 months.



Leave a Reply