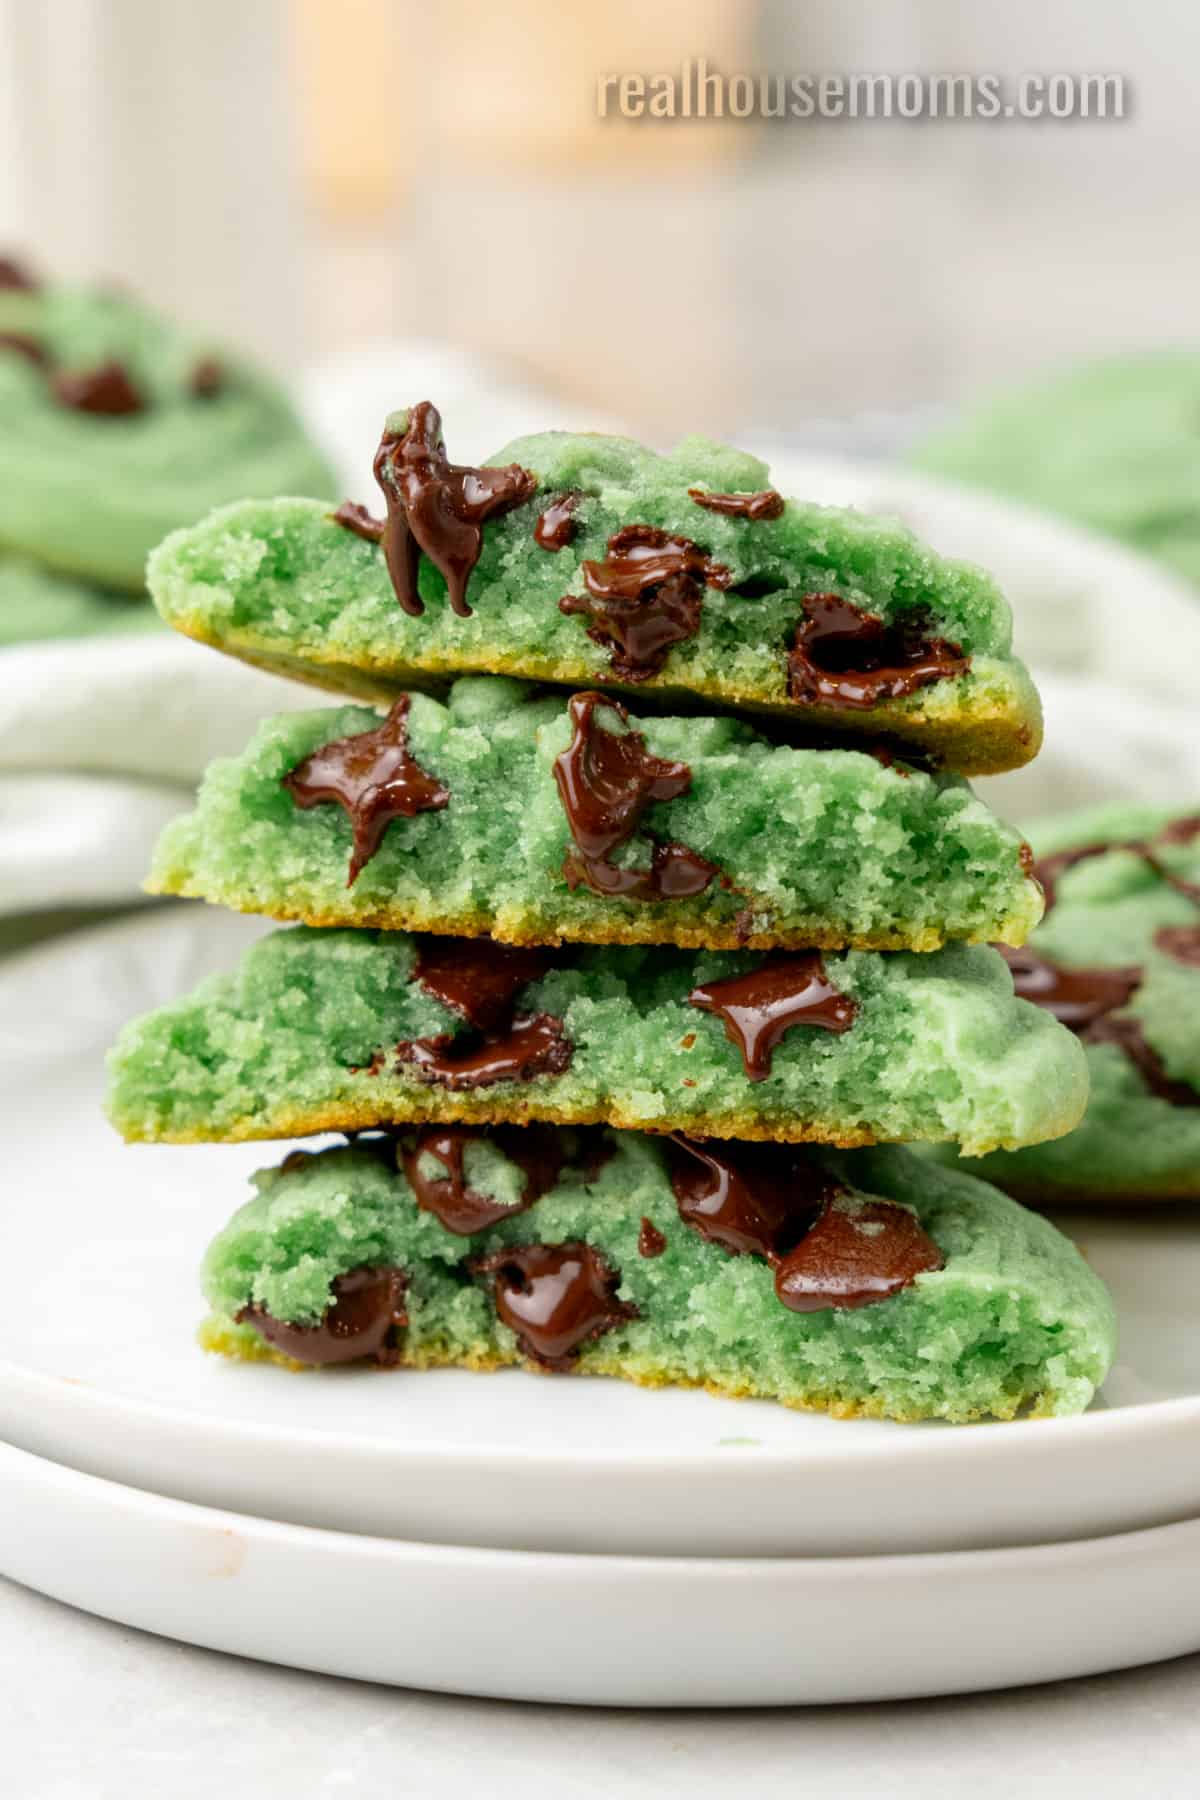
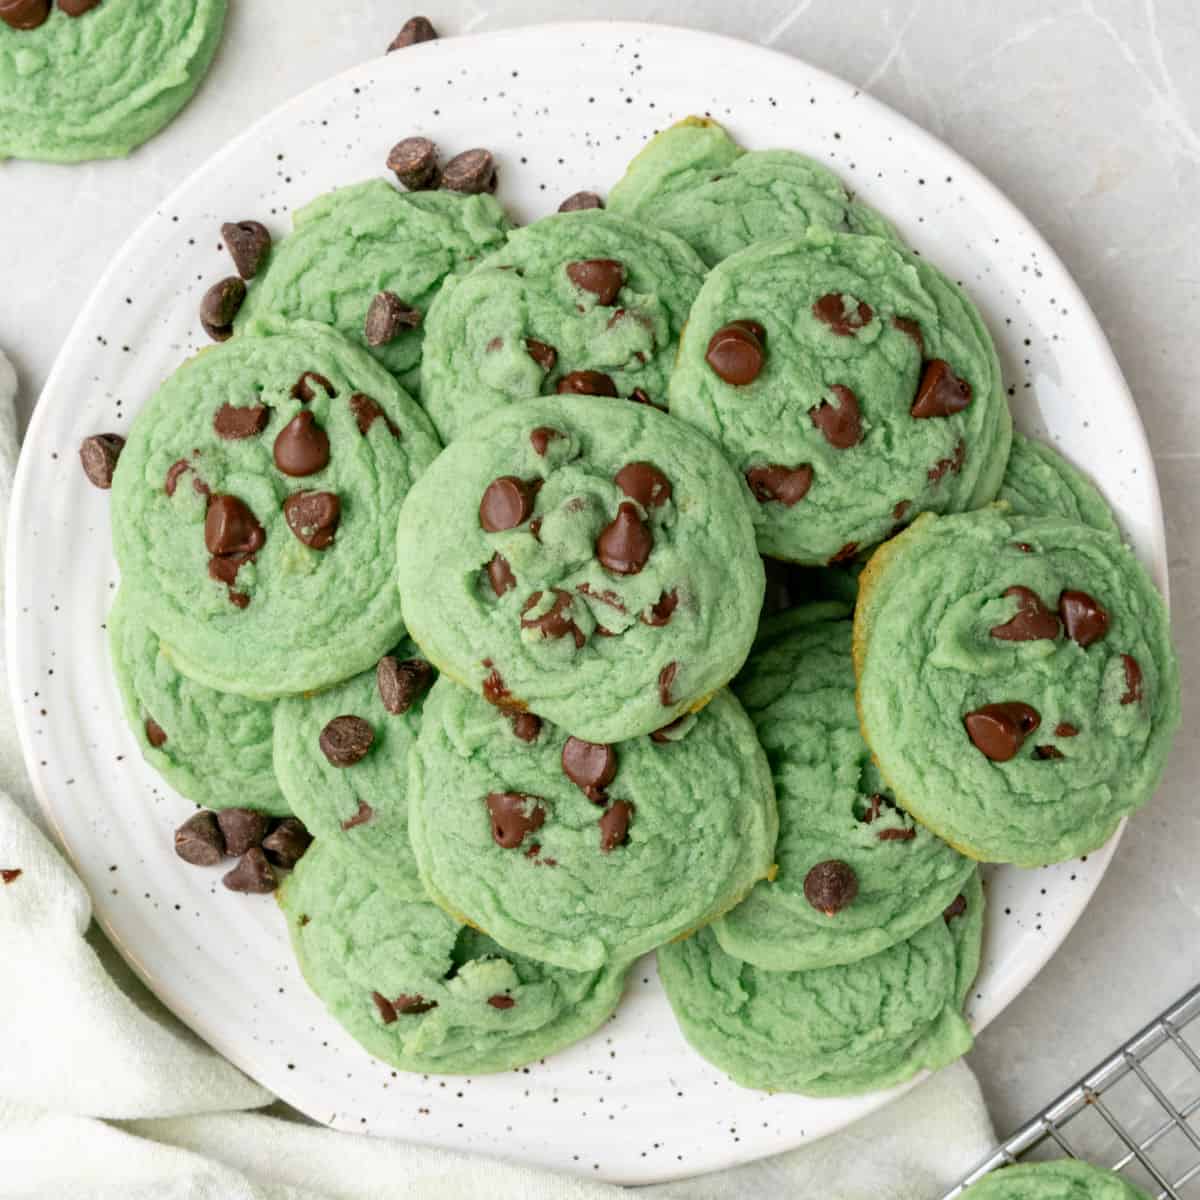
Life is not complete until you’ve tried these chewy, gooey Mint Chocolate Chip Cookies! Perfect for St. Patrick’s Day, birthdays & Christmas!
Mint Chocolate Chip Cookies start with the best homemade chocolate chip cookie recipe ever (you know – flour, eggs, butter, sugar, etc.), then brighten up with a touch of mint! The flavor is rich, the color is bright green, and the flavor is melt-in-your-mouth marvelous!

Mint Chocolate Chip Cookies are Mintily Delicious!
This soft cookie recipe will make you so happy! It’s like a warm Nestle’s Toll House Cookie proposed to a box of cool Junior Mints! As they say, opposites attract!
The minty goodness of this recipe can easily be dialed up or down. So, whether you like the mild flavor of Andes Mints or all the minty intensity of York Peppermint Patties, these amazing chocolate chip cookies will satisfy your mint chocolate cravings!
Other Chocolate Chip Cookie Recipes
- Use the fudgy filling in these Chocolate Chip Cookie Sandwiches with the Mint Chocolate Chip Cookies to make a treat nobody can resist!
- Secret Ingredient Chocolate Chip Cookies are a family favorite! If you need a non-minty cookie, this is it!
Ingredients
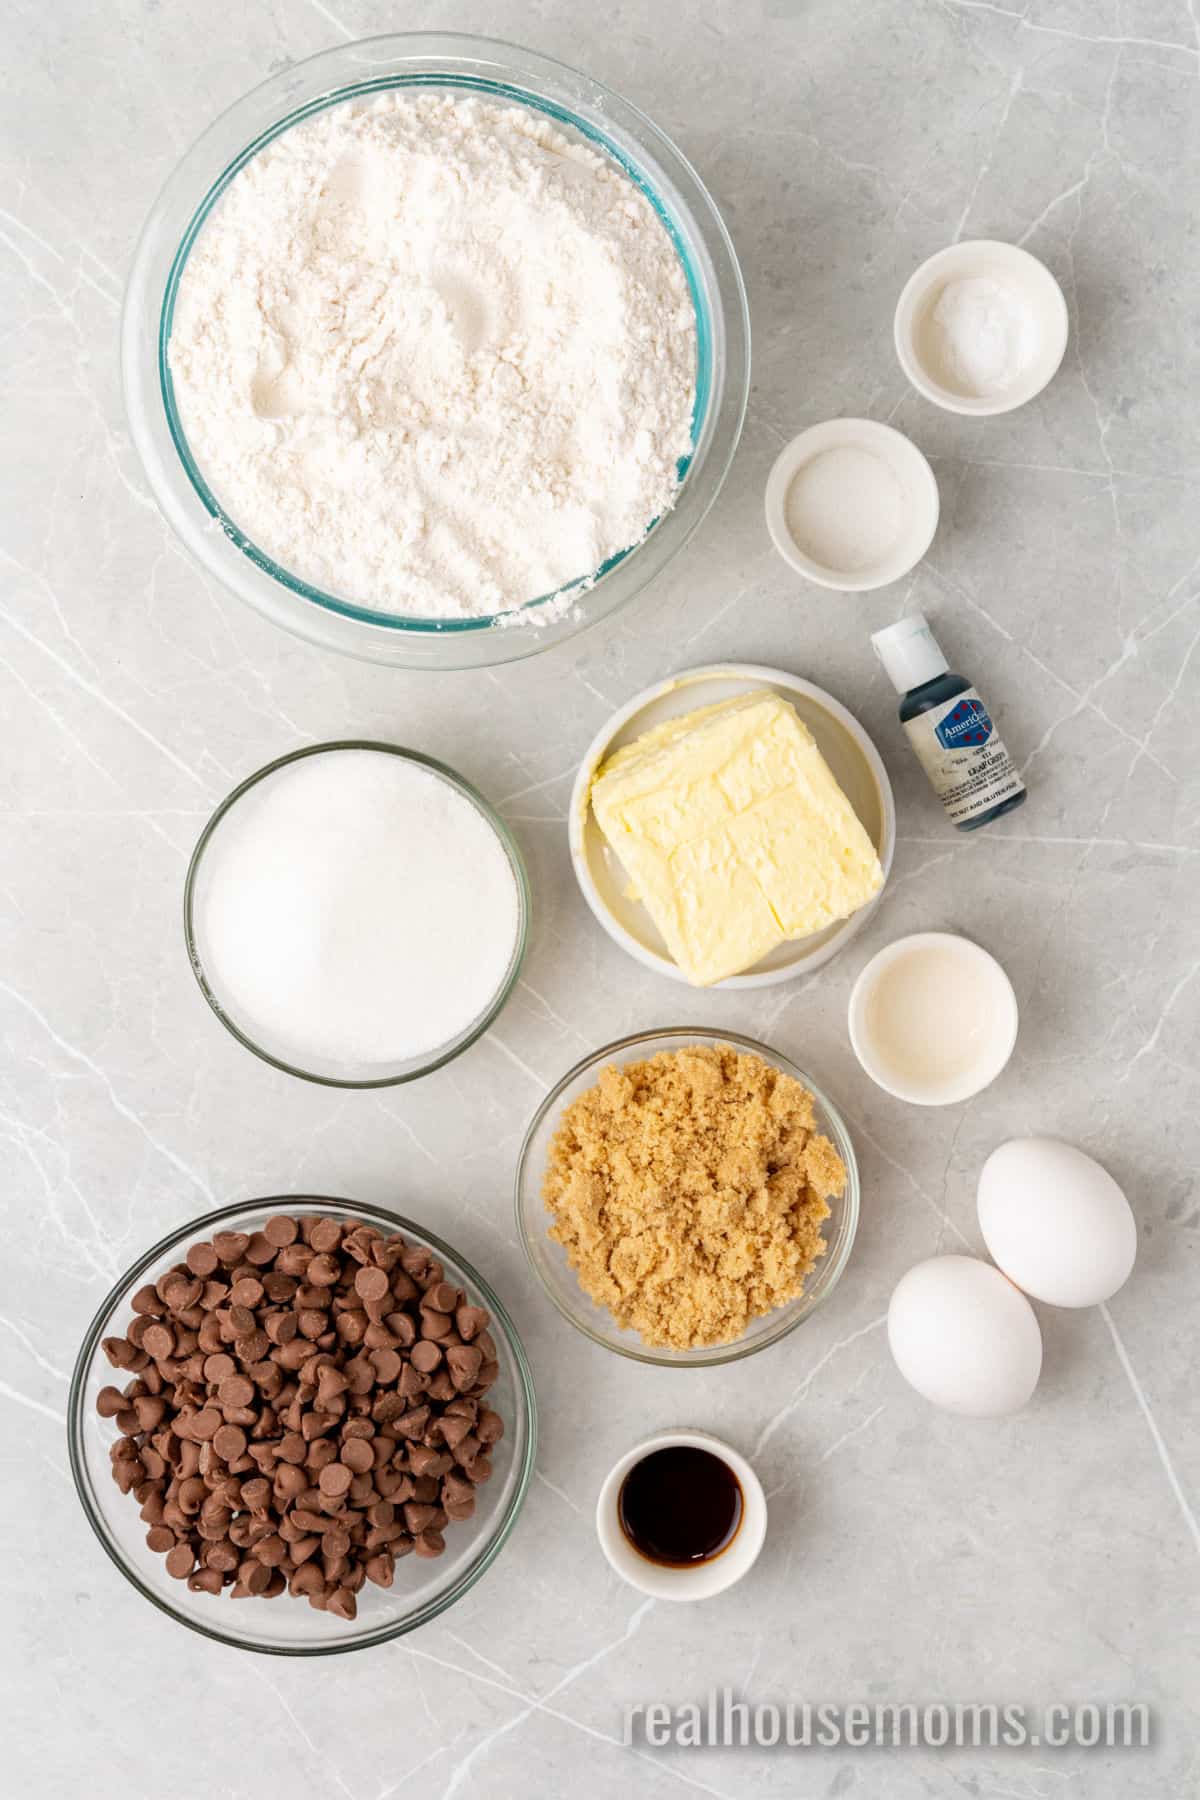
Dry Cookie Base: Like most cookie recipes, this Mint Chocolate Chip cookie begins with A-P flour, baking soda, salt and sugar – granulated and brown.
Moist Cookie Base: Adding to the dry ingredients are a cup of soft butter, a couple of eggs, both vanilla and mint extract, and, of course, chocolate chips (I like semi-sweet for chocolate chip cookies, but milk chocolate or a blend of both work just fine!)
Fun Extra: Green food coloring! (Optional)
How to Make Mint Chocolate Chip Cookies
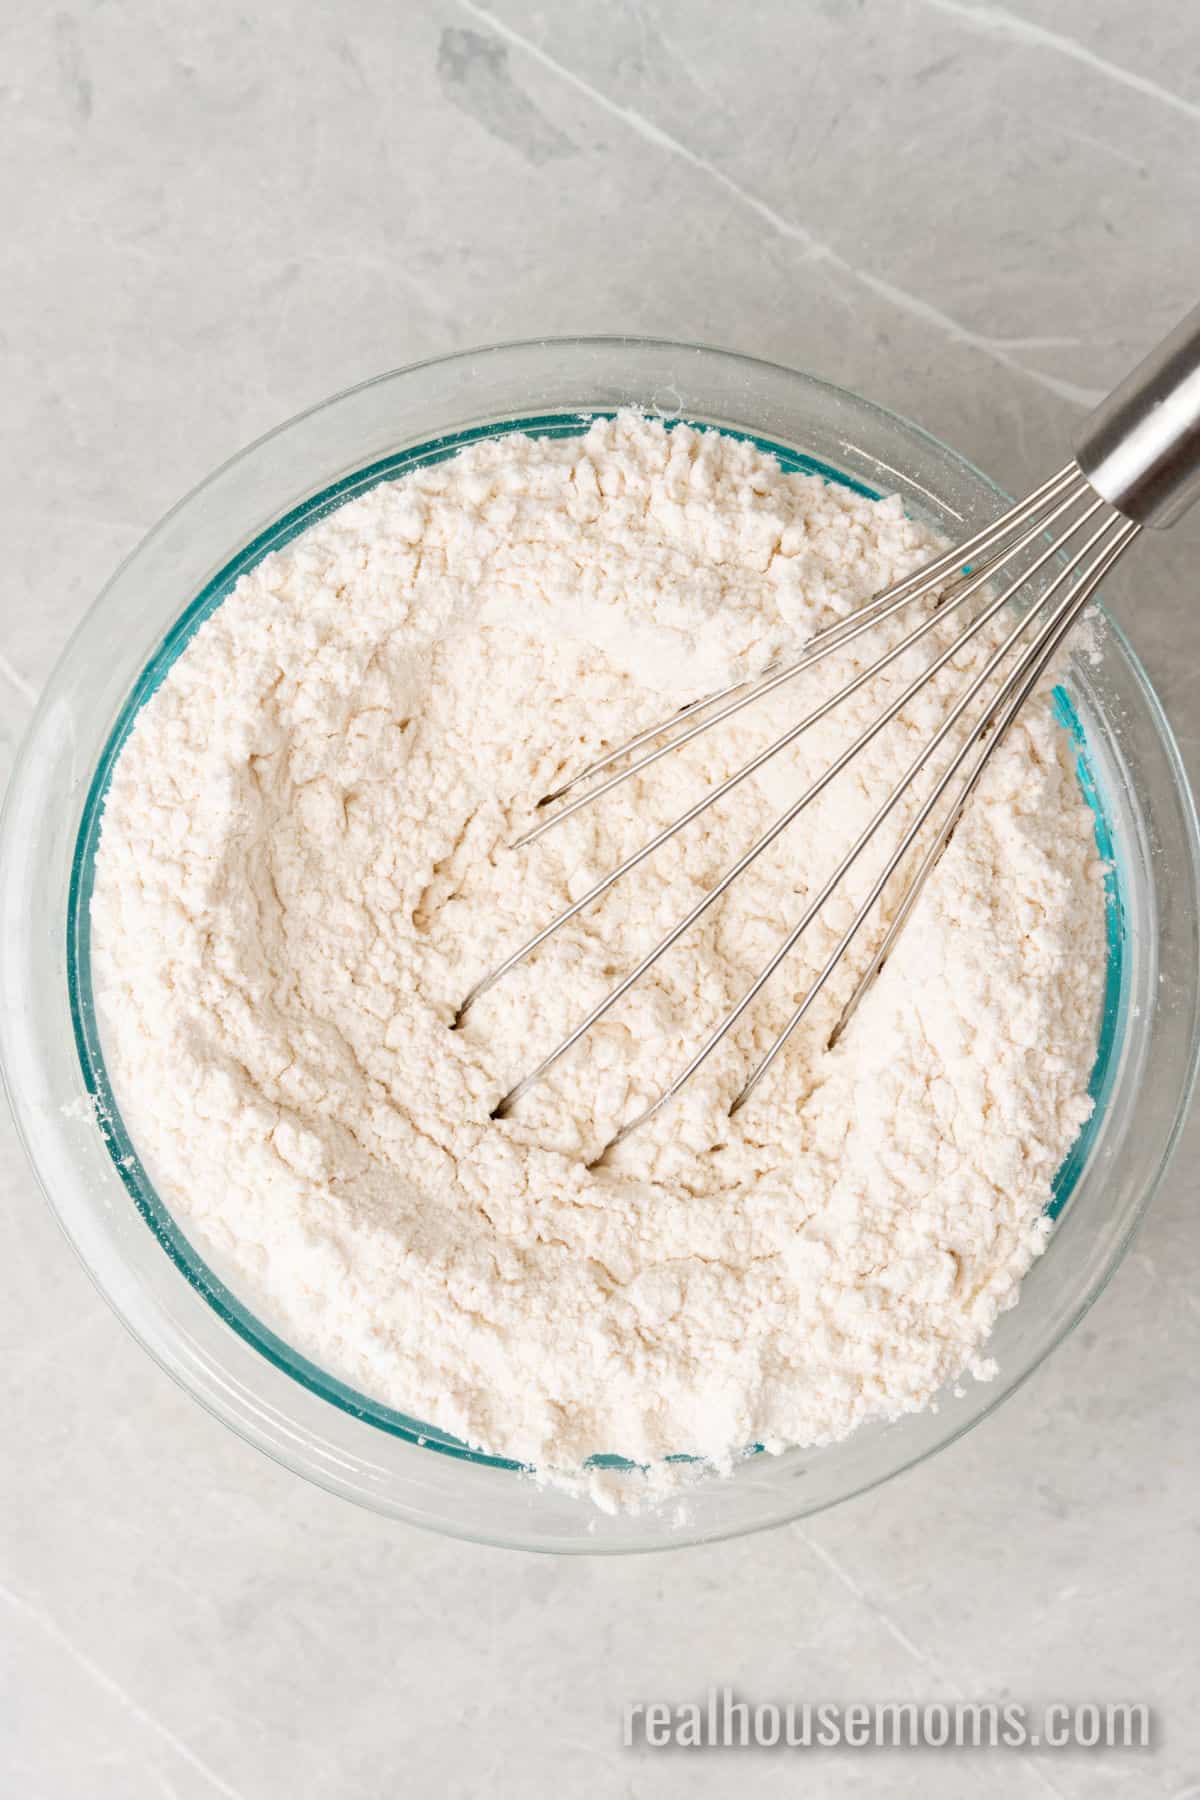
STEP ONE: Preheat oven to 350 degrees F. Line a baking sheet with parchment paper and set aside. Whisk the flour, baking soda, and salt in a medium bowl.
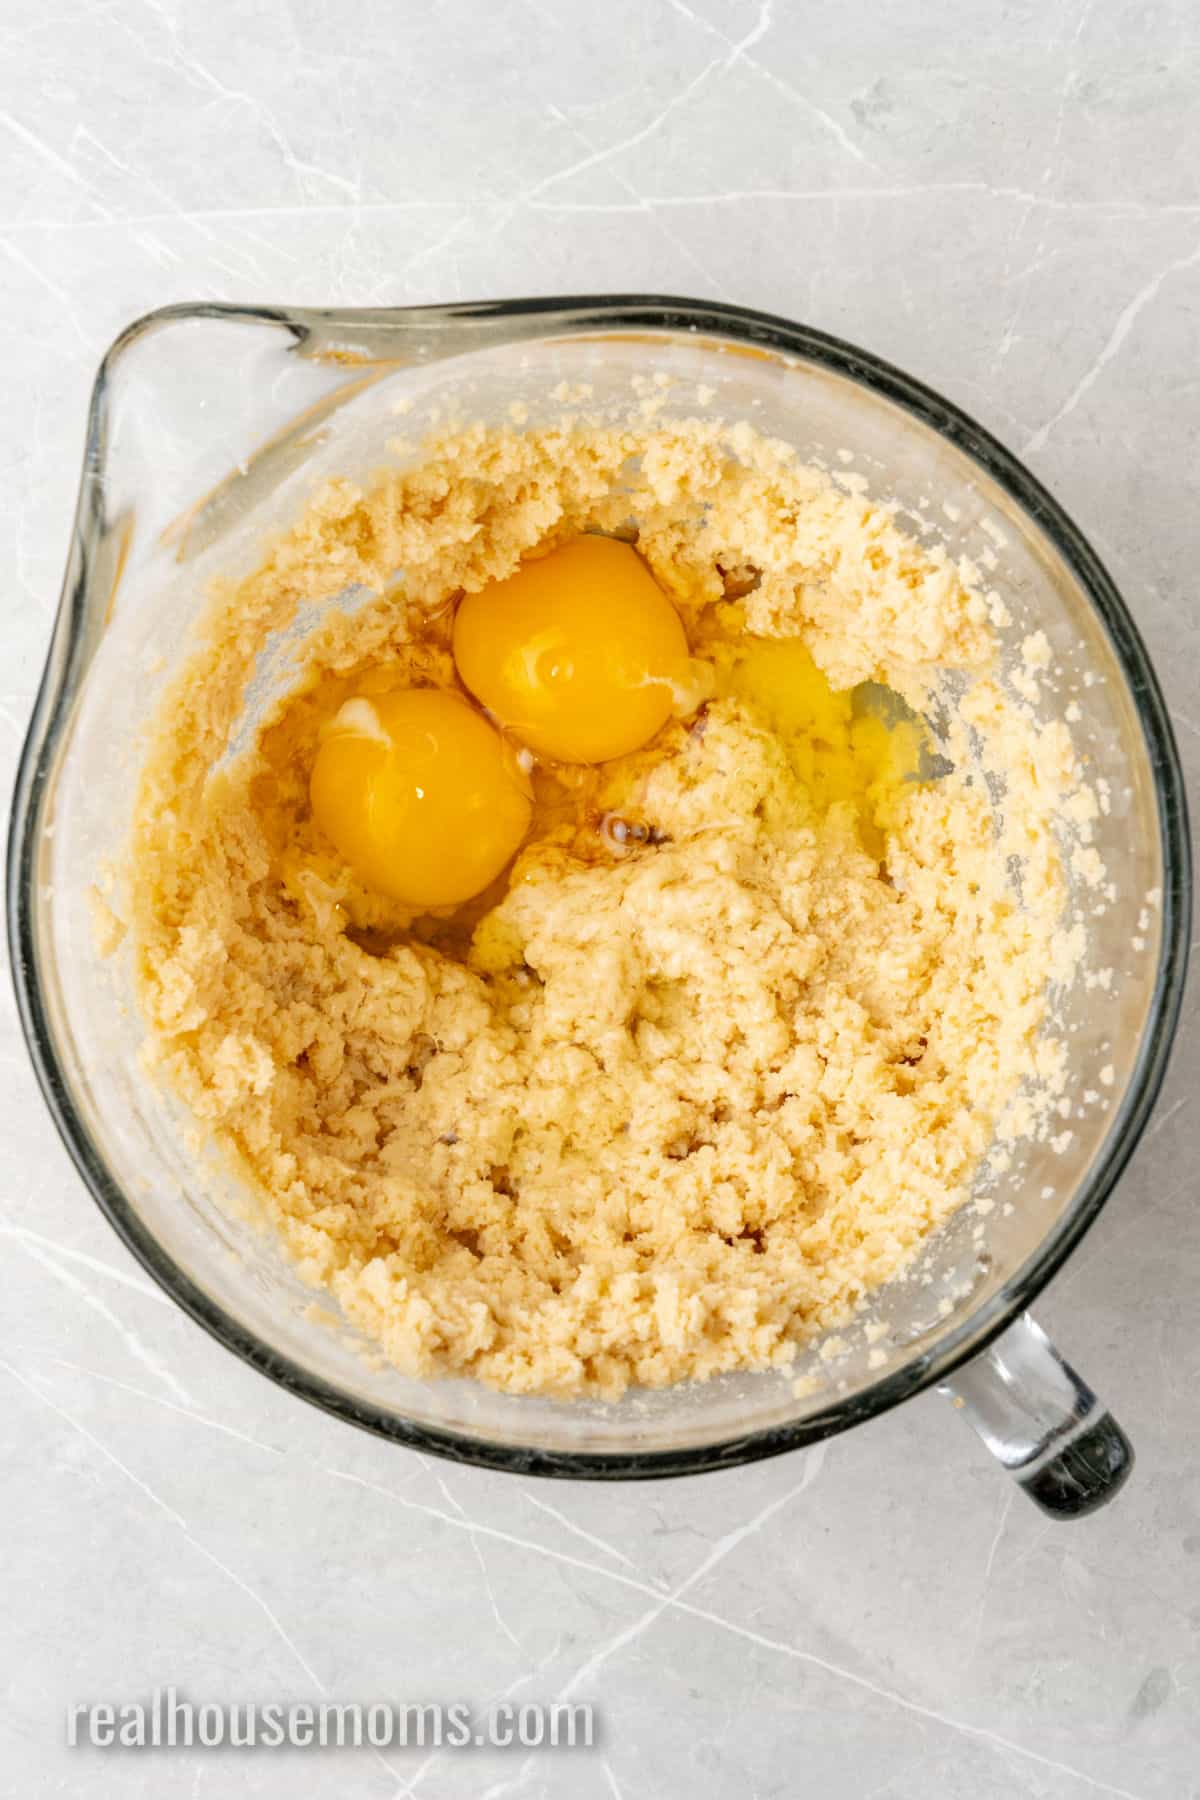
STEP TWO: Beat the soft butter and sugars until fluffy in a large bowl. Then add the eggs, vanilla, mint extract, and food coloring and blend well.
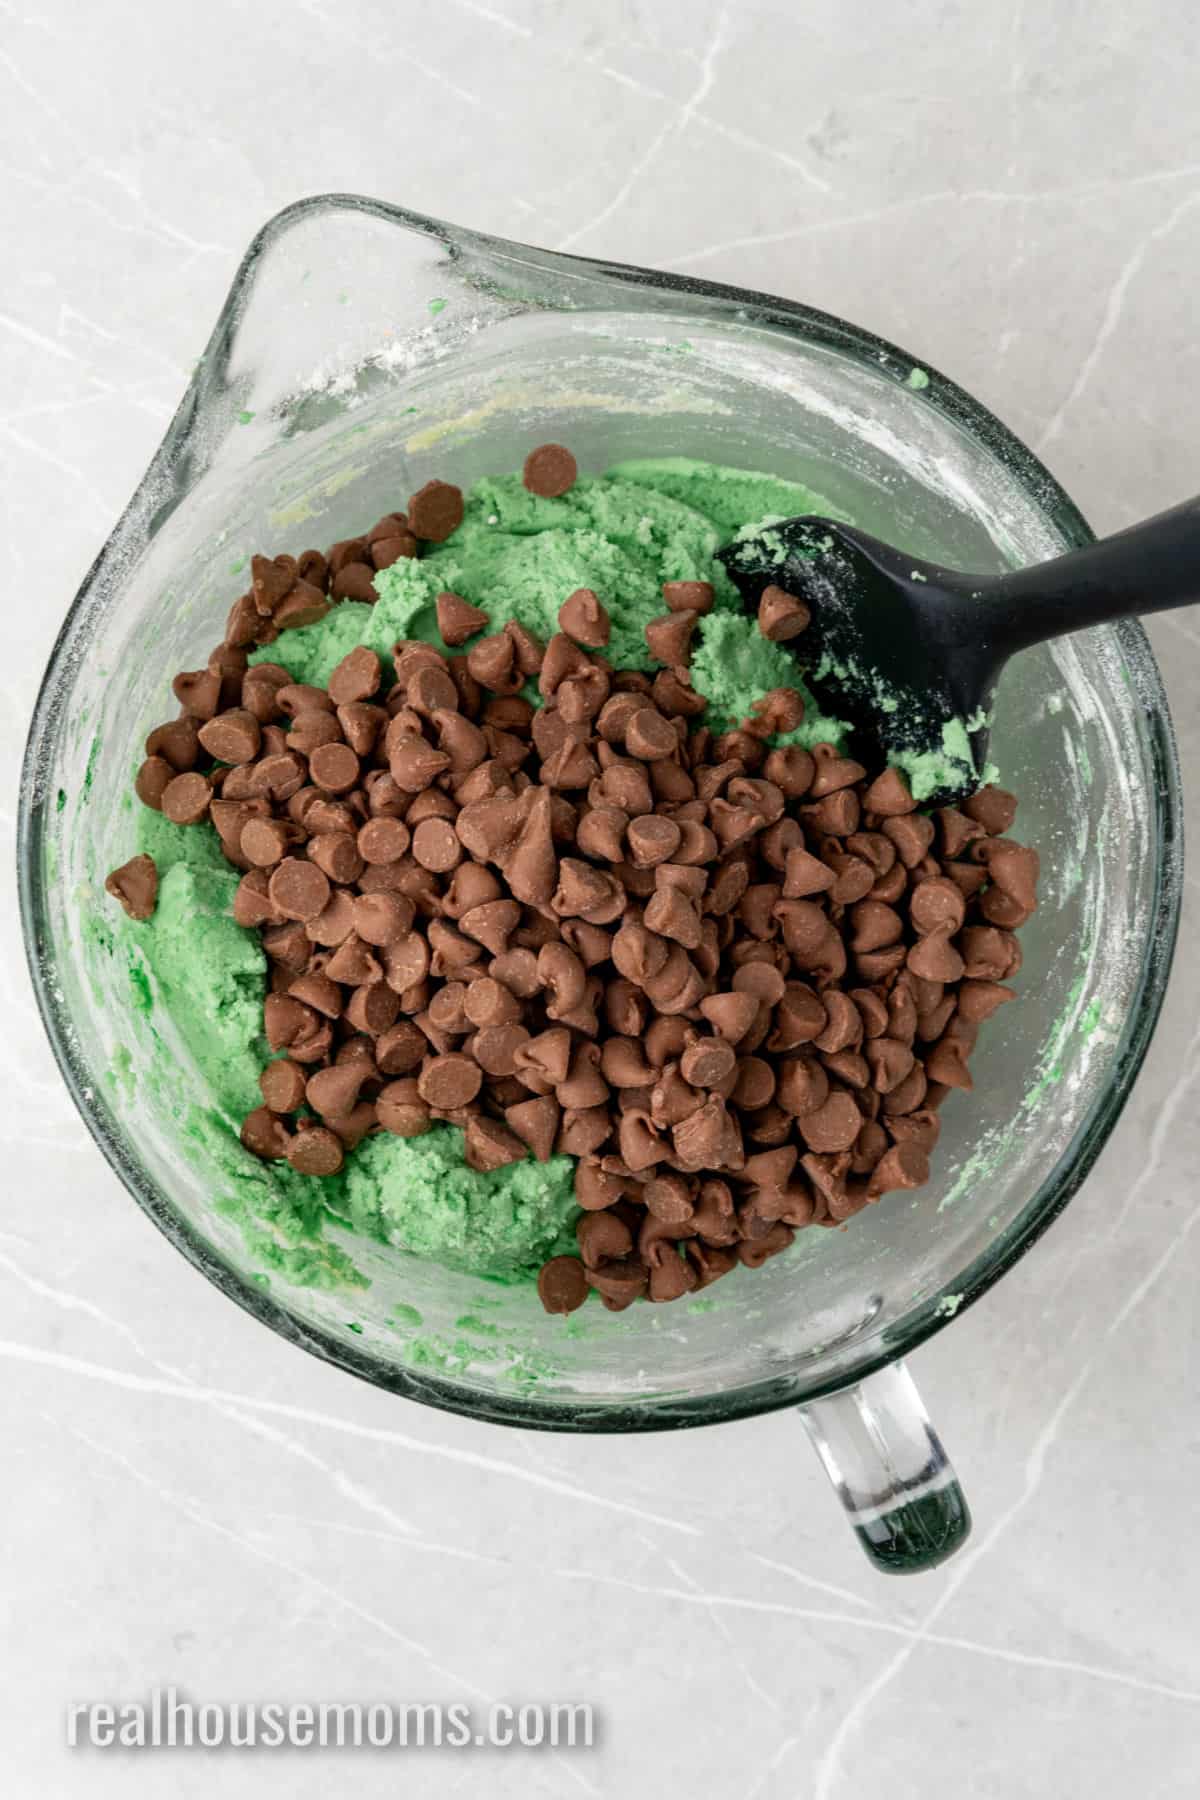
STEP THREE: Add the dry mixture to the wet mixture and gently combine. Fold in the chocolate chips.
STEP FOUR: Place heaping tablespoons of the dough on the parchment paper at least 2 inches apart. Bake for 7 to 9 minutes.
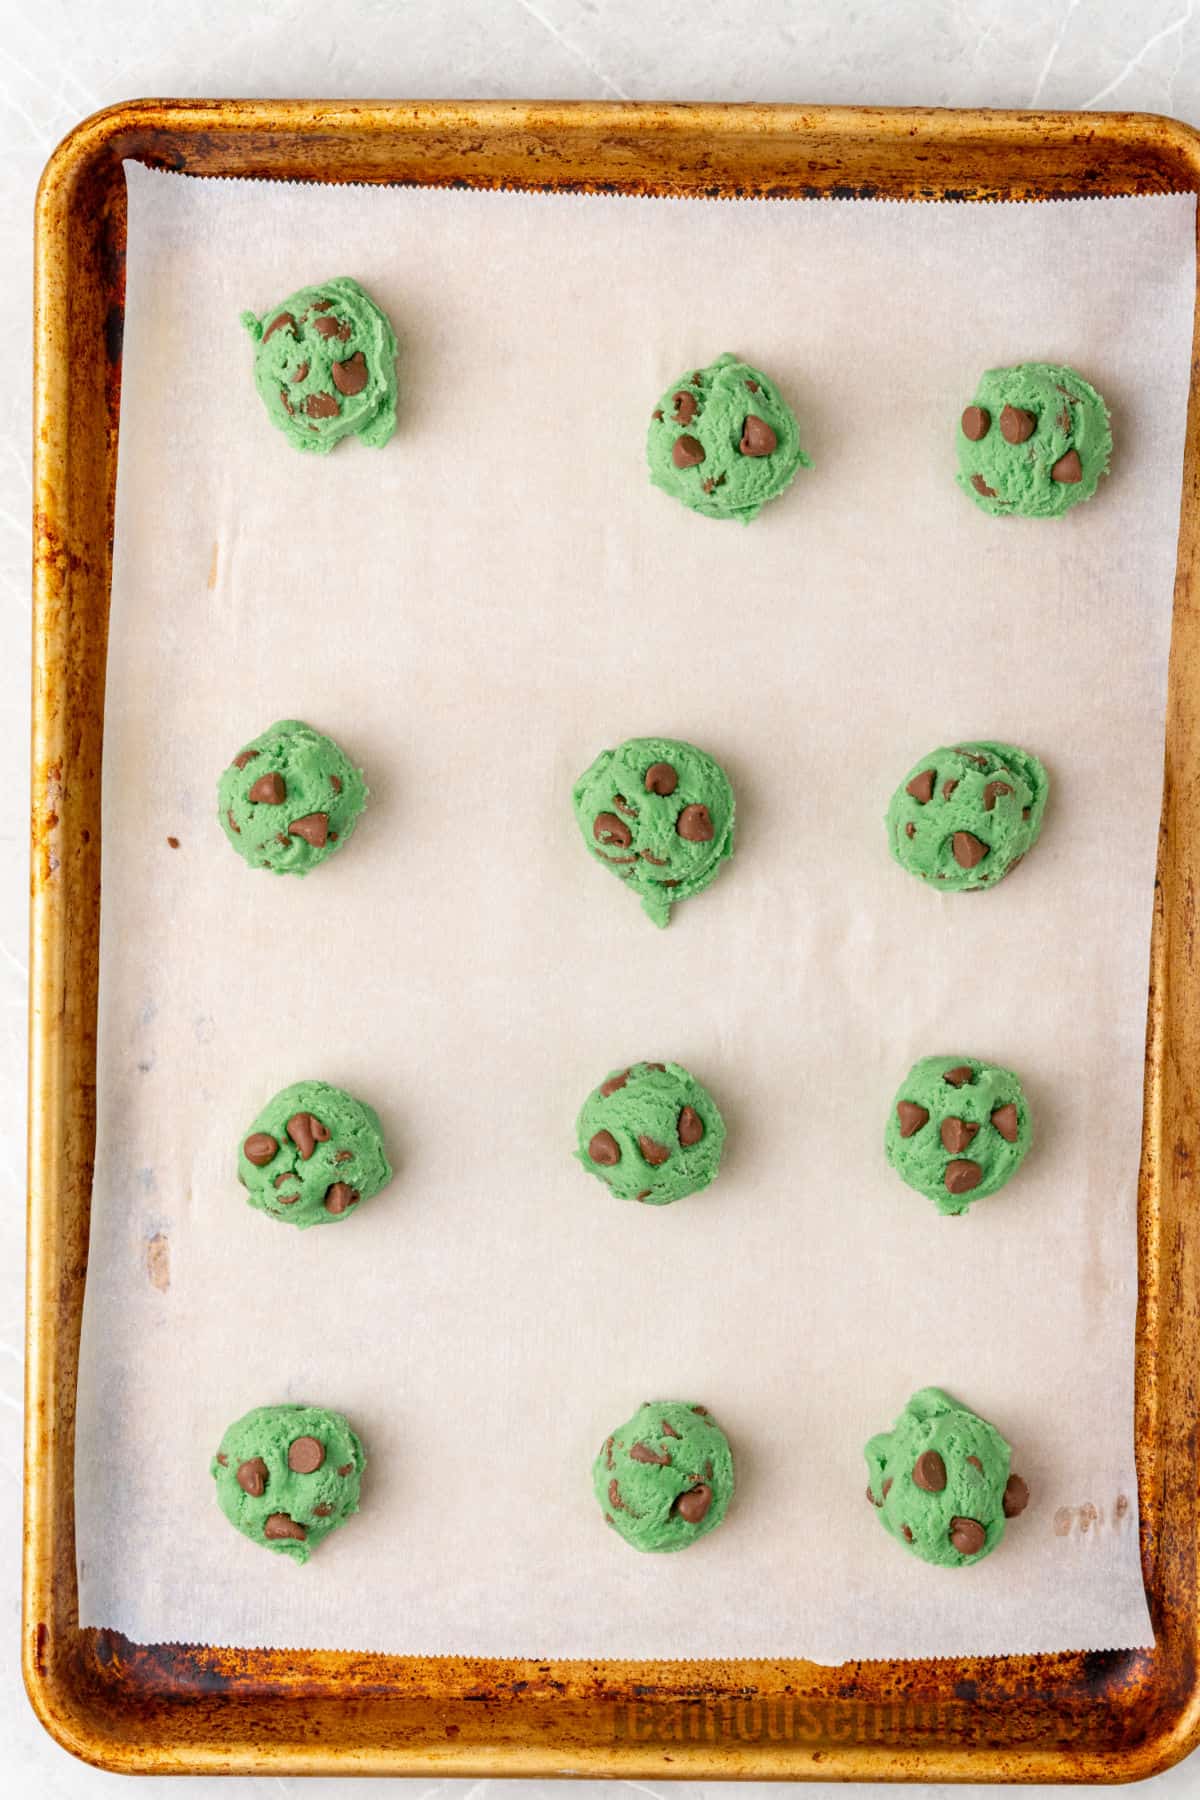
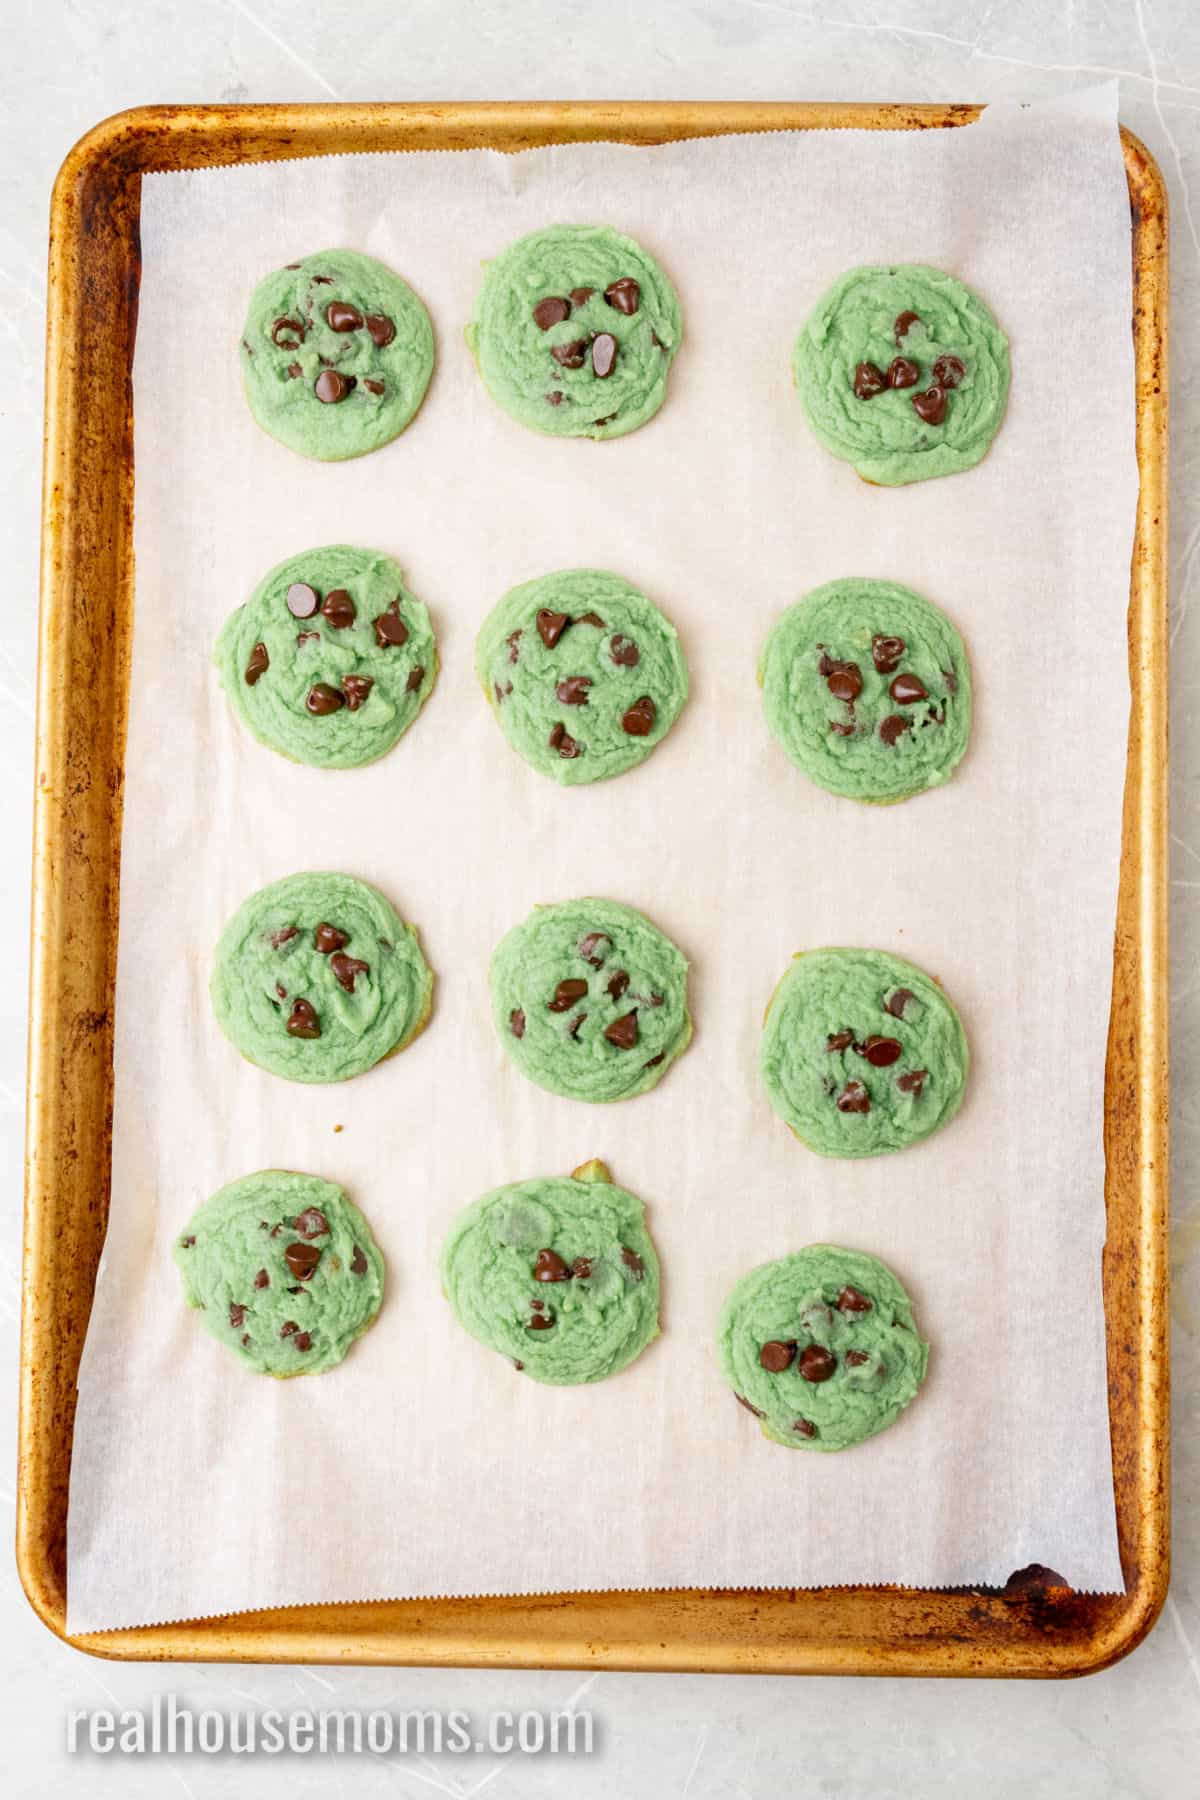
STEP FIVE: Remove from oven and allow to cool for 5 minutes then transfer to a wire rack to completely cool.
Tips for Success
- A little food coloring gives these cookies a bright green color – but eliminating the food coloring won’t affect the flavor or texture. You’ll get a pretty chocolate chip cookie with a surprise minty flavor.
- If you want a soft, moist cookie, increase the brown sugar and decrease the granulated sugar. If you want a crispy cookie, do the reverse: increase the white sugar and decrease the brown.
- For a more intense mint flavor, use mint-flavored chocolate chips.
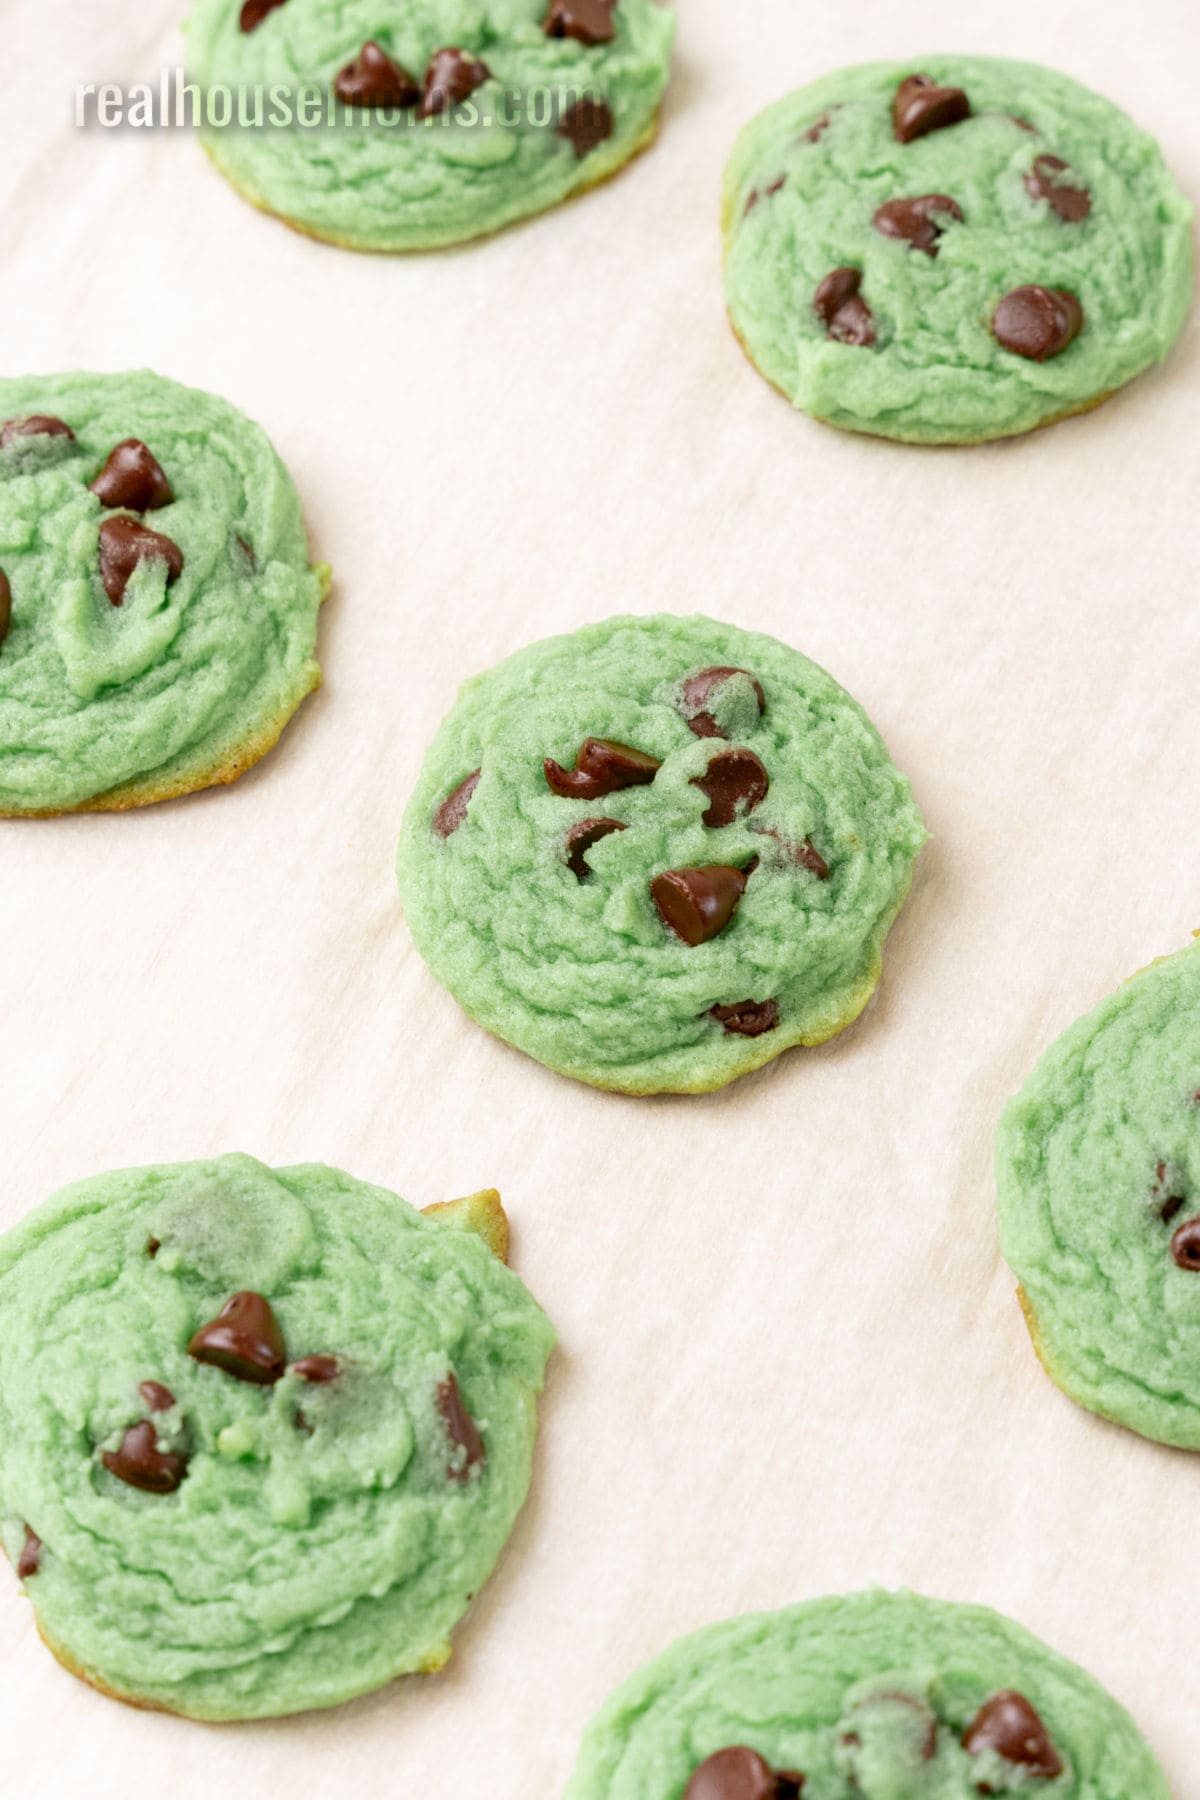
- Cooking time for cookies is always a variable. Watch them closely and always take them out of the oven JUST before they look “done.”
Is Raw Cookie Dough Safe to Eat?
You never really know. That’s the problem. Most of the time, raw dough might be fine. HOWEVER, uncooked eggs and flour can carry E. coli germs. So eating these raw foods isn’t worth the risk of food poisoning.
You can make a cookie dough recipe safe to eat raw by eliminating the eggs and “cooking” the flour. Spread the flour on a parchment-paper-covered baking sheet, cover with something heavy enough to keep the flour from blowing around in the oven, and bake at 350 F for about 10 minutes. Let it cool, then make your dough with this safe-to-eat cooked flour!
Why Are My Chocolate Chip Cookies Flat?
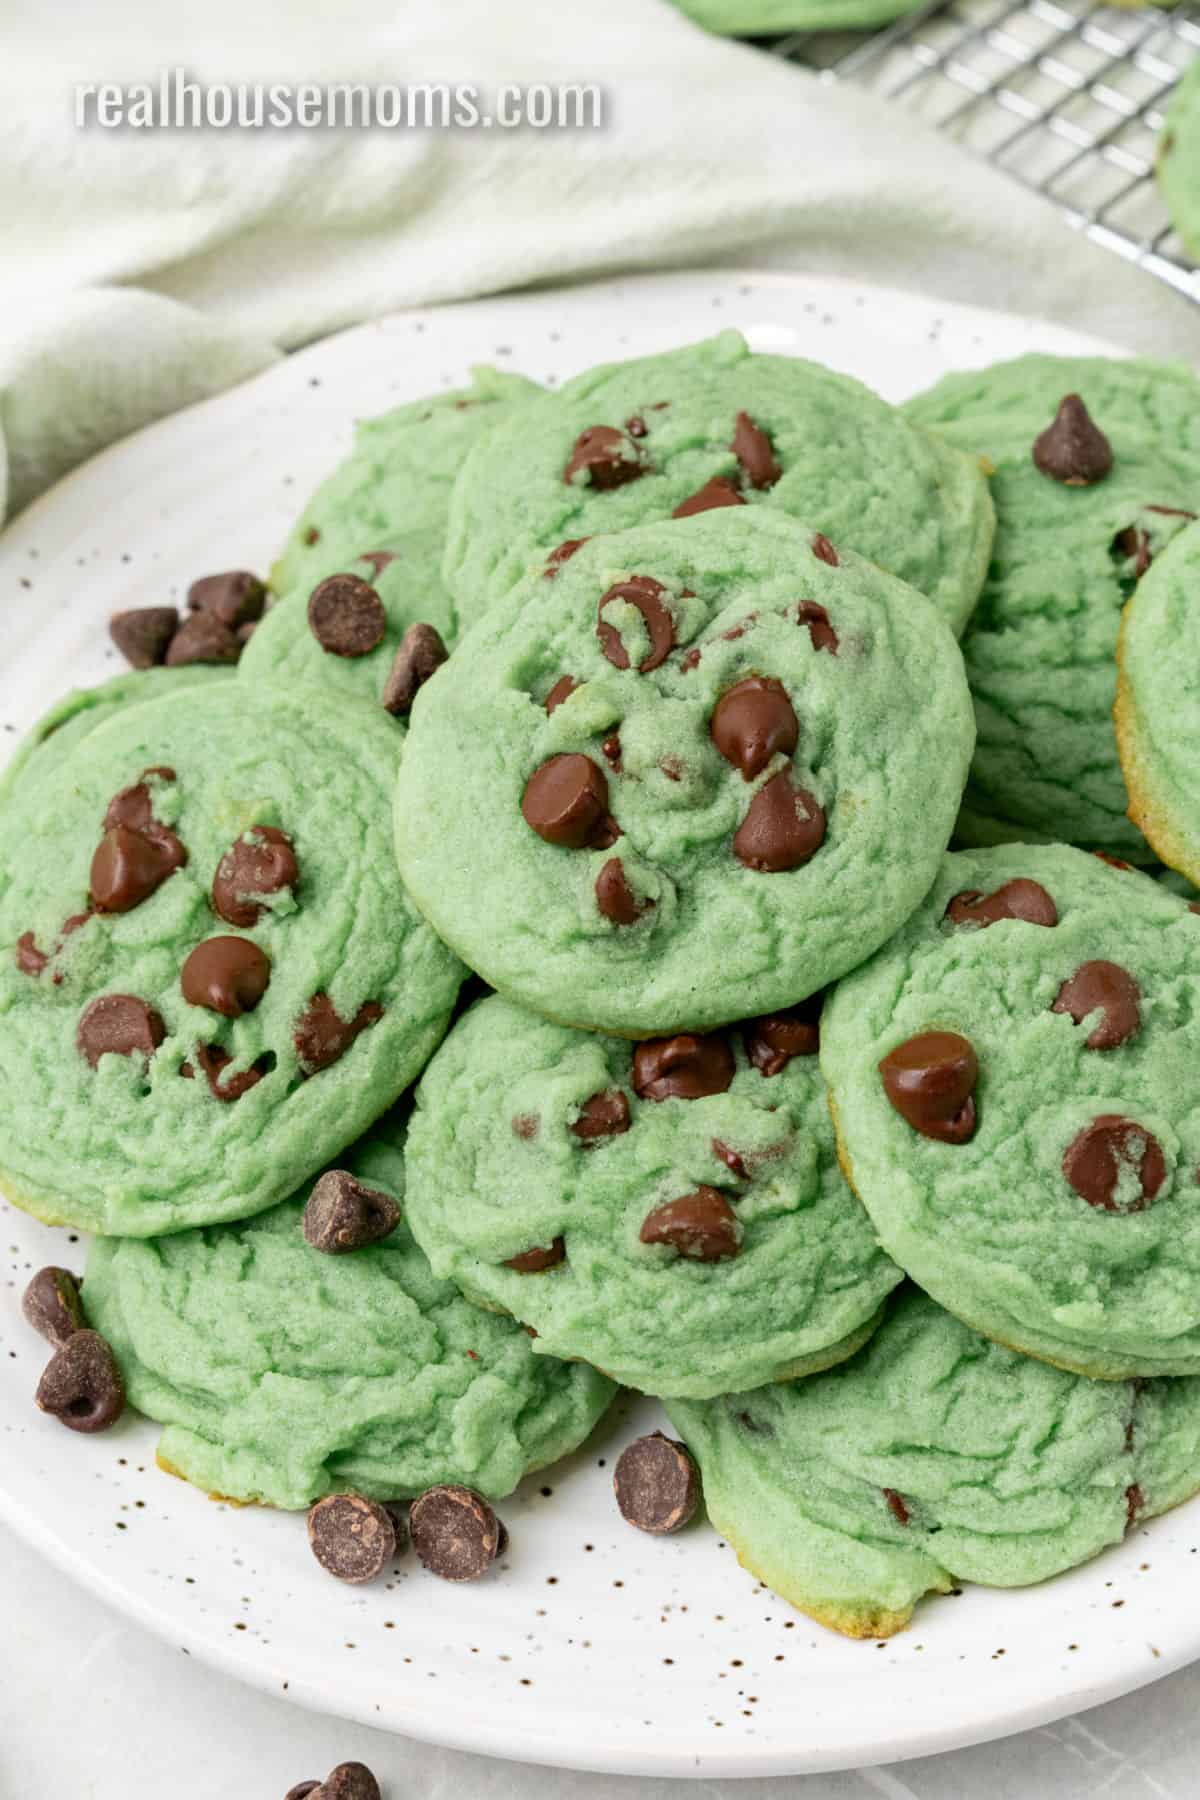
Chocolate Chip Cookie recipes are straightforward and similar, but small, seemingly insignificant alterations can make all the difference in the texture! Baking powder will result in lighter, puffier cookies, while baking soda will give you a denser, chewier cookie.
Butter can make a difference as well. If the butter is too cold, the cookie will be thicker; if the butter is melted, the cookie will spread out and be flatter. Ideally, butter should be at room temperature for the best cookie texture.
Other Marvelously Minty Dessert Recipes
- Andes Mint Pie
- Grasshopper Pie
- Mint Chocolate Rice Krispies
- Mint Fudge Stuffed Brownies
- No Bake Mint Chocolate Chip Cheesecake
- Peppermint Patty Stuffed Chocolate Crinkle Cookies
Ingredients
- 3 cups all-purpose flour
- 1 teaspoon baking soda
- ½ teaspoon salt
- 1 cup unsalted butter softened
- 1 cup granulated sugar
- ½ cup brown sugar
- 2 large eggs
- 1 teaspoon vanilla extract
- 1 teaspoon peppermint extract
- Green food coloring
- 12 ounces semi-sweet chocolate chips
Instructions
- Preheat the oven to 350 degrees F. Line a baking sheet with parchment paper and set aside.
- In a medium mixing bowl, whisk together the flour, baking soda, and salt. Set aside
- In a large mixing bowl, beat together the butter, sugar, and brown sugar until light and fluffy, about 2 minutes. Add the eggs, vanilla extract, peppermint extract, and some green food coloring, and mix to combine. (You can add more food color later if you want a more intense green.)
- Add half of the dry ingredients to the wet ingredients and mix until just combined. Then repeat, scraping the sides of the bowl as needed. If you want to cookie dough to be more green, add in additional food coloring now and mix it into the dough.
- Fold in 1 1/2 cups of chocolate chips with a rubber spatula or wooden spoon. (see note)
- Drop the cookie dough by heaping tablespoons onto the prepared baking sheet at least 2 inches apart. Gently press a few of the reserved chocolate chips into the top of each cookie dough ball.
- Bake for 7 to 9 minutes or until the cookies just begin to turn lightly golden around the edges
- Remove from the oven and allow to cool for 5 minutes on the baking sheet before transferring to a wire rack to cool completely.
Notes
- If you prefer to use salted butter, omit the 1/2 teaspoon of salt in the dry ingredients mixture.
- The extra chocolate chips get pressed into the top of the cookie dough balls before baking so you can see them once the cookies are cooked. If you prefer, you can mix in all the chocolate chips at once instead of saving some for the tops.



Leave a Reply