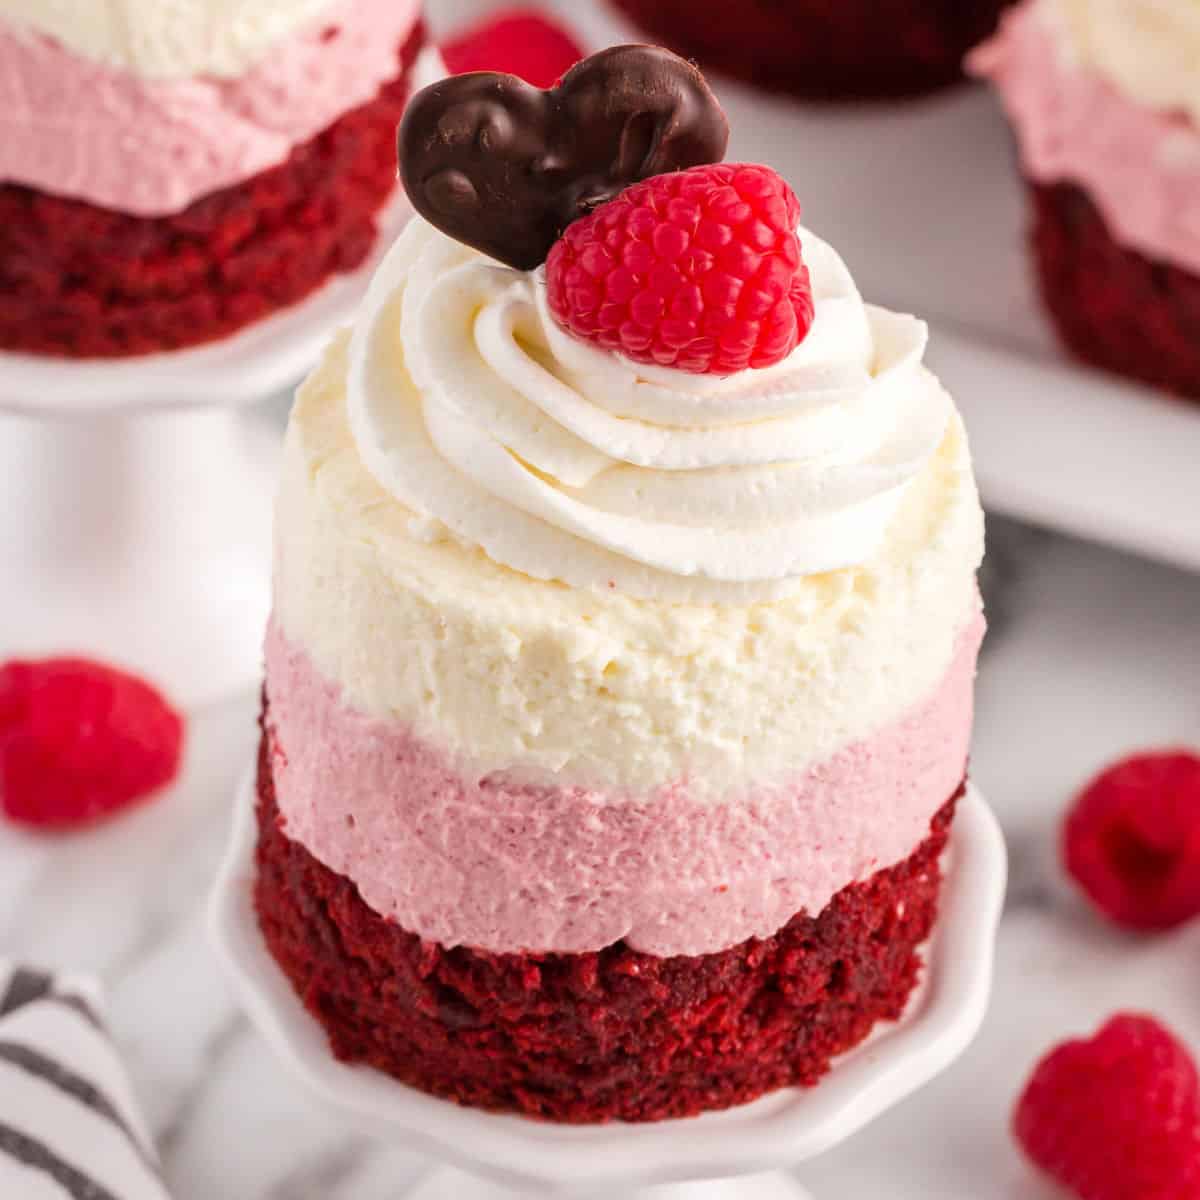
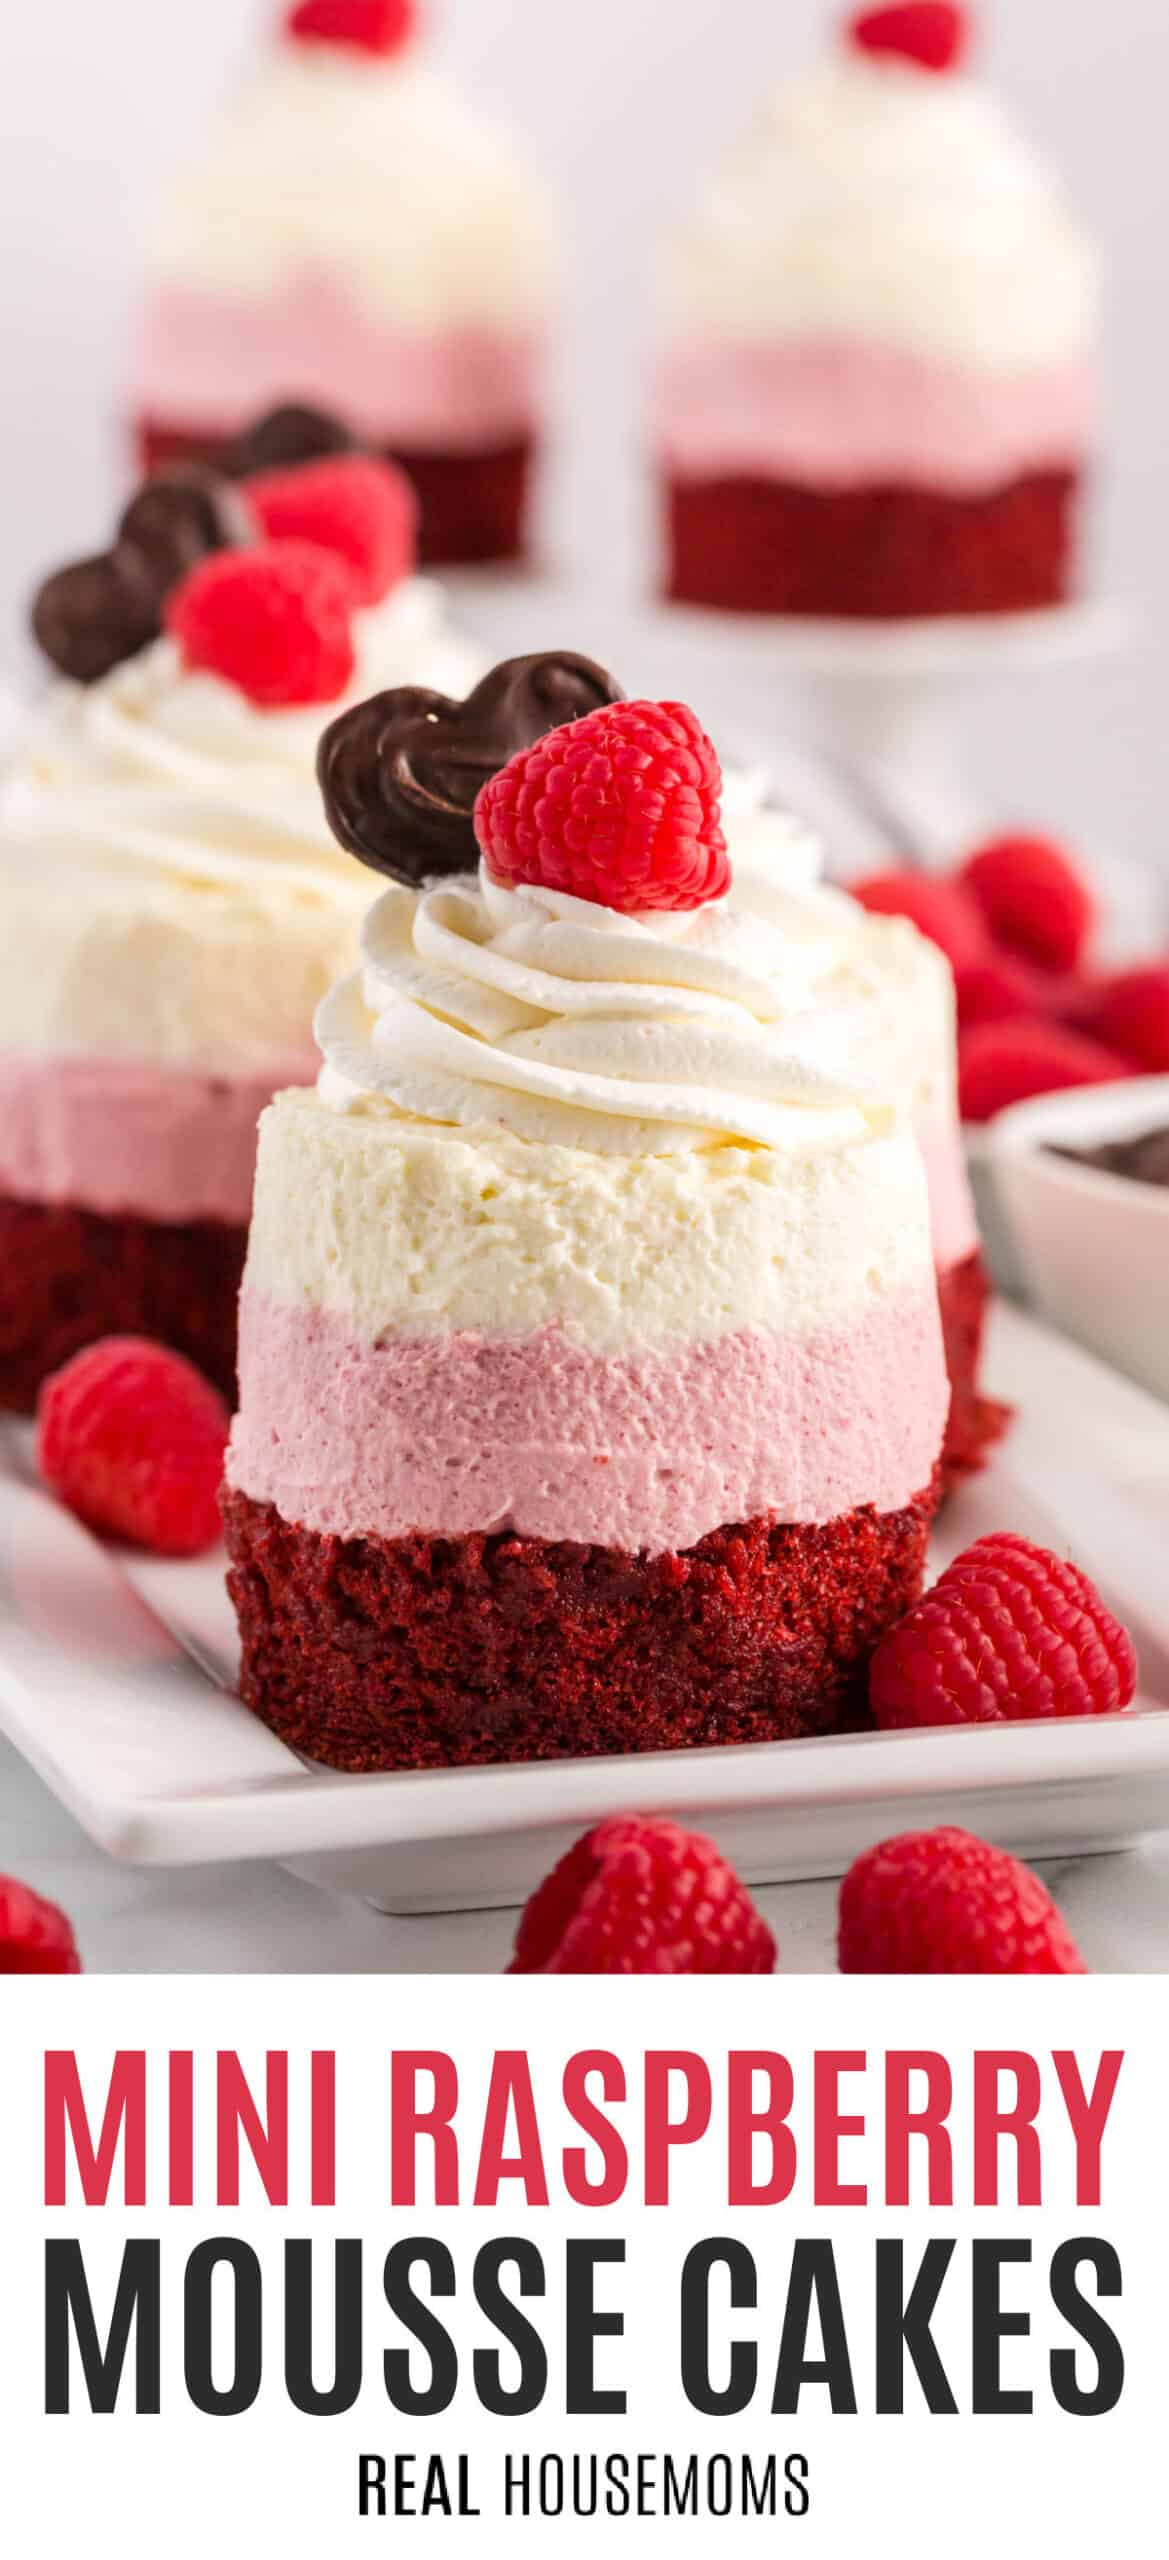
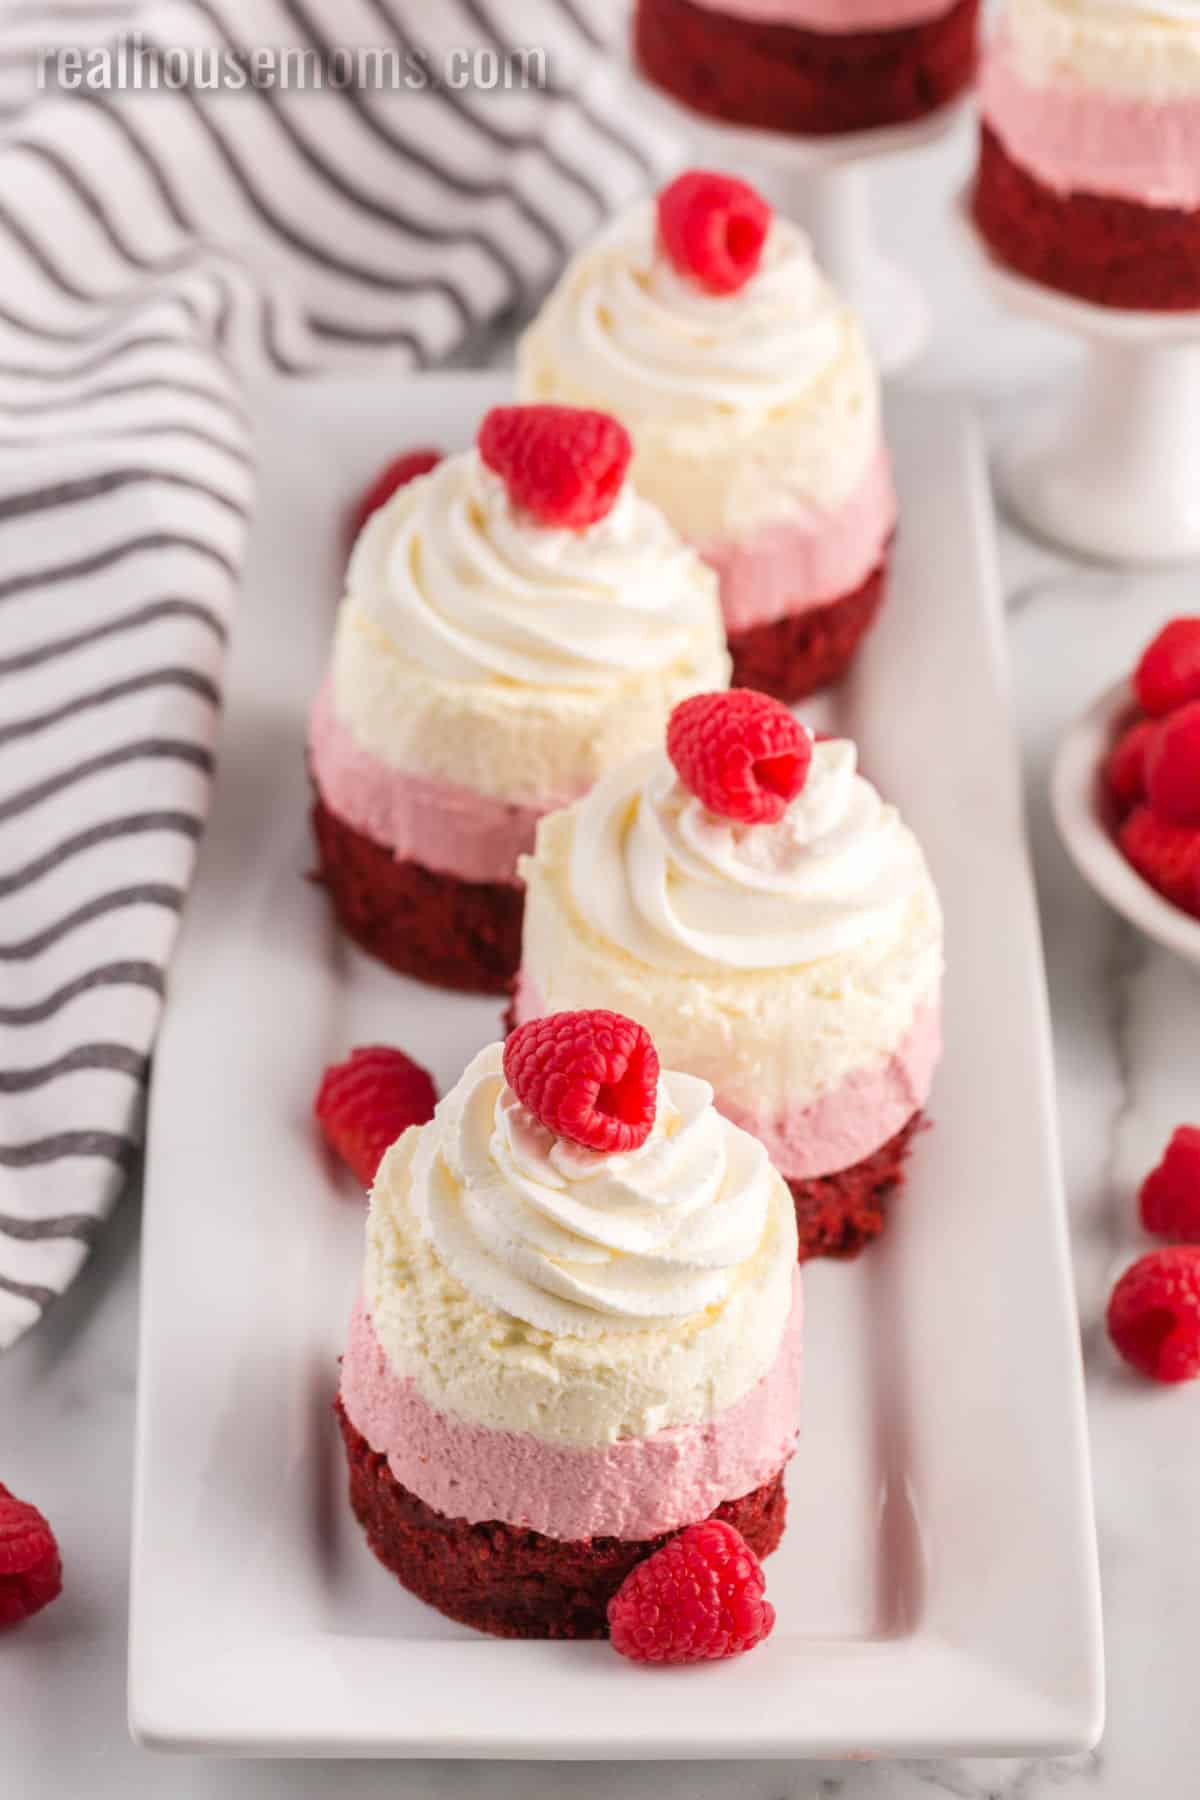
If you aim to impress this Valentine’s Day, Mini Raspberry Mousse Cakes are the perfect dessert to serve to your special someone!
All through this year, I dreamt up dinner ideas and desserts by the dozen. In all my swirling ideas, I could not seem to get away from dreaming about making some kind of chocolate raspberry mousse cake dessert. Honestly, I chickened out for so long because I was worried it was just too complicated. Lucky for me, these simple Mini Raspberry Mousse Cakes are deceptively easy to make!
MINI RASPBERRY MOUSSE CAKES
Like this recipe? Pin it to your DESSERT pinboard!
Follow Real Housemoms on Pinterest
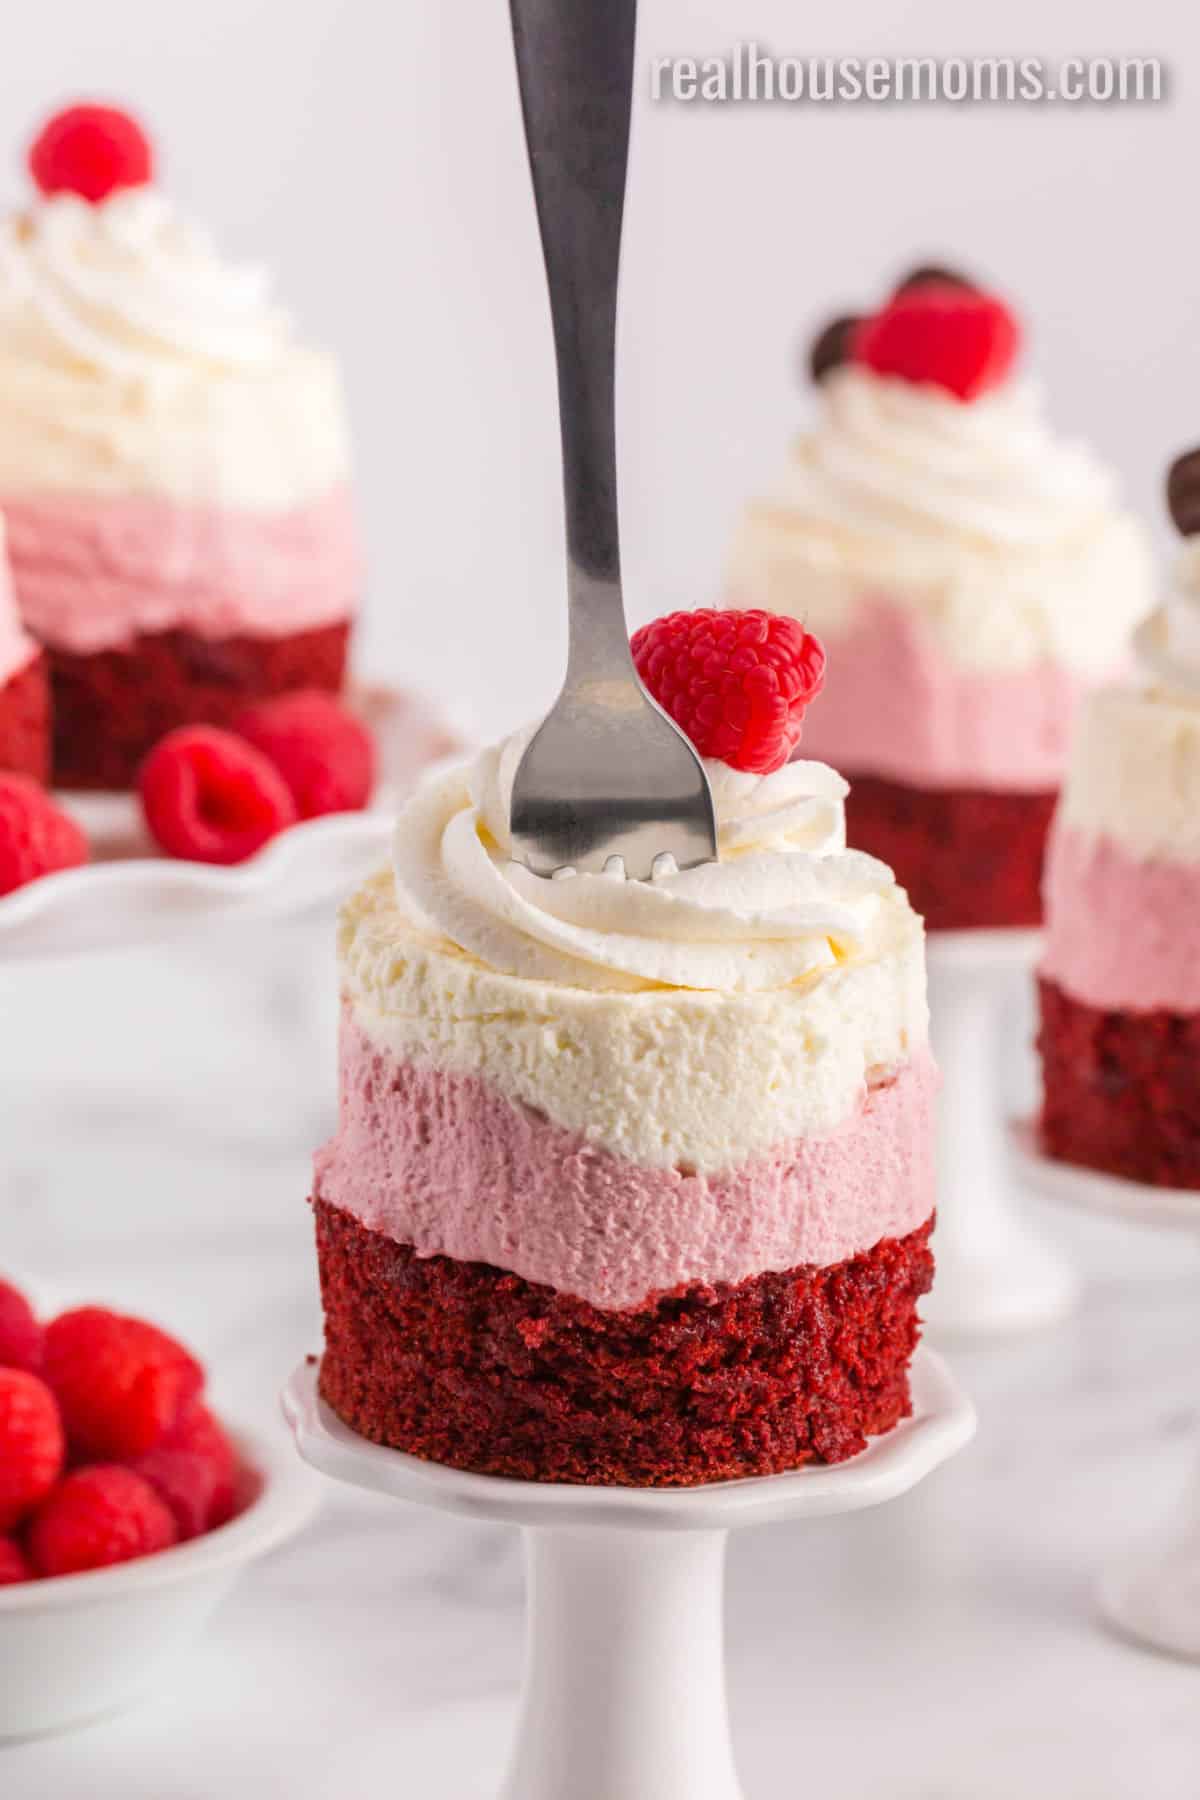
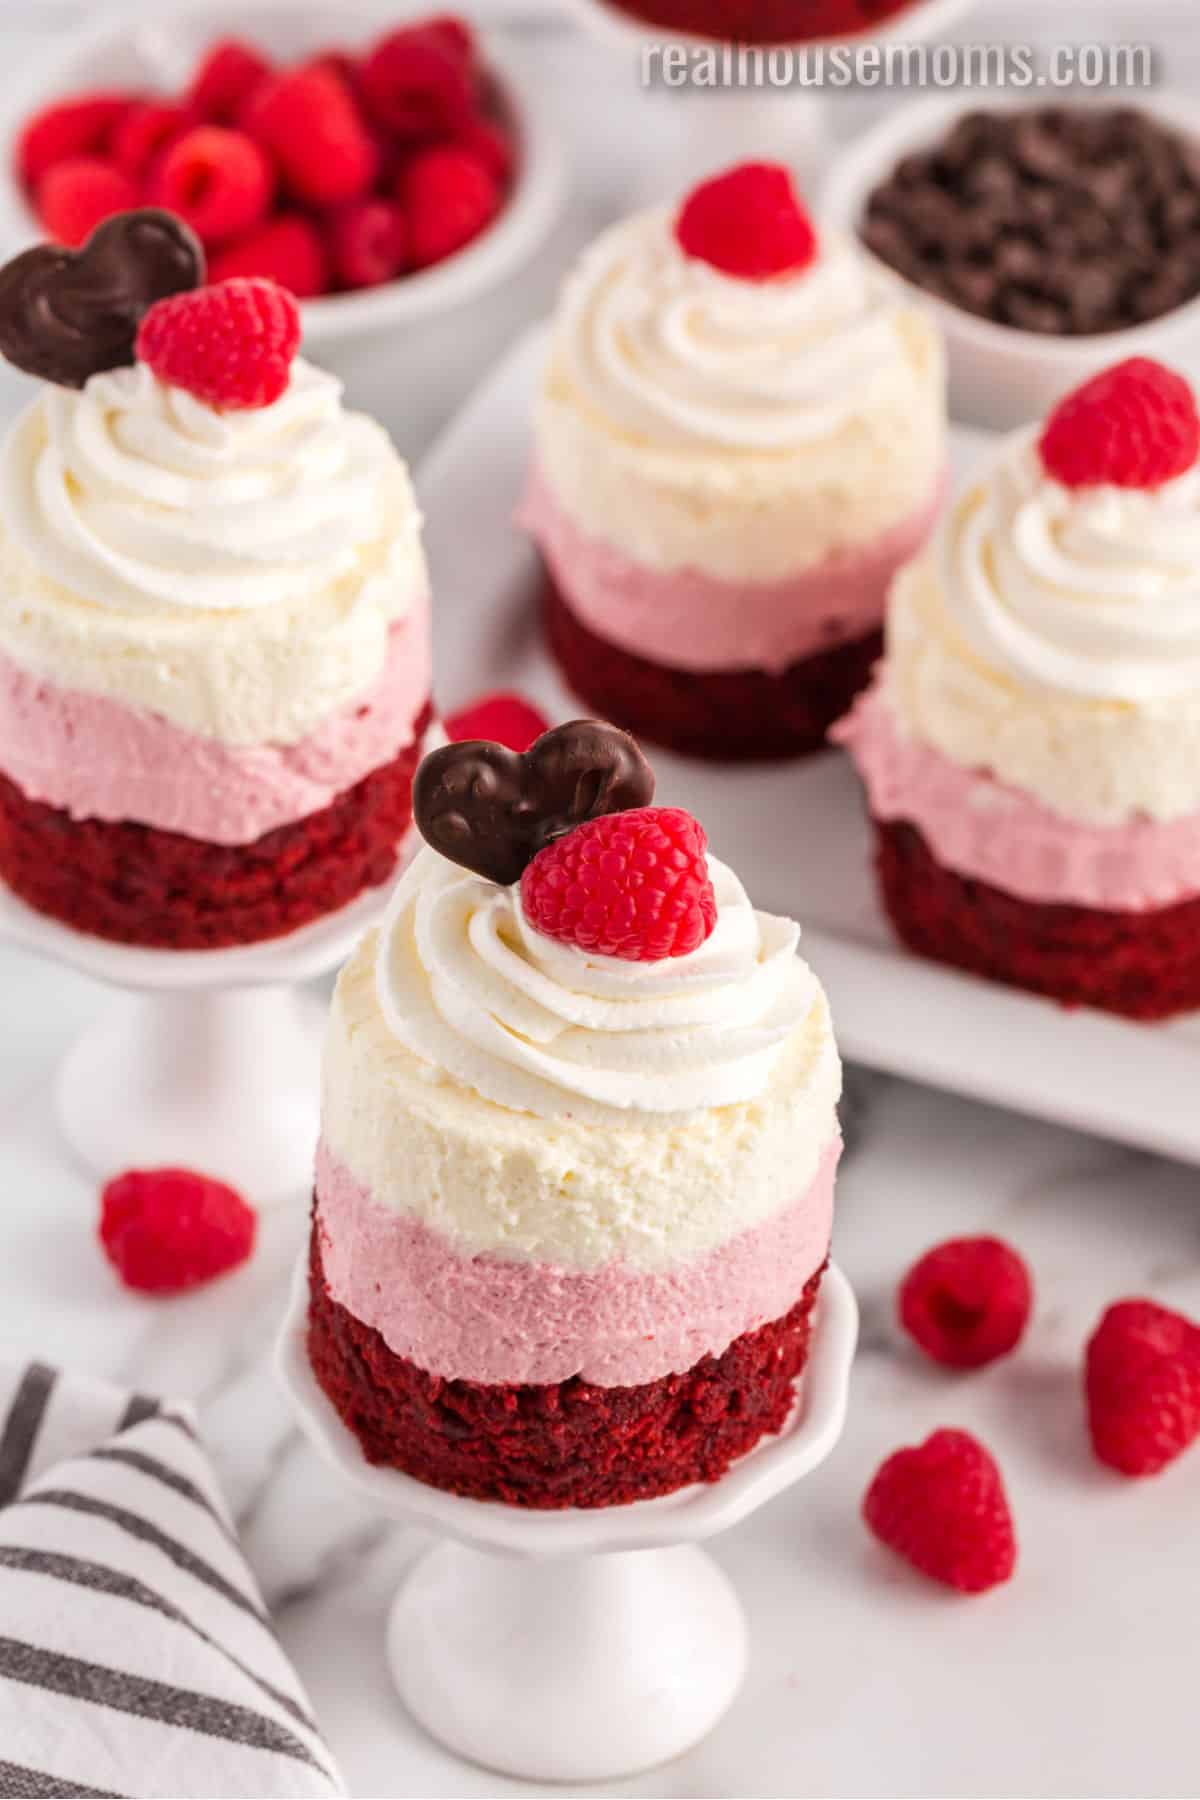
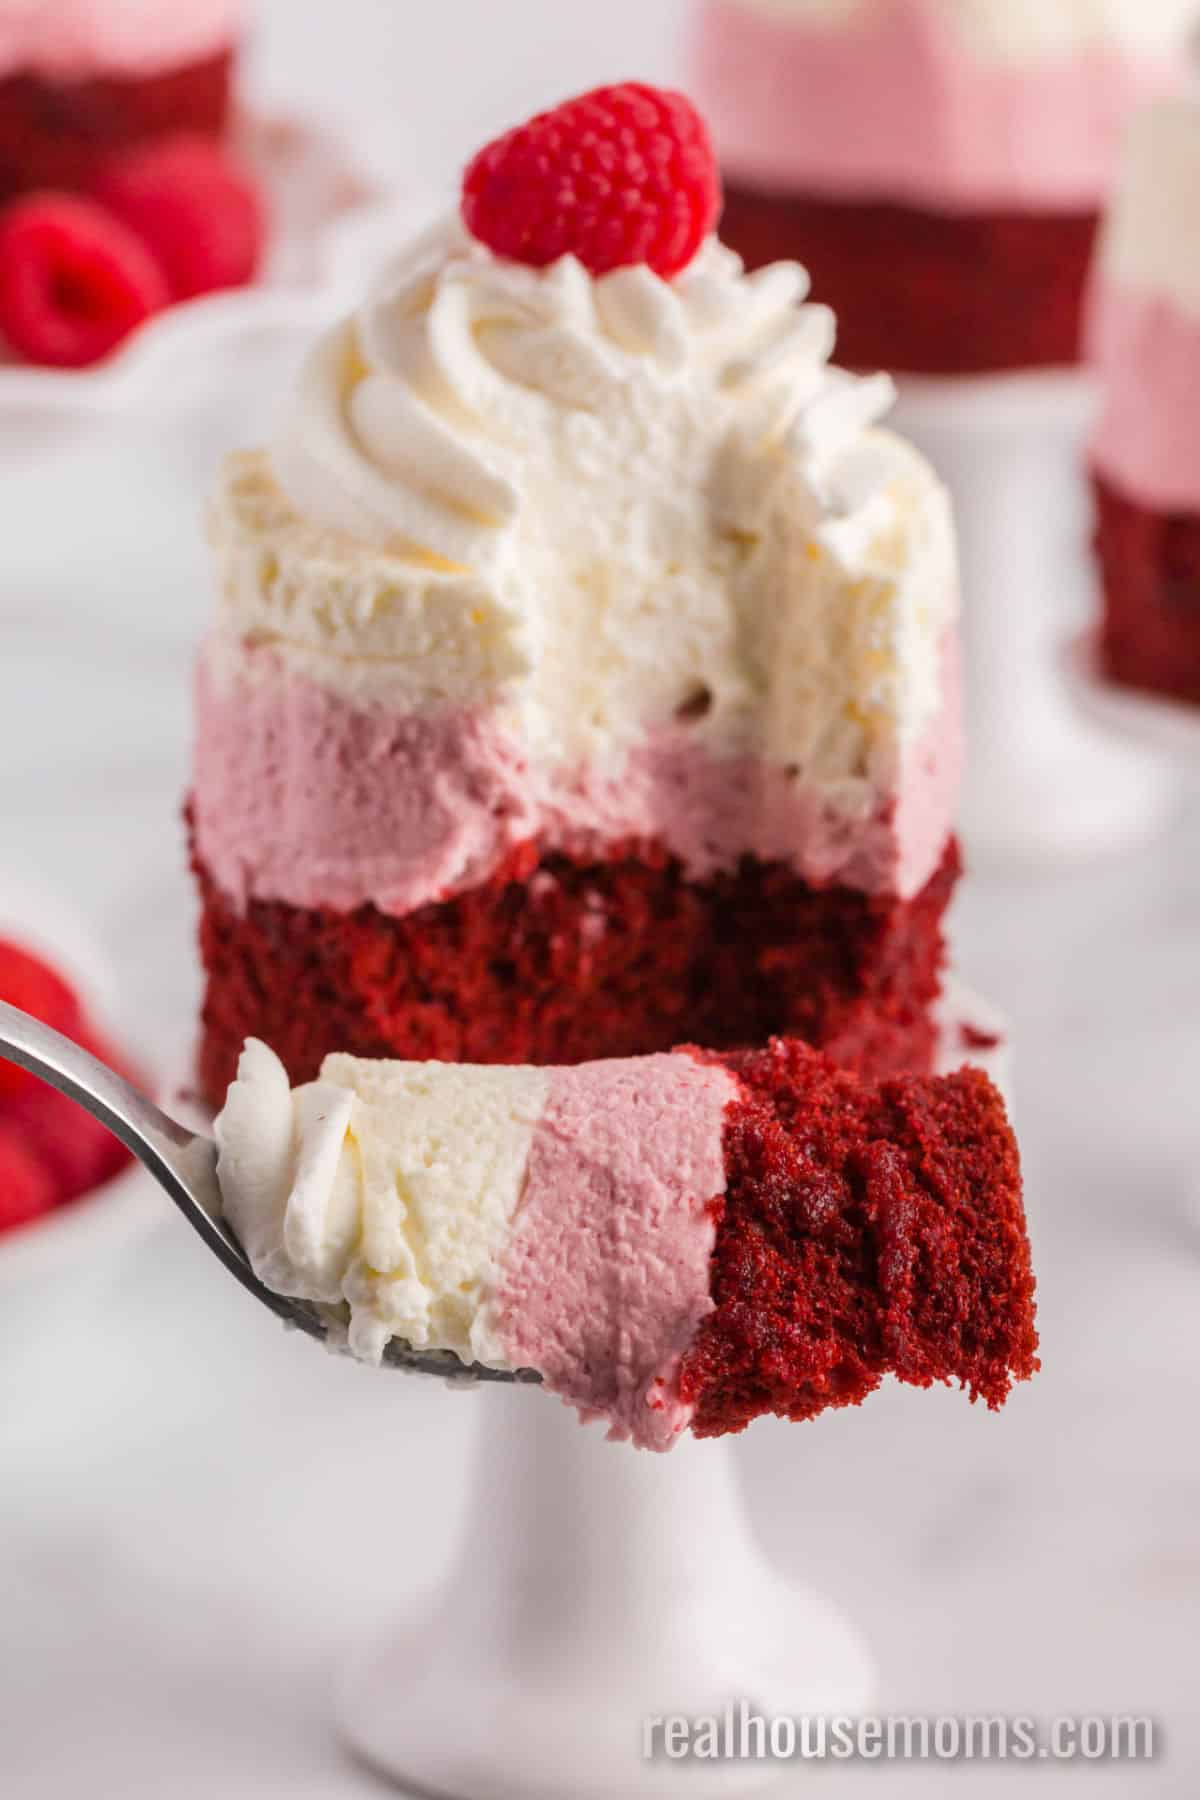
Four beautiful layers of cake, mousse, and cream come together to deliver an impressive looking, and tasting dessert that you will love sharing. These light, fluffy, and sophisticated individual cakes are perfect for a romantic dinner for two or to serve to the kids for a festively fun treat.
WHAT IS A MOUSSE CAKE MADE OF?
Red Velvet Cake: The addition of the red velvet cake essentially turns this into a chocolate raspberry mousse cake. Red velvet also lends that beautiful coloring, making this dessert just that much more visually breathtaking.
Fear not if red velvet is not your favorite cake because any cake will do. You can go for a full-flavored chocolate raspberry mousse cake and use a chocolate cake mix. You may even use a white funfetti cake mix for an extra pop of color!
Raspberry Mousse: This easy raspberry mousse cake filling is made with raspberry jelly. In the vast world of jams and jellies, raspberry is my personal favorite for everyday use. You can modify the raspberry flavor intensity by adding more jelly if you wish.
You could also easily switch to strawberry jelly if you wanted. Just keep in mind that would make this a strawberry mousse cake recipe, but both sound equally delicious to me.
HOW TO MAKE RASPBERRY MOUSSE CAKE
I know they look complicated, but I swear they aren’t. These chocolate raspberry mousse cakes just take a little time.
Layer 1- Red Velvet Cake
- For the first layer, use a boxed Red Velvet cake mix and bake the cake according to the instructions on the box. You’ll be using a 9-inch x 13-inch cake pan that has been greased and floured.
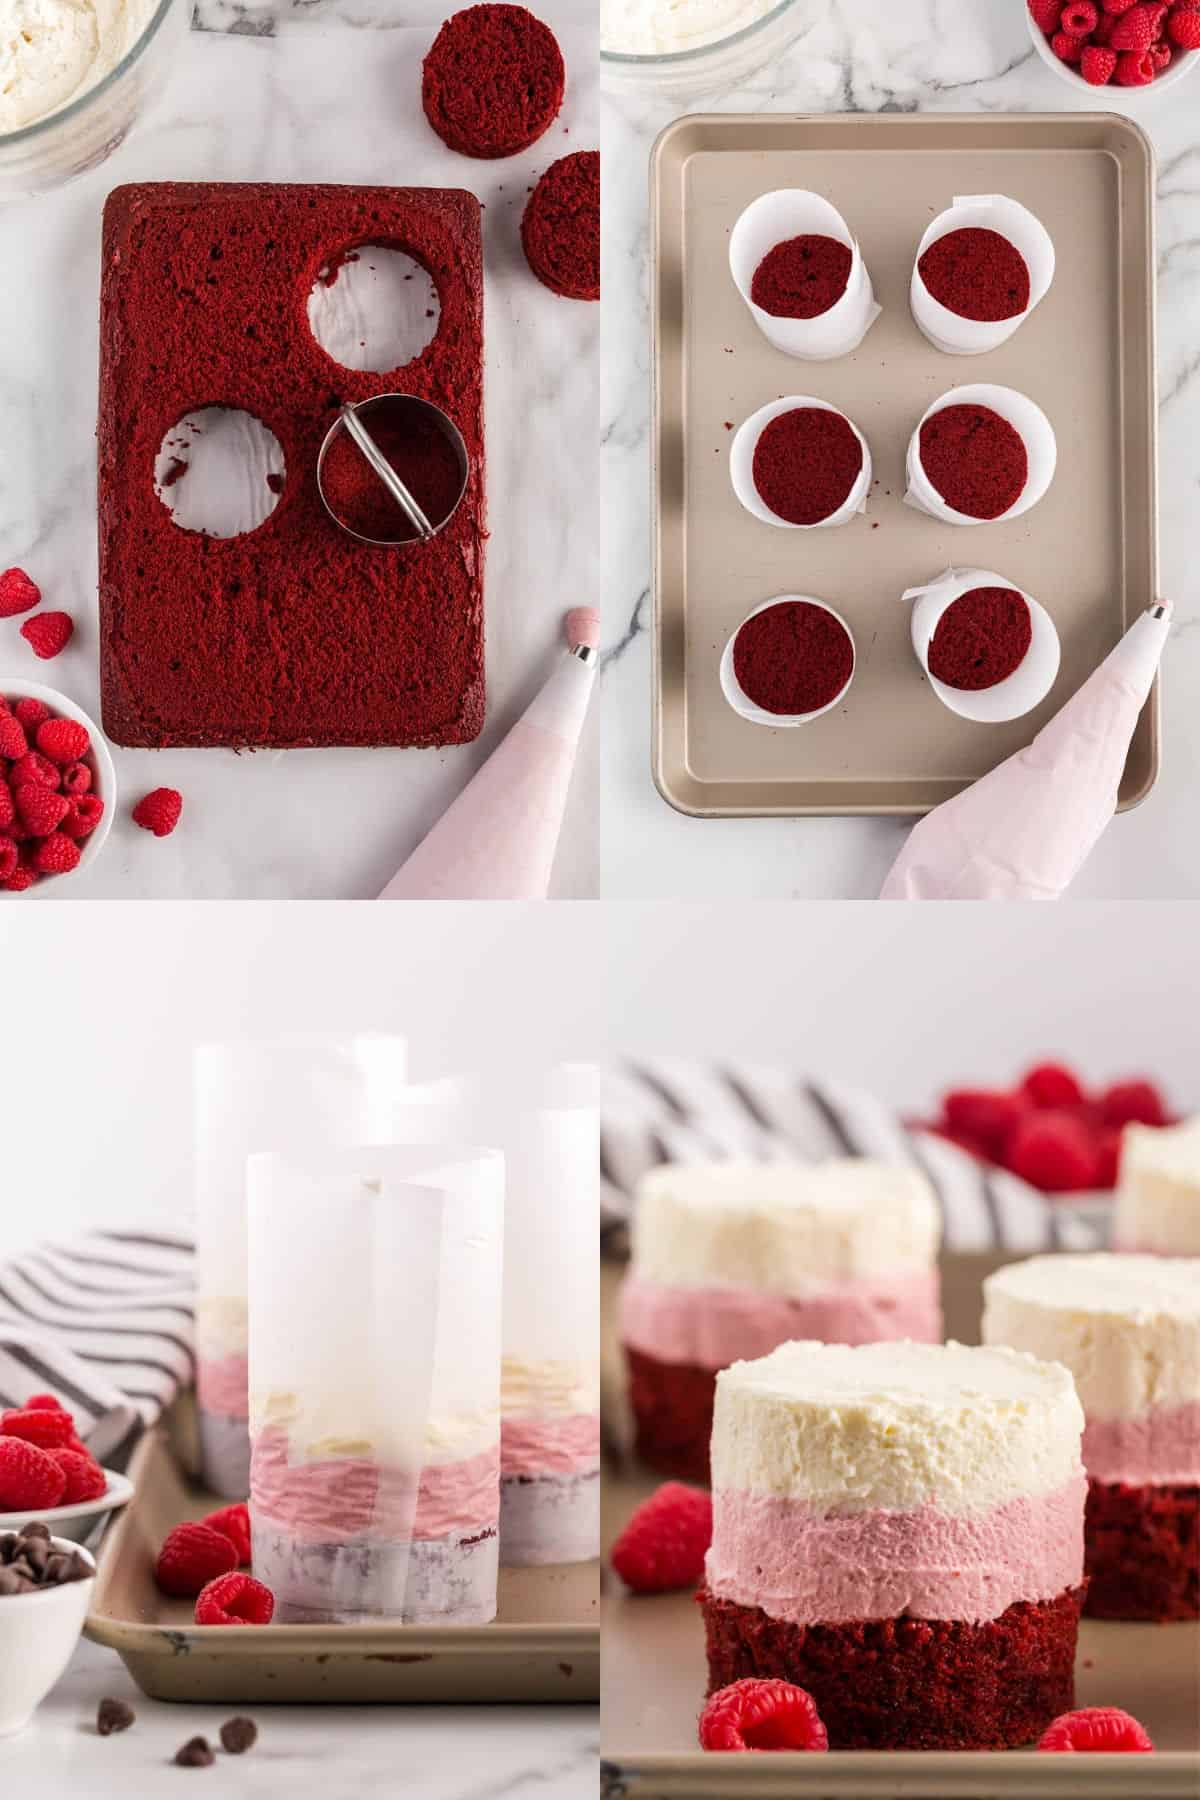
- Once the cake is cooled to room temperature, remove them from the pans, and cut off the domed top so they’re flat. Then use a small glass or cookie cutter to cut out 8 circles about 3 inches in diameter each.
- Place your cake layers on a baking sheet where they will remain until everything is ready to serve.
- Next, make your forms. Cut parchment paper to fit around the cake circle leaving some overlap to tape it together. Each strip of paper should be about 10-inch long x 5-inches high. If in doubt about the height, remember it is better to size it too high than cut it too short.
- Tape the paper together to make a cylinder to mold the mousse. You will be able to remove the paper easily later on once your mousse cake is set.
Layers 2 and 3 – Raspberry Mousse & Cream Cheese Mousse
To save time, you can start both layers of your mousse together.
- In your stand mixer using the whisk attachment, mix the heavy cream, powdered sugar, and vanilla extract for both mousses until it reaches soft peaks. (You can also use a hand mixer nad a large bowl.)
- When finished, divide the finished product in half. (You can make each mousse recipe separately as listed in the recipe card below, or make all the whipped cream at once and divide it. There’s no wrong answer here.)
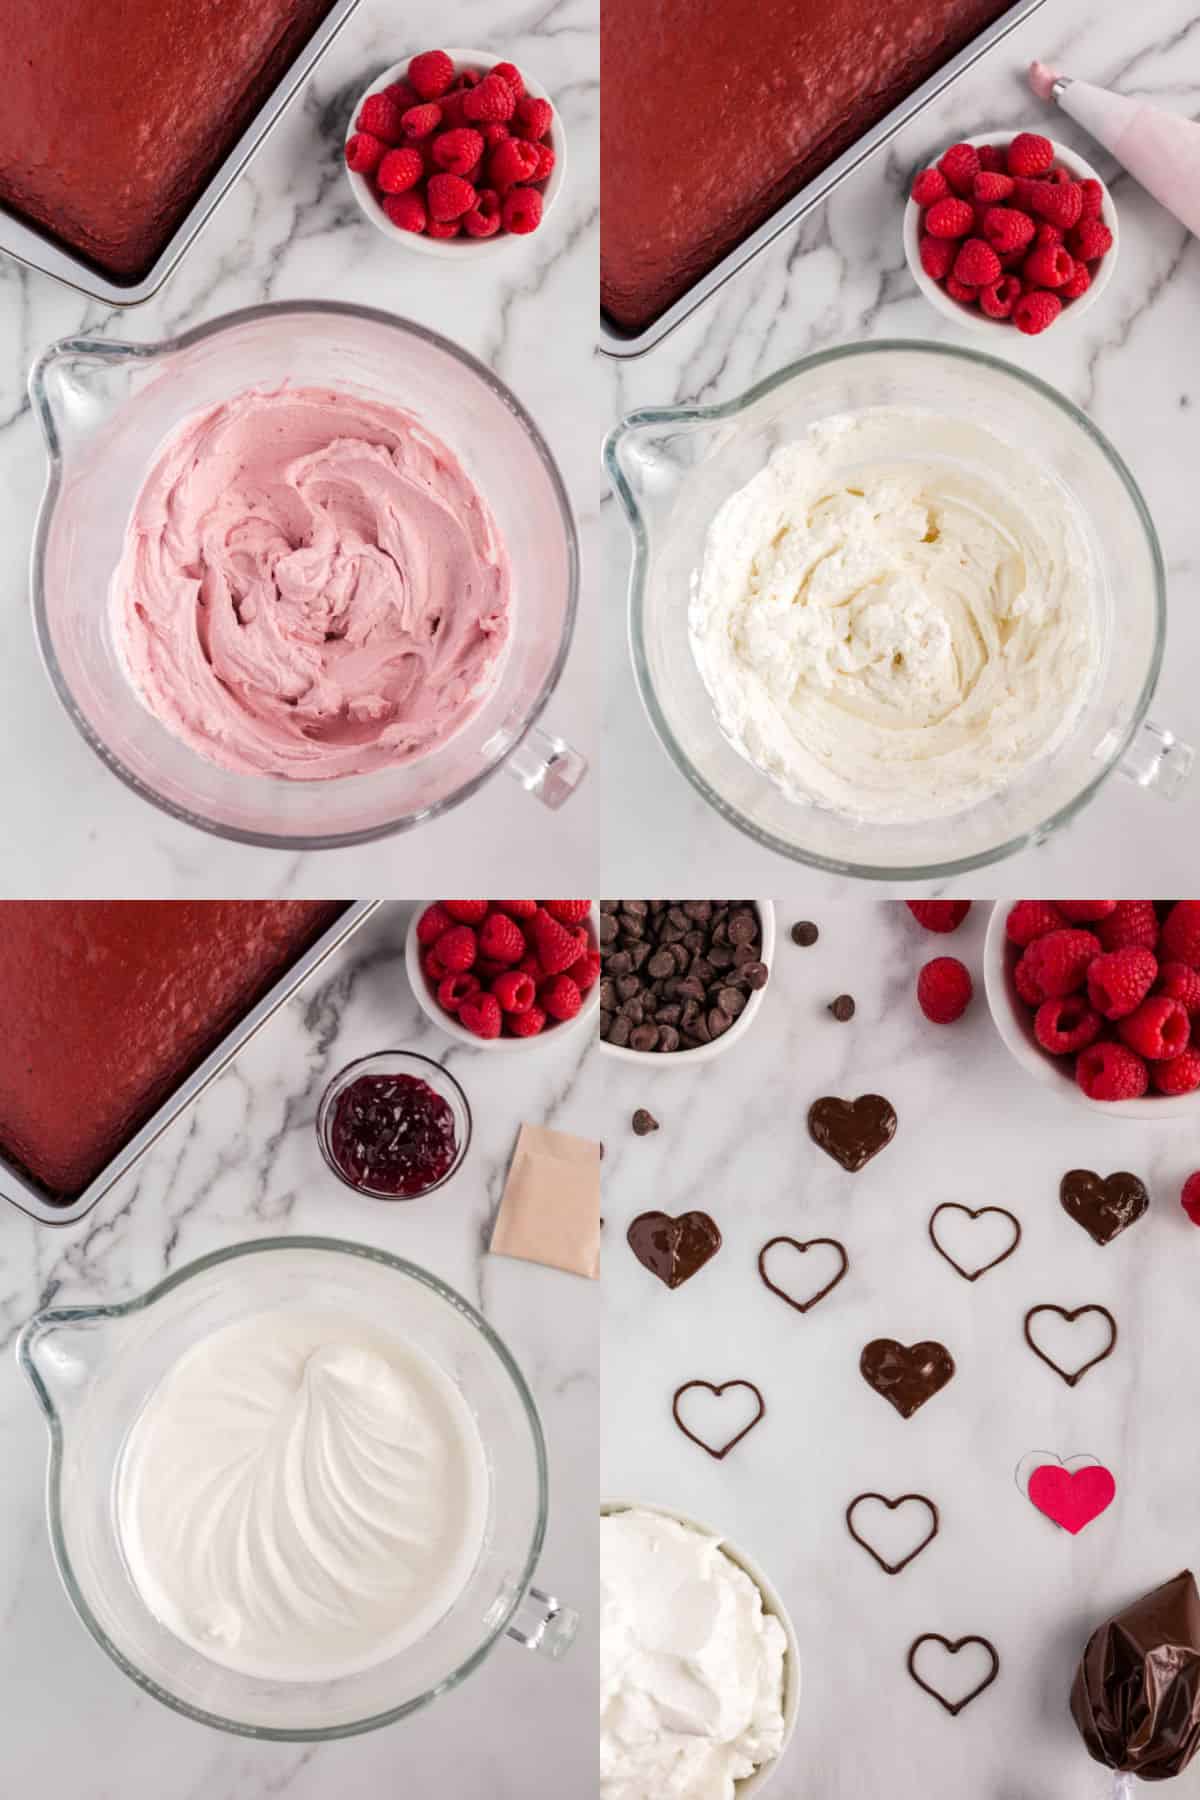
- To finish your raspberry mixture add the raspberry jelly and 1/2 packet of gelatin to the first half of your whipped cream mixture and continue to whip it until it reaches stiff peaks.
- Put your raspberry mousse into a piping bag and pipe your first mousse layer into your mold on top of your red velvet cake layer. This layer should be about 1-inch thick.
- To finish your cream cheese mousse, mix together the cream cheese and powdered sugar in a separate bowl. Add the sweetened cream cheese to the remaining whipped cream and sprinkle the other 1/2 of your gelatin packet over everything. Whip until the mousse reaches stiff peaks.
- Put your cream cheese mousse into a piping bag and pipe your second mousse layer into your mold on top of your raspberry mousse layer. This layer should be about 1-inch thick.
- Put your cakes into the refrigerator and let them set up for at least 1 hour.
Layer 4 – Whipped Cream
The easiest layer of all!
- In your stand mixer, whip the remaining cup of heavy cream, 1 tablespoon of powdered sugar, and a teaspoon of vanilla extract until it reaches stiff peaks.
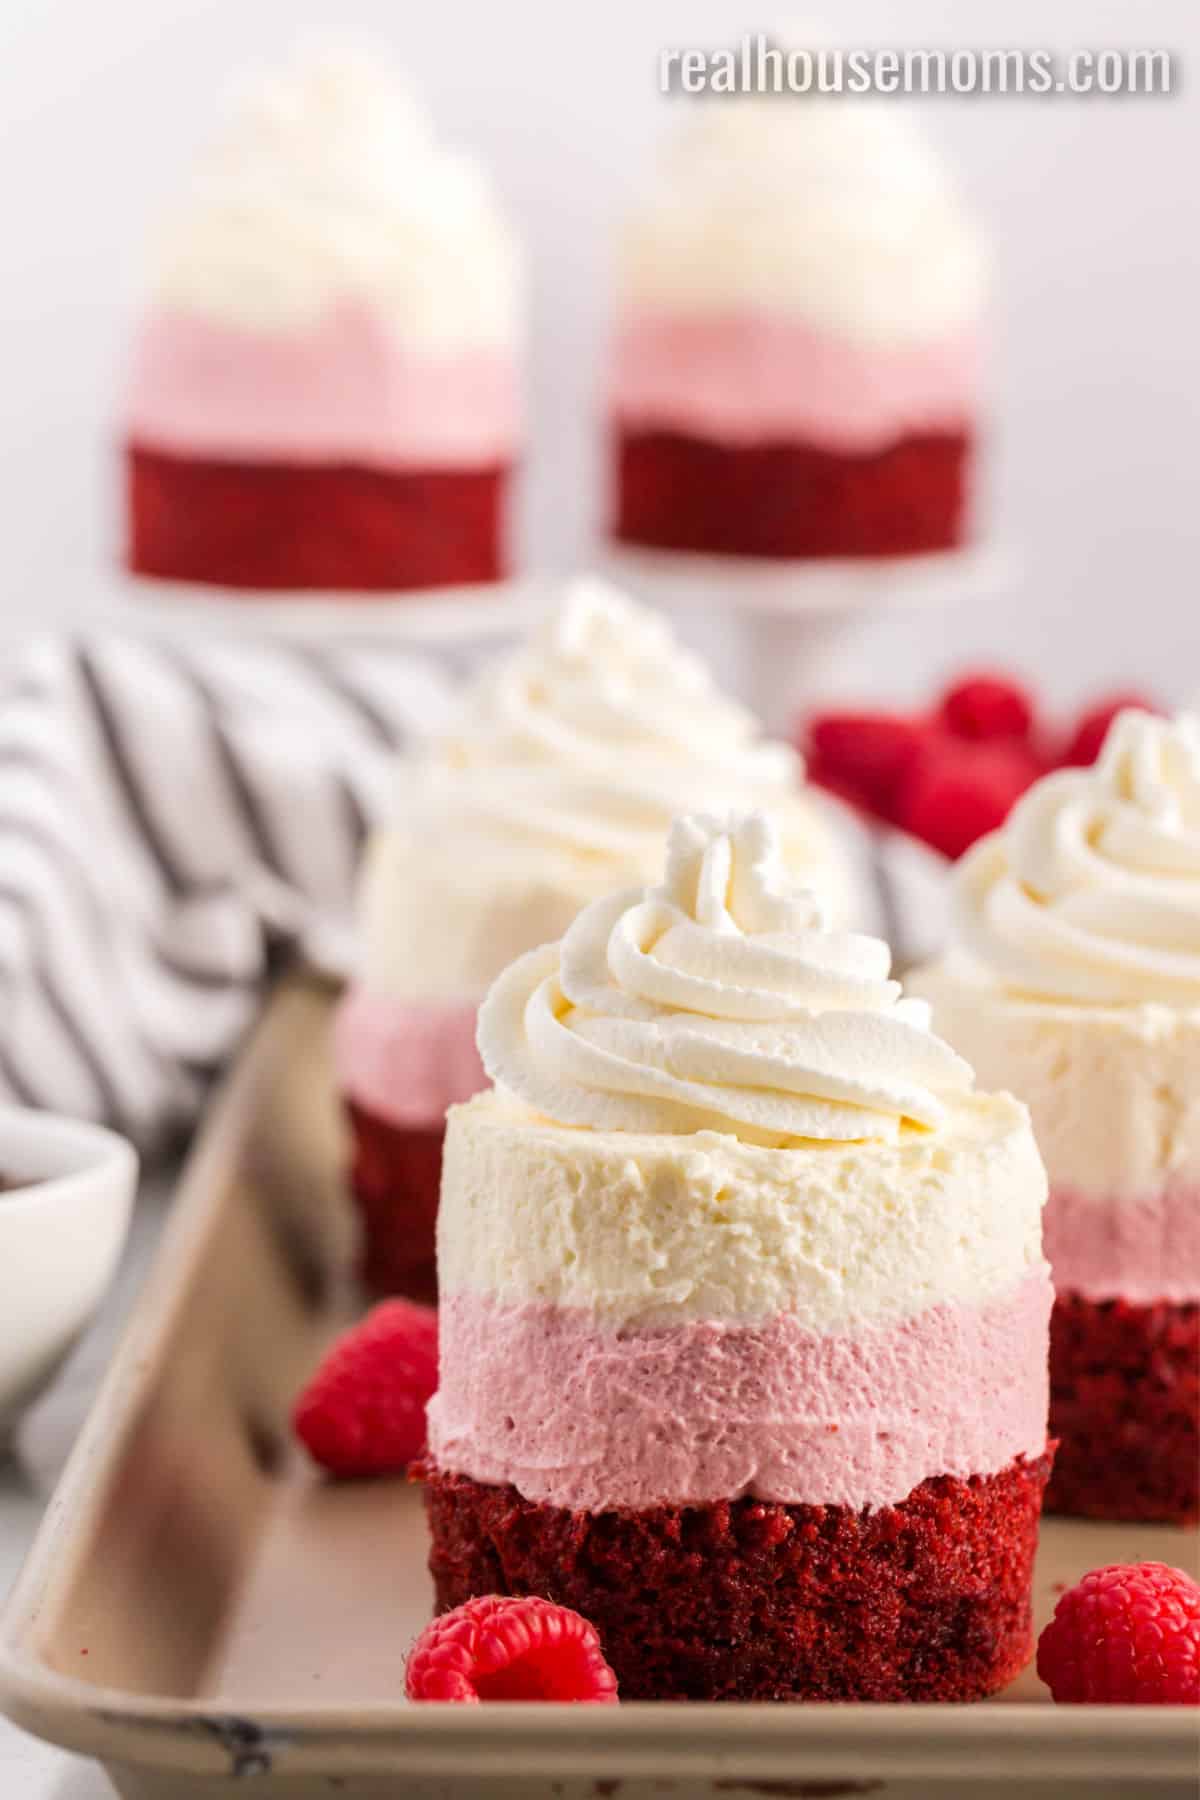
- Once your mouse is set, gently remove the parchment paper from your Mini Raspberry Mousse Cakes and top with your final layer of whipped cream!
Layer 5 – Garnish and Decor
- While the cakes chill, add the chocolate chips to a microwave-safe bowl. Heat them for 30 seconds, give them a site, and repeat until the chocolate is melted and smooth. Then pour the chocolate into a piping bag and snip the end off so you can pipe thin lines.
*You could use white chocolate or dark chocolate if you prefer. I like the contrast of colors, so I usually go with semi-sweet or dark chocolate. - Pipe chocolate hearts onto a parchment paper-lined baking sheet. Be sure to make extras in case any of the hearts break. Then pop the hearts into the fridge and chill for 10-15 minutes until hard.
- To serve, garnish with some handmade chocolate hearts and fresh raspberries! There is no right or wrong, so decorate these delicious desserts however you’d like. Have fun and create something special for your loved ones. (I’ve even chopped up any chocolate from leftover or broken hearts and sprinkled it over the top.)
HOW LONG CAN I KEEP A RASPBERRY MOUSSE CAKE IN THE FRIDGE?
Because this cake contains whipped cream in the mousse layers and on top, it definitely needs to be refrigerated. The good news is that your Mini Raspberry Mousse Cakes should keep in the fridge for an average of 3 days. After refrigeration, you can let the cakes come up to room temperature before serving or serve cold.
TRY THESE OTHER MOUSSE DESSERTS
- No Bake Raspberry Cheesecake Mousse
- Irish Cream Mousse Cups
- Pumpkin Mousse Dip
- Eggnog Mousse Parfaits
- No-Bake Peanut Butter Pie
- More dessert recipes…
TOOLS USED TO MAKE THIS MINI RASPBERRY MOUSSE CAKE RECIPE
Stand Mixer: An MVP for saving me from all the mixing and whipping for this recipe. Can you even make mousse without a stand mixer? (YOu can, but it’s a lot easier with one!)
Parchment Paper: Such a delicate dessert requires the best tools! I trust this parchment paper to hold its form when I am assembling my mousse towers.
*This post originally posted on 01/31/2015.
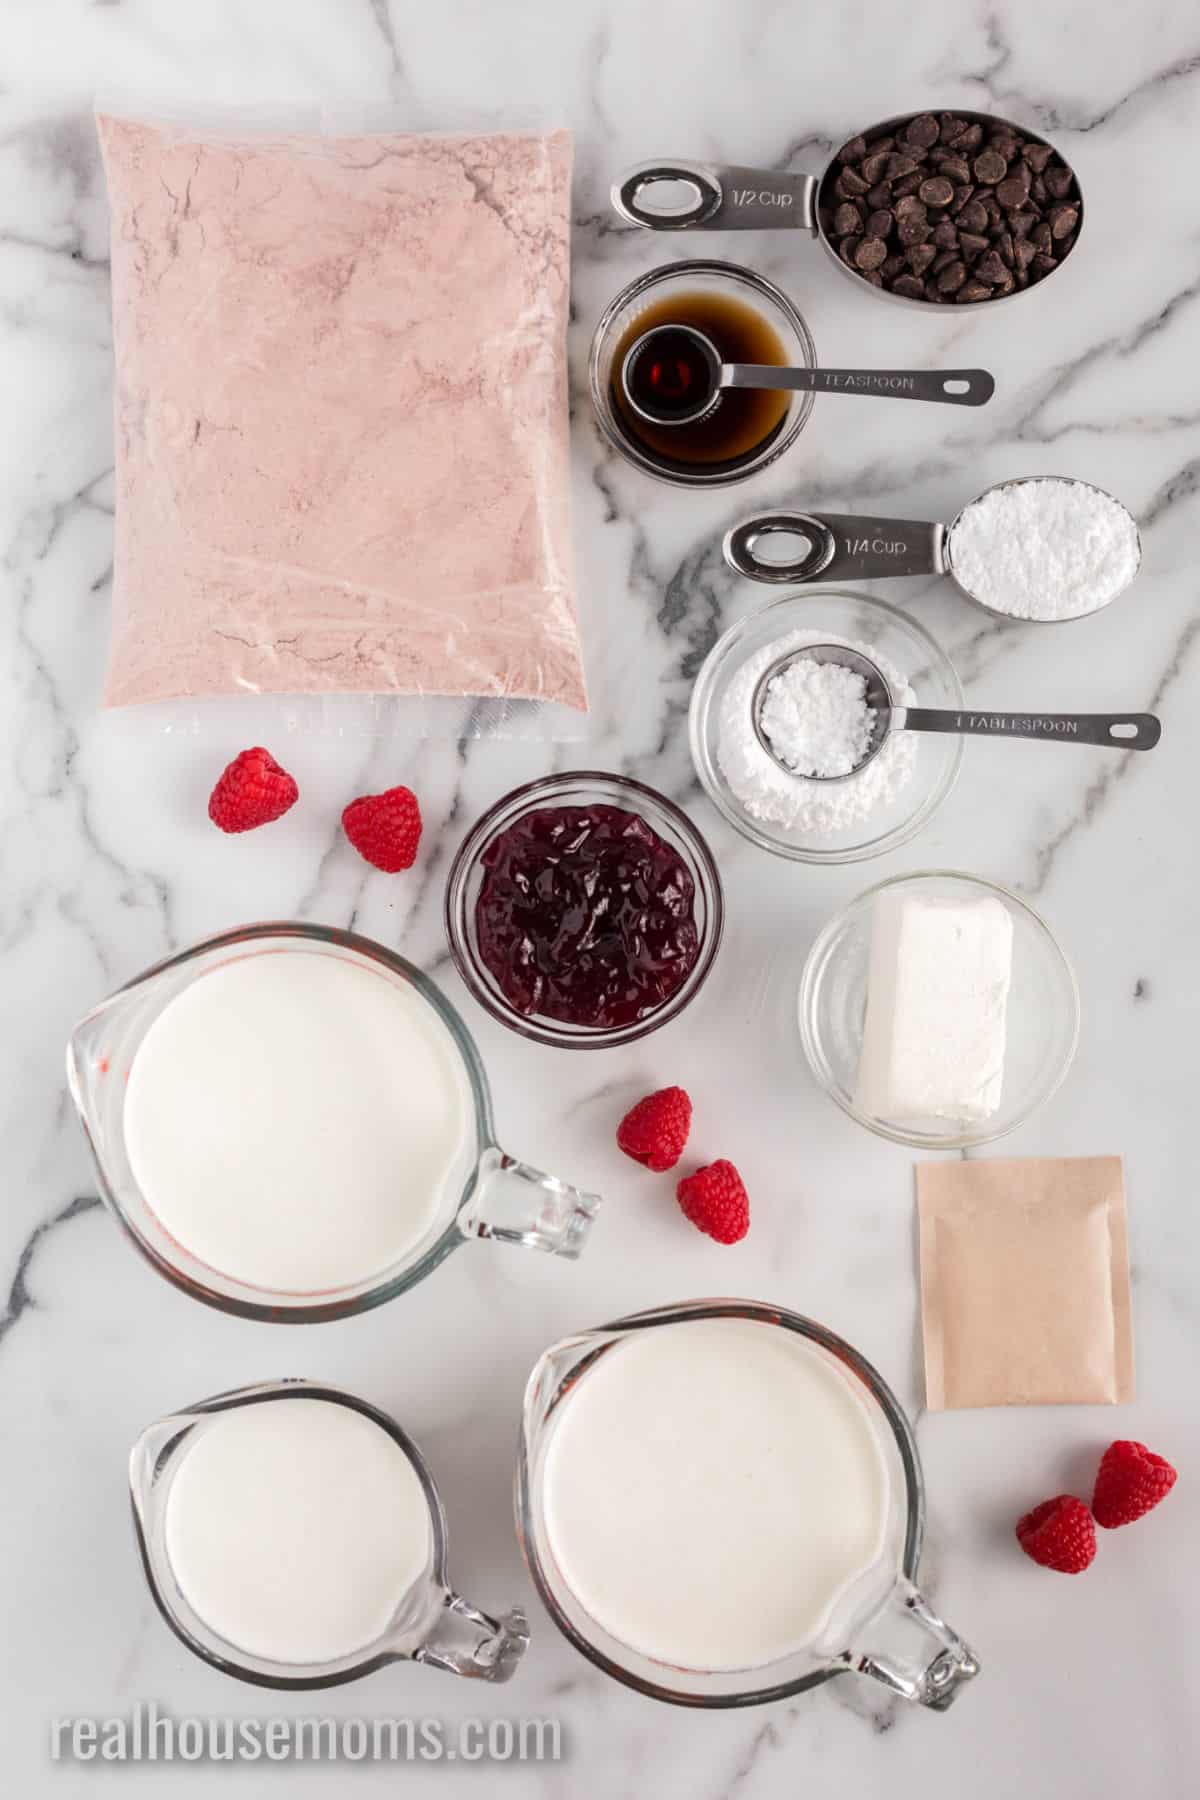
Ingredients
- 15.25 ounces red velvet cake mix plus ingredients to prepare (1 box)
- 5 cups heavy cream divided
- 10 tablespoons powdered sugar divided
- 3 teaspoons vanilla extract divided
- 2 tablespoons raspberry jelly plus more to taste
- 0.25 ounce unflavored gelatin (1 envelope)
- 3 ounces cream cheese
- ½ cup chocolate chips
- Fresh raspberries for garnish
Instructions
Red Velvet Cake
- Prepare and bake the red velvet cake according to the instructions on the box for a 9-inch x 13-inch pan that's been greased and floured.
- Remove cakes from oven and let cool completely on a wire rack. Then use a sharp knife to cut off the domed part of each cake so they are flat.
- Using a cup or cookie cutter cut out 6 circles, about 3 inches in diameter, from each cake.
Raspberry Mousse
- In a stand mixer using the whisk attachment, whip 2 cups heavy cream, 2 tablespoons powdered sugar, and 1 teaspoon vanilla extract until it reaches soft peaks.
- Add raspberry jelly and sprinkle half of the packet of gelatin over the mixture. (You can add more raspberry jelly if you want a stronger raspberry flavor.) Continue whipping until the raspberry mousse reaches stiff peaks.
Cream Cheese Mousse
- In a mixing bowl, beat together cream cheese and 1/4 cup powdered sugar until smooth
- In a stand mixer using the whisk attachment, whip 2 cups heavy cream, 2 tablespoons powdered sugar, and 1 teaspoon vanilla extract until it reaches soft peaks.
- Add cream cheese mixture to whipped cream and sprinkle half of the packet of gelatin over the mixture. Continue whipping until the cream reaches stiff peaks.
Whipped Cream
- In a stand mixer using the whisk attachment, whip 1 cup heavy cream, 2 tablespoons powdered sugar, and 1 teaspoon vanilla extract until it reaches soft peaks.
Assembly
- Place the red velvet cake circles on a baking sheet. Cut 6 strips of parchment paper. They each should be about 10 inches long and at least 5 inches high. Wrap each strip of parchment around the base of each cake circle. Use a piece of tape to secure the paper together.
- Put raspberry mousse in a piping bag and pipe a 1-inch thick layer on top of each red velvet cake round.
- Next, put the cream cheese mousse in a piping bag and pipe a 1-inch thick layer on top of the raspberry mousse.
- Use the baking sheet to transport the cake to the refrigerator and let chill for 1 hour. This will allow the mousse to set up.
- While the cakes chill, place chocolate chips in a microwave-safe bowl. Heat for 30 seconds, stir, and repeat until chocolate is melted and smooth. Put melted chocolate in a plastic bag and cut a small piece of the corner off so you can pipe a thin line of chocolate.
- On a piece of parchment paper draw several chocolate hearts. (Be sure to make extras in case they break!) Put them in the refrigerator to harden for about 10-15 minutes. Once hardened remove them from the parchment paper.
- Once the mousse is set remove cakes from the fridge. Carefully remove and discard the parchment paper. Add whipped cream on top and then garnish with chocolate hearts and fresh raspberries.
Nutrition
If you liked this you might also like…
Cupid’s Arrow Valentine’s Day Favors


Rosemarie says
Beautiful presentation, Love the creativity of using parchment paper for the collars – so smart!
Carole says
These are amazing! Good job and so creative. And, beautiful…pinning to Pinterest!
Kat & Melinda says
Thanks so much Carole!
Julia @ Swirls and Spice says
Very impressive! I love the chocolate hearts too!
Lucy says
OK, this looks wonderful! I hope someone makes it for me this valentines day!!!!
Kat & Melinda says
Me too, I’m sure you deserve it 😉