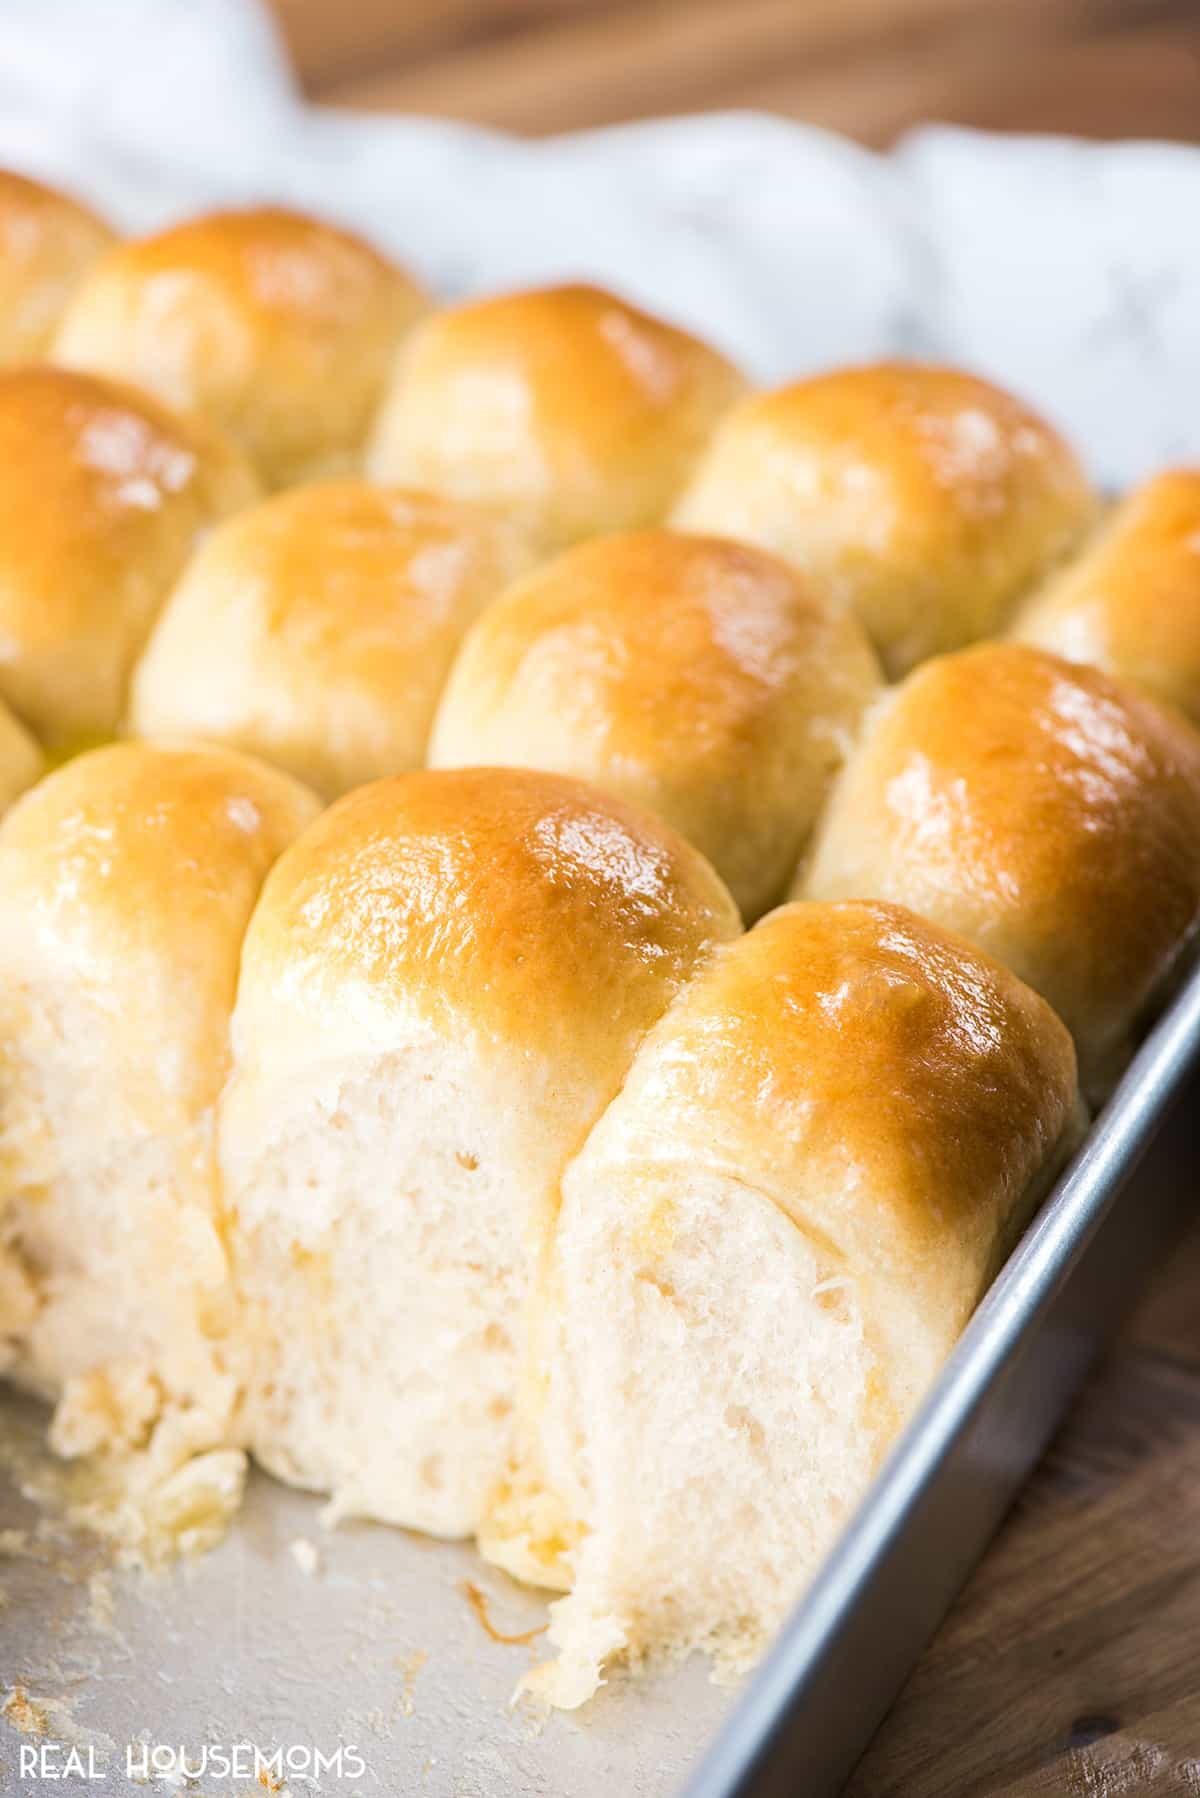
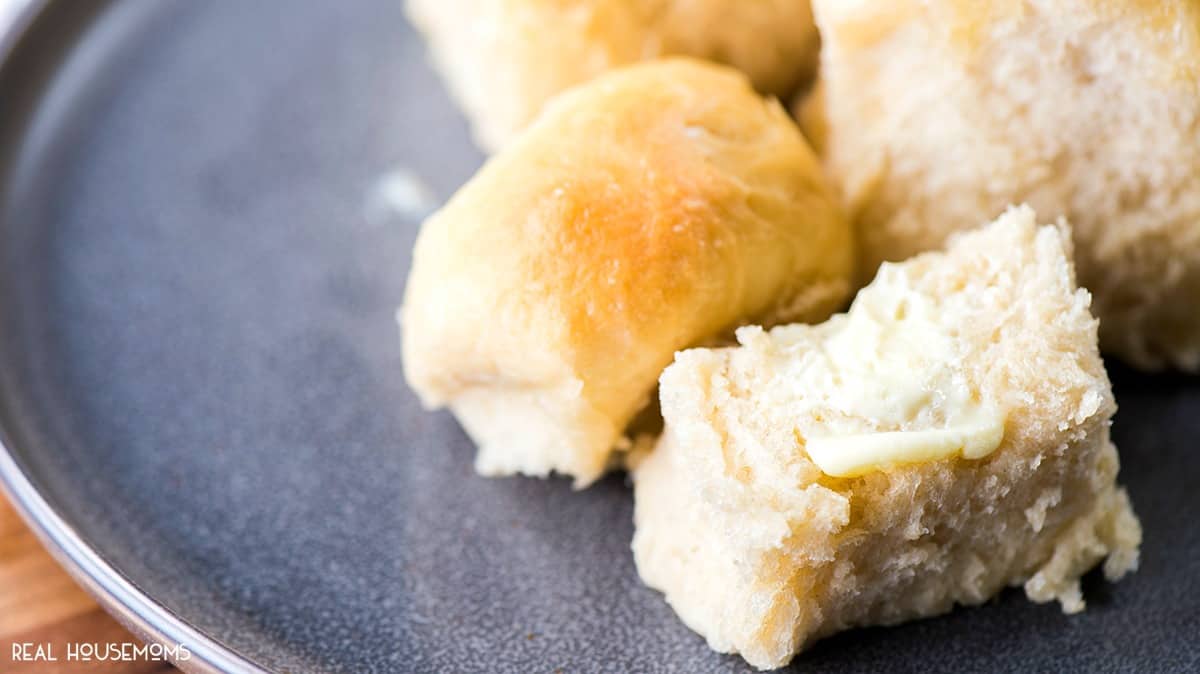
Mamaw’s Rolls are a classic yeast dinner roll recipe just like my great-grandma used to make. They’re so easy to make and you can even be made ahead of time and frozen for later.
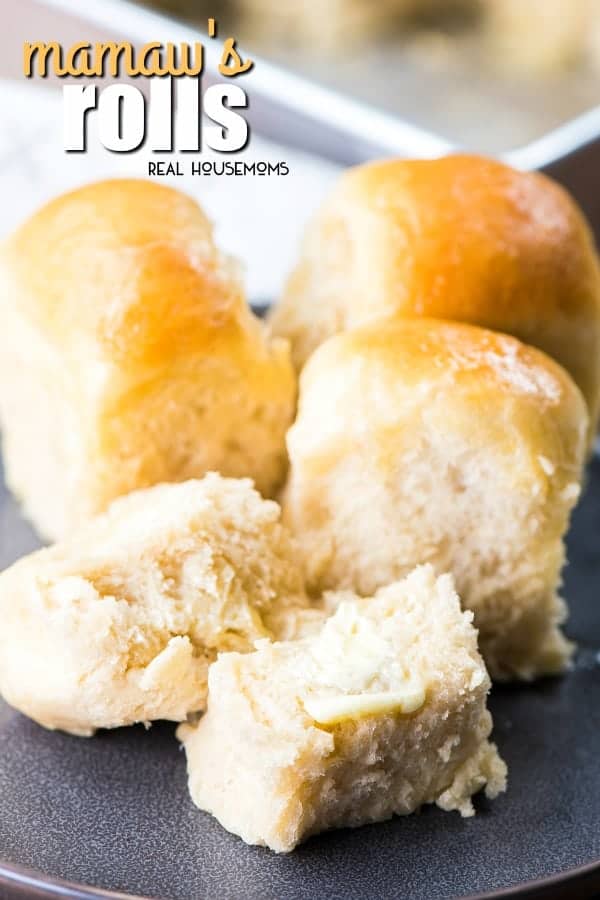
I’ve talked before about my great grandmother’s big breakfasts. They were big in every way possible – just like Mamaw’s Cinnamon Rolls. She’d feed huge crowds of family and extended family. There would be a lot of food and her rolls could almost be categorized as loaves! I’ve never seen a dinner roll that big since. Mamaw’s Rolls were yeast rolls and we’d pile them high with a fried egg, bacon or sausage and kibbe Naya. Mamaw (my great grandmother) passed away about 20 years ago and we talk about this dinner roll recipe every time we reminisce about our favorite Mamaw memories over breakfast or dinner.
MAMAW’S ROLLS
Like this recipe? Pin it to your SIDE DISH pin board!
Follow Real Housemoms on Pinterest
My cousin recently came to visit and we spent about 2 days working on this recipe. Mamaw was her grandmother and her dad was taught the recipe at some point. I had asked her for the recipe awhile back but it’s one of those awesome family recipes that has a palm full of this and a little bigger palm full of that so having her here to help me learn how to make dinner rolls was amazing! I think we’ve got this figured out for you. I gave my 8-year-old a roll yesterday after they came out of the oven and he loved them so much he kept going on and on but my favorite quote of his was “they’re beyond amazing!” He may have earned an extra dessert for that 😉 I loved sharing that with him though because he never met Mamaw, so it was a way to connect him in a real and tangible way to our family history. THAT is so important to me and what I will be so thankful for this Thanksgiving, as I make all our traditional family dishes, like these homemade dinner rolls and Syrian Rice.
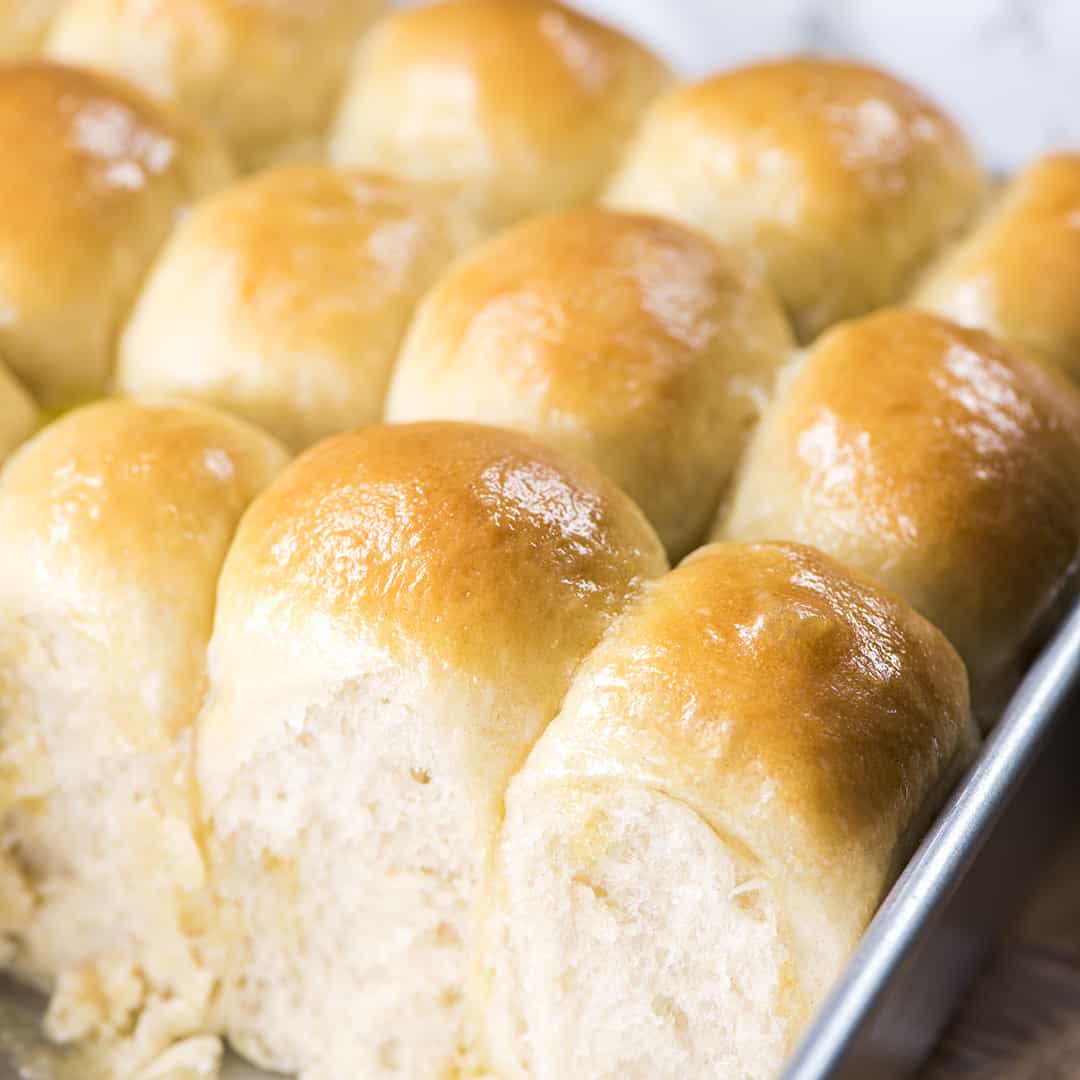
You could make these yeast dinner rolls the traditional size or Mamaw’s size. A Mamaw size roll is about double the size of a regular roll. So a pound of flour will get ya 16 rolls. I made a 2-pound batch because you can make them ahead of time and partially bake them, freeze them, then pull them out to finish anytime I want. That makes them perfect for Thanksgiving. There is nothing like a fresh baked roll to go with your Thanksgiving dinner and making them ahead makes it possible without all the fuss.
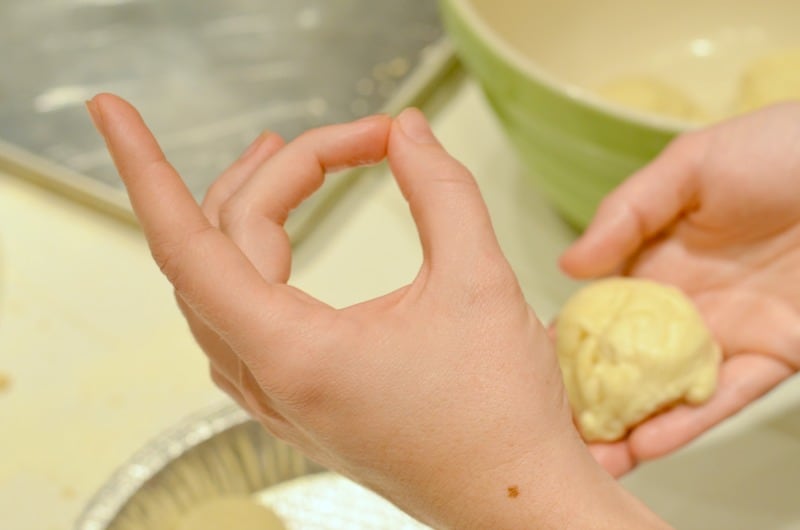
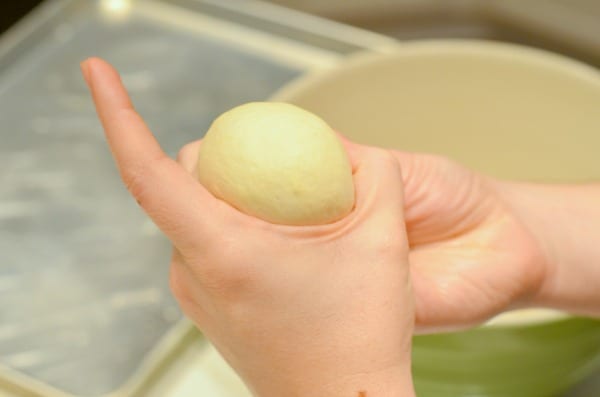
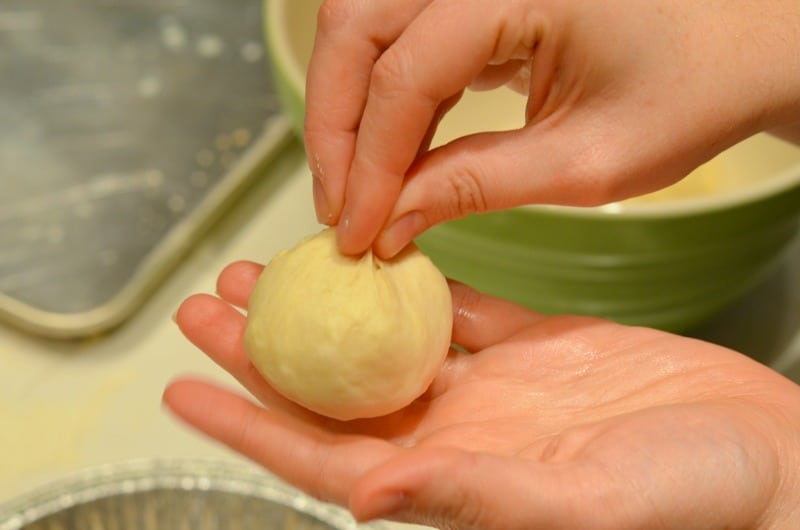
How to form Mamaw’s Rolls:
- Form a circle with your fingers
- Push the dough from underneath through the circle you formed with your fingers.
- Pinch the bottom edges together on the bottom of the ball and place, pinch side down, on the greased baking tin.
I hope that helps and that you try my Mamaw’s rolls this year. Enjoy your time with your family and all the delicious food. What are you thankful for this year?
Want more Thanksgiving dinner recipes?
- Holiday Sangria
- Onion, Cranberry & Pecan Cheese Ball
- Baked Garlic Mashed Potatoes
- Green Bean Casserole
- Apple & Cranberry Cornbread Dressing
- Super Juicy Brined Roast Turkey
- Cranberry Fluff
- More side dish recipes…
Tools used to make this Mamaw’s Rolls recipe
Glass Measuring Cup: I have a set of these measuring cups as long as I can remember. They come in 3 different sizes for all your cooking needs!
Mixing Bowl: These mixing bowls get used just about every day at my house. The grip handle makes them easy to hold and the pour spout makes them perfect for batters!
Large Bowl: This mixing bowl is perfect for mixing and serving. I love how big it is! I can use it for anything and everything.
Disposable Pie Plates: These pie plates are so multi-functional! They’re great for pies (of course), but I also use them to freeze rolls, send home dinner guests with leftovers, and craft projects with my boys!
Baking Dish: This baking dish is a must-have for any home cook. I actually have 3 of them in my cupboard, and each dish comes with a lid for storing leftovers or taking your dishes on the go.
Gallon Zip-Top Bag: My kitchen drawer is always stocked with zipper top plastic bags. They’re great for storage, but I find myself using them for everything from deviled eggs to frosting too!
Ingredients
- 2 c warm water
- 2 pkg. Fleischmann's very active dry yeast
- 2 ½ t granulated sugar
- 6 c. bread flour 2 pounds
- 1 T of salt
- ⅔ c vegetable oil
- 6 T butter melted
Instructions
- mix the water, sugar, and yeast together in a small bowl or measuring glass
- in a large bowl mix together flour and salt
- add in vegetable oil and start to mix
- pour in dissolved yeast mixture and stir with your hands (They're gonna get messy)
- once it forms a ball dump onto a floured counter and knead
- knead dough until it becomes smooth
- you may need to add a tablespoon or two more of water if the dough is too dry
- once well-combined place dough in a large oiled bowl and cover with a damp cloth
- place in a warm area of the house to rise for about an hour until the dough has doubled in size (I use my laundry room with the dryer running)
- once doubled if you poke it with your finger it shouldn't push back out
- punch down dough
- to form even balls for your rolls split the dough in half then half each of those in half and so on and so on until you have 32 balls*
- form rolls and place in a grease circular pie plate 7 around and one in a center. (I use disposable pan so I can freeze a lot)
- Place covered in a warm place and allow to rise again for about an hour
- preheat oven to 350 degrees
- brush melted butter on the tops of the risen rolls
Eating right away
- place in the oven and bake for 20 min or until golden brown
Freeze directions
- only bake for 10 to 15 minutes until set but not golden brown yet.
- allow to cool completely
- cover with foil and place into a gallon sized freezer bag
- to bake later allow to defrost completely
- preheat the oven to 350 degrees
- place in the oven and bake for 10-20 minutes until golden brown


Veronica says
I have made these several times and they taste great! My only problem is the tops get crunchy. Any advice?
Laurie says
Did you brush tops with butter?
Amy says
This is the 4th Thanksgiving that I have made these rolls and they are amazing. I will never use another recipe and will pass this down to my kids! Thank you!
jeannie says
Hi. I made these rolls this morning. I think I followed the recipe exactly, but went wrong somewhere along the way. The rolls were picture perfect when I put them in the oven. When timer went off, I checked them and they were pasty white. Cooked them another 10 minutes, and they would not brown. When they cooled down, I tried one. They had the texture of biscuits!!! I so wanted to have these baked and ready for Thanksgiving. 🙁 Hope you can tell me where I went wrong.
Cheryl says
OH MY!!! That’s all I can say. What a hit for this family. Nice, simply recipe and your little notes are so useful. I am one who usually finds something to change within a recipe, but not this one. It is perfect. And I love the history you shared. Thank you. Will definitely be my go to recipe for white rolls. I’m not a Mawmaw but I am an Oma and can’t wait to share with my beautiful 4 grandgirls!!!!
Real Housemoms JK says
Thanks so much Cheryl!
Rochelle says
Three stars for ease, but in my opinion the rolls are too salty and are not sweet enough. I’ll try them again making these adjustments.
AE says
These rolls were PERFECT!!! They were **exactly** like the amazing rolls my dear elementary school cafeteria cooks made for us kids back in West Virginia!! I have been yearning for these rolls for comfort and sentimental reasons for a long time, and especially now during these crazy times. I made them exactly per your instructions and they came out perfectly: Good rise, good hearty texture and flavor. Served them as buns for bbq tofu sliders with potato salad and corn on the cob – perfect vegetarian summertime country meal!! Probably going to make some pimiento cheese spread tomorrow and have it on leftover rolls. Thank you so much for sharing this wonderful recipe, I will be making them again soon!
Bianca Gadi says
which oven rack do you place them on?
Please let me know the answer for both, convection and regular oven settings. Much appreciated.
Aubrey Cota says
I place mine set in the middle, but every oven is different, so please use what’s best for yours. In other words, does your oven tend to be hotter on the bottom rack? Then place a little higher, and so on.
Frances says
Made these for the first time yesterday. Covering on the second rise with a damp towel (as in first rise) didn’t allow the rolls to rise properly (used disposable pie pans as suggested, and the towel was too close), so the rolls stuck to the towel and were very flat. They also didn’t brown. However, they still tasted good though probably not as fluffy as they would have been. I will try it again but either skip the cover at second rise or cover with something v. lightweight, like oiled plastic wrap.
Dave says
Cover bread, buns or whatever loosely with Saran Wrap. Always spray Saran Wrap with spray oil and gently lay over all of what you are to about to bake. Once they have risen the Saran Wrap comes off easily and does not even leave a mark…such a a towel.