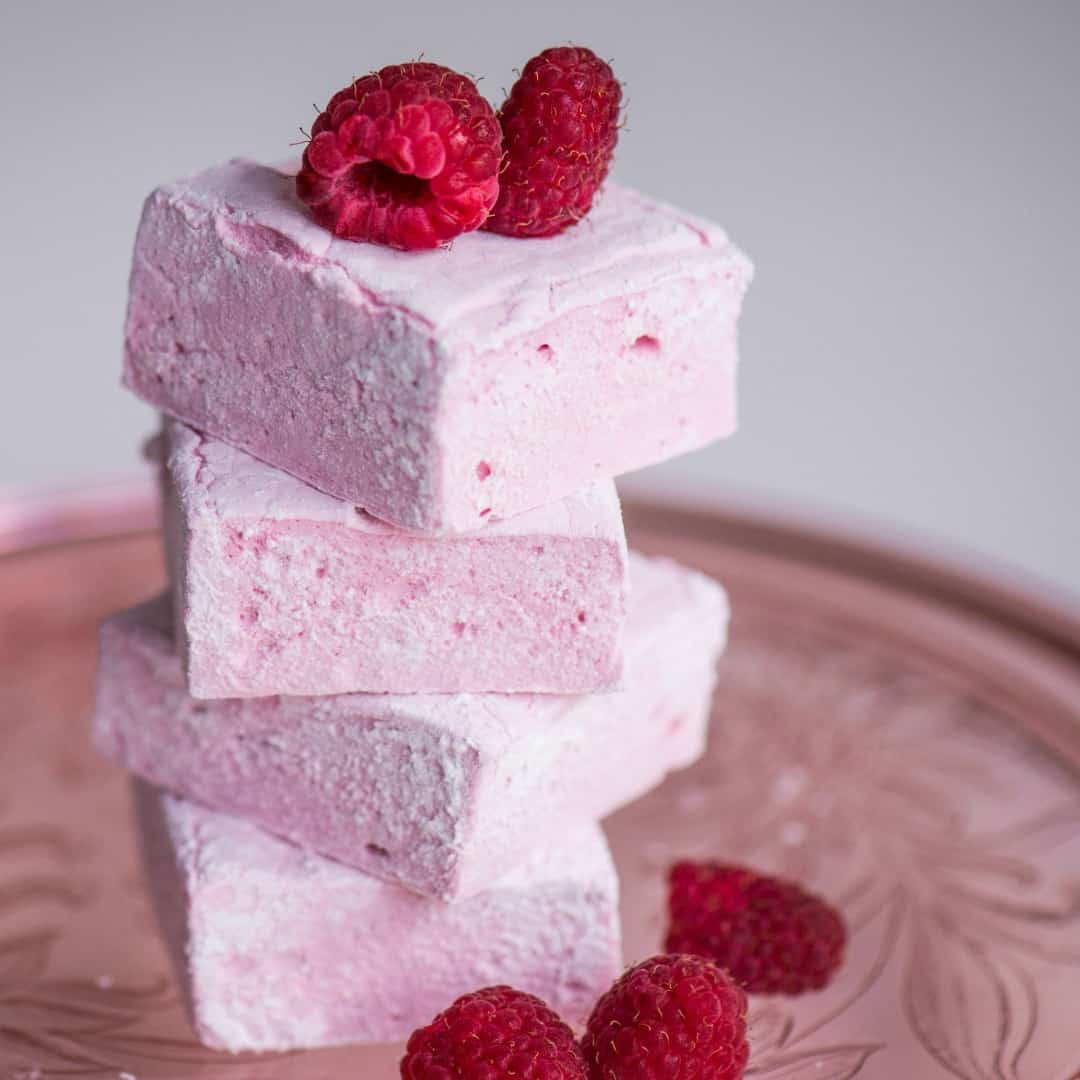
Homemade Raspberry Marshmallows, made with fresh raspberry puree, are surprisingly easy to make and are a fun summer dessert your family will love!
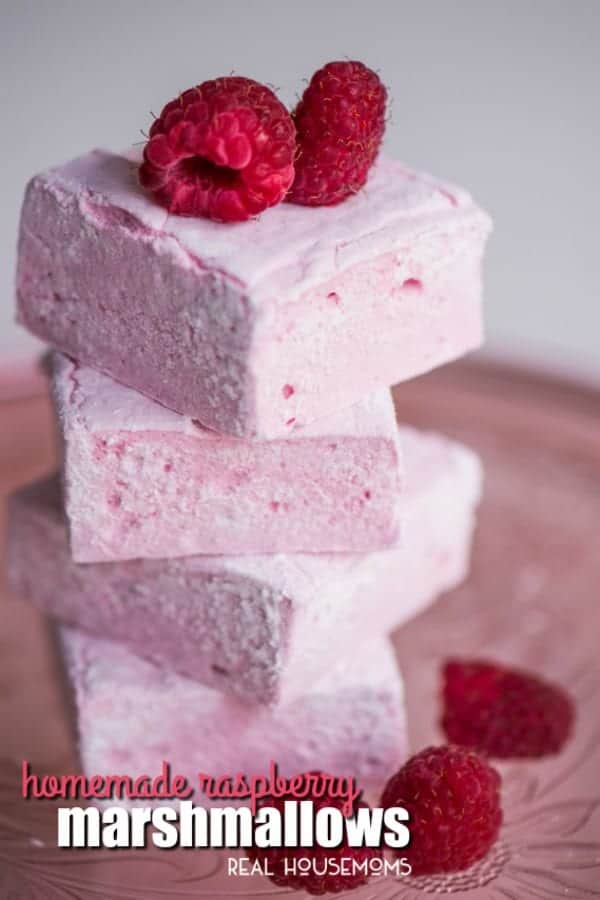
The first time I made homemade marshmallows was when I wanted something different for my holiday cookie trays, so I took a stab at making peppermint marshmallows. I’ve always been afraid to work with boiling sugar ever since my tragic gingerbread house building accident where my sister accidentally spilled boiling sugar on the top of my hand. Sure, it was just a drop, but I will forever remember that moment! Anyway, at some point in my late-30s I finally mustered up the confidence to boil sugar, and I’m happy to say I’ve encountered zero third-degree burns as a result! This summer I wanted to integrate one of my favorite berries into these fluffy little treats, hence Homemade Raspberry Marshmallows were born!
HOMEMADE RASPBERRY MARSHMALLOWS
Like it? Pin this post to your DESSERT pin board!
Follow Real Housemoms on Pinterest
If you’ve never made marshmallows, there are a few things you should know:
- They are incredibly easy to make.
- They taste a heck of a lot better than the bagged marshmallows you buy at the store
- Your life will be forever changed once you roast them over the fire and smash them between two graham crackers and a chunk of dark chocolate.
So far I’ve made peppermint, strawberry, and now raspberry marshmallows, and they are all outstanding in their own way. I have 15 over producing blueberry bushes in my backyard so I’m going to make some blueberry lemon marshmallows at some point this summer. Wish me luck! If you make these, I expect you to turn at least one marshmallow into a s’more and report back on how your live has changed for the better because of it. Enjoy!
Want more raspberry recipes?
- Raspberry Lemon Loaf Cake
- Raspberry Cheese Danish
- Raspberry Lemonade Sorbet
- Raspberry Almond Smoothie Bowl
- Raspberry Cheesecake Bites
- More dessert recipes…
Tools used to make this Homemade Raspberry Marshmallow recipe
Blender: I love this blender! I use it to make everything from smoothies to soups. It can handle anything I throw at it and the puree comes out smooth.
Stand Mixer: I don’t know what I’d do without my stand mixer. I use it for just about everything…and I mean everything! Cakes, cookies, mashed potatoes, and shredding chicken!
Medium Saucepan: This saucepan gets used in my kitchen every day. The glass lid even has strainer sides so I need a colander for pasta!
Baking Dish: A square baking dish is a must have for home cooks. This one comes with a sturdy lid for easy storing and tranporting your favorite dishes!
Cutting Board: A good-sized cutting board is a must for home cooks. This board is thick & sturdy and makes recipe prep a breeze.
Knives: A good set of kitchen knives is essential for any cook. This set is the best one I’ve owned so far and it comes with a knife block, steak knives, and an array of larger knives perfect for all your slicing, chopping, and cutting needs.
Ingredients
- 2 packages unflavored gelatin
- ½ cup raspberry puree seeds removed (from about 1 cup of fresh raspberries)
- ¾ cup granulated sugar
- ½ cup light corn syrup
- pinch kosher salt
- ¼ cup water
- Nonstick spray
- 3 tablespoons powdered sugar
- 3 tablespoons cornstarch
Instructions
- To make the raspberry puree, wash raspberries and then blend on low speed until a smooth puree forms. Press through a fine mesh sieve.
- In the bowl of a stand mixer, combine the gelatin with the raspberry puree and give it a swirl to ensure the gelatin doesn't clump. Let sit.
- In a small saucepan, combine sugar, corn syrup, salt, and water. Heat on medium-high with the lid on for a few minutes to bring it to a boil. Then, remove the lid and heat over high heat until a candy thermometer reads exactly 240 degrees F. This can take 4-8 minutes. As soon as it reaches temperature, remove it from the heat.
- With the whisk attached to the stand mixer, start mixing the gelatin and puree on low speed. Slowly pour the hot sugar mixture into the bowl. Once all of the hot sugar mixture has been added, turn the speed to high and continue to mix until you get a beautiful pale pink marshmallow mixture that is just warm to the touch, about 13-14 minutes.
- While you're mixing the marshmallow, combine cornstarch and powdered sugar in a separate bowl. Spray an 8x8 inch baking dish well as a rubber spatula with cooking spray. You can line your dish with foil ahead of time if you wish and then spray the foil. Add about 1/3 of the sugar and corn starch blend, then shake the pan to evenly coat the bottom and sides. Use the spatula to transfer the finished marshmallow mixture from the bowl to the baking dish and spread into an even layer. Top with half of the remaining sugar and cornstarch mixture, and spread it across the top to cover. Allow the marshmallows to sit uncovered 4-10 hours (I let mine sit overnight).
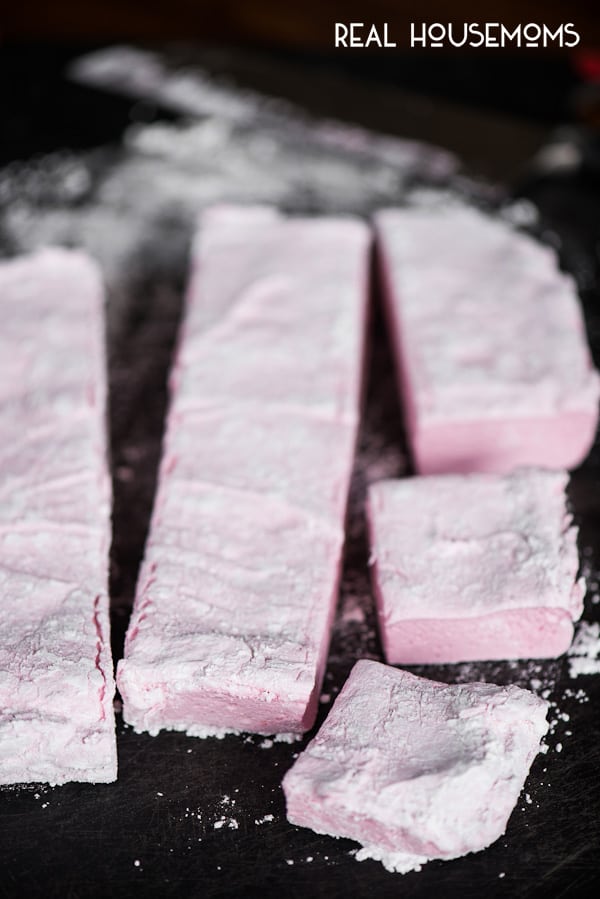
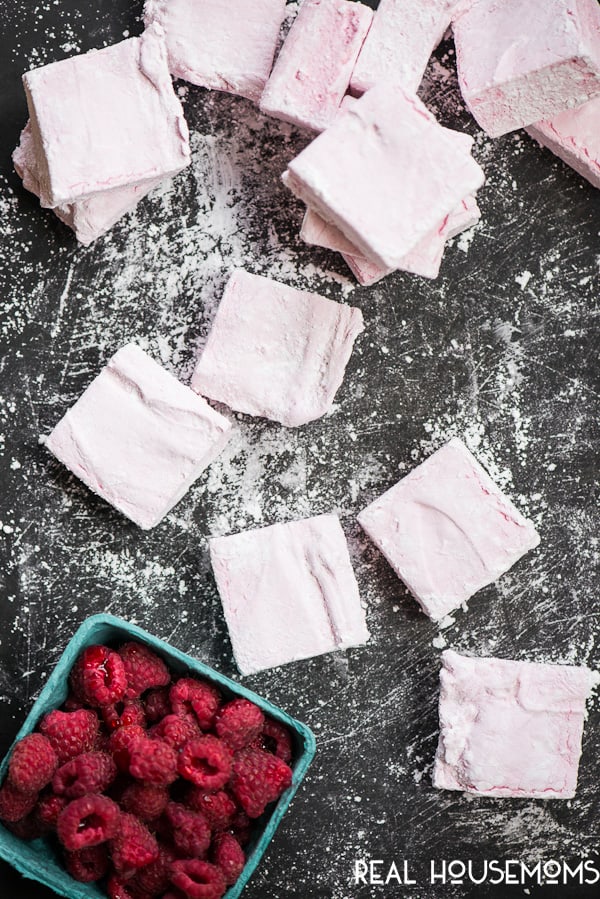
- Lift the marshmallows out of the pan and transfer to a cutting board. Cut into desired shapes and then roll each individual marshmallow in remaining sugar and cornstarch mixture to coat all sticky sides.
- Store in air tight container. They can also be frozen if needed.
Nutrition
If you love summer raspberries, you’ll definitely love this make-ahead Raspberry Baked French Toast made with fresh berries cream cheese, pure maple syrup, eggs, and vanilla.
Or how about these homemade buttermilk Raspberry Lemon Scones that are a delightful summer treat that you can enjoy for breakfast, brunch, or afternoon tea.




Tasmiyah says
What size is the gelatine?
Aubrey Cota says
Typically a box comes with a 4 count of 1 ounce packages. So you would use 2 of those 1 ounce packets. Hope that helps!
Kay says
Um where’s the egg white??? You need egg white to make marshmallow .. this recipe has none.
Aubrey Cota says
Or do you? Egg free marshmallows are actually a thing, something I think you might quite like as the consistency could be considered much creamier. Try it and tell me what you think!