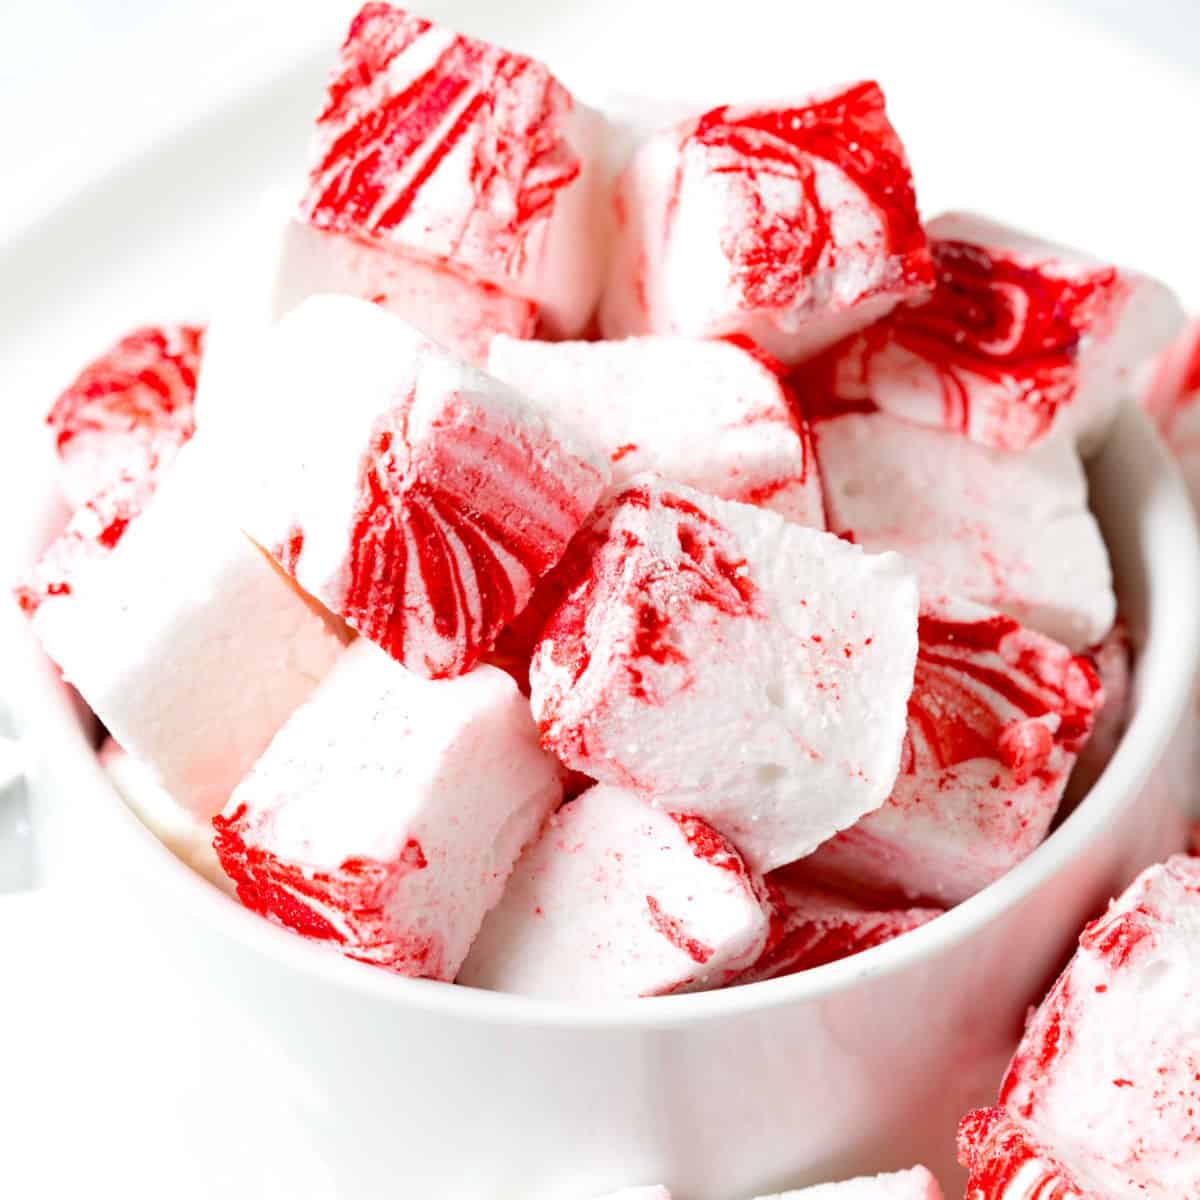
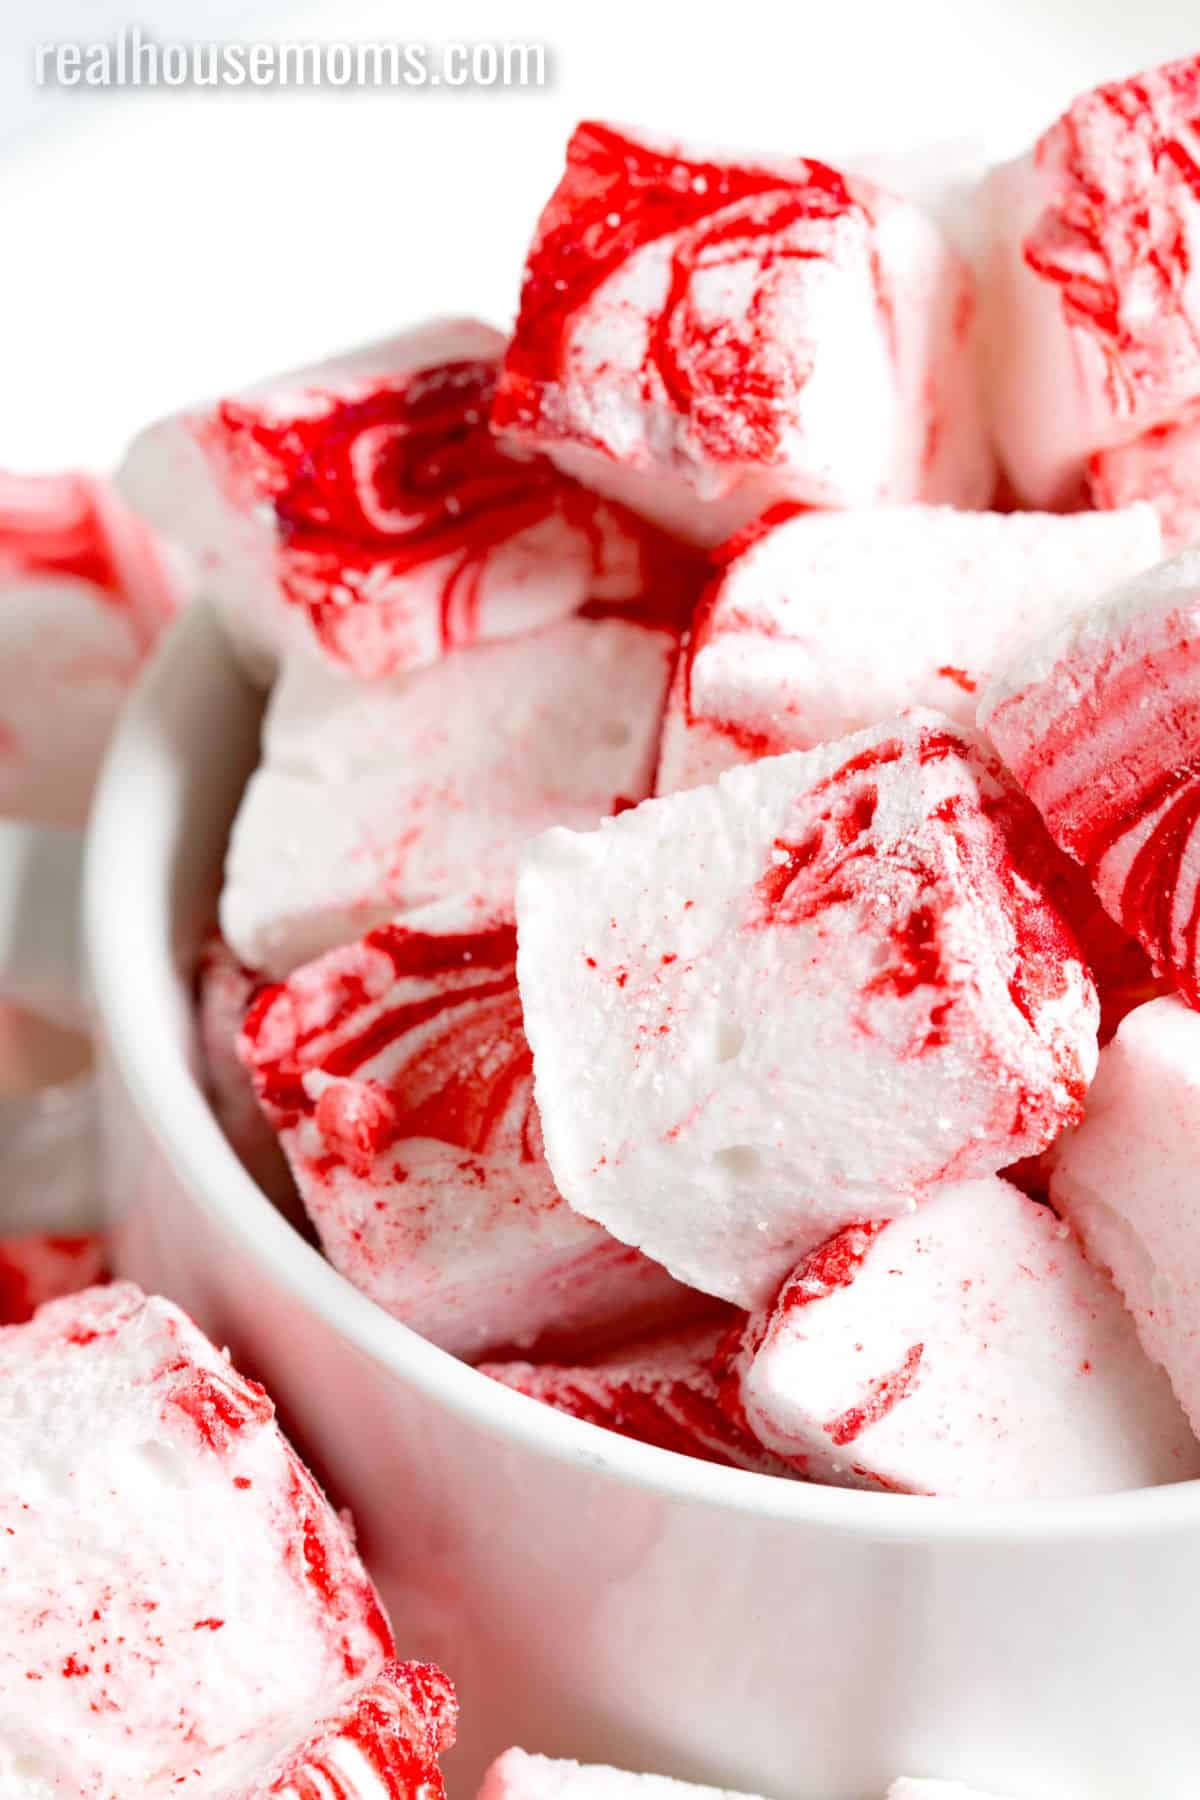
With the perfect amount of minty sweetness, Peppermint Marshmallows are the perfect addition to a steaming mug of hot chocolate!

One of my favorite family traditions is having a hot chocolate bar on Christmas Eve. We bring out all the fixings: whipped cream, peppermint sticks, and of course marshmallows. But not just any old marshmallows… we have peppermint marshmallows!
This homemade peppermint marshmallow recipe a sweet treat that is the icing on the cake. If that cake were a perfect mug of hot chocolate. I’m not going to lie…. they also make a very nice garnish for my favorite Peppermint Martini!
PEPPERMINT MARSHMALLOWS
Like this recipe? Pin it to your DESSERT board!
Follow Real Housemoms on Pinterest
One of my absolute favorite things about winter is that I have an excuse to drink hot chocolate anyyyyyytime I want.
It’s a chilly, dreary day? Time for a mug of delicious hot chocolate.
Kids just came in from some fun in the snow? You betcha, we’re all having some hot chocolate.
I want to curl up and watch a holiday movie? Pour me some hot chocolate! I swear I drink the stuff all winter long.
But, despite my huge love for a steaming mug of hot chocolate, I am NOT a huge fan of store-bought marshmallows. To me, they’re kind of dry and leave a weird filmy feeling in my mouth. I especially hate the tiny ones that come in the pre-made hot cocoa mix. I’m probably in the minority here, but I just can’t get past the fake taste of them.
I thought I’d be drinking my coveted hot chocolate plain forever. Then I went to my favorite local coffee shop and saw that they had homemade marshmallows. My mind was blown. They were huge, fluffy, and looked so delicious, I just had to try one.
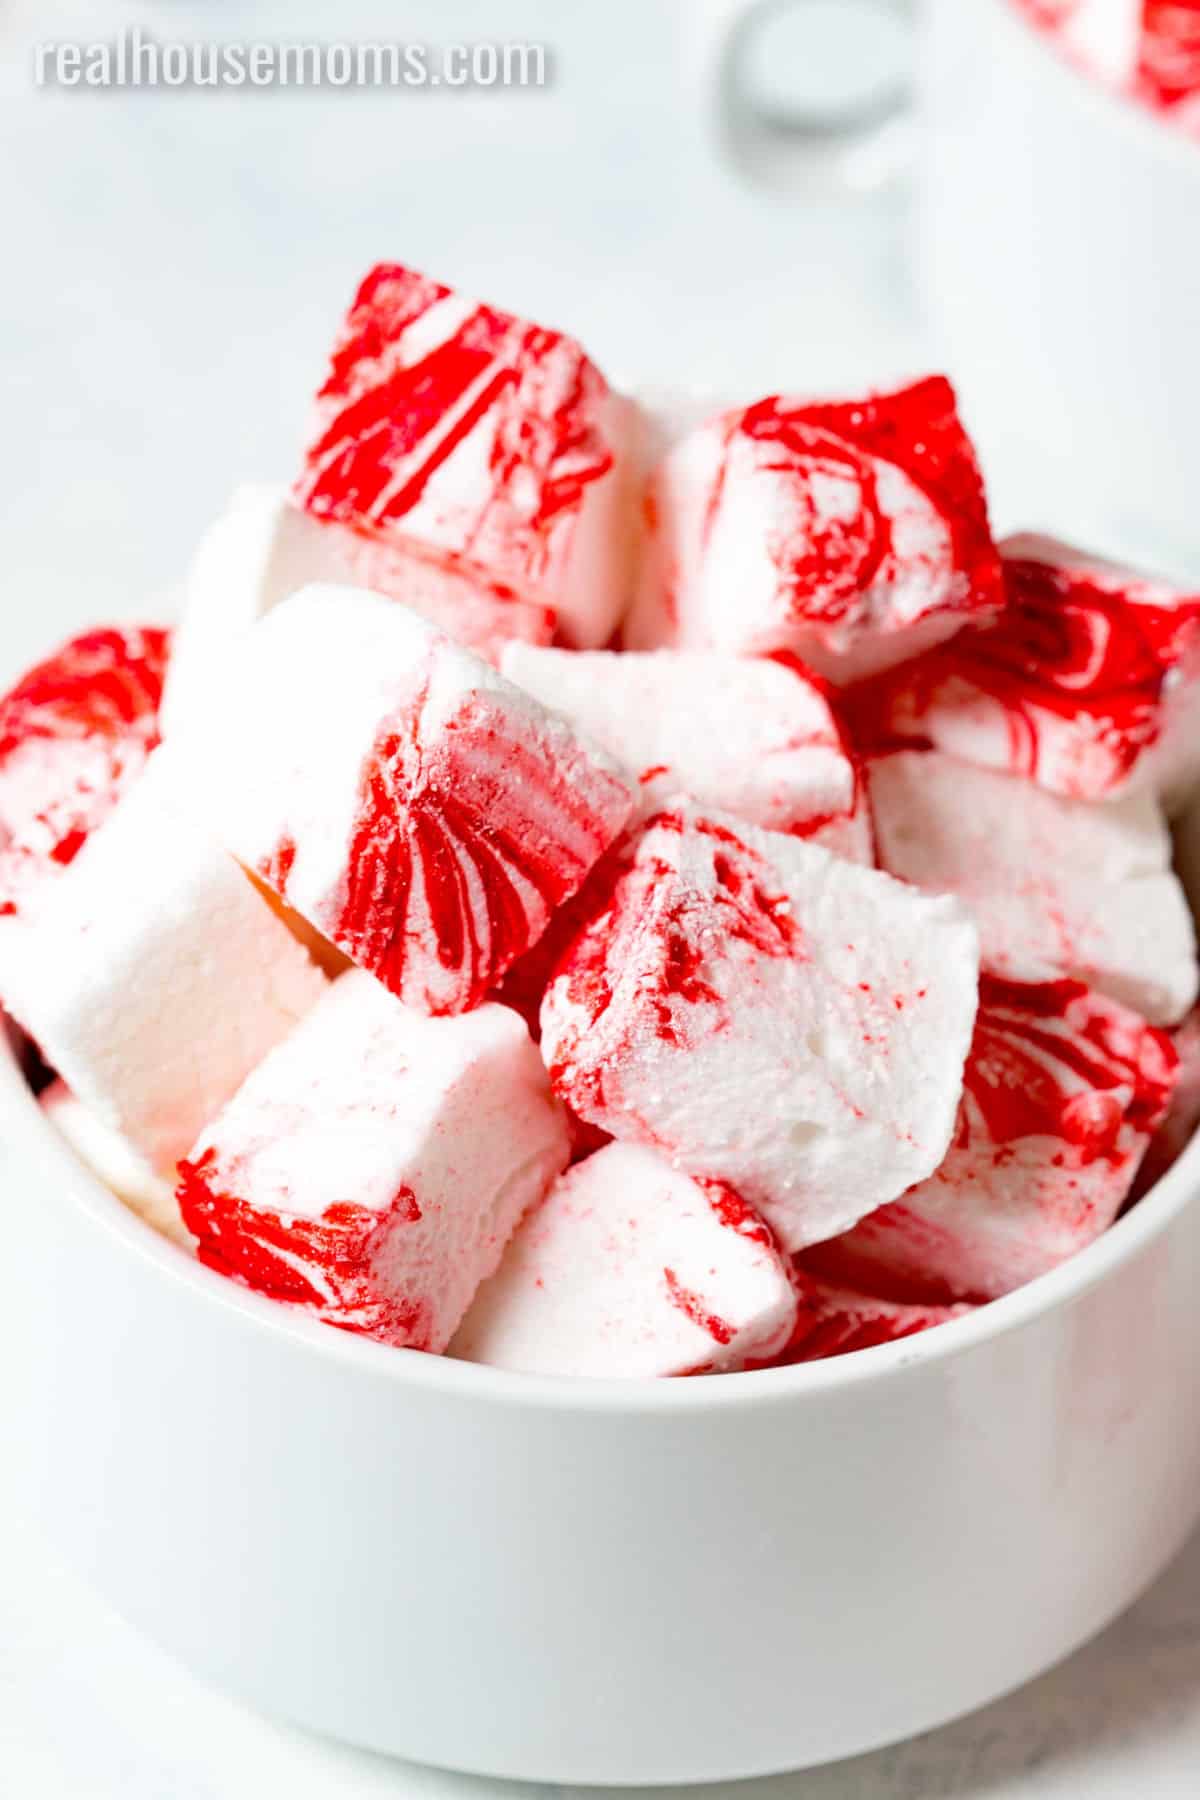
From that moment on, I was hooked. I knew that I would be making homemade marshmallows every winter. This year, I took it one step further and made flavored marshmallows. These peppermint candy cane marshmallows are to die for and they give your hot chocolate an extra special holiday flavor.
Move over store-bought marshmallows, this homemade peppermint marshmallow recipe is going to blow you out of the water!
What Exactly ARE Marshmallows?
Marshmallows are just one of those things that exist in the world right? No one actually knows what’s in them, you just accept that they are what they are haha. Well, that may be true for store-bought marshmallows, but not for these peppermint-flavored marshmallows! With just a few pantry staples, you can have your very own fluffy, sugary, delicious marshmallows.
Unflavored gelatin – no, I’m not talking a box of Jell-O here. That’s got all kinds of flavors, sugars, and mix-ins that we don’t need for these delicious peppermint marshmallows. Instead, grab yourself a box of unflavored gelatin (in the same aisle in the grocery store as the flavored Jell-O). This will be the glue that binds your marshmallows together.
Sugar – not unlike a store-bought marshmallow, homemade peppermint flavored marshmallows are made up of mostly sugar. Nobody said we’re making health food here, people. It’s a delicious treat, so of course it’s got some sugar in it!
Flavorings – any typical marshmallow will be flavored with vanilla. This peppermint marshmallow recipe uses both vanilla and peppermint extracts. The combination of the vanilla and the peppermint is perfection and it pairs amazingly with the rich cocoa flavor of hot chocolate!
What Makes a Marshmallow Fluffy?
Marshmallows are the perfect fluffy treat for a cold winter’s day, but what is it that makes them so fluffy? It’s literally AIR. This homemade peppermint marshmallow recipe calls for you to whip your marshmallow mixture for 12-15 minutes. That may seem like a long time, but all that whipping is what makes your marshmallows as fluffy as a cloud!
While being whipped together, the sugar, gelatin, and other ingredients are being filled with tiny air bubbles. This not only make the marshmallow mixture expand but give it the light, fluffy texture that marshmallows are so well known for. So yes, every minute of whisking helps!
How to make Peppermint Marshmallows
Scroll down for the full recipe.
Ok, so would it be easier to plop a few bagged marshmallows into your mug of hot chocolate? Yes. But, believe me when I say that homemade marshmallows are SO worth the effort. They are fluffy, melt-in-your-mouth deliciousness that elevates an ordinary mug of hot chocolate into a decadent treat.
You’ll want to have a few kitchen items ready to make this process smooth: a stand mixer with a whisk attachment and a candy thermometer.
- Start by adding the gelatin and 1/2 cup cold water to the bowl of your stand mixer.
- Next, in a small saucepan, whisk together 1/2 cup water, sugar, corn syrup, and salt. Place your burner on med-high heat, cover, and cook for 3-4 minutes. Uncover and add the candy thermometer to the side of the saucepan.
- Cook the mixture until it reaches 240 degrees F. Immediately remove from heat (accurate temperature is key to having fluffy delicious peppermint marshmallows!)
- Now, start your mixer on low speed. Slowly pour the hot sugar mixture into the gelatin. Once all the sugar syrup is added, increase speed on the mixer to high until the marshmallow mixture is very thick and slightly warm. (This takes about 12-15 minutes).
- Add your vanilla and peppermint extracts. Whisk 1 minute more.
- While the mixer is going, stir together cornstarch and powdered sugar. Grease a 9-inch x 13-inch pan with non-stick cooking spray. Coat the inside of the pan with cornstarch mixture.
Pour and excess cornstarch into a bowl (you’ll need it). This cornstarch mixture creates the outside “crust” of the marshmallows. - Next, pour your marshmallow mixture into the prepared pan. Grease the back of a spoon and use to spread into an even layer – yes, it will be sticky 🙂
- Now to make your peppermint marshmallows LOOK like they’re peppermint flavored! Drip some red food coloring over the top of your marshmallows. Run a knife through the food coloring to add red swirls to the marshmallows.
- Dust the top with enough cornstarch mixture to lightly coat. Next, let the marshmallow block sit uncovered for at least 4 hours (or overnight!).
- Now it’s time to cut those marshmallows! Turn the marshmallow block out onto a cutting board and cut into 1-inch cubes. (I like to use a pizza wheel dusted in confectioners sugar for easy slicing.) Dust all sides of each marshmallow with more cornstarch mixture (make more if needed).
- Plop some marshmallows into your steaming mug of hot chocolate and enjoy!
If you can keep yourself from eating the entire batch in one sitting, feel free to store your extras in an airtight container for up to 3 weeks!
Looking for some more wintertime favorite desserts?
- Chocolate Peppermint Cookies
- Homemade Raspberry Marshmallows
- White Chocolate Peppermint Fudge
- Slow Cooker Candy Cane White Hot Chocolate
- Spiked Peppermint Hot Chocolate
- more DESSERT recipes…
Tools used to make this Peppermint Marshmallows recipe
Stand mixer: unless you have arm muscles for DAYS, you’ll want a stand mixer with a whisk attachment to make these peppermint marshmallows. 12-15 minutes of whisking is a LONG time….
Candy thermometer: temperature is KEY when making these marshmallows, a good candy thermometer will make all the difference!
Ingredients
- 3 packages unflavored gelatin
- 1 cup cold water
- 2 cups granulated sugar
- ⅔ cup light corn syrup
- ¼ tsp salt
- 2 teaspoons vanilla extract
- 2 teaspoons peppermint extract
- Red food coloring
- ¼ cup cornstarch
- ¼ cup powdered sugar
Instructions
- Add gelatin and 1/2 cup cold water to the bowl of a stand mixer.
- In a small saucepan, whisk together 1/2 cup water, sugar, corn syrup, and salt. Place on med-high heat, cover, and cook 3-4 minutes. Uncover and add candy thermometer to side of pan. cook until it reaches 240 degrees F. Immediately remove from heat.
- Start mixer on low speed. Slowly pour hot sugar mixture into the gelatin. Once all the sugar syrup is added, turn mixer to high until marshmallow mixture is very thick and slightly warm, 12-15 minutes.
- Add vanilla and peppermint extract. Whisk 1 minute more.
- While mixer is going, stir together cornstarch and powdered sugar. Grease a 9-inch x 13-inch pan with non-stick spray. Coat the inside of with cornstarch mixture. Pour any excess cornstarch into a bowl. (you'll need it)
- Pour marshmallow mixture into prepared pan. Grease the back of a spoon and use to spread into an even layer.
- Drip red flooding coloring over the top. Run a knife (coated in cooking spray) through the food coloring to swirl into the marshmallows.
- Dust top with enough cornstarch mixture to lightly coat. Let sit uncovered for at least 4 hours to overnight.
- Turn marshmallows out onto a cutting board and cut into 1-inch cubes. (I like to use a pizza wheel dusted in powdered sugar.) Dust all sides of each marshmallow with more cornstarch mixture (make more if needed).





Leave a Reply