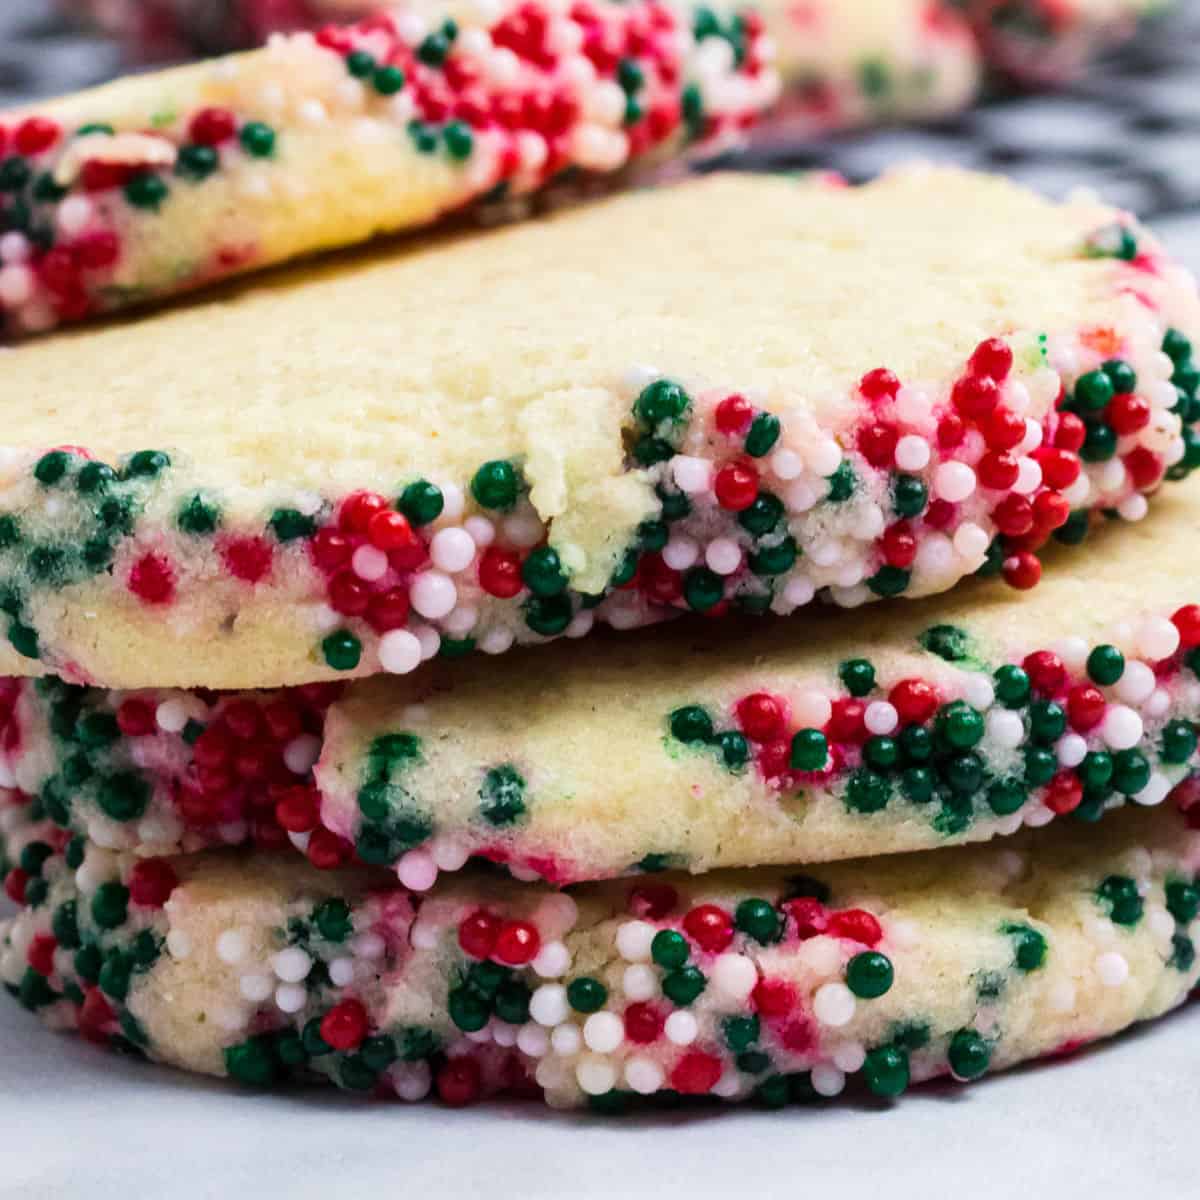
Slice and Bake Sugar Cookies take just 5 minutes to whip up and can be adapted for any holiday! This sugar cookie is easy to decorate and even easier to bake.
My childhood was filled with slice and bake cookies, and these Slice and Bake Sugar Cookies bring back so many Christmas memories! I like sprinkles on my sugar cookies. These cookies can be coated in any color sprinkle you want to match your holiday or party theme. For an extra touch, decorate these easy to make cookies with my super simple sugar cookie icing!
SLICE AND BAKE SUGAR COOKIES
Like this recipe! Pin it to your DESSERTS board!
Follow Real Housemoms on Pinterest
Nothing says classic comfort food like cookies, and this is the best sugar cookie recipe. I have fond memories of my early married days. You know, those pre-child days when I thought I was too busy for baking. When my husband and I would run to the grocery store for a tube of refrigerated sugar cookie dough.
Three kids later and years of playing taxi-mom, and I’m more than happy to skip that trip to the grocery store for cookie dough. I’ll take a quick homemade sugar cookie recipe over a grocery store run any day. We make them every year for Christmas because they’re so easy and the kids love to help!
Ingredients for Sugar Cookies
COOKIES: This easy sugar cookie recipe is just a few basic ingredients – salted butter, sugar, an egg, vanilla extract, flour, and my secret ingredient — nutmeg. I only add a pinch but it brings out such an amazing flavor.
DECORATIONS: Don’t you love sprinkle cookies? Sprinkles make everything better! I’ve used red and green sprinkles for Christmas cookies.
We’ve had blue, yellow, and white sprinkles for summer parties. My favorite colored sugar for National Sugar Cookie Day on July 9th. I’ve even used red and pink sprinkles for Valentine’s Day cookies!
These cookies will take you just 5 minutes to whip up. After you have the dough mixed well, you’ll roll it into a thick log, about 8 to 10 inches long.
How to Make Sugar Cookies
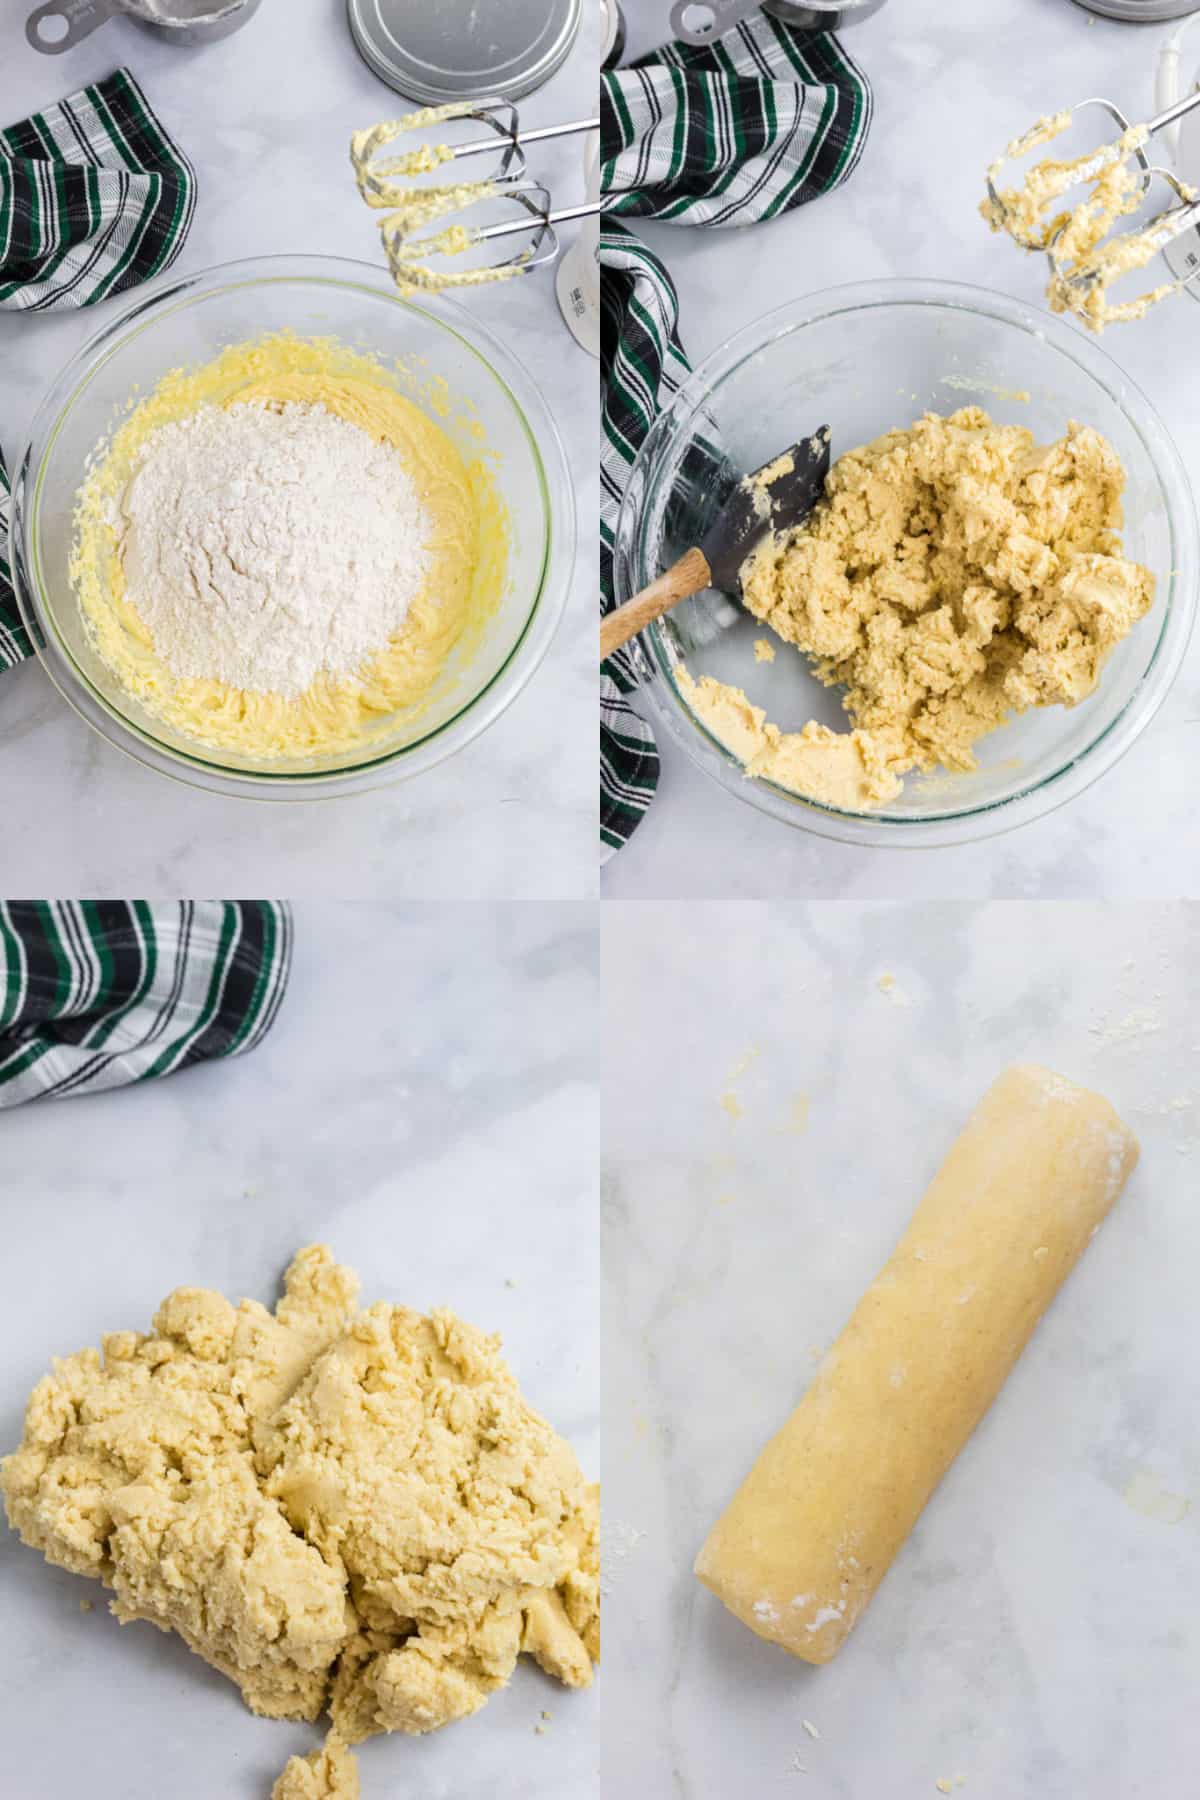
- First, mix the butter and sugar together in a large bowl before you add the egg and vanilla. (Almond extract is another great option.) Beat the mixture on medium until well combined.
- Then, add the dry ingredients to your wet ingredients. Mix until just combined but be careful not to overmix!
- Next, form the sugar cookie dough into a firm log, about 9 inches long. Make sure there are no air pockets in the dough.
- If you’re adding sprinkles, cover a long sheet of plastic wrap with them. Then you’ll roll the dough until the outside is covered with sprinkles.
- Then you want to wrap the dough in the same plastic wrap and refrigerate it for at least 2 hours. Chilling the dough is really important and nice clean slices.
- When it’s time to bake, preheat the oven and slice the dough into 1/4-inch slices. You want to use a sharp, non-serrated knife to get the smooth cuts. (No rolling pin needed!)
- Once the cookies are sliced, pop them on a silicone mat or parchment paper-lined baking sheet. Then you’ll bake the cookies until they’re just set but not yet browned.
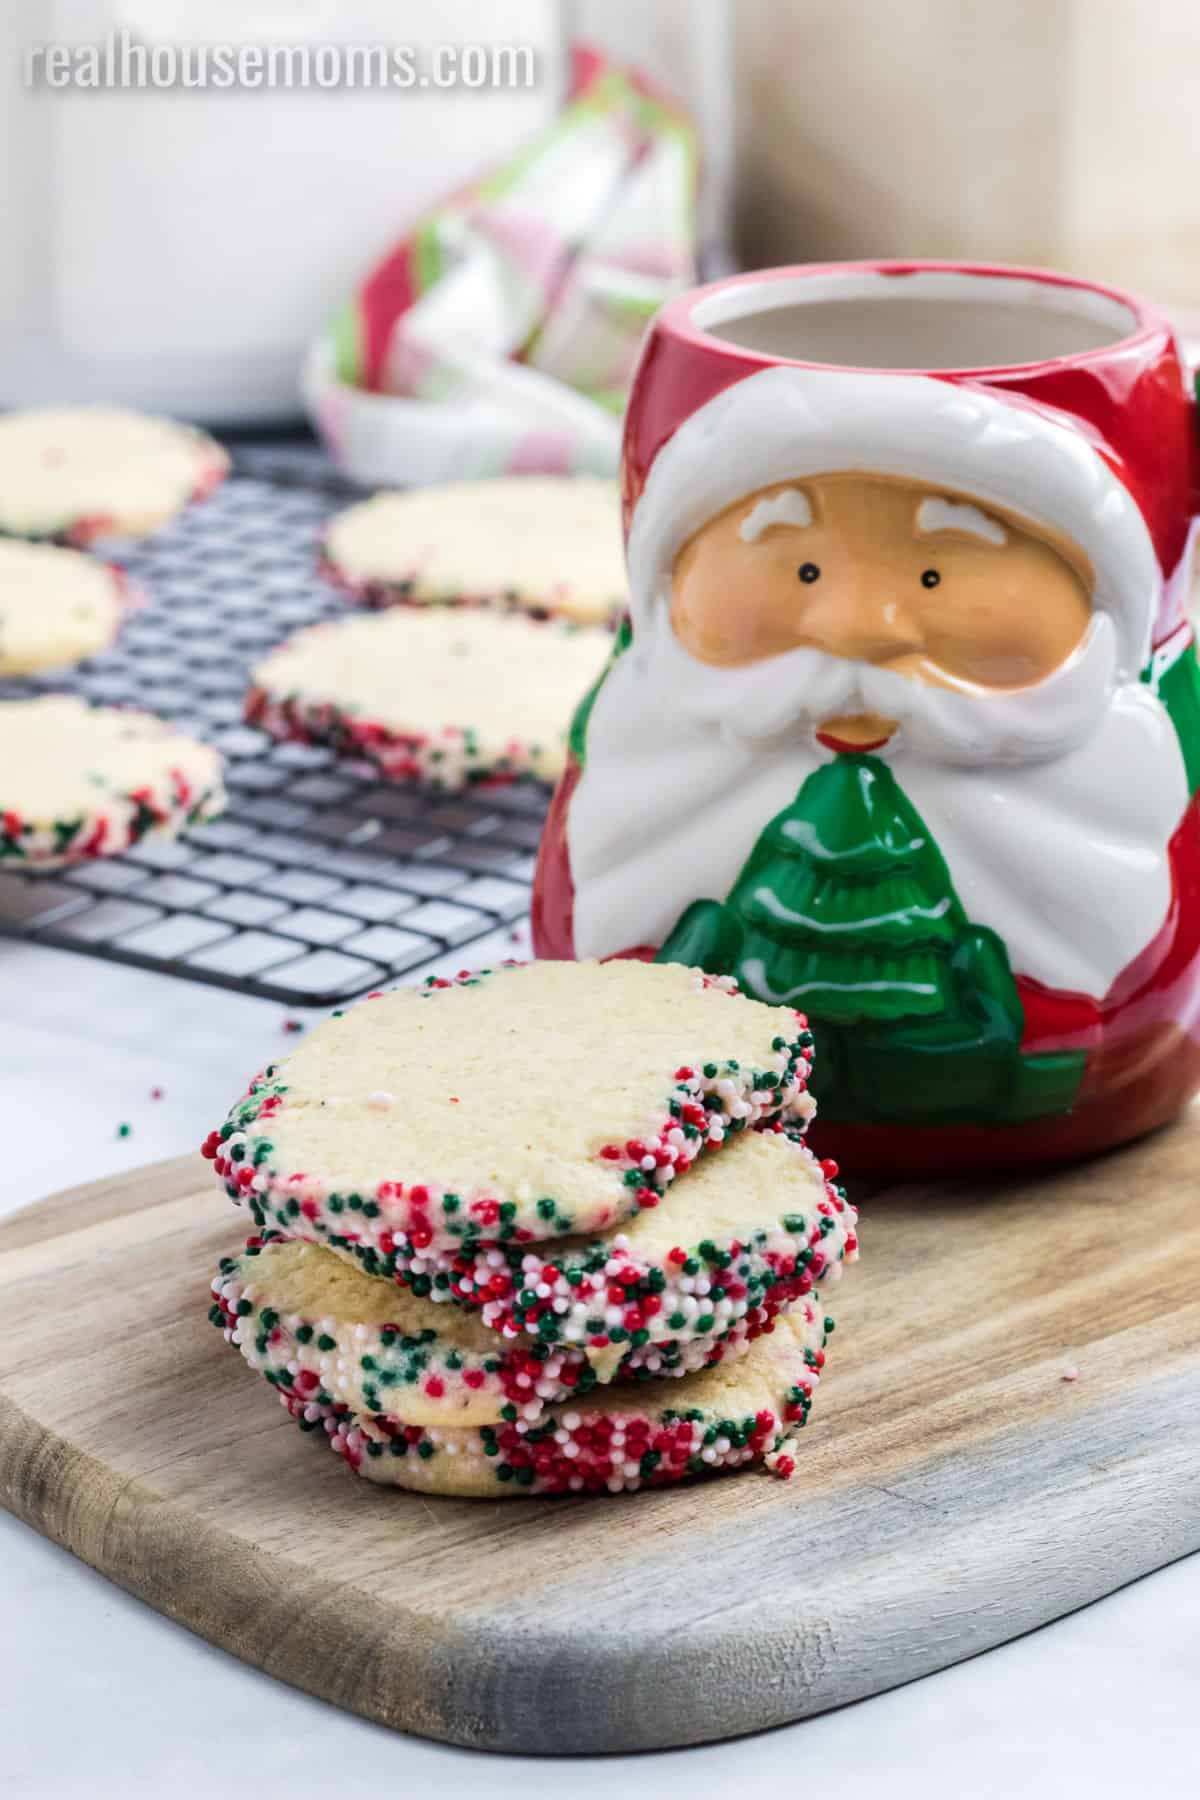
- Allow the cookies to cool to room temperature on a wire rack before decorating with icing.
If you want to get SUPER fancy, you can add some food coloring to the cookie dough (with the wet ingredients). Then roll the dough log in complementary colored sprinkles.
I’ve made a double batch of these cookies, dyed one red and one green, and then used Christmas sprinkles. It’s so pretty!
Why Are They Called Sugar Cookies?
There are so many ways to make sugar cookies, but why do we call them that?
The modern sugar cookie was originally known as the Nazareth Sugar Cookie. It’s named for the Protestant settlers who baked the first known American version in Nazareth, Pennsylvania. Their version was made to resemble the state’s keystone emblem, but are now mostly round.
Sugar adds bulk to the cookie batter and helps create the signature super-light coloring. As compared to other recipes like chocolate chip cookies. You can also use brown sugar in this recipe but it will darken the color.
What is the Best Thickness for Sugar Cookies?
You can ruin the best sugar cookie recipe by making the cookies so thin they burn instantly or so thick they’re raw in the middle. So what’s the best thickness for your cookies?
The ideal sugar cookie thickness is about 1/4-inch thick. This gives the cookies a good crunch, but they are still thick enough to be handled and decorated without falling apart.
This thickness also leaves ample space for a rim of frosting and sprinkles if you want!
The bake time for these cookies is the same as most recipes even though they bake at a lower temperature. This helps prevent over-browning for that classic sugar cookie color.
More of our favorite holiday cookies
- Spritz Cookies
- Chewy Sugar Cookies
- Peppermint Patty Stuffed Chocolate Crinkle Cookies
- Bakery Style Sugar Cookies
- Salted Caramel & Pecan Thumbprint Cookies
- Almond Joy Cookies
- More DESSERT recipes…
Tools used to make this Slice and Bake Sugar Cookies recipe
Stand mixer: You can use a hand mixer for this recipe, but I prefer to let the stand mixer do the work. Be careful not to over-mix the dough!
Silicone mat: These are a baker’s dream because they save your pans and the environment! you’ll never use parchment paper again after this.
Ingredients
- ¾ cups salted butter softened
- ¾ cups granulated sugar
- 1 large egg
- 1 teaspoon vanilla
- 2 cups all-purpose flour
- ⅛ teaspoon ground nutmeg
- Sprinkles
Instructions
- In a stand mixer, cream the butter and sugar together.
- Add the egg and vanilla and beat on medium speed until mixed well, scraping the sides as needed.
- Add the flour and nutmeg. Mix just until combined (scraping down the sides once). Be careful not to overmix.
- Form the dough into a thick log (about 8-10 inches long). Press the log tightly together so that there are no air pockets in the cookie dough.
- Place a long sheet of plastic wrap on the counter or table. Place sprinkles on the plastic wrap. Roll the cookie dough log in the sprinkles until it is completely covered, adding more as needed.
- Wrap the dough in the plastic wrap and refrigerate the dough for at least 2 hours.
- Heat the oven to 325 degrees F.
- Remove the cookie dough from the refrigerator and unwrap it. Using a sharp knife, cut slices off the cookie dough log. Cut the slices 1/4-inch thick or a little less.
- Place the cookie dough slices on a baking sheet with a silicone mat or lightly grease the cookie sheet.
- Bake for 10-12 minutes, or just until the cookies are set. Don't allow them to brown.
- Allow the cookies to cool for 3-5 minutes on the baking sheet, then remove them to wire racks to cool completely. Store in an airtight container.








Carrie says
Made these tonight! I added extra vanilla because I love vanilla 🙂 They were wonderful! Thank you for the recipe
Amy Reger says
Your photos made me jump at the chance to try this out, something different and elegant! I followed your instructions exactly, even keeping the dough refrigerated between baking batches so the butter would stay hard. Yet my cookies spread out so much while baking that all the sprinkles were in a ring on the bottom of the cookie, not visible unless you turned the cookie over. Not sure what went wrong, at least they tasted great! Before baking mine looked like your photos, just not after. I’ll probably try again, next time going with the absolute thinnest possible slices I can make and see if that makes a difference since for me this time the 1/4″ slices didn’t work out.
Donna l. says
You might want to try putting the cookie tray in the refrigerator for 20 minutes. That will help set them .hope this helps.
E says
Is it correct that no leavening agent (like baking powder or baking soda) is needed for this recipe? Thank you.
Aubrey Cota says
That is correct!
Capri Dillon says
Can the slice and bake cookies be frozen? And if so, how long would be the longest you would keep safely in the freezer?
Aubrey Cota says
Yes, they can be put in the fridge for up to a week or frozen up to 4 months. Be sure to get the dough packed tightly.