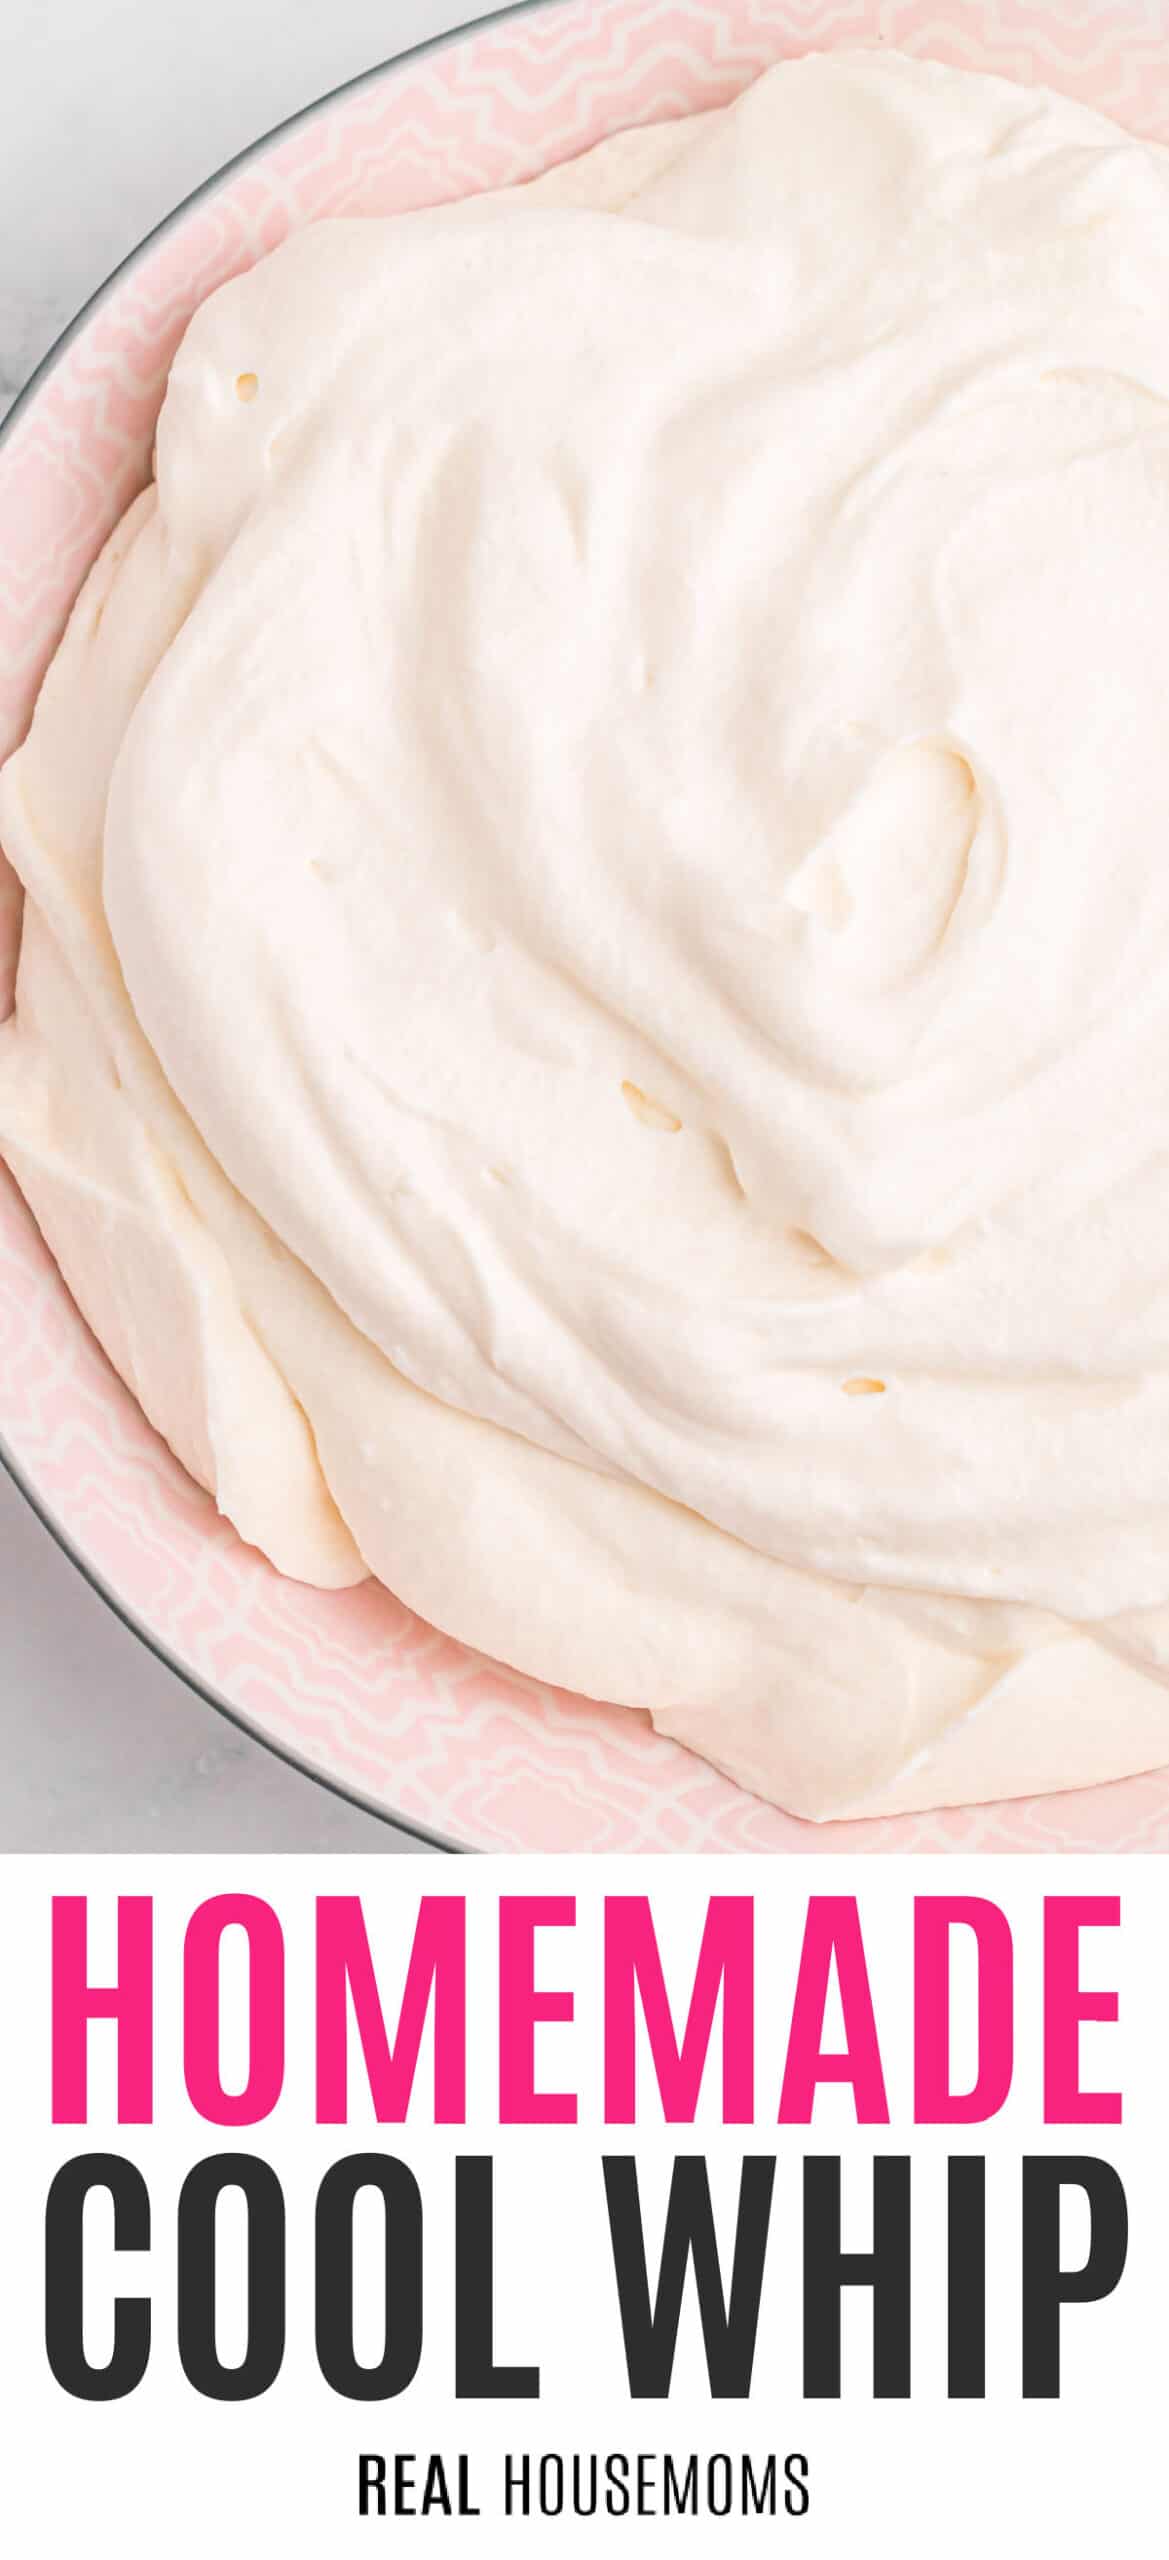
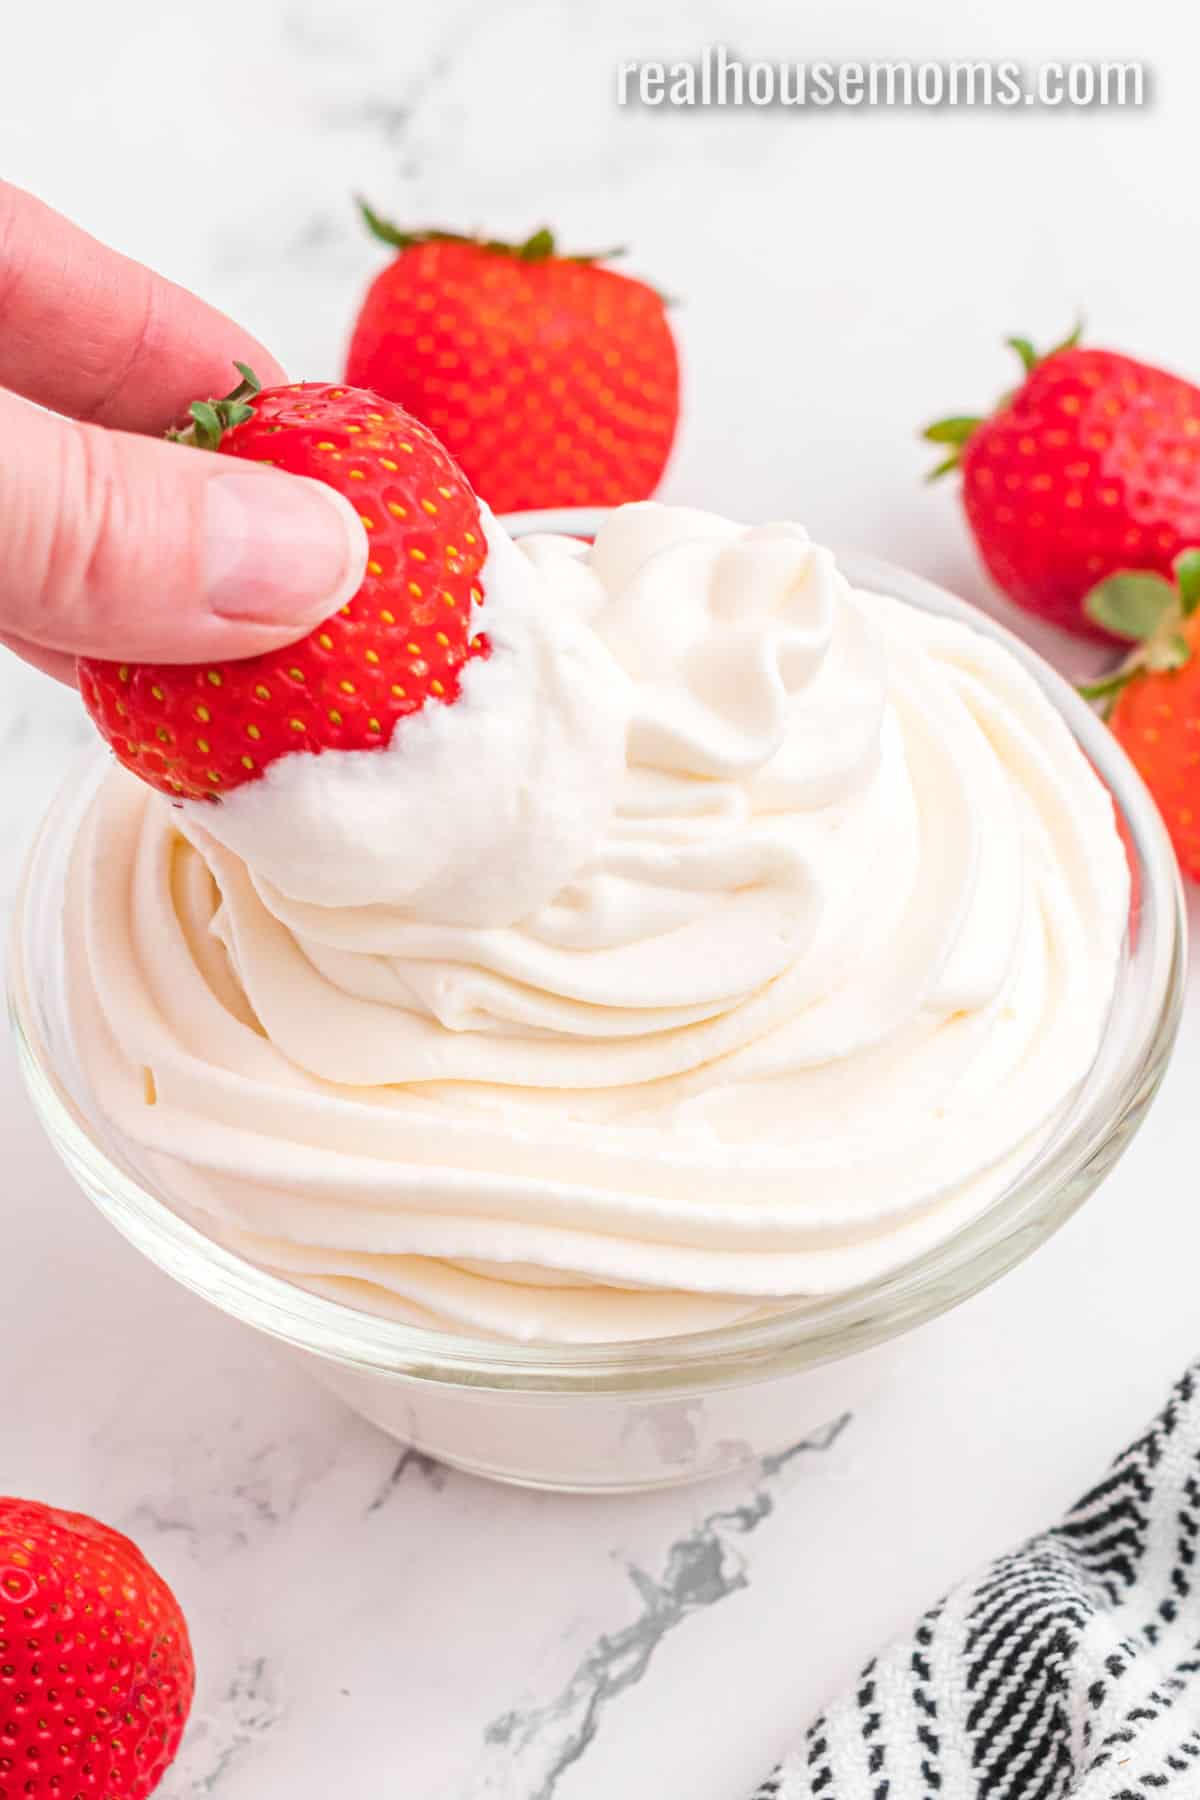
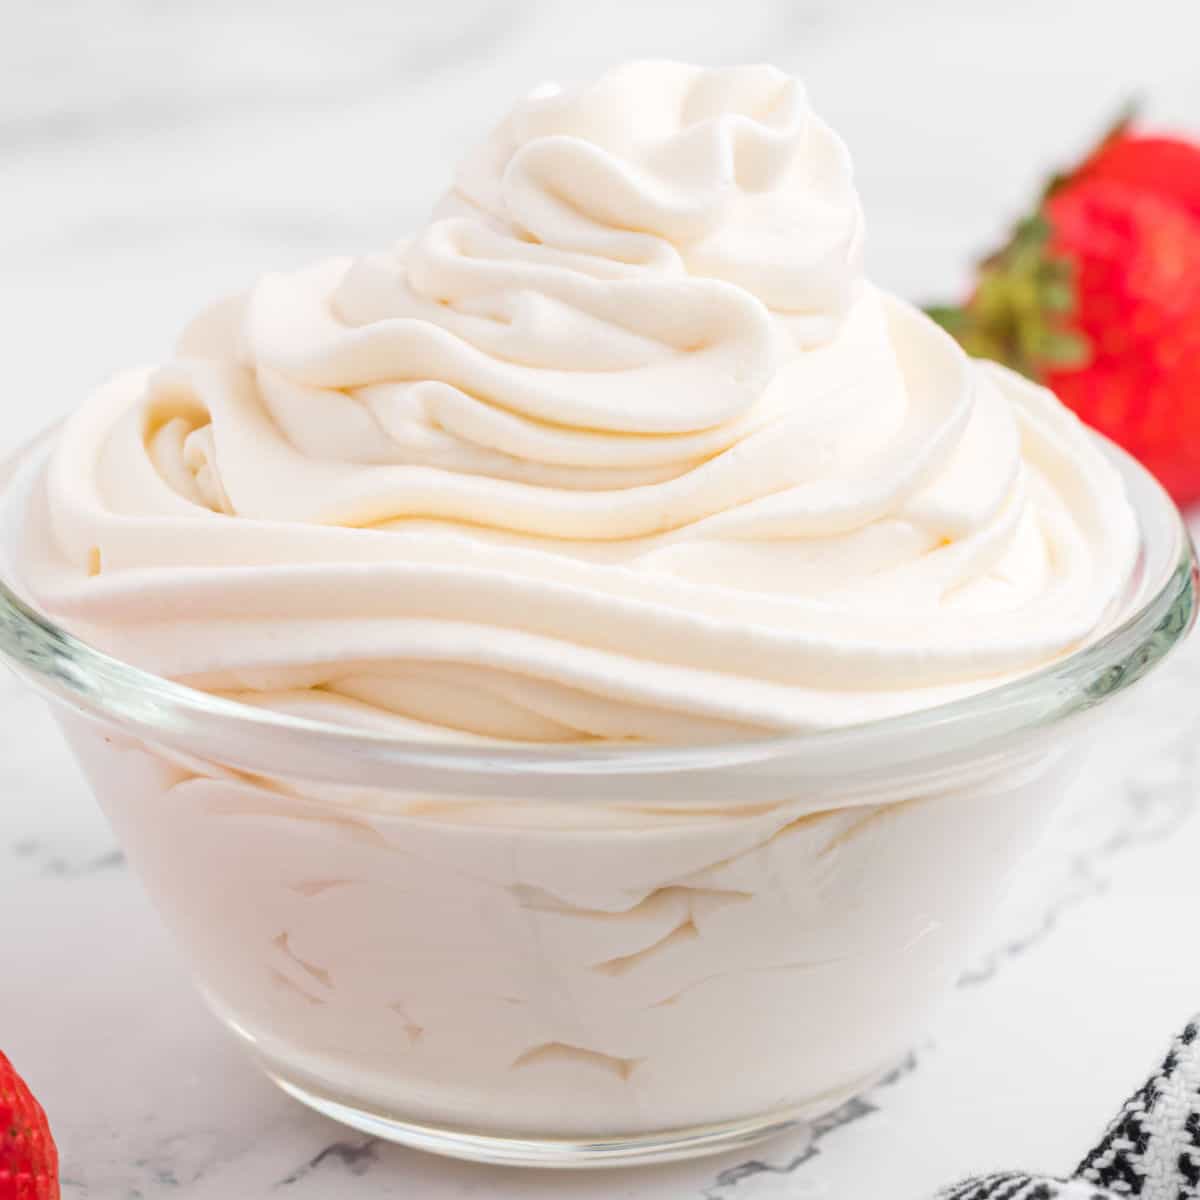
Sweet and creamy Homemade Cool Whip is made with natural cream but has that unique Cool Whip consistency that is perfect for desserts!
This amazing Homemade Cool Whip recipe is made with real ingredients like heavy cream, sugar, and vanilla but with gelatin to give it that Cool Whip texture you love! Just four ingredients, a stand mixer, and 10 minutes are all you need to whip up this creamy whipped topping.
EASY TO WHIP UP
This Homemade Cool Whip takes less than 10 minutes to whip up! It’s the perfect whipped cream to dress up your desserts because it is stabilized with gelatin and holds its shape perfectly!
Use this Homemade Cool Whip to top off Homemade Banana Pudding or Triple Chocolate Gooey Cake.
OTHER RECIPES TO SERVE WITH HANDMADE COOL WHIP
- Butterfinger Cake – This Butterfinger Cake is phenomenal and this whipped topping is the perfect way to top it off.
- Toasted Coconut Poke Cake – This Homemade Cool Whip is the perfect topping to any poke cake recipe!
- Boozy Pumpkin Caramel Milkshake – Boozy milkshakes and creamy Cool Whip are a match made in heaven.
INGREDIENTS
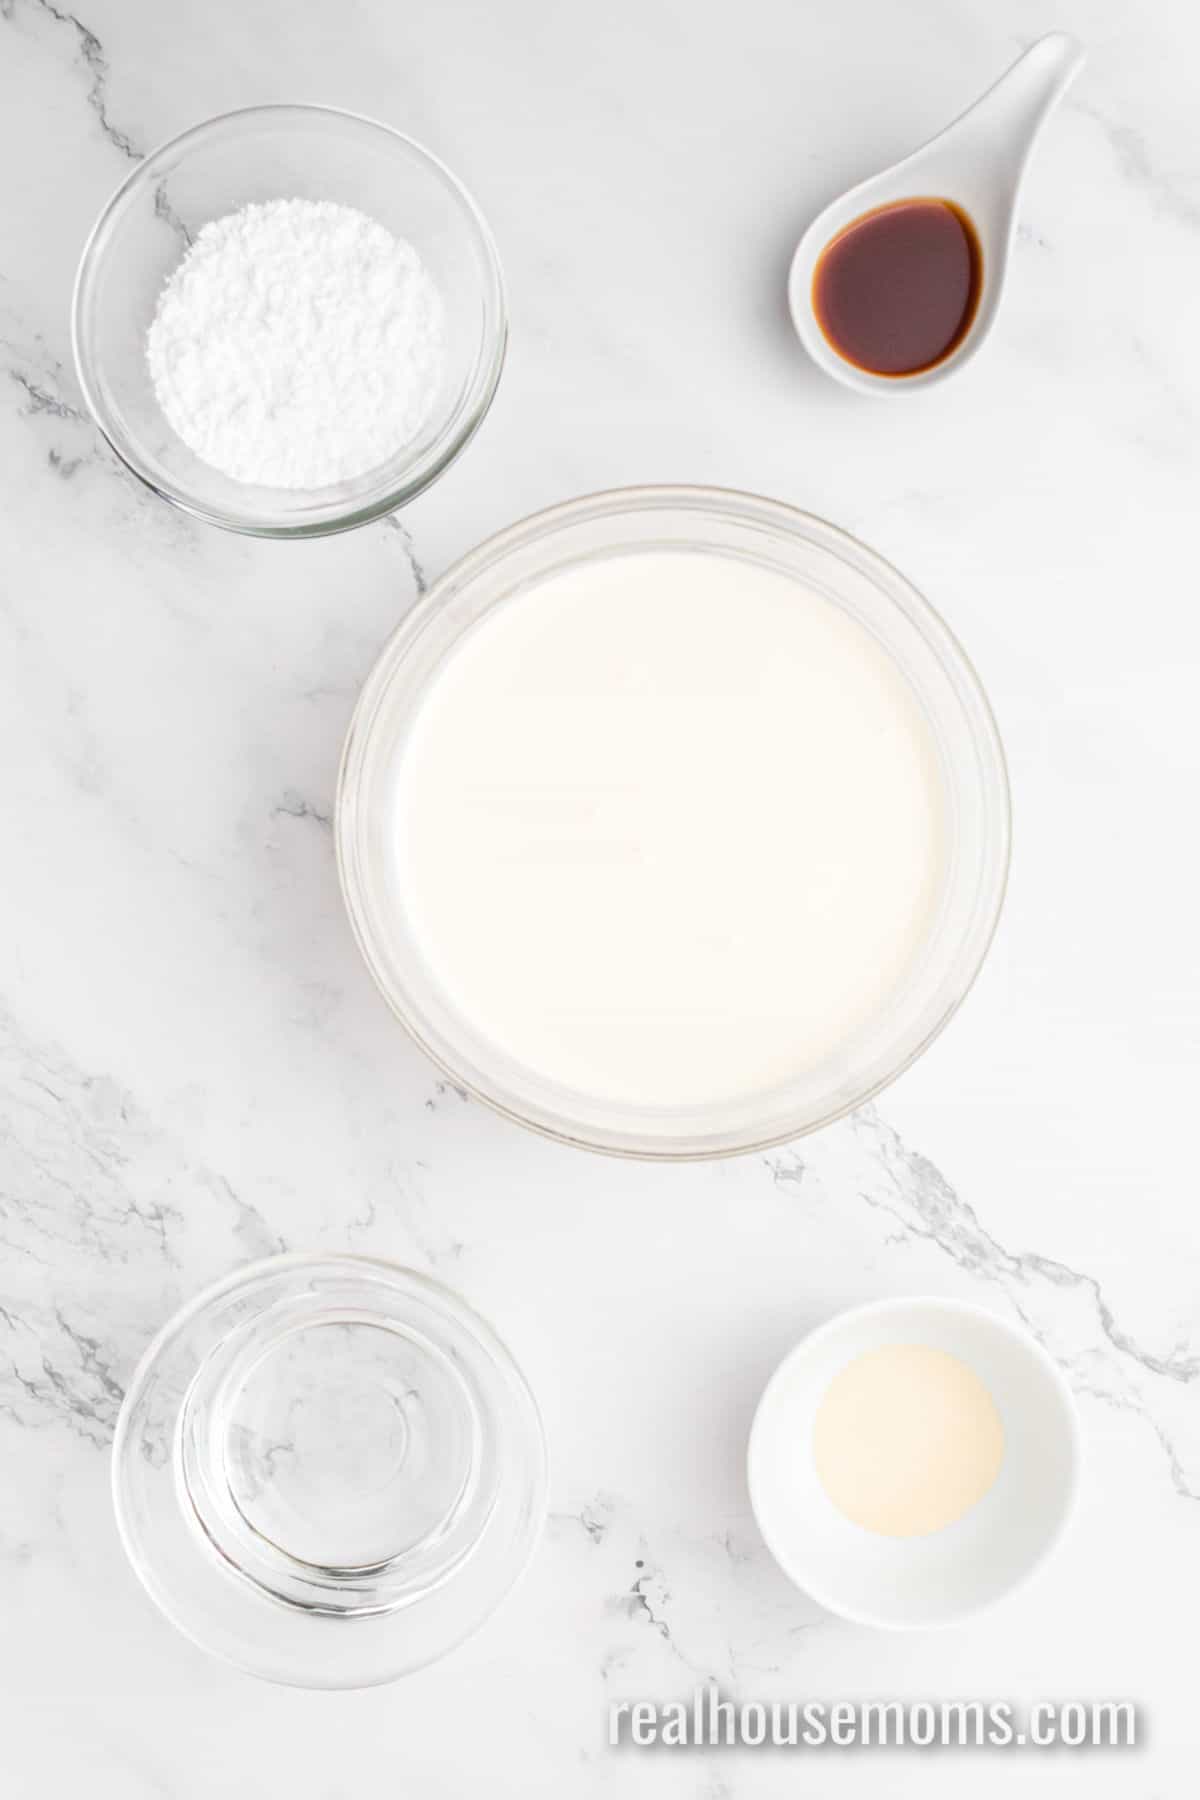
Cream: You’ll need heavy whipping cream to make this Homemade Cool Whip cream.
Sugar: Confectioners sugar is used to sweeten this creamy dessert topping.
Vanilla: Have some pure vanilla extract on hand for a touch of flavor.
Gelatin: Unflavored gelatin is the key to giving this whipped cream the desired Cool Whip consistency.
HOW TO MAKE HOMEMADE COOL WHIP
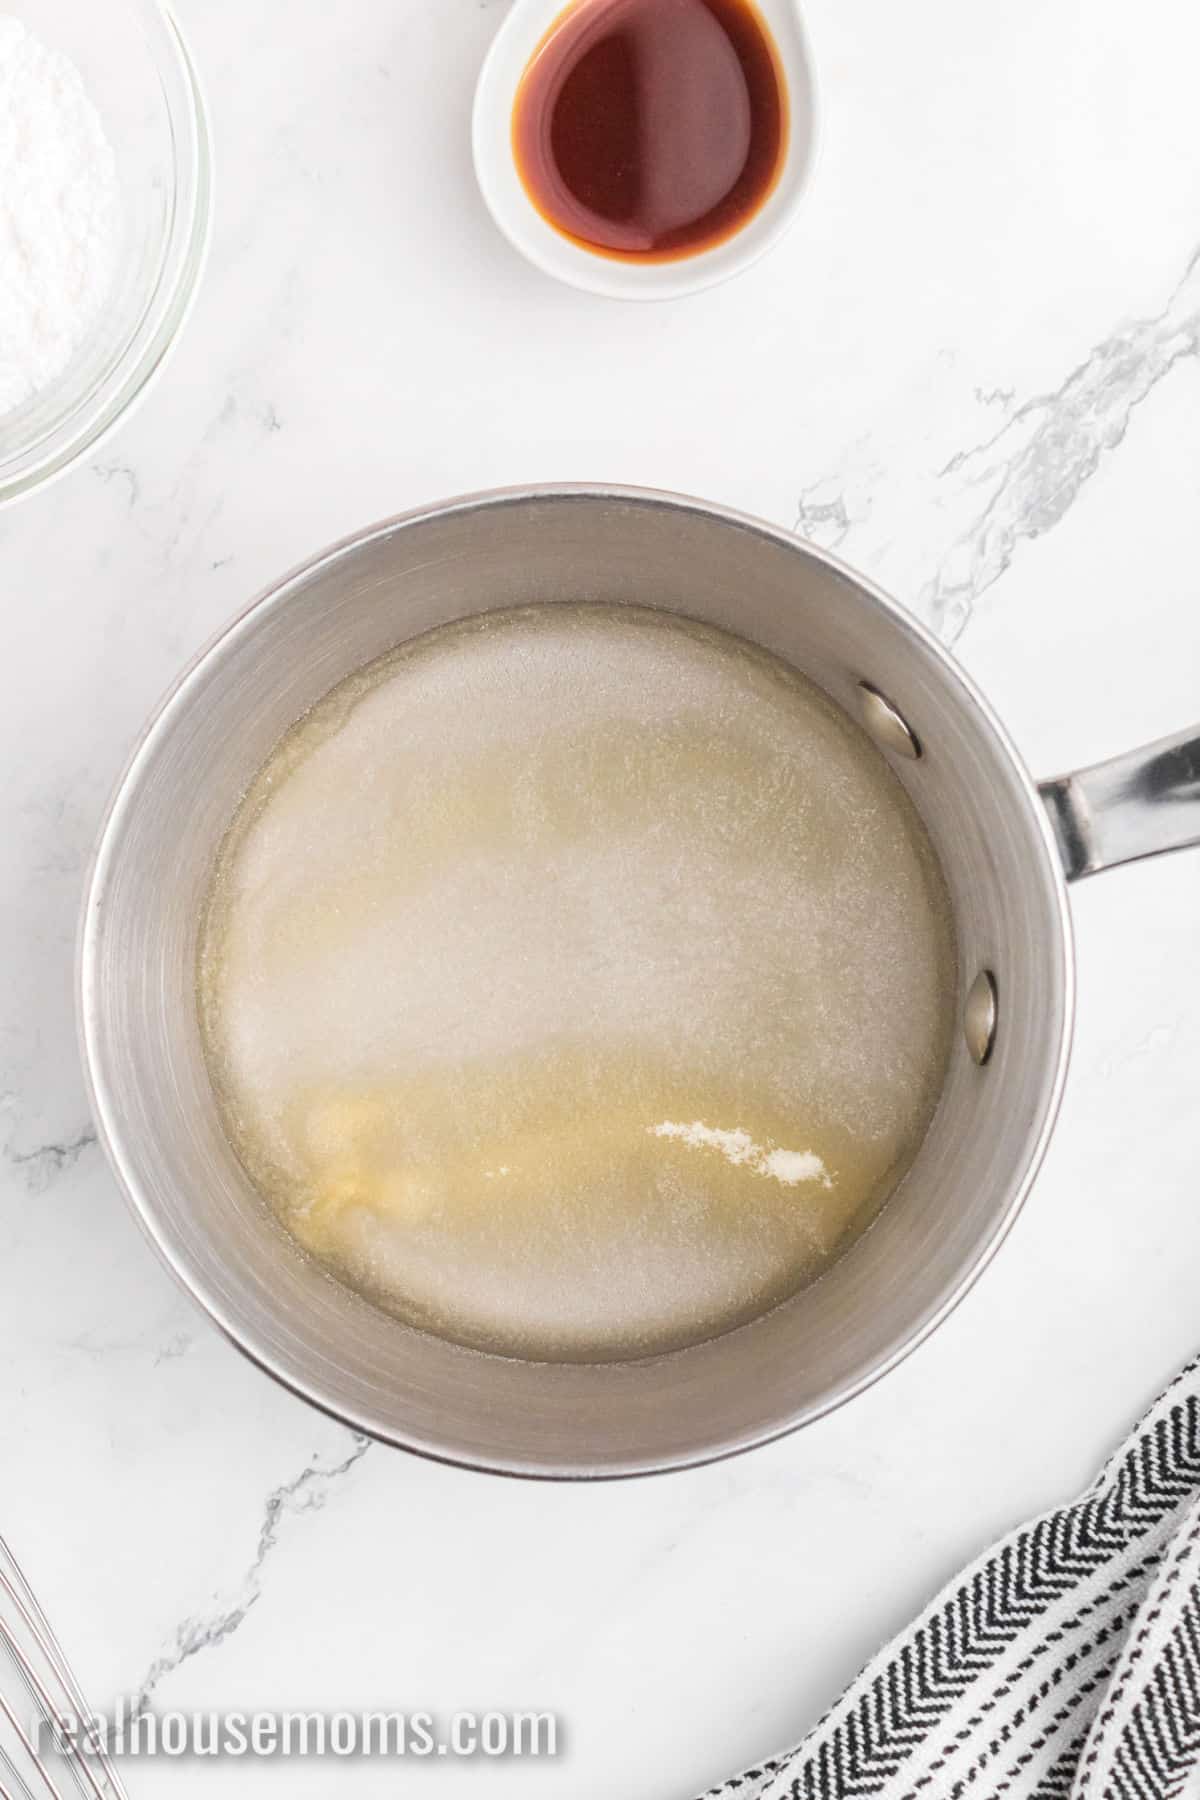
STEP ONE: Start by adding the cold water into a saucepan and sprinkle the unflavored gelatin over the top. Allow it to sit for 2-3 minutes before placing the pan on medium-low heat. Stir until the gelatin has dissolved and the water looks clear again. Remove the pan from the heat and allow it to cool but not solidify.
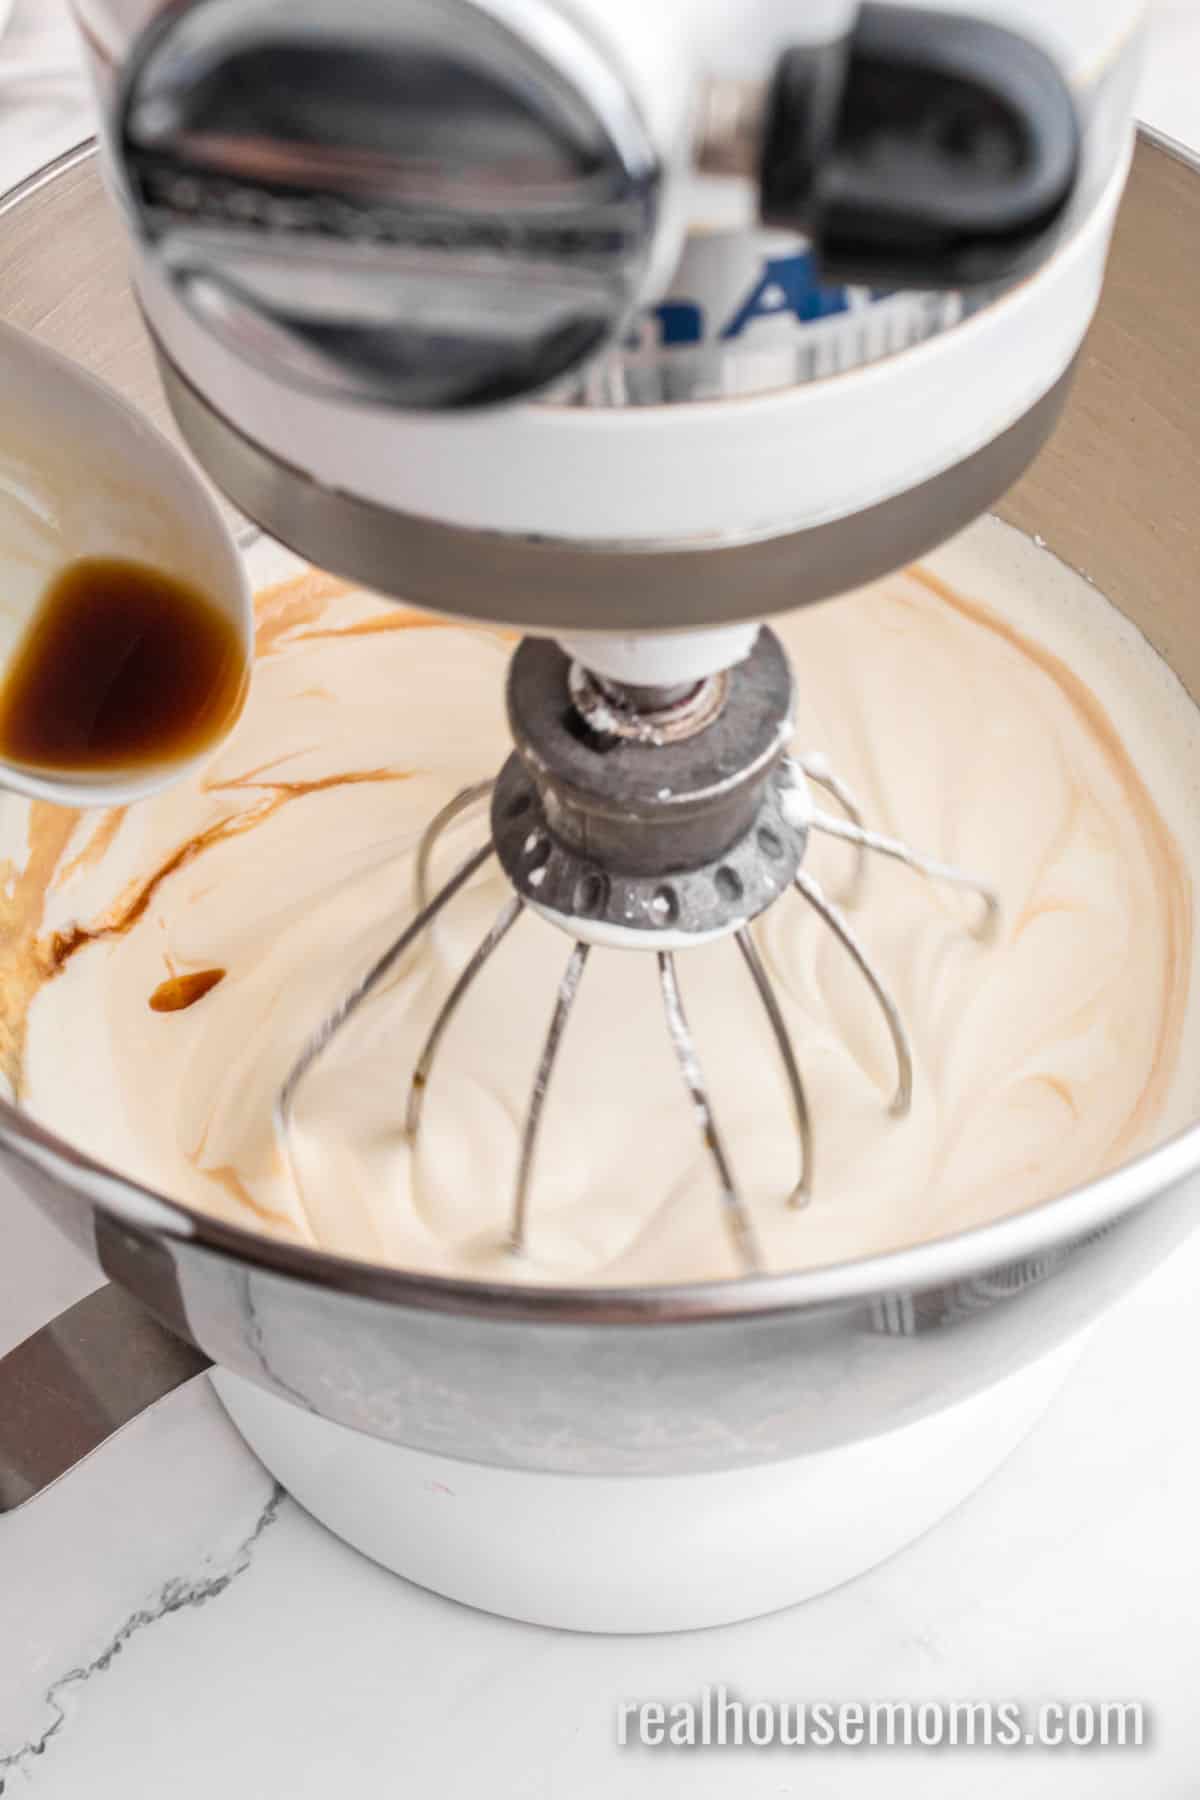
STEP TWO: Pour the heavy whipping cream into the bowl of a stand mixer. Using a whisk attachment, beat it on low, then medium speed to the point where the peaks just begin to form. Reduce the speed of the mixer to low and sprinkle in sifted the confectioner’s sugar. Finally, slowly add in the vanilla extract until fully mixed in.
STEP THREE: Slowly drizzle the cooled gelatin mixture down the side of the mixing bowl into the cream mixture.
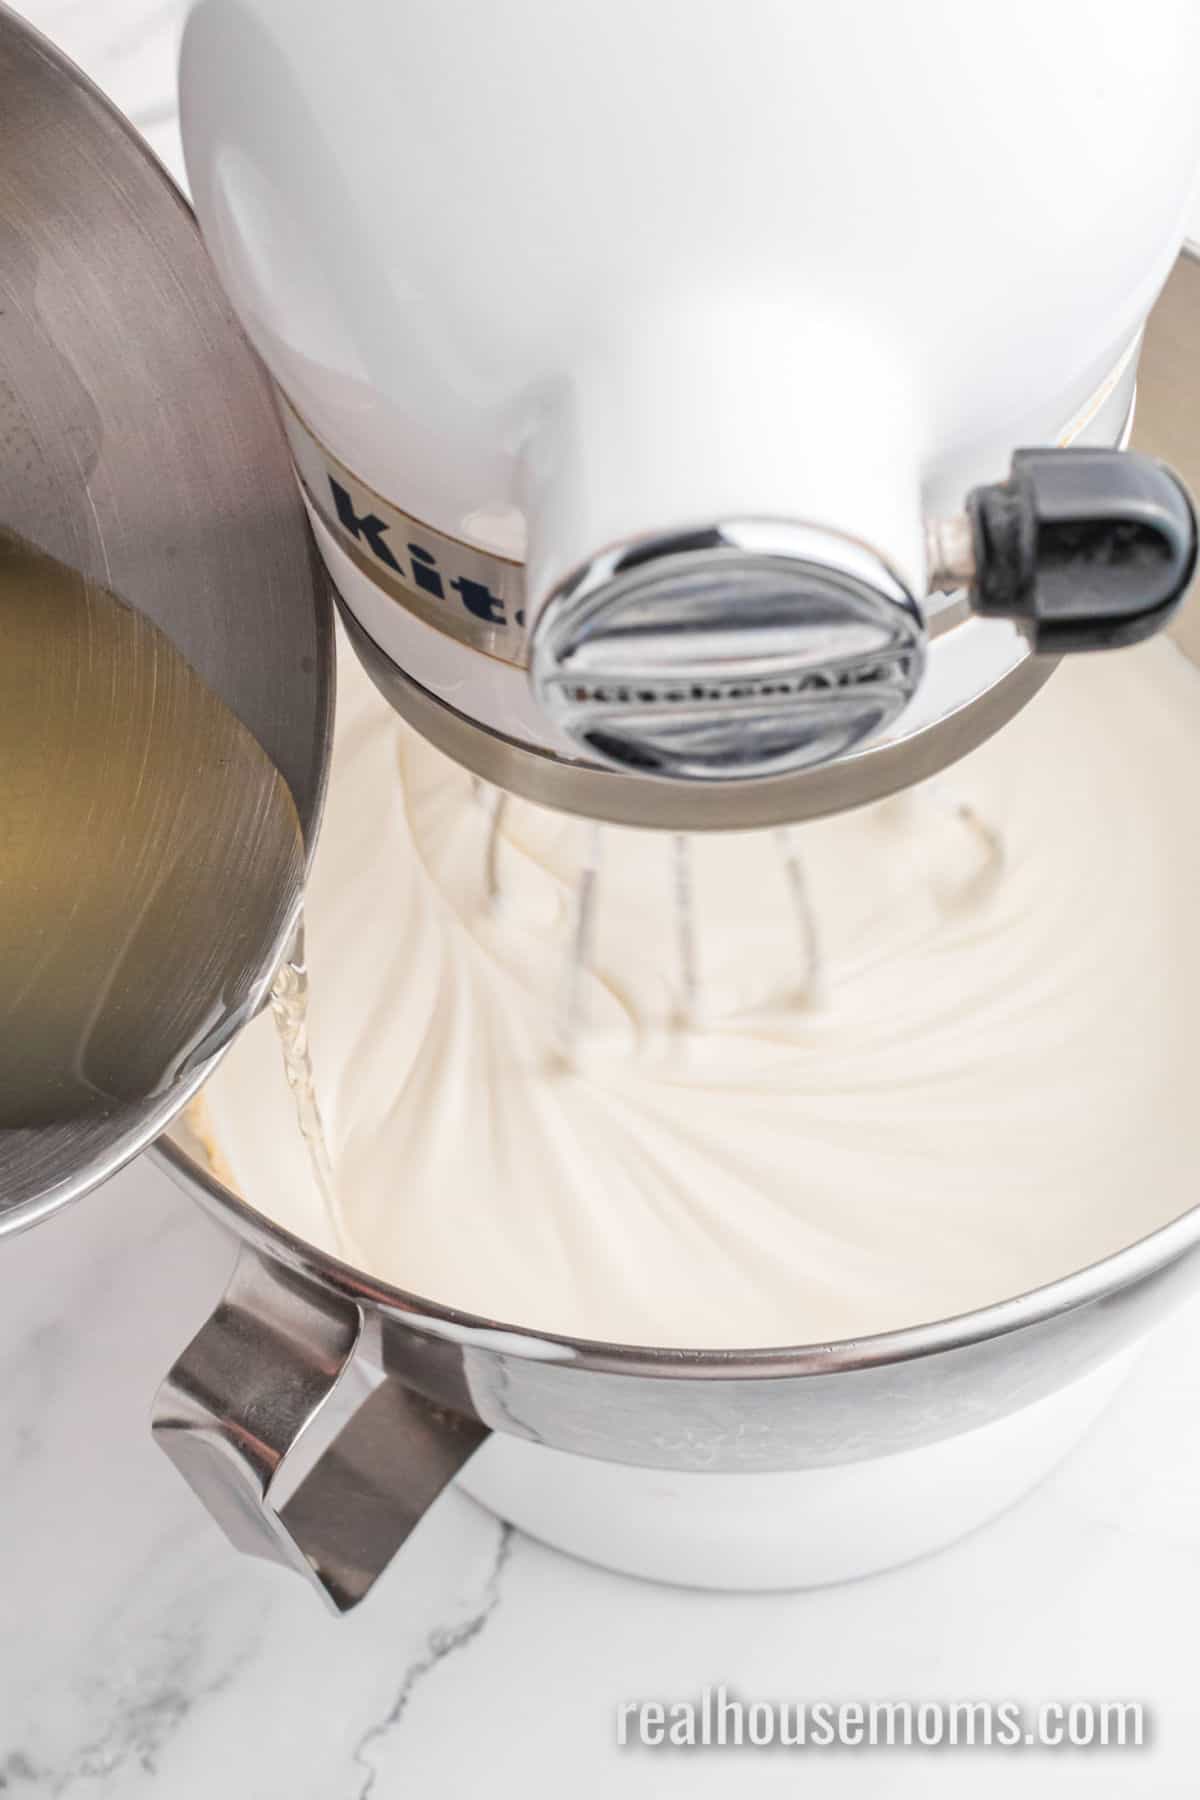
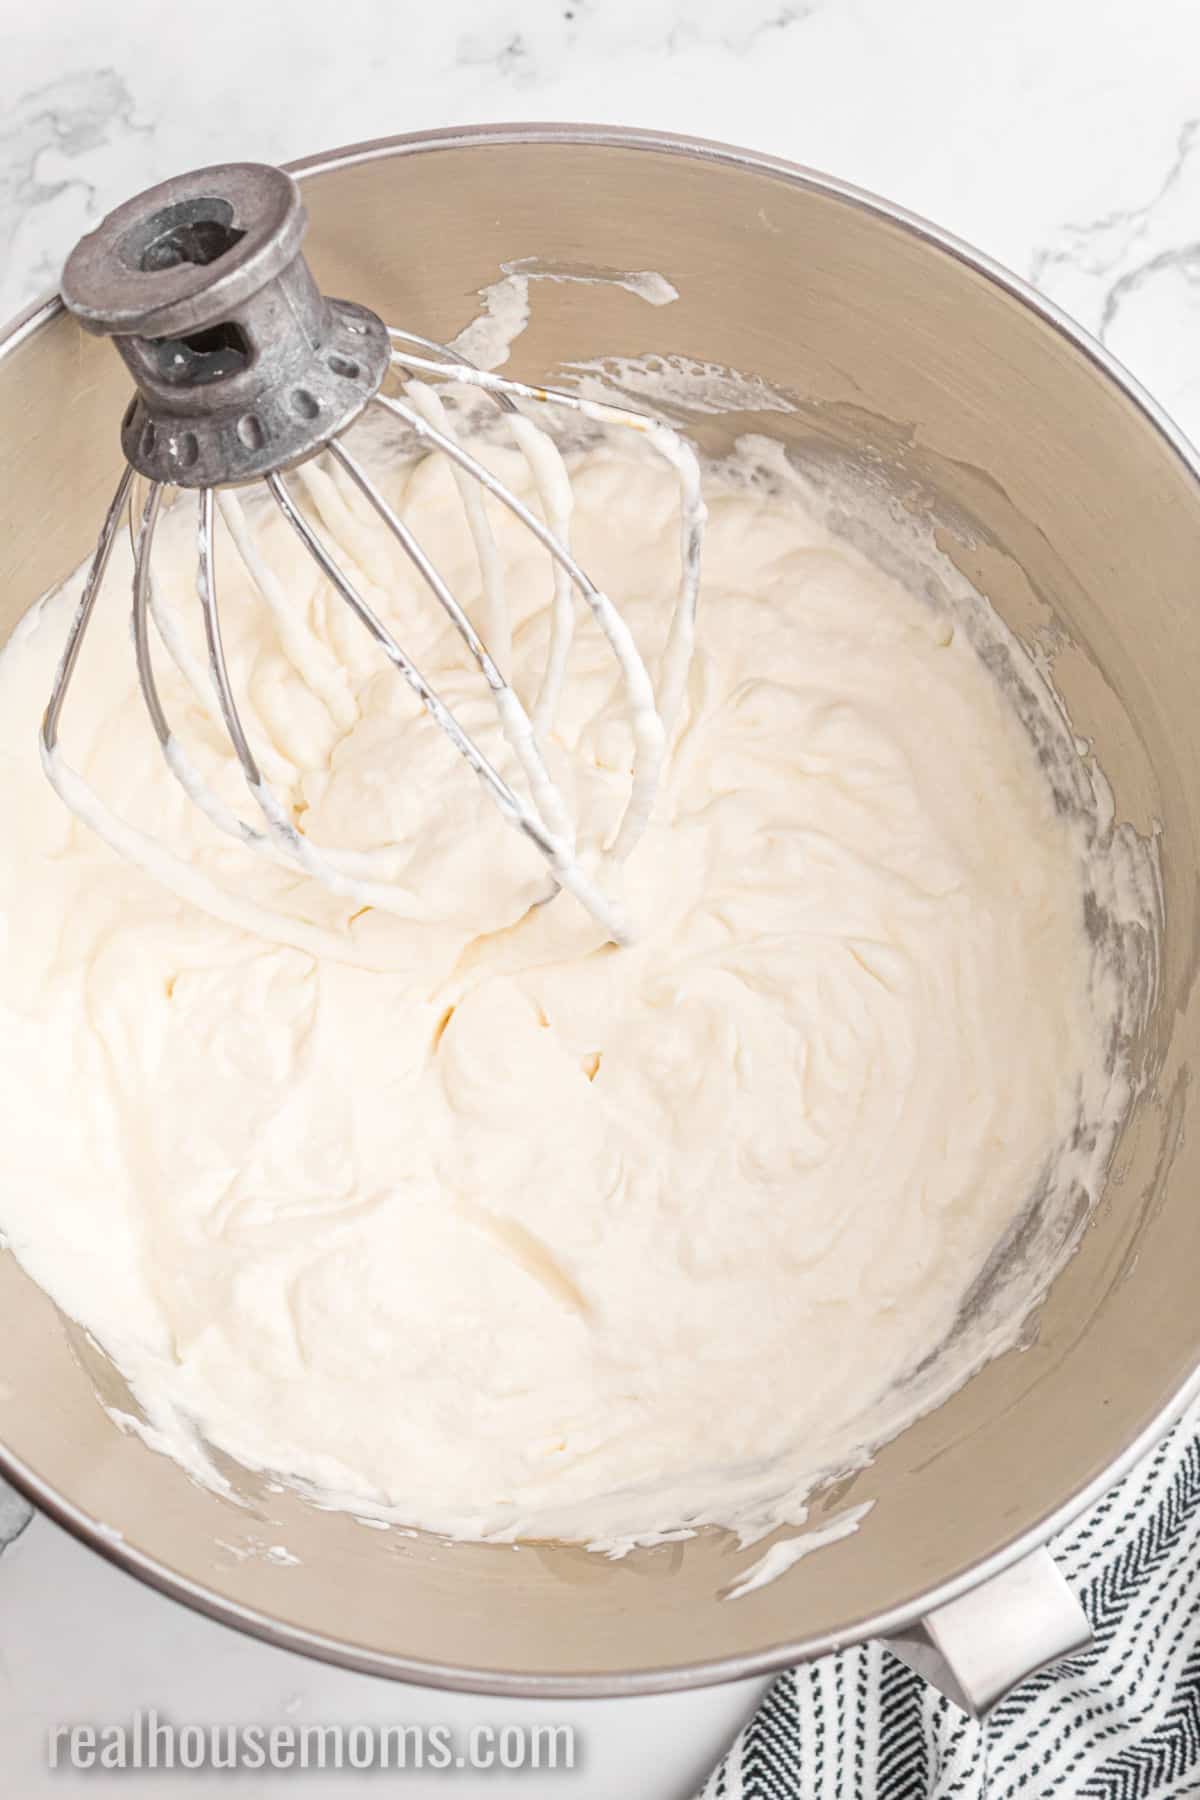
STEP FOUR: Once all of the gelatin has been added, turn the speed of the mixer back up to medium and allow it to whip the cream back to medium peaks.
TIPS FOR SUCCESS
- If the gelatin solidifies after heating it, put it back on the heat and stir it until it melts again. Once melted, allow it to cool while keeping an eye on it.
- Don’t step away from the stand mixer while the cream is whisking to avoid overmixing it.
WHAT’S THE DIFFERENCE BETWEEN WHIPPED CREAM AND COOL WHIP?
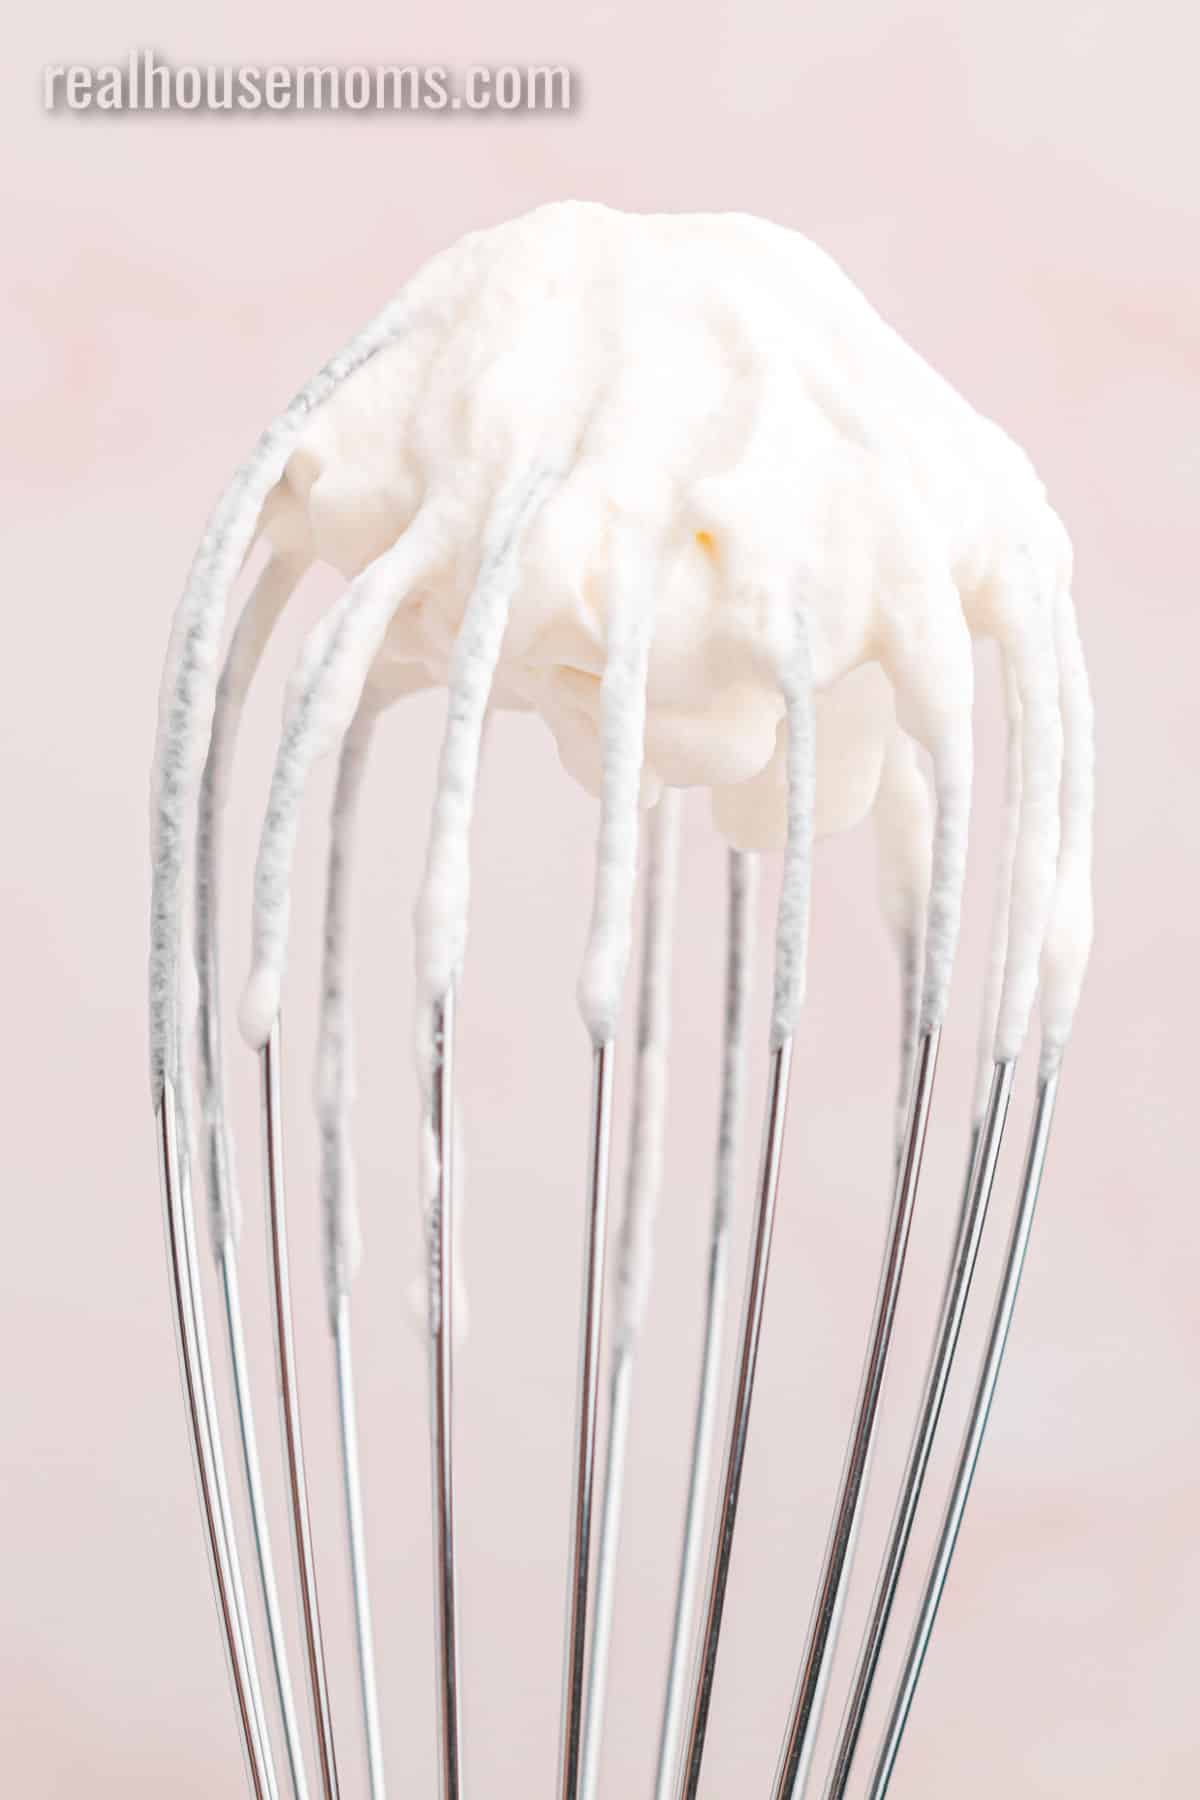
Whipped cream is exactly what the name implies. It is made with heavy cream whipped until it turns into the whipped dessert topping we all love. The higher the fat content of the cream, the faster it whips. Store-bought Cool Whip isn’t made from cream at all. Though it’s sturdier than traditional whipped cream and has a longer shelf life, Cool Whip is made with high fructose corn syrup and is technically categorized as “whipped topping.”
CAN YOU STORE HOMEMADE WHIPPED CREAM?
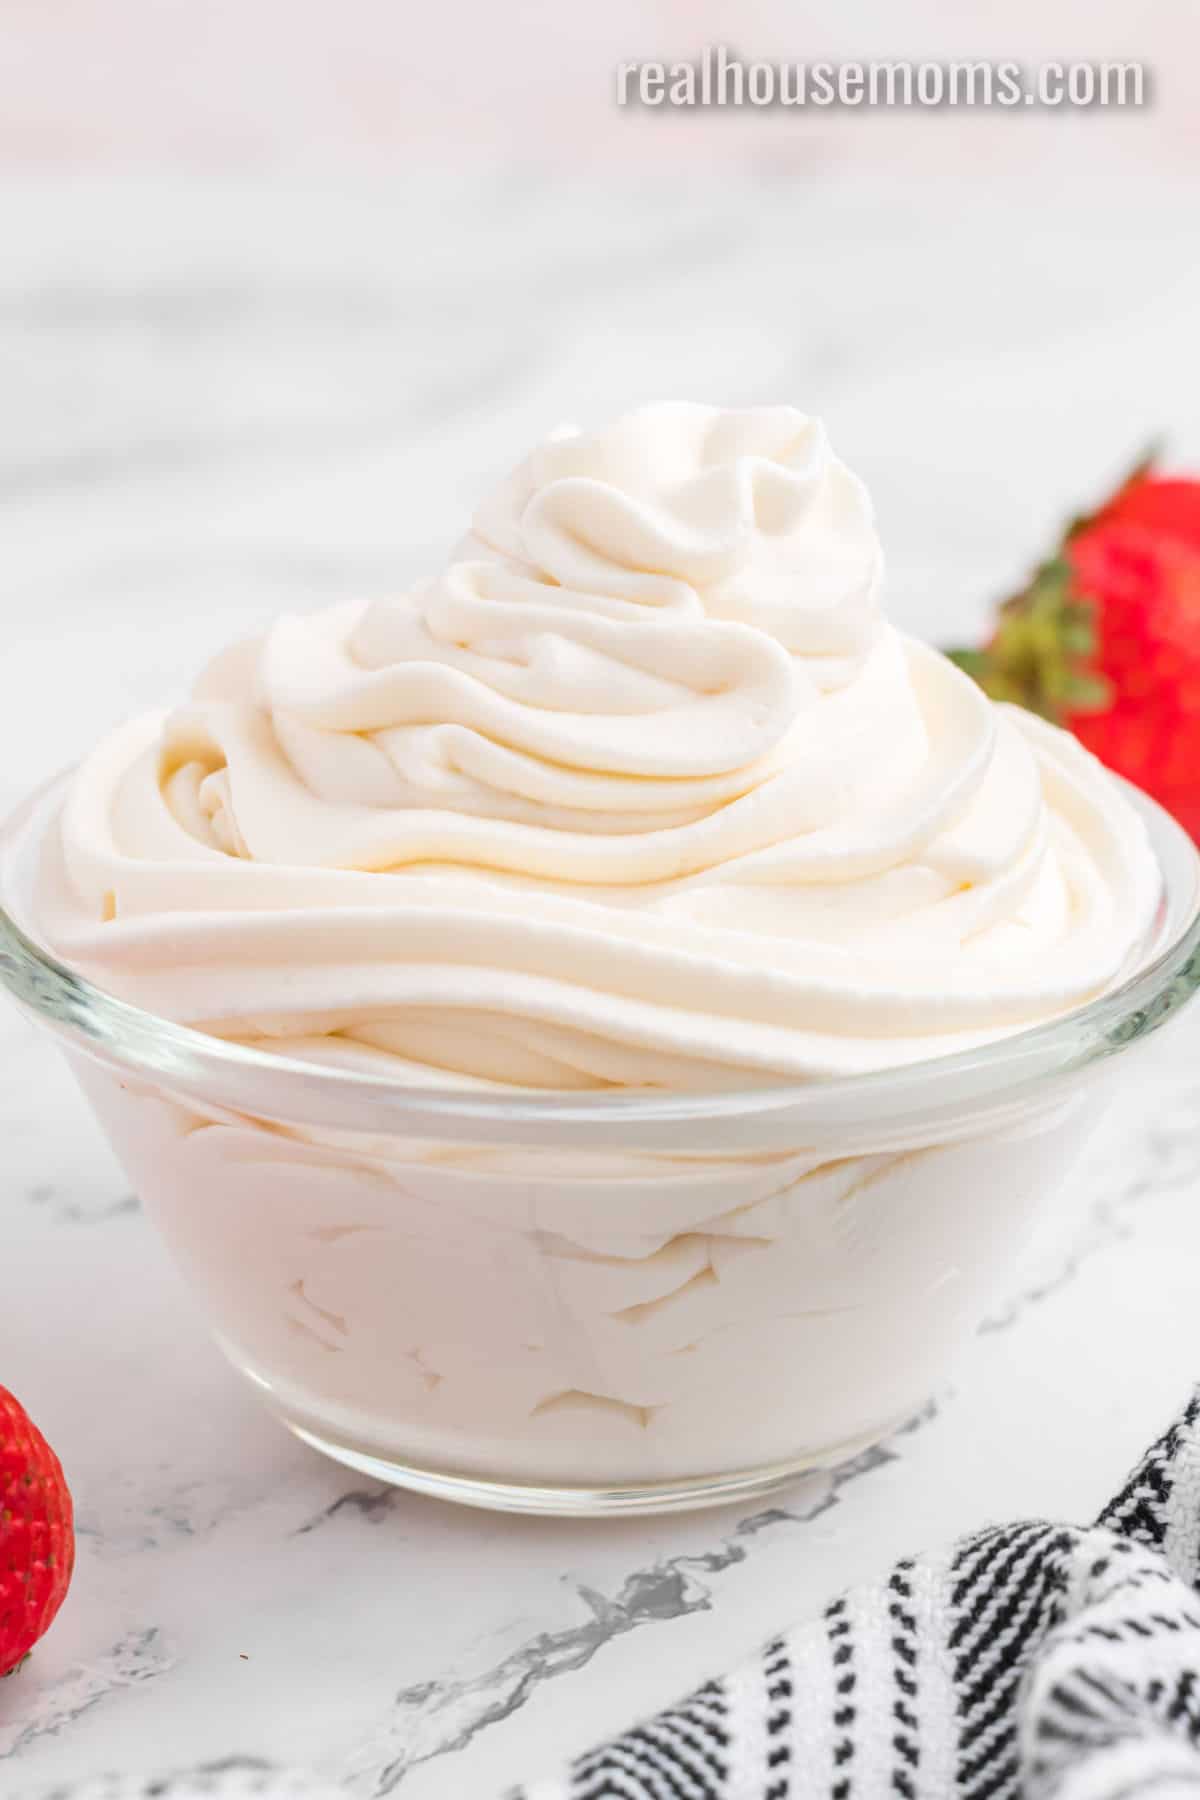
Regular homemade whipped cream will last about a day in the fridge. Because this Homemade Whipped Cream has been stabilized with the addition of gelatin, you can keep it in an airtight container in the fridge for up to 3 days.
OTHER SWEET RECIPES TO WHIP UP
- Pumpkin Cheesecake Brownie Bars
- Angel of Death Jello Shots
- Pineapple Banana Whip
- Nutella Hot Chocolate
- Strawberry Shortcake
- Lime Jello Pie
*This post was originally posted on 05/07/2015.
Equipment
Ingredients
- ½ cup cold water
- 2 teaspoons unflavored gelatin
- 2 ¼ cup heavy whipping cream
- ¼ cup powdered sugar sifted
- 1 tablespoon vanilla extract
Instructions
- Add the water to a small saucepan and sprinkle the gelatin over top. Allow the gelatin to sit and bloom for 2-3 minutes.
- Place the saucepan over medium-low heat. Stir until gelatin has dissolved and the water looks clear again.
- Remove from heat and allow the mixture to cool but not solidify. (If the gelatin does solidify, just put it back on the heat and stir until it has melted again. Then allow it to cool and keep an eye on it.)
- Pour the heavy whipping cream into the bowl of a stand mixer fitted with the whisk attachment. Beat on low speed before increasing to medium speed until soft peaks just begin to form. (Don't walk away here, you don't want to overmix the cream and end up with butter.)
- Reduce the speed of the mixer to low and sprinkle in the powdered sugar. Once the sugar is incorporated, slowly add in the vanilla until it's fully mixed in.
- Now slowly drizzle the cooled gelatin mixture down the side of the bowl into the whipped cream.
- Once all the gelatin has been added, turn up the speed of the mixer to medium and allow it to whip the cream to medium peaks. Use immediately or refrgierate in a covered container for up to 3 days.




Charles says
I did this recipe and it’s a flop! I did it exactly as follows and it just deflated and became soupy. I don’t know what the problem is, but I won’t be making this again and neither should anyone else.
Danika says
I just made this! I don’t have a stand mixer so I had to use a hand mixer. Tasted it when I was done and it tastes like extra creamy Refi Whip but has the consistency of Cool Whip. I folded 3 cups (8oz.) into five full size Hershey bars, melted, for a super easy pie! I do not know how my pie tastes yet because it has to set up for 4 hours lol. I think it will turn out though! The last cup will be to dollop on slices and serve. Thank you for the recipe!
Jennifer Snoozy says
I made a double batch. I let the gelatin mixture cool and then slowly poured it into the whip cream but it flattened and melted it still! 😥 it won’t whip back up. Now I have to go buy a new whip cream. Probably won’t try this again.
Rafia says
I made this for my coconut ice cream and without being dubious this take my ice cream to next level.
Thanks a lot!
Keep sparkling!
Katherine Race says
This is just what I was looking for!! Thanks for all your hard work to create this!
Eric Liang says
OMG THIS IS THE BEST