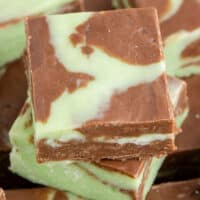
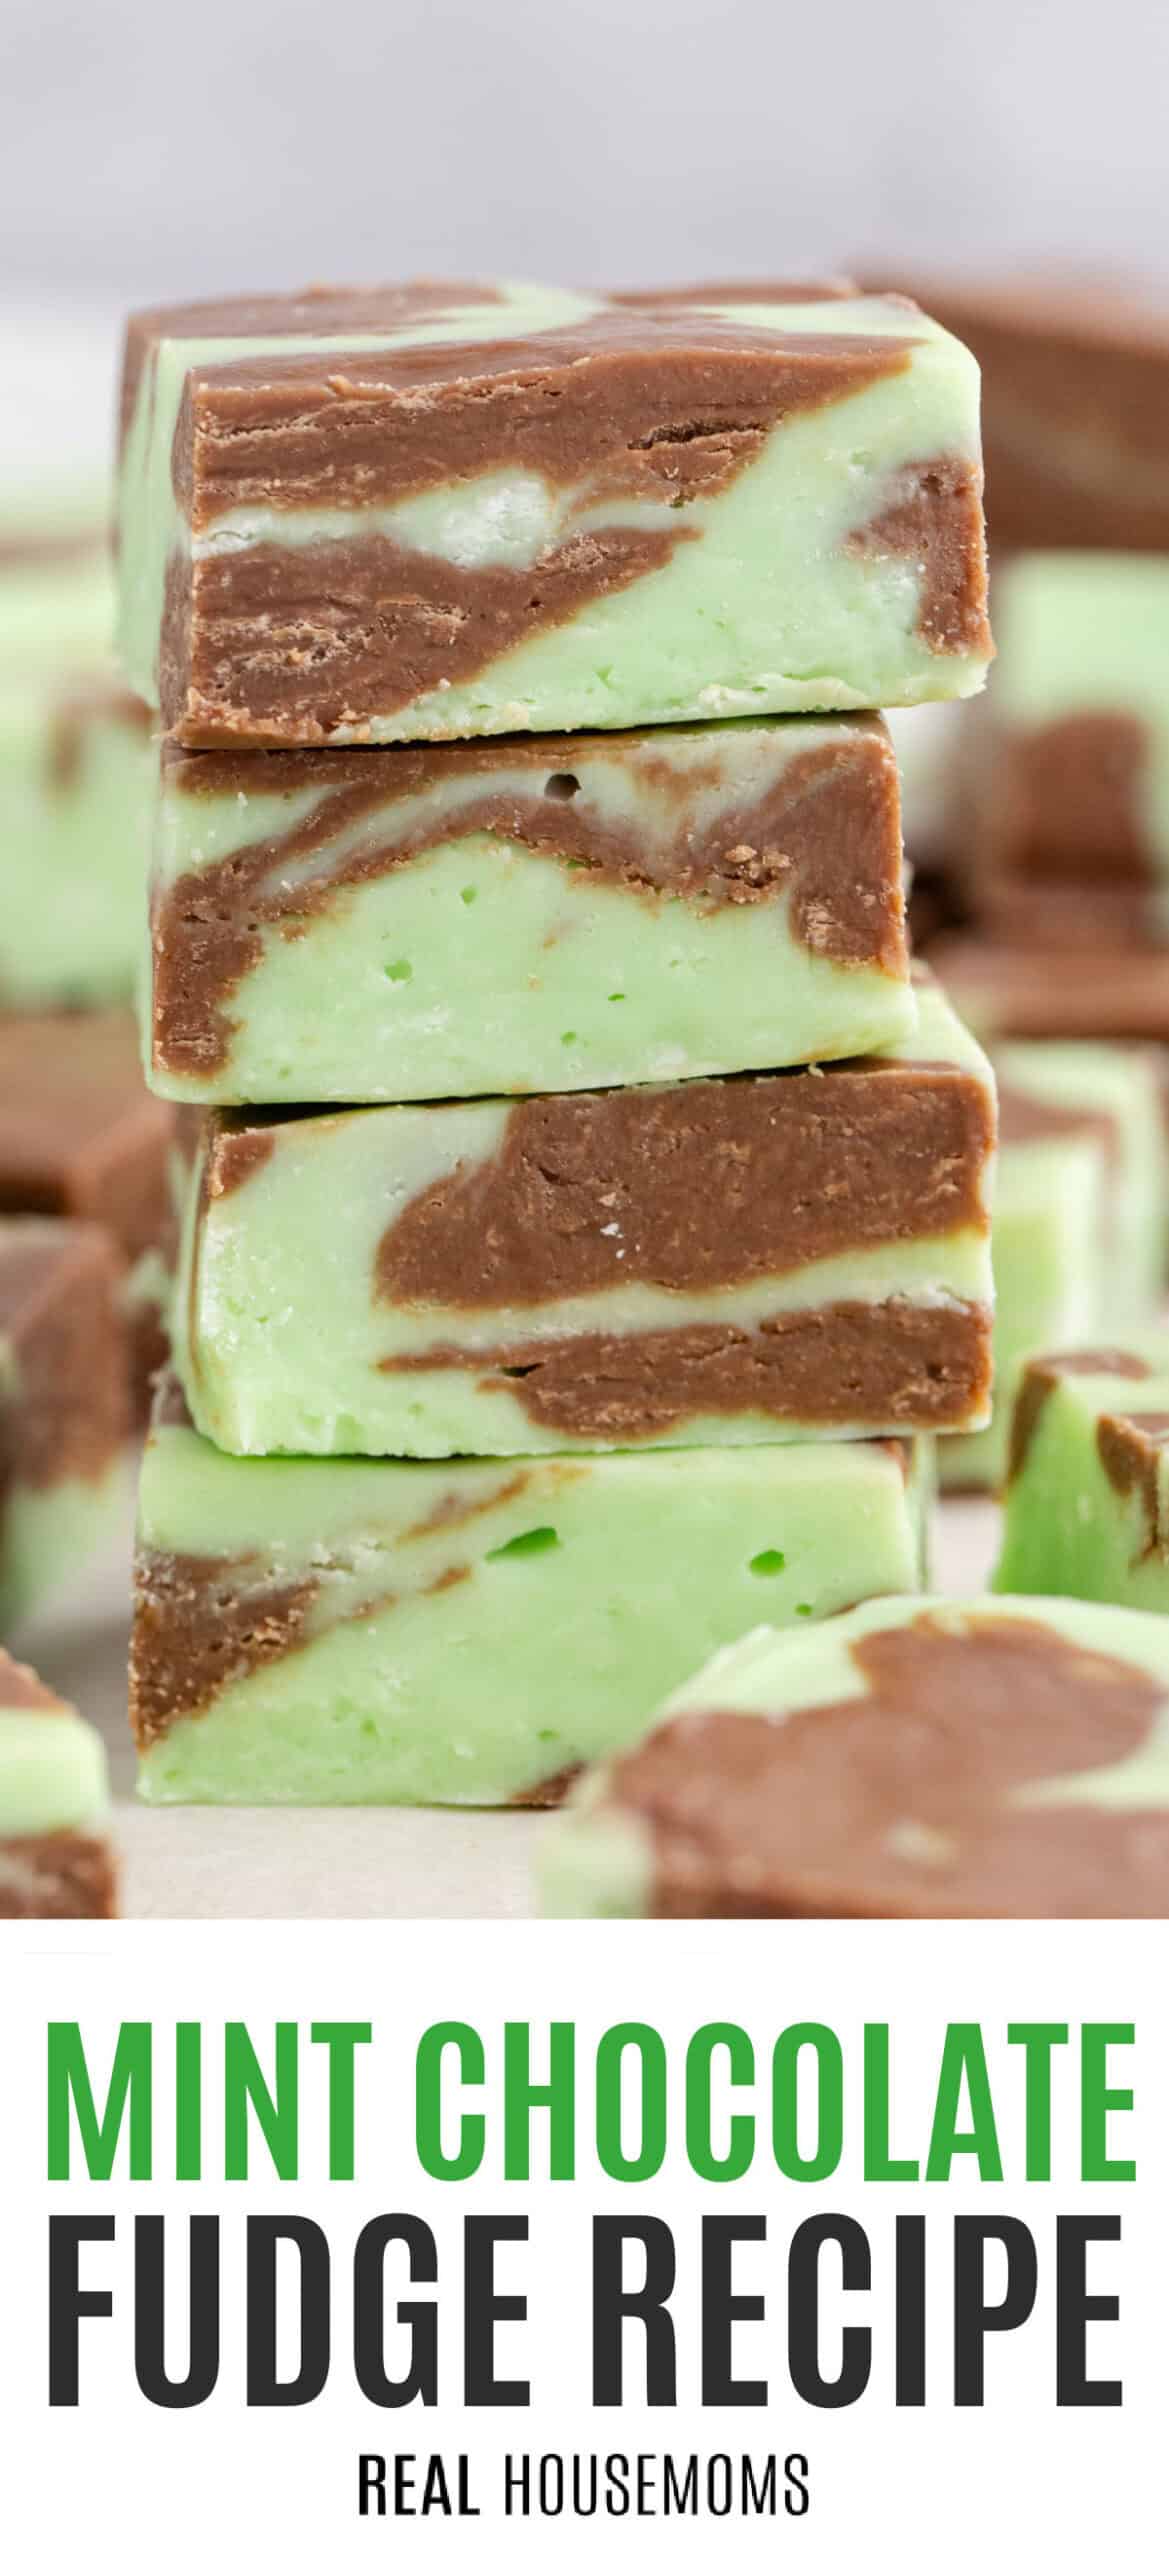
Treat everyone to a pan of easy-to-make Mint Chocolate Fudge, full of rich chocolate chips and sweet mint that takes only minutes to make!
Simple to make Mint Chocolate Fudge is a fool-proof, quick chocolate mint treat that always satisfies a sweet tooth! Set aside five minutes, along with milk chocolate chips, white chocolate chips, sweetened condensed milk, peppermint extract, and a little food coloring to create a dish of irresistible fudge!
Quick Chocolate Mint
Without a doubt, the hardest part about this easy fudge recipe is waiting for it to set, but it’s so worth it every time! Mint and chocolate are two of our favorite sweet combinations, so making Mint Chocolate Fudge is a no-brainer for us, and it’s so easy that my kids sometimes make it as a surprise treat. A little microwaving, a little mixing, and swirling, and that’s it; you just let it set. This is the perfect quick fudge recipe and it comes out perfect every time we make it.
Mint Stuffed Fudge Brownies and Mint Chocolate Rice Krispies are two classic treats with a delicious mint twist that are so addictive!
Other Recipes to Serve with Mint Chocolate Fudge
- While you’re waiting for that delicious fudge to set why not mix up an incredible Grasshopper Cocktail to start enjoying those mint chocolate flavors sooner?
- Fudge and Mint Chocolate Chip Cookies make amazing gifts if you can keep from eating them all first!
Ingredients

Chocolate: To make this simple fudge, you will need both milk chocolate chips and white chocolate chips.
Pantry Items: Purchase a can of sweetened condensed milk to make this fudge.
Food Coloring: Be sure to have green food coloring on hand to color the chocolate.
Extract: You will need a little peppermint extract for this fudge.
How to Make Mint Chocolate Fudge
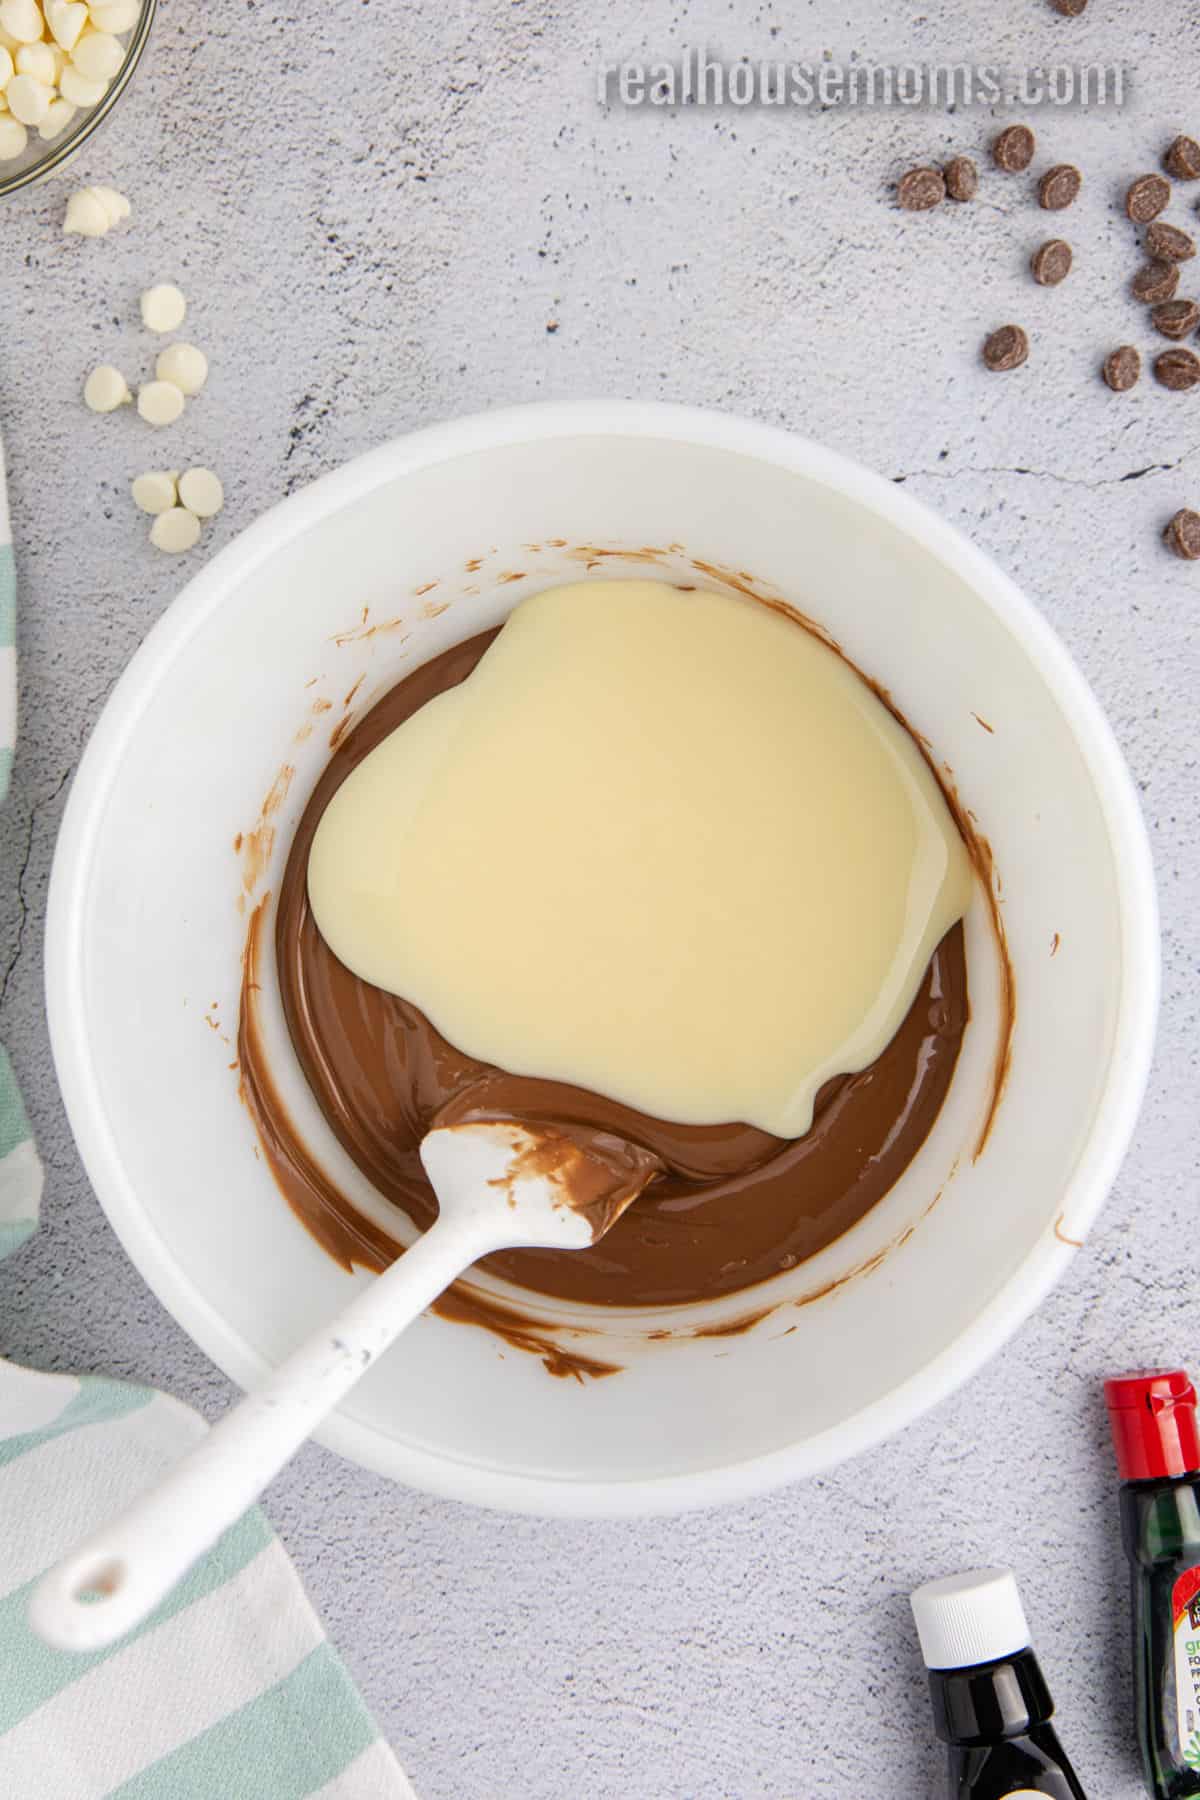
STEP ONE: Line an 8×8 pan with parchment paper. Be sure to leave some paper hanging over the edges to make removing the fudge easier. Add the milk chocolate chips to a microwave-safe bowl and heat in the microwave for 1 minute. Stir the chocolate and continue to heat for 15 seconds at a time until the chocolate is melted and smooth. Pour half the sweetened condensed milk over the melted chocolate and stir to mix.
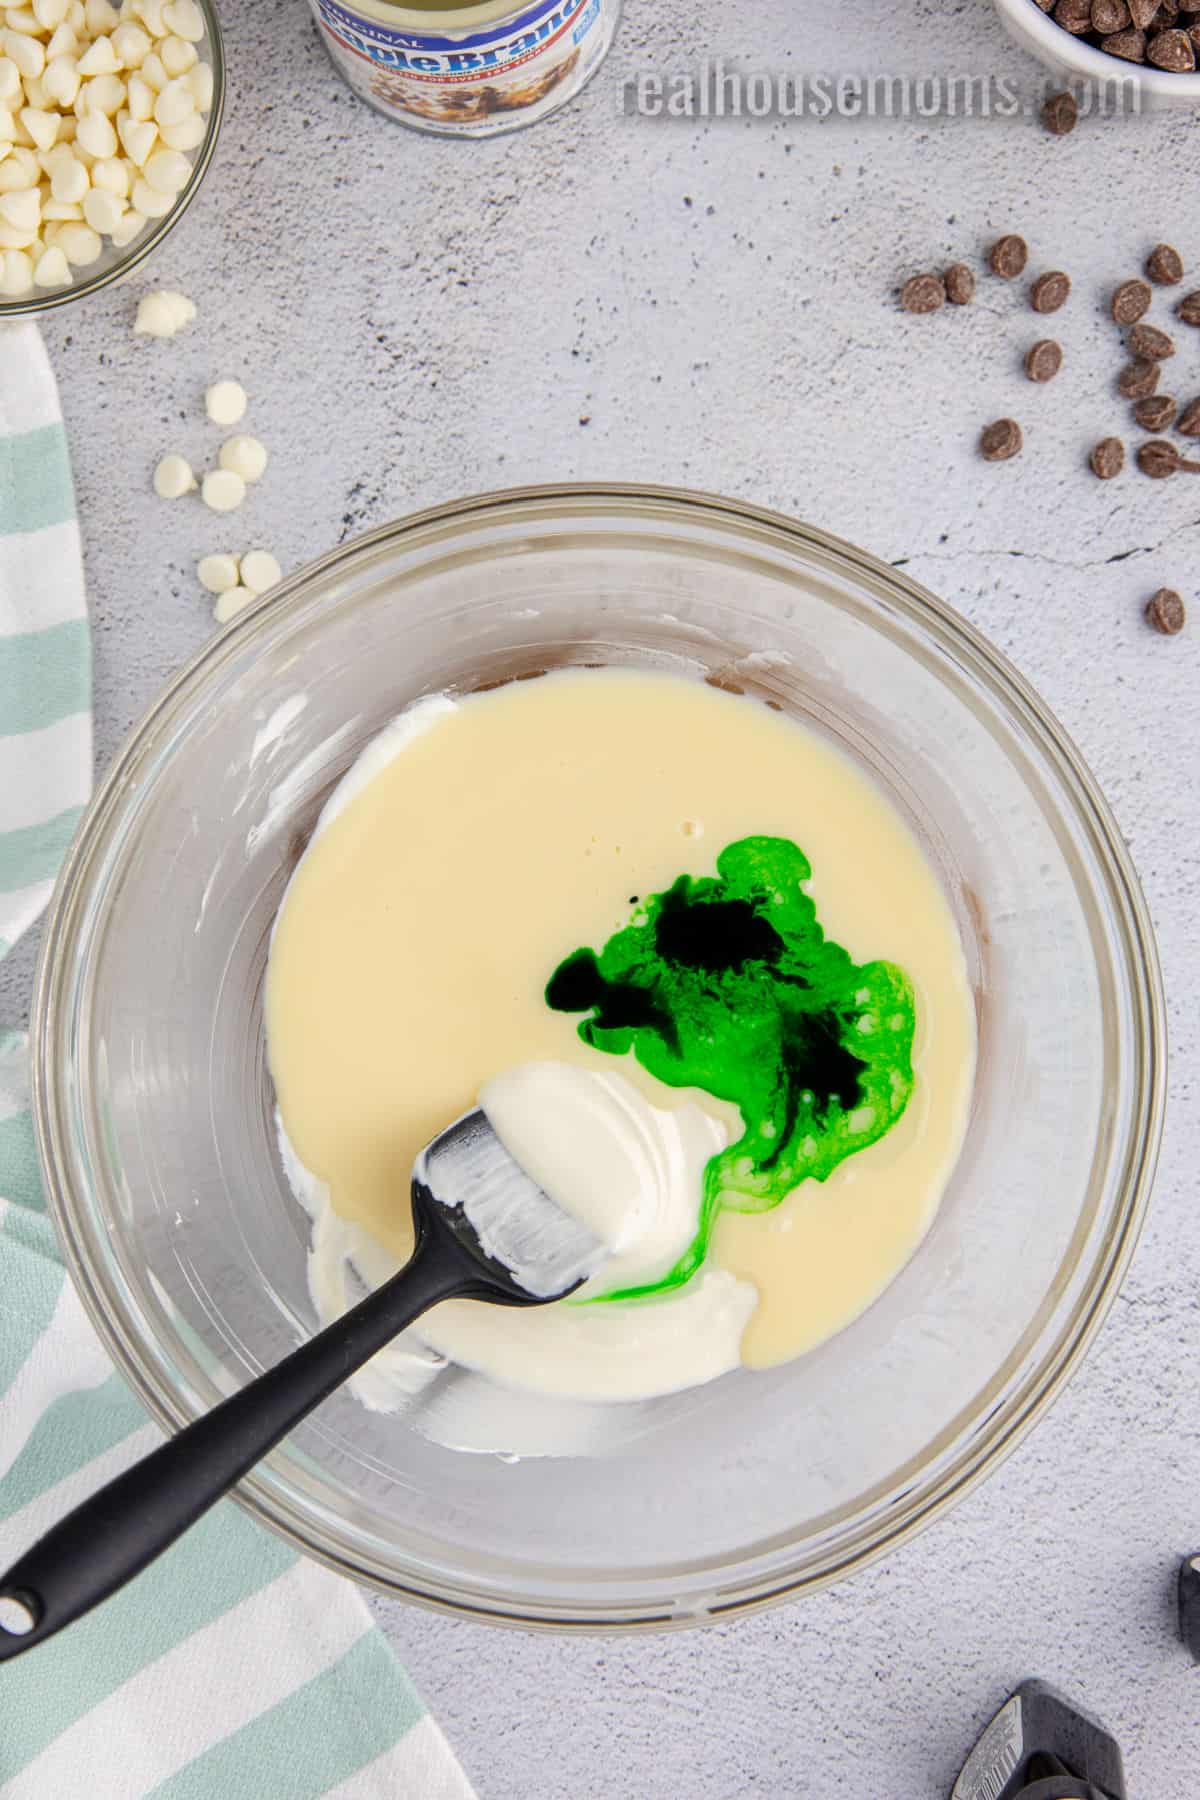
STEP TWO: Add the white chocolate chips to a microwave-safe bowl and heat in the microwave for 1 minute. Stir and continue to heat for 15 seconds at a time until melted. Once melted, add the food coloring and peppermint extract and stir to mix well.
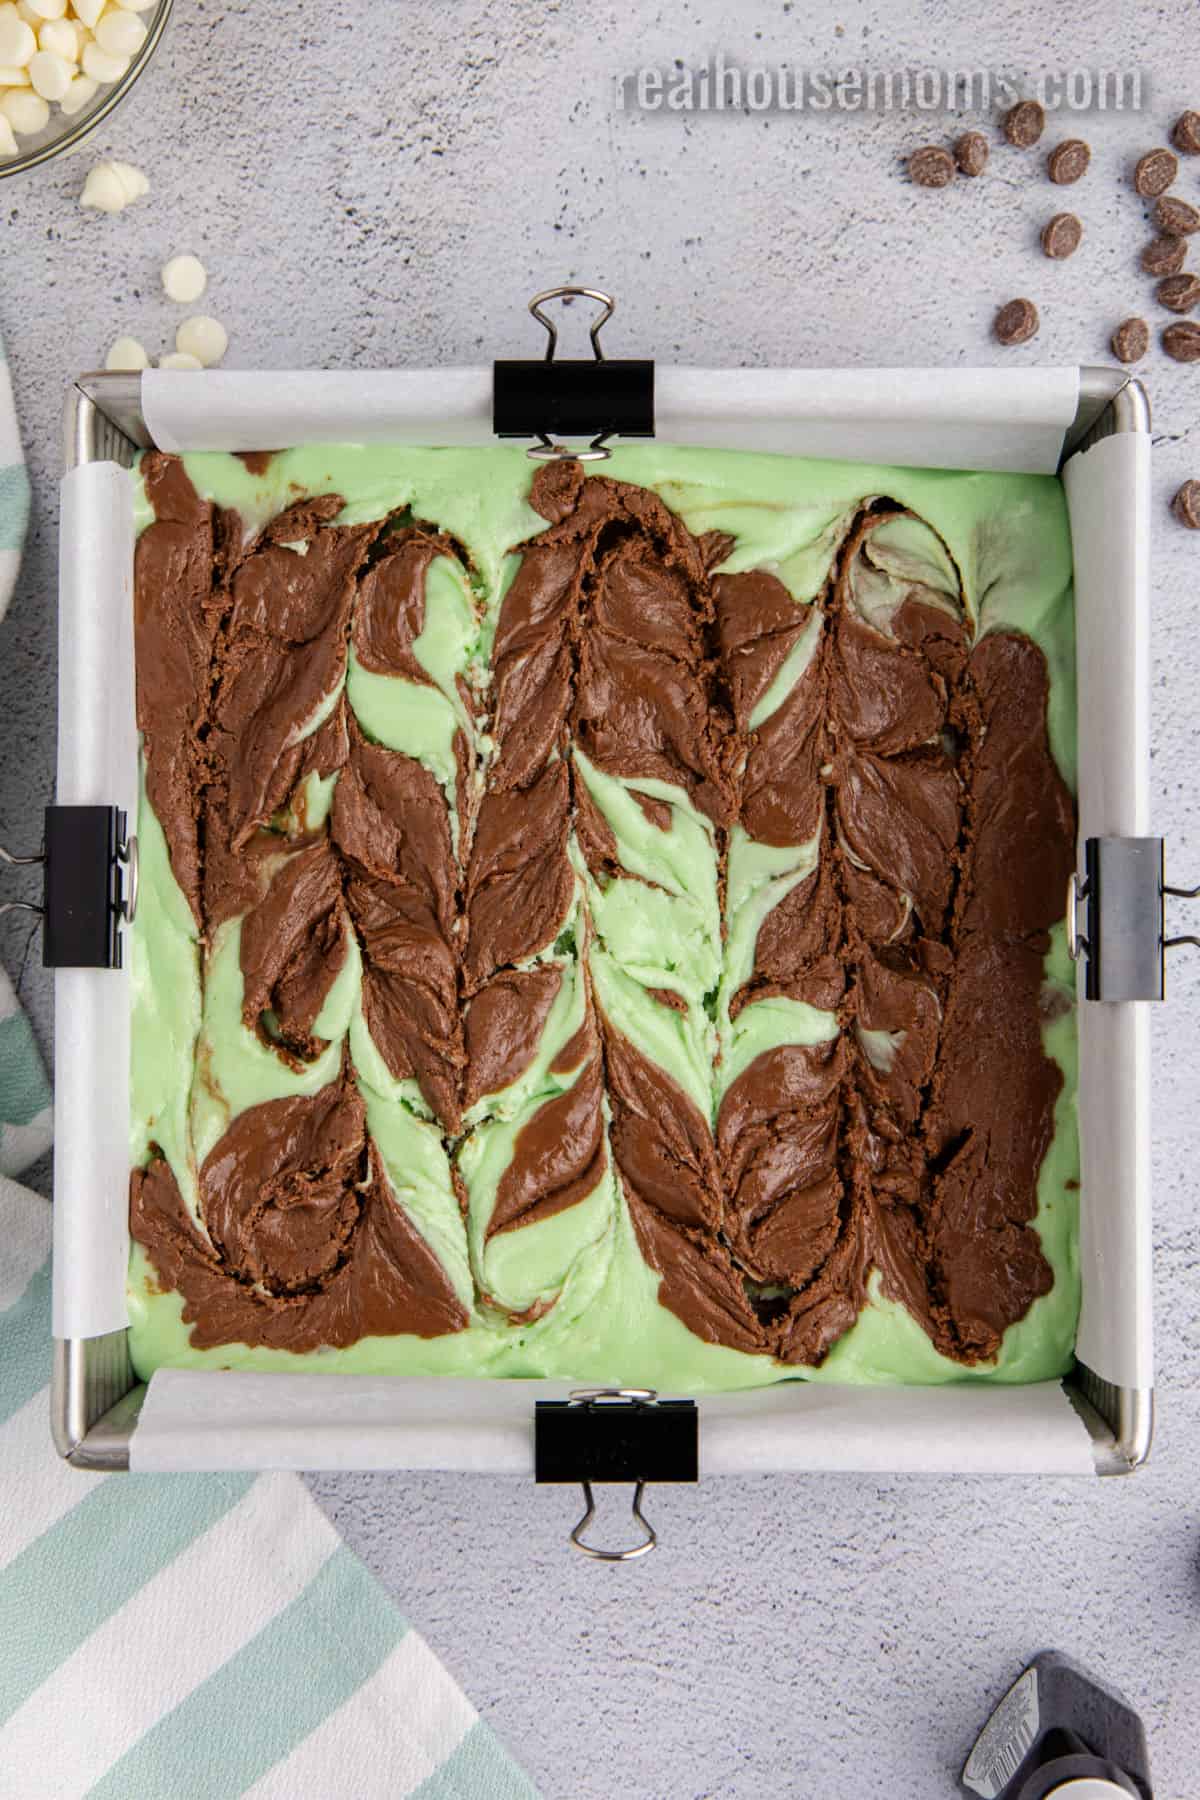
STEP THREE: Use half of the milk chocolate fudge mixture and add dollops to the prepared pan. Then add dollops of the mint fudge mixture. Repeat dolloping with the rest of the fudge.

STEP FOUR: Use a butter knife to swirl the green and brown fudge together 3-4 times. Spray your hand with non-stick cooking spray to get the fudge into the corners of the pan. Gently press the fudge flat and into the corners. Allow the fudge to chill in the fridge for 3 hours.
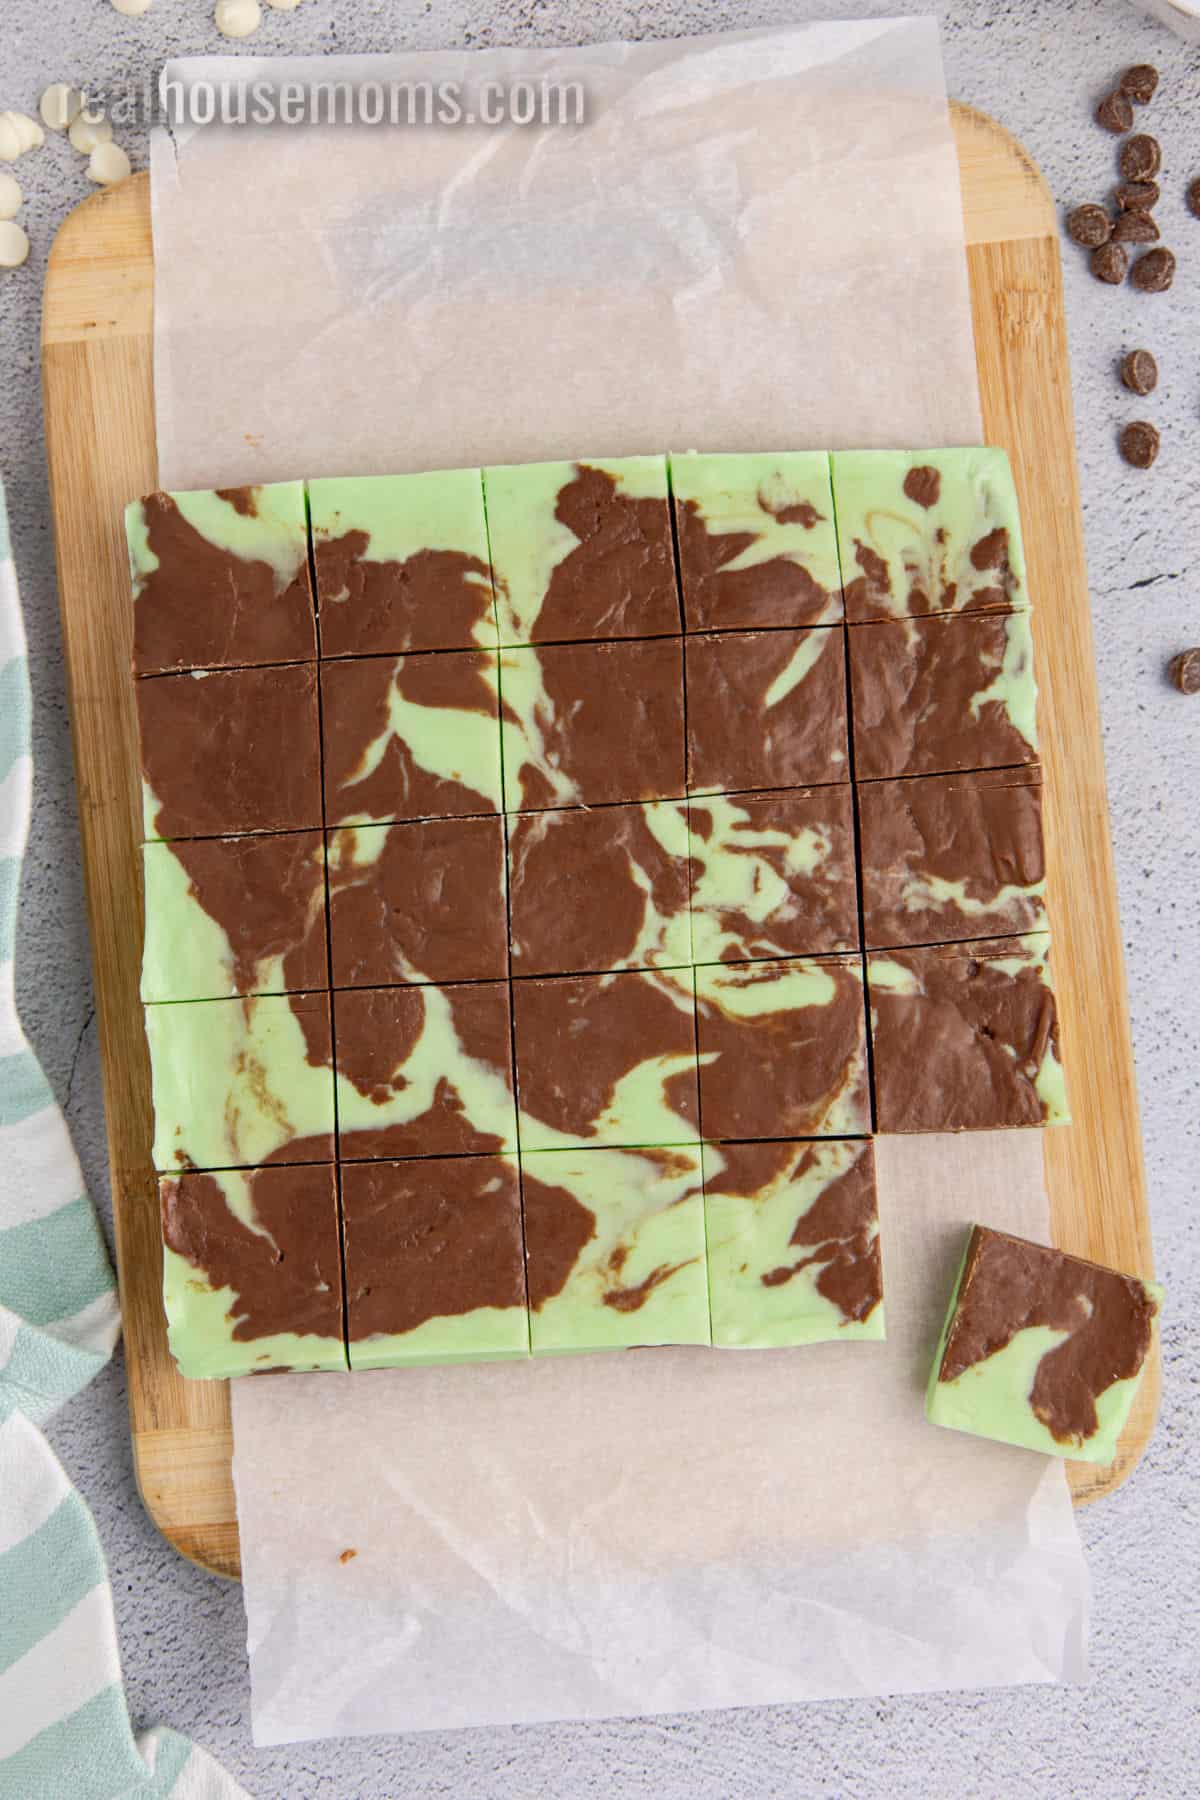
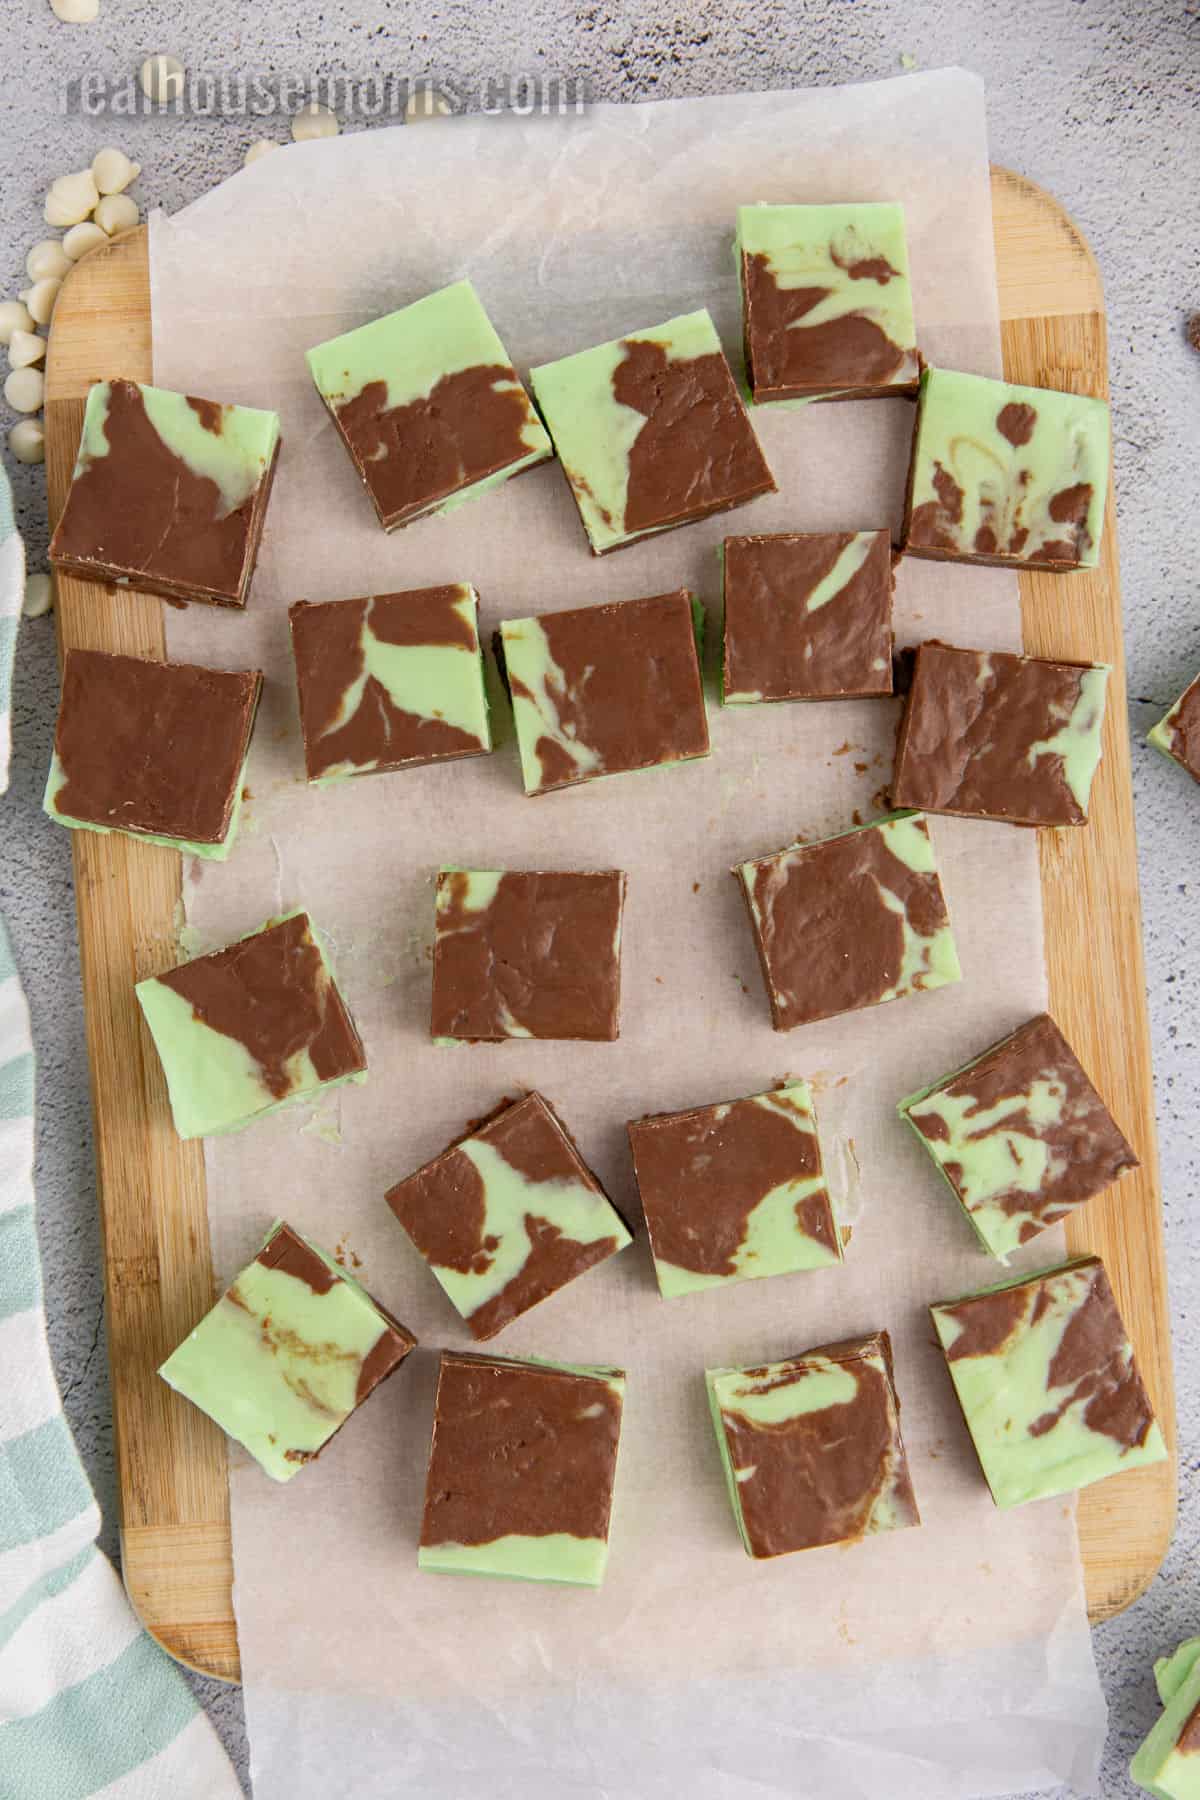
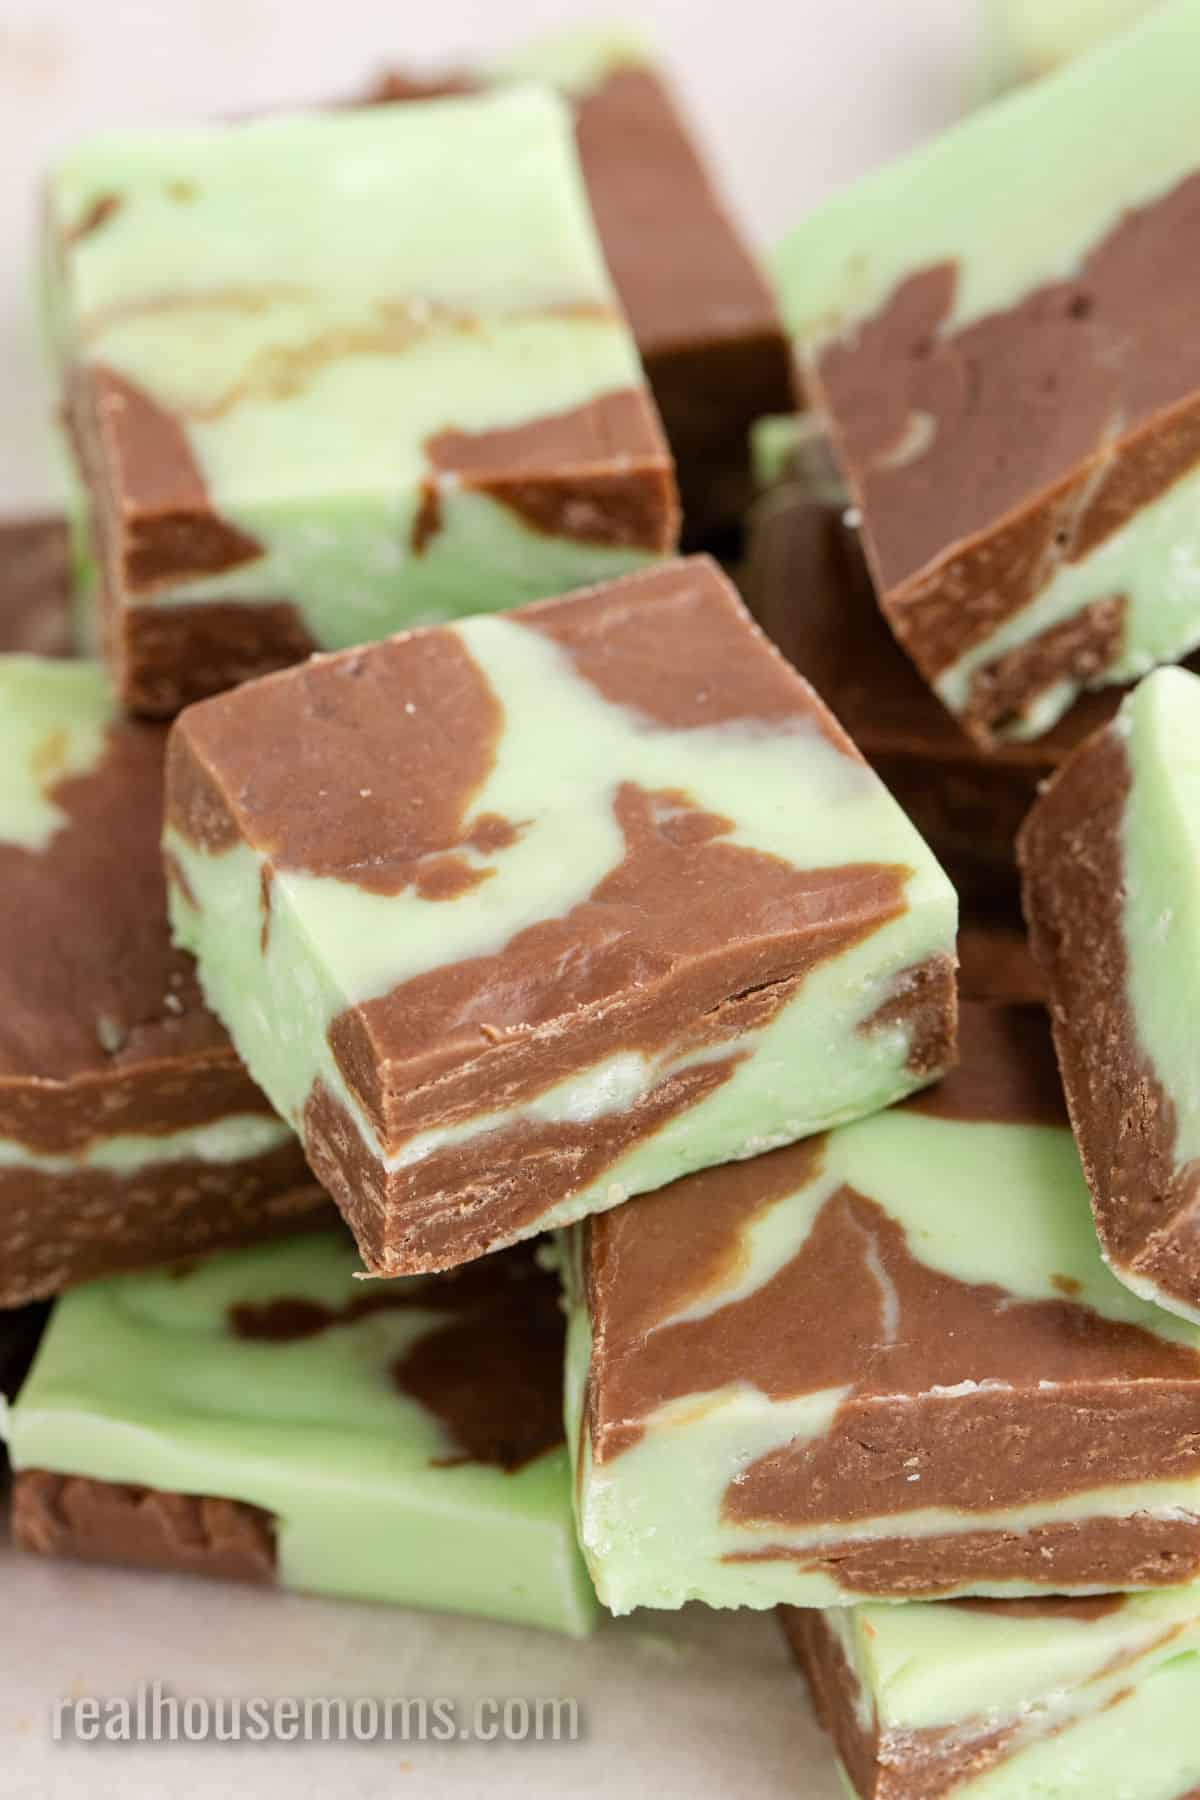
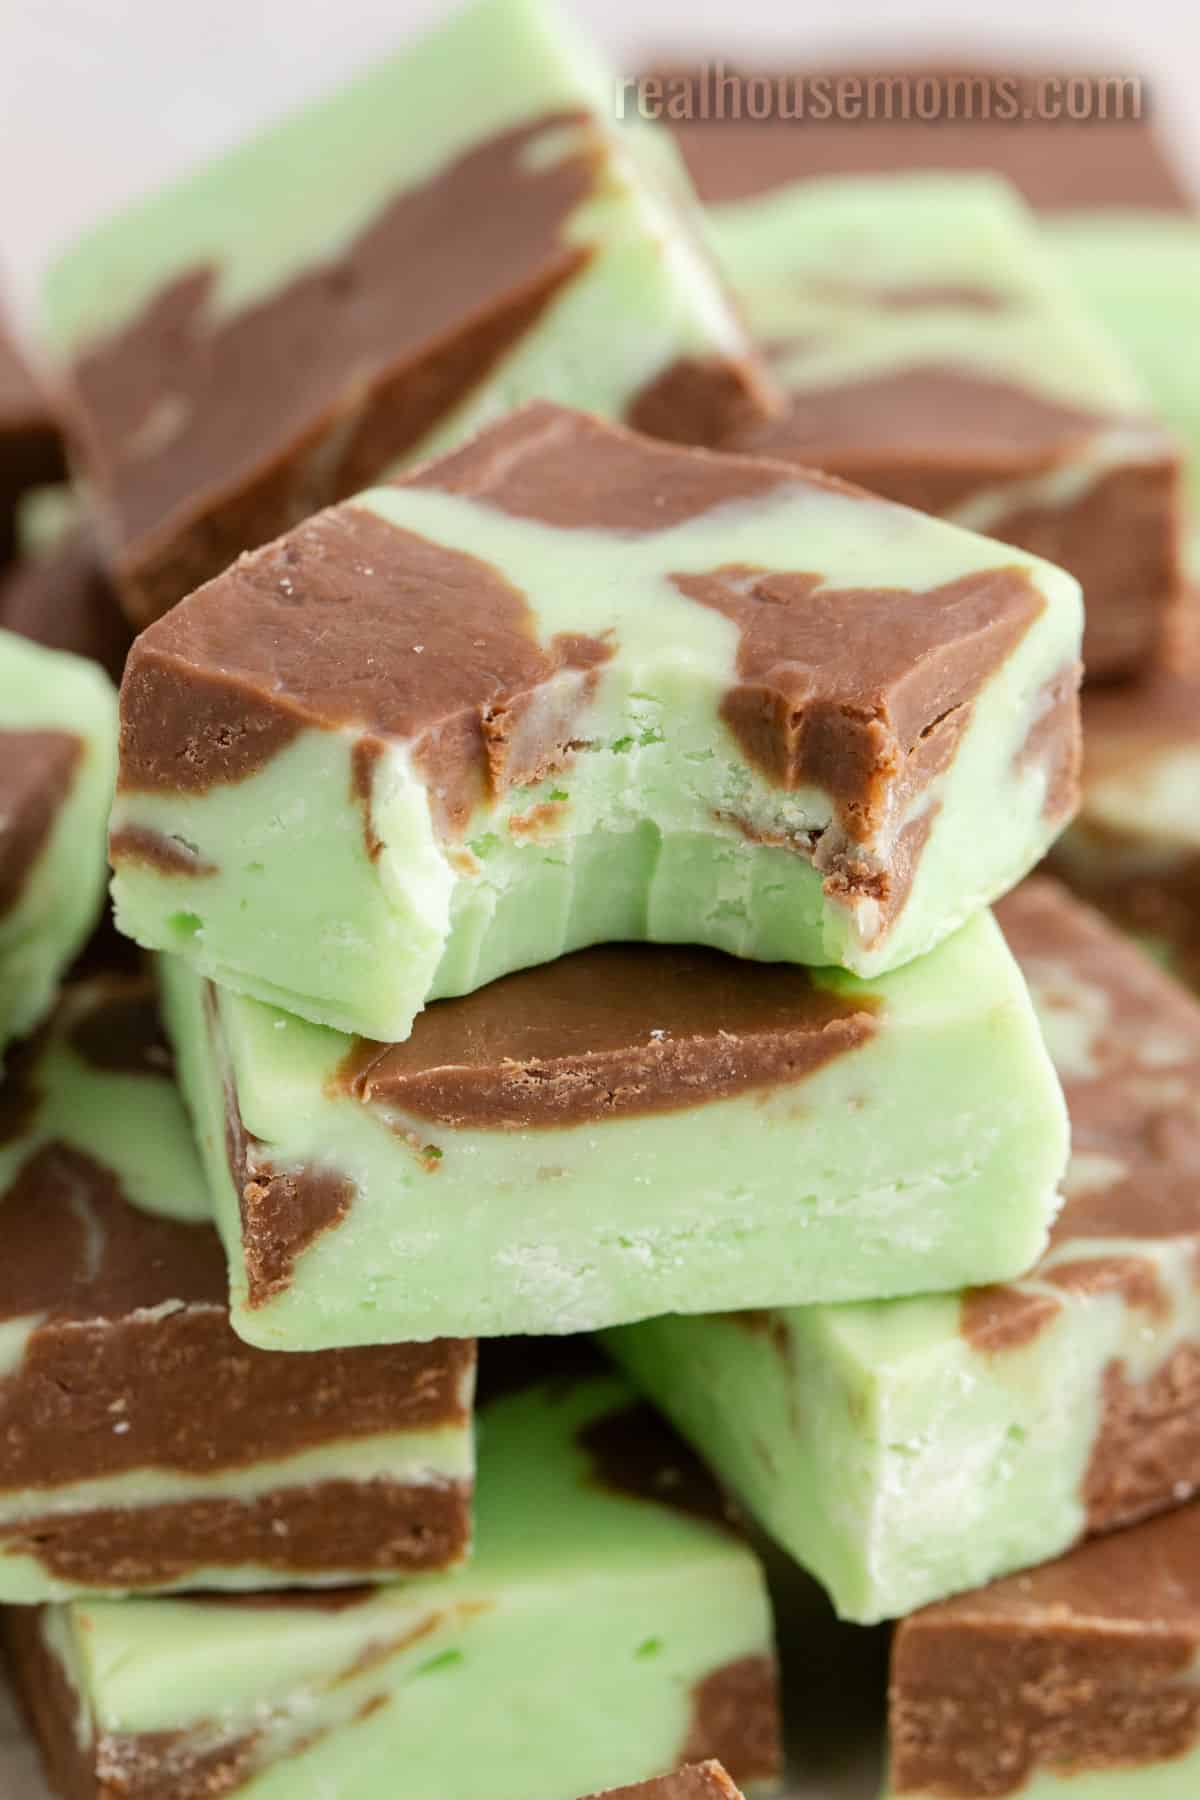
STEP FIVE: Use the parchment paper wings to remove the fudge block from the pan. Cut the fudge into 25 squares (a 5×5 grid pattern) and enjoy!
Tips for Success
- Be sure not to swirl the fudge too much – you want to be able to see both colors.
- Run the knife up and down through the pan once for the best swirling. Then, turn the pan 90 degrees and repeat so that there is a crisscross pattern.
- You can store the fudge in an airtight container in the fridge for up to 2 weeks. Alternatively, you can tightly wrap it in a few layers of plastic wrap and freeze it for up to 2 months.
What is the secret to melting chocolate chips?
Melting chocolate chips to make delicious fudge is so easy but one tip could help you make reliably delicious fudge every time! When melting chocolate chips in the microwave or on the stovetop, try to avoid heating the chocolate too quickly. Overheated chocolate can produce grainy fudge, so melt the chocolate a little slower to create a smooth fudge. If you know your microwave heats food quickly or that you can typically melt chocolate chips in 45 seconds, for example, follow what you know, and your fudge will be delicious!
Why are my chocolate chips getting hard when I melt them?
There’s usually only one thing that hardens chocolate chips when you are melting them: moisture. Moisture causes chocolate to seize; sometimes you can save the chocolate, and sometimes you can’t. Ensure there is no water in the bowls; you will be melting chocolate in them or pouring the fudge into the pan. If you find that your chocolate is hardening, you can try adding a small amount of shortening, about a teaspoon, to the chocolate, heating it in the microwave for a few seconds, and then stirring. If this doesn’t fix the problem, you may need to start with a new batch of chocolate.
More Amazing Fudge to Love!
- White Chocolate Fudge
- Easy Red Velvet Fudge
- Tiger Butter Fudge
- Snickerdoodle Fudge
- Orange Creamsicle Fudge

Mint Chocolate Fudge
Ingredients
- 1 ½ cups milk chocolate chips
- 1 ½ cups white chocolate chips
- 14 ounces sweetened condensed milk divded
- 1 teaspoon peppermint extract
- 6 drop green food coloring plus more as needed
Instructions
- Line an 8-inch x 8-inch square pan with parchment paper. Leave the sides long so they hand over the edge. This will make for easy removal later. Set aside. (I like to hold the paper in place with binder clips.)
- Place the milk chocolate chips into a microwave-safe bowl and microwave for 1 minute. Pour in half of the sweetened condensed milk and stir. The mixture will thicken and have a soft dough consistency. Reheat in 15-second intervals and then stir as needed until the chocolate is completely melted. Set aside.
- Place the white chocolate chips into a microwave-safe bowl and microwave for 1 minute. Pour in the peppermint extract, food coloring, and the remaining half of the sweetened condensed milk and stir. The mixture will thicken and have a runny-ish dough consistency.
- Using half of the chocolate mixture, add dollops of fudge to the prepared pan. Set the rest of the fudge aside.
- Add dollops of the mint fudge around the dollops of chocolate fudge in the pan. Repeat with the remaining fudge mixtures. To help get the fudge all the way into the corners, spray your hand with non-stick cooking spray. Then, gently press the fudge flat and into the corners.
- Use a butter knife to swirl the layers together – first up and down the pan, then turn it 90 degrees and repeat. (I did 3 passes total. Any more than that will start to mix the fudge rather than swirl it.) Place the pan in the fridge and chill for 3 hours until set.
- Use the parchment paper "wings" to lift the fudge block from the pan. Cut the fudge into 25 squares (5×5 grid). Store in an airtight container.


Leave a Reply