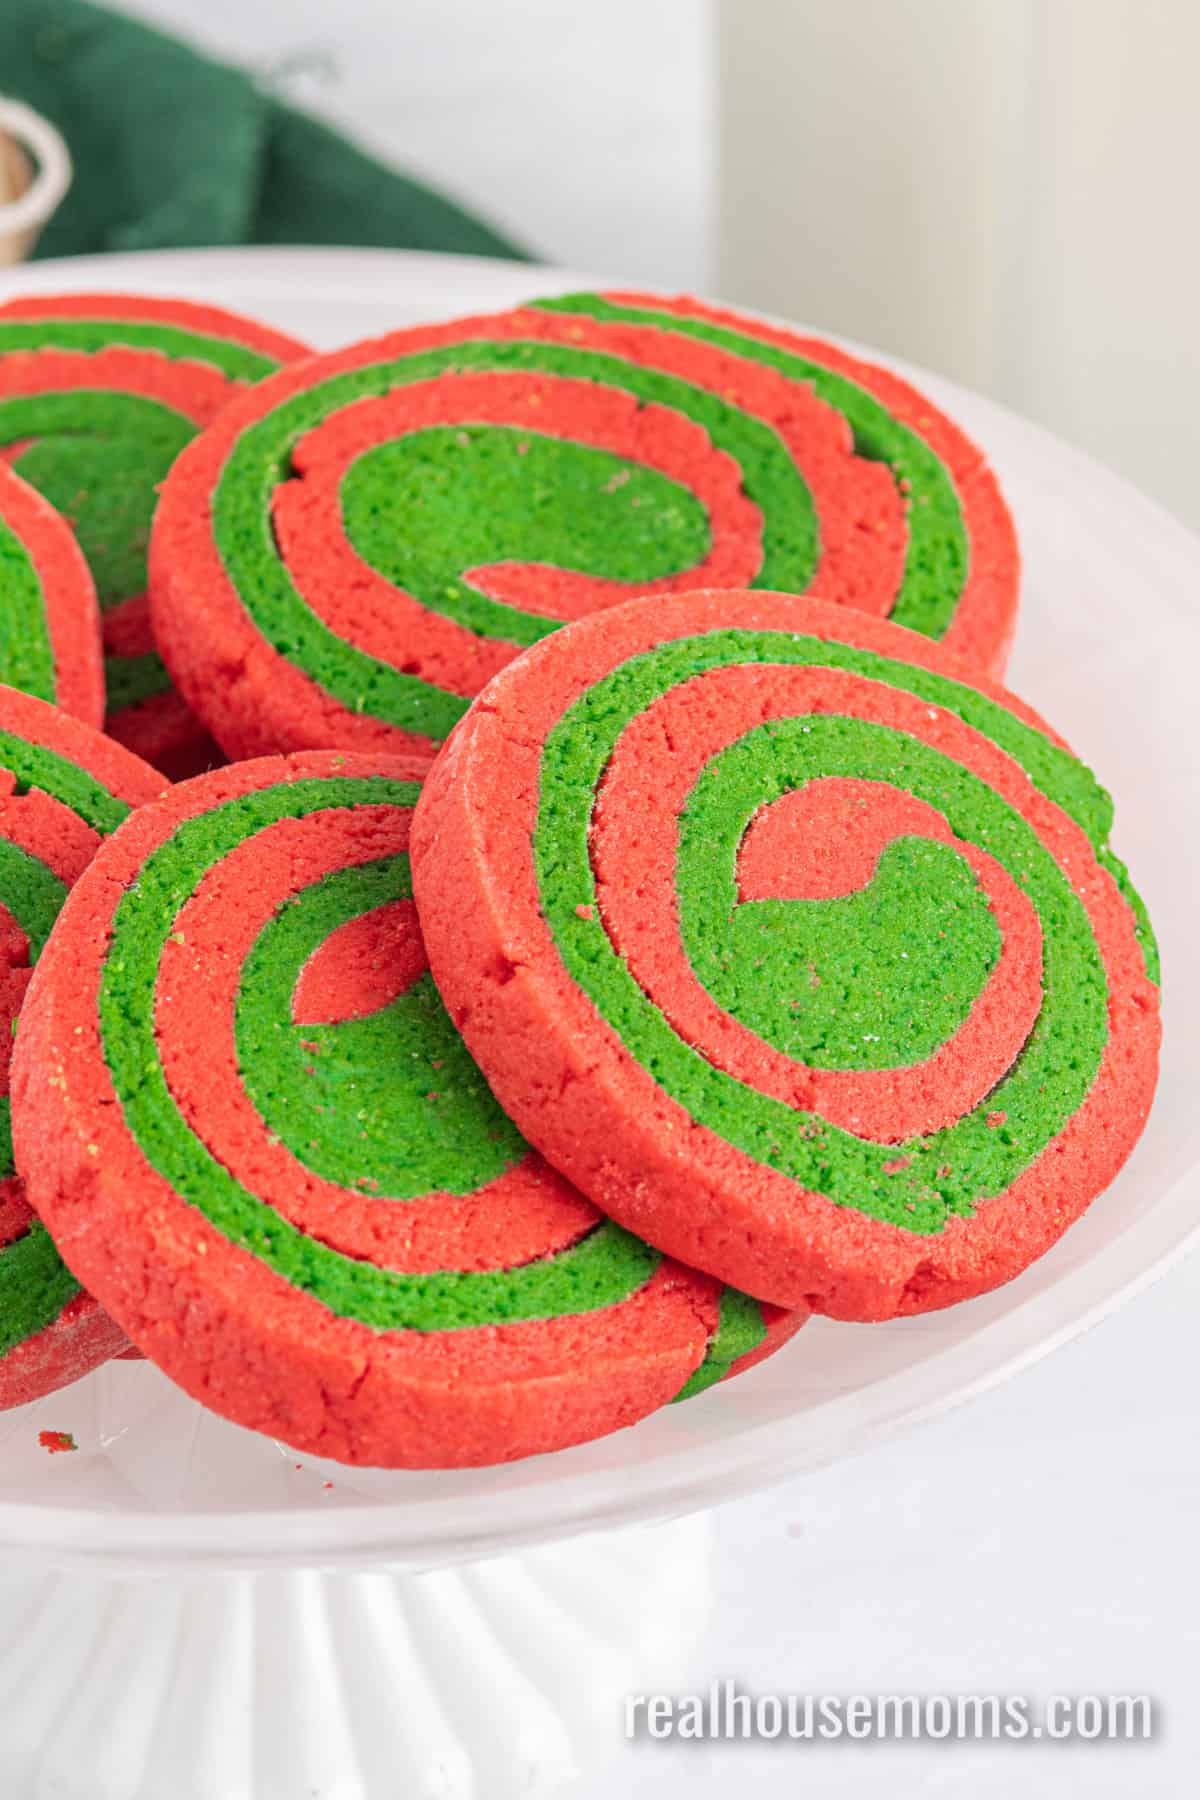
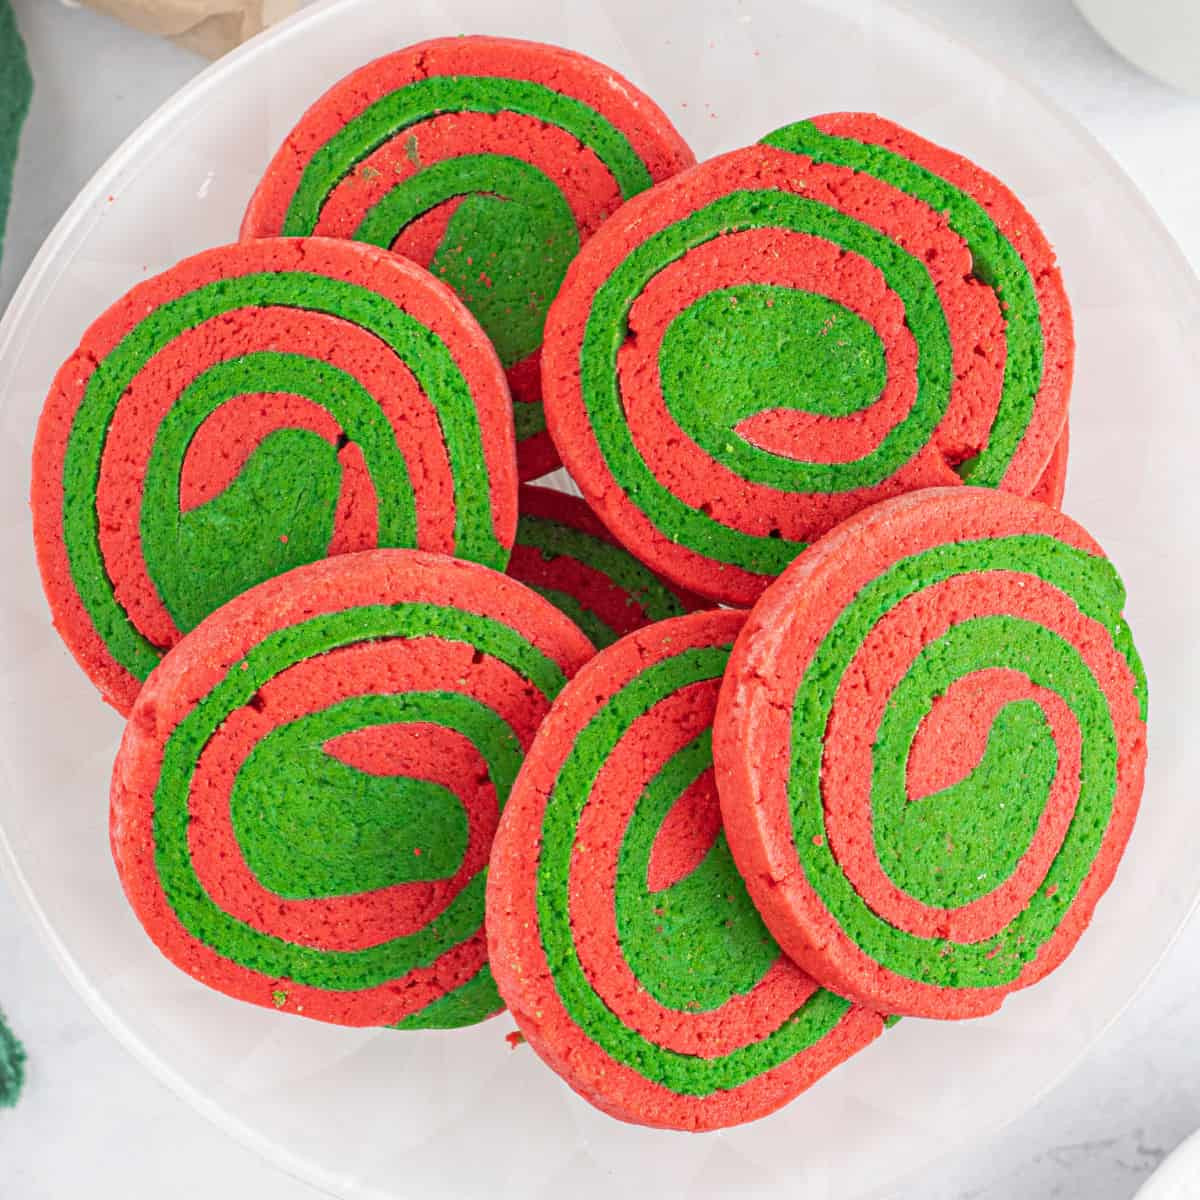
Red & Green Pinwheel Cookies are bursting with yummy Christmas cheer and bring more ho-ho-ho goodness to all of your holiday festivities!
Nothing makes everyone’s eyes light up brighter than when they see sweet, cheerful Red & Green Pinwheel Cookies. Simple pantry staples like flour, sugar, vanilla, and food coloring, as well as butter and milk, will get you started on your holiday bakeathon to spread Christmas cheer!

Holiday Delight
Red & Green Pinwheel Cookies are the one we must make every year. Sure, it’s tradition, but they’re also just fun to make. It’s impossible not to be in the holiday spirit when making them! The kids pitch in and help with the rolling and cutting (but mostly eating), and all of our neighbors, friends, and family absolutely love receiving these cookies as gifts!
Keep the holiday spirits high with Homemade Eggnog, or fill everyone with a deliciously warm Cranberry Hot Toddy!
Other Recipes to Serve with Red & Green Pinwheel Cookies
- While the cookie dough is chilling, why not whip up The Best Gingerbread House Icing to make a scrumptious cottage with the family?
- Start the festive baking day off with a delicious Candy Cane Cherry Danish to get everyone in a Christmas mood!
Ingredients
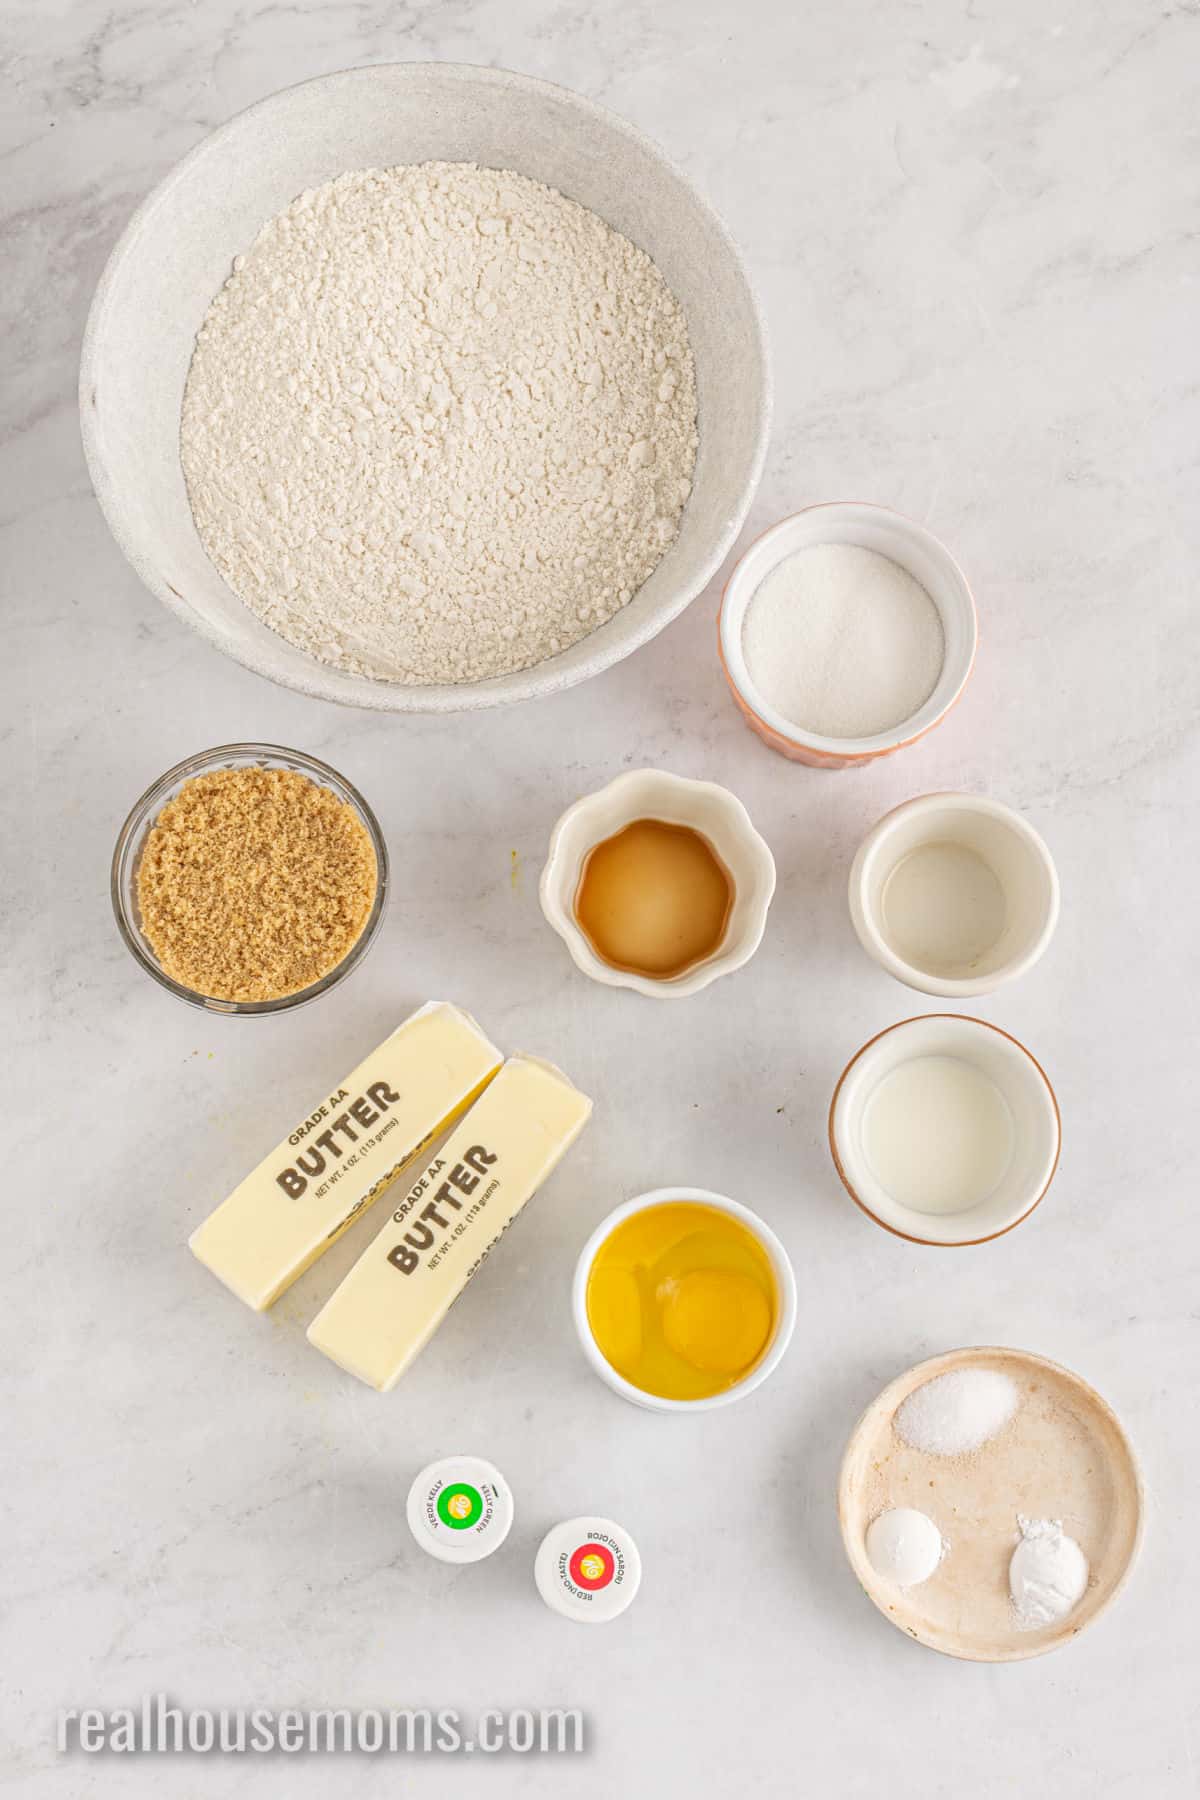
Pantry items: For these cookies, you will need all-purpose flour, baking powder, baking soda, brown sugar, and granulated sugar. If you would rather just use all brown sugar or all granulated sugar, then you can do that instead.
Refrigerated items: You will need to set out butter to soften (but not melted) and grab a few eggs. Milk is needed for these cookies, but you can use half & half if you have that on hand.
Spices/Extracts: You will need salt and vanilla, and butter extract. If you would rather use only vanilla extract, you can certainly do that. Or you could substitute the butter extract for an almond extract for a different flavor profile.
Food coloring: To color the cookies, you will need both red and green food coloring. For more vibrantly colored cookies, choose gel food coloring over liquid food coloring.
How to Make Red & Green Pinwheel Cookies
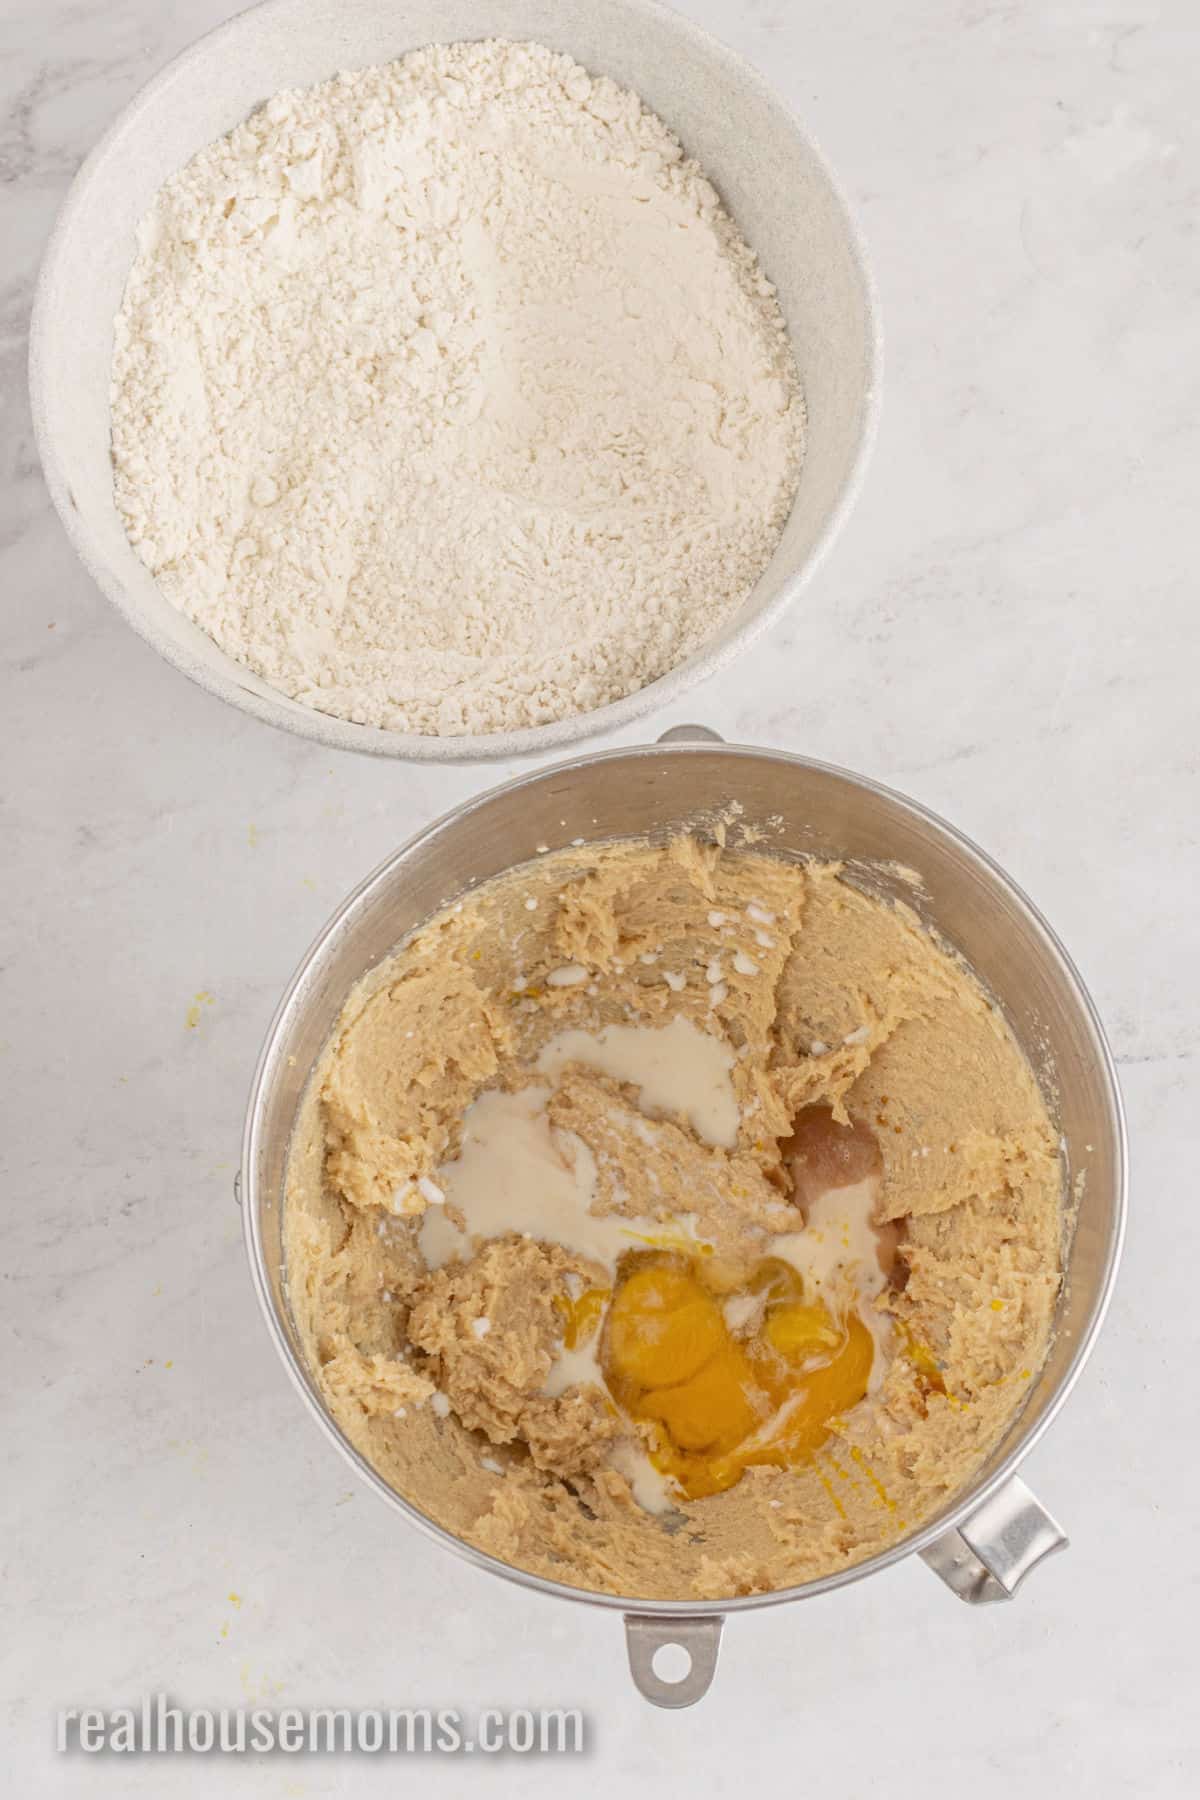
STEP ONE: Whisk together the flour, salt, baking powder, and baking soda in a large bowl and then set that aside. In a large bowl, beat together the butter, brown sugar, and granulated sugar. Then add the egg, egg yolk, milk, vanilla extract, and butter extract and mix until smooth. Beat in the flour mixture until everything is well combined.
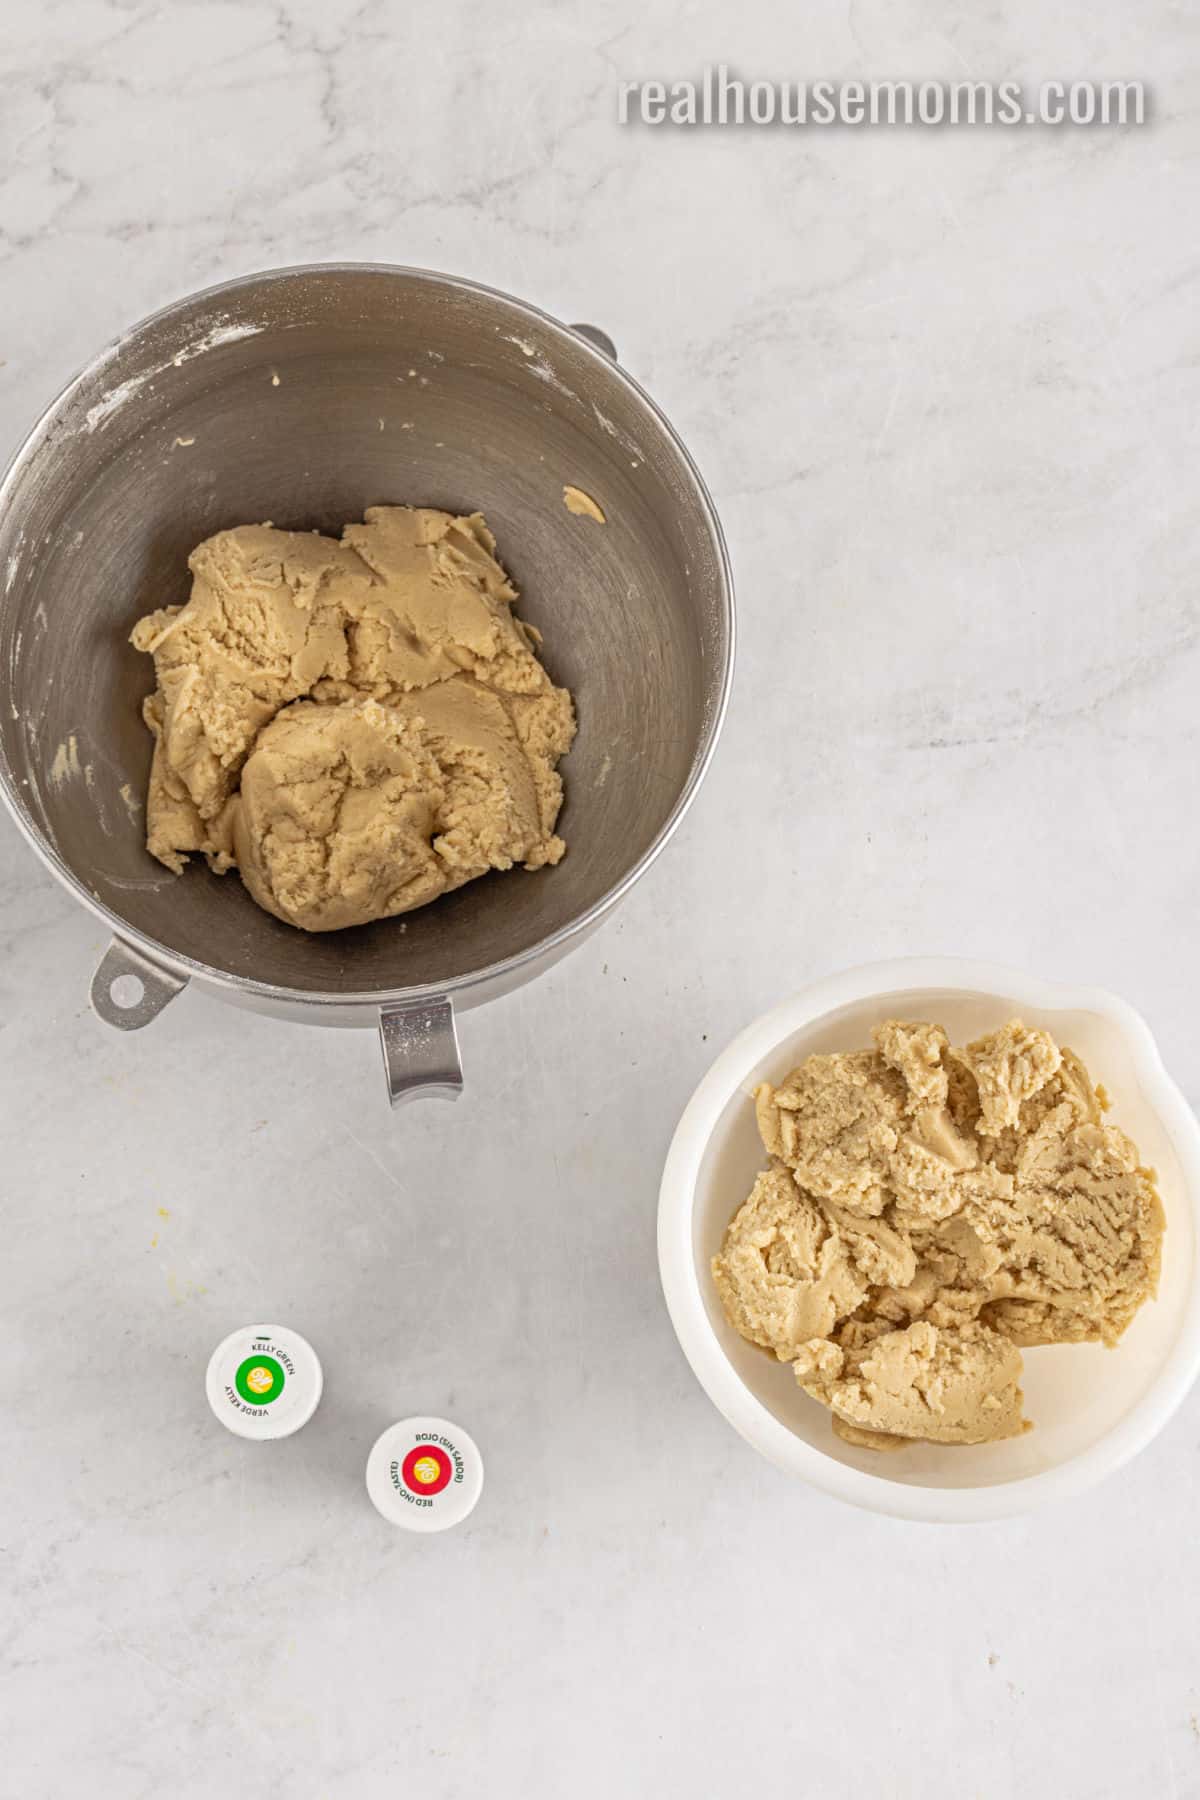
STEP TWO: Divide the dough in half and place each half in a separate bowl. Add the red food coloring and vanilla extract to one bowl and the green food coloring and butter extract to the other. Then mix until the dough in each bowl is evenly colored. Place each ball of dough onto its sheet of plastic wrap. Shape each ball into a 5-inch x 5-inch square. Wrap each square in plastic wrap and refrigerate for 30 minutes.
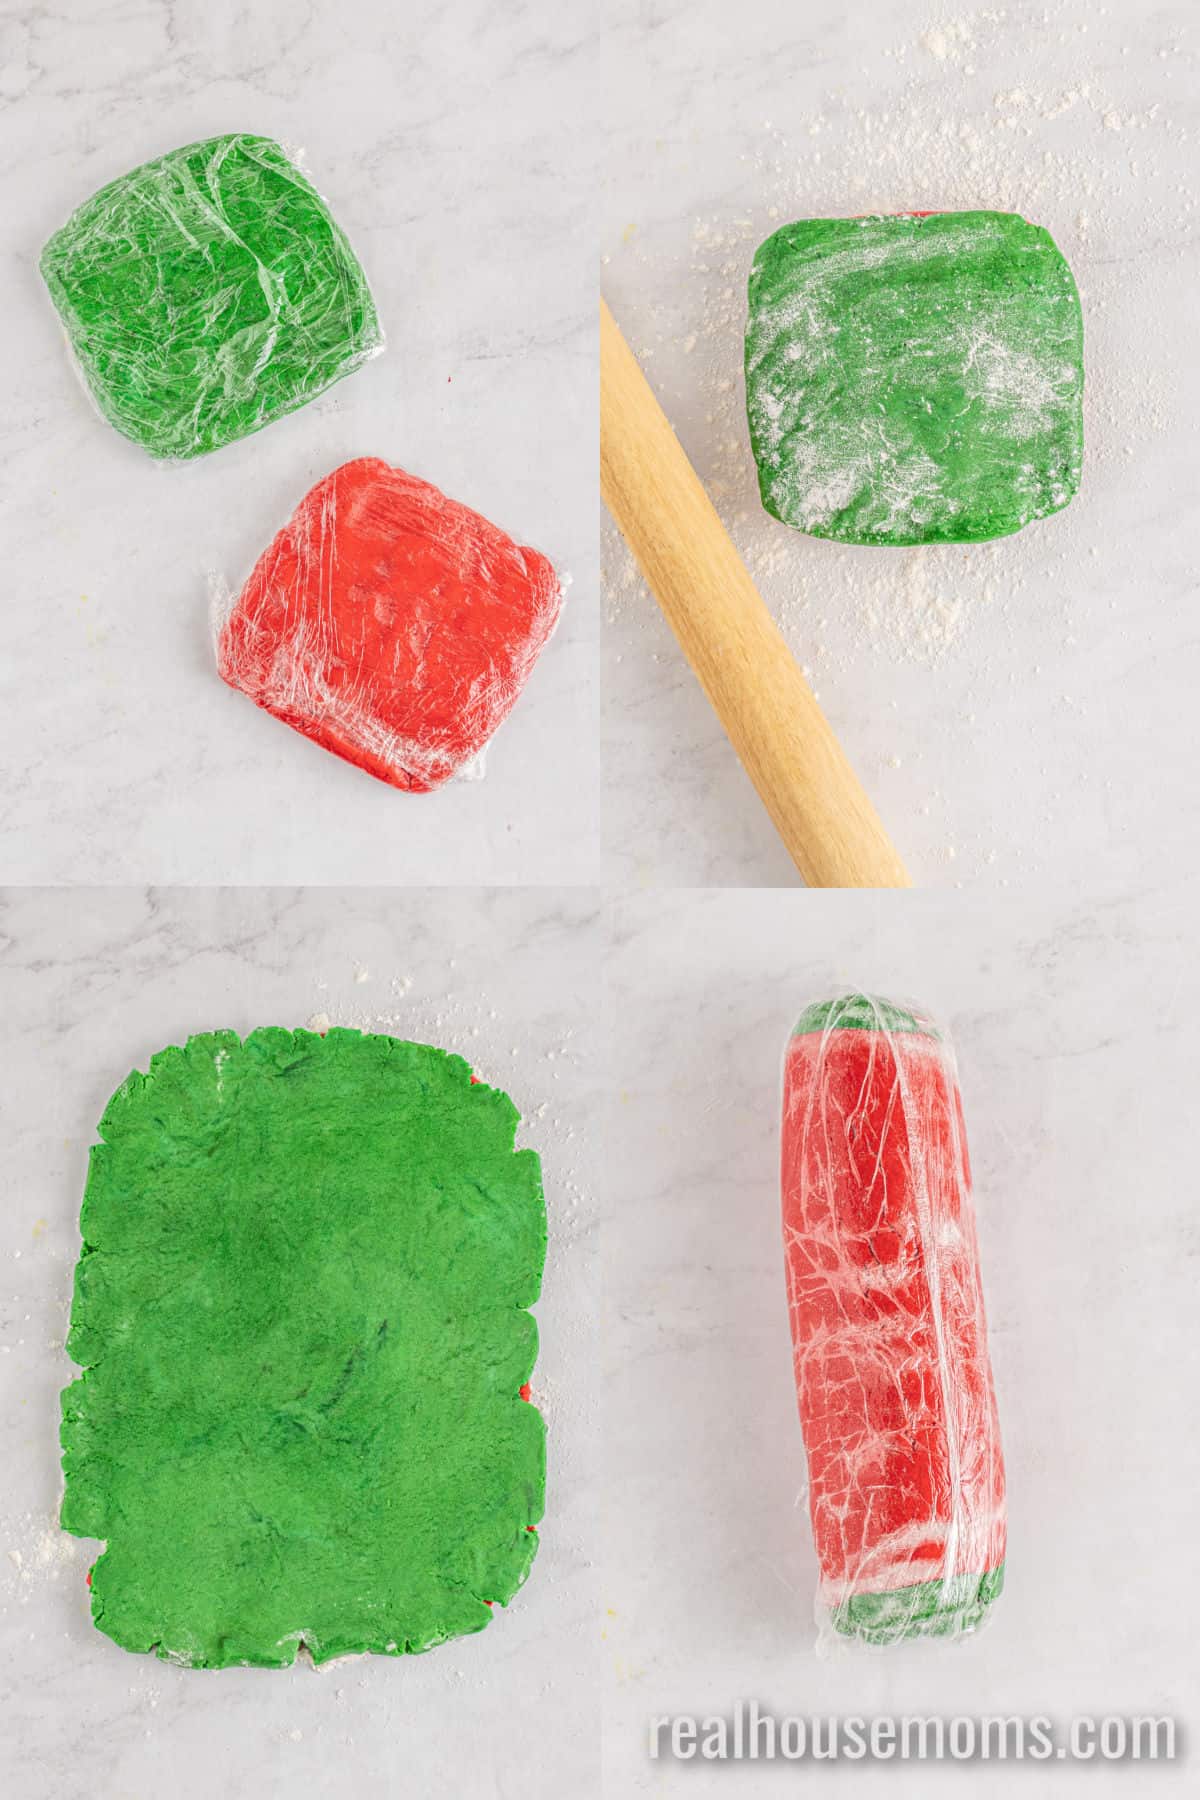
STEP THREE: Remove the cookie dough from the plastic wrap and stack the dough squares on a lightly floured surface. Sprinkle a little more flour over the top of the dough and then roll out the dough with a rolling pin into a rectangle that is roughly 9 inches x 18 inches. Roll the dough rectangle up into a log with your hands and then tightly wrap it in plastic wrap. Pop the cookie dough log into the fridge for 1 hour.
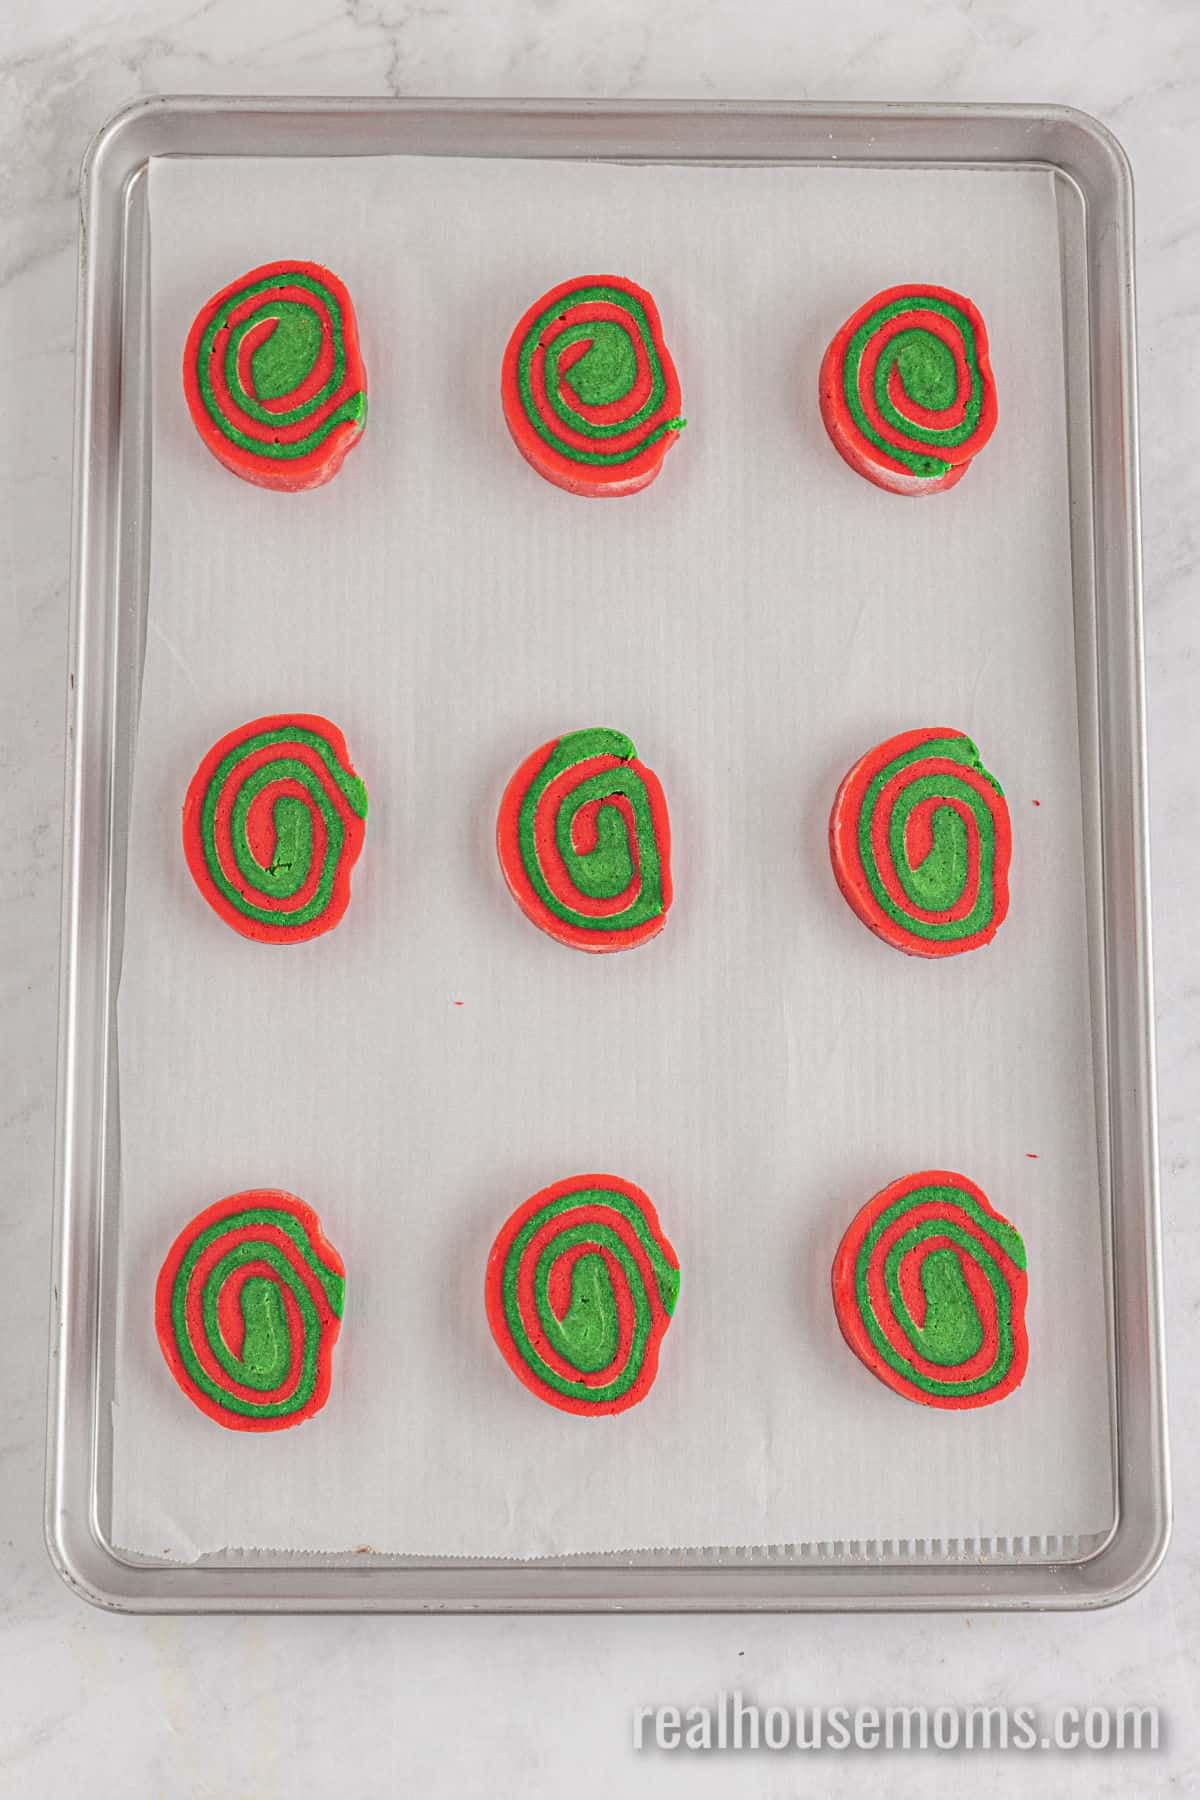
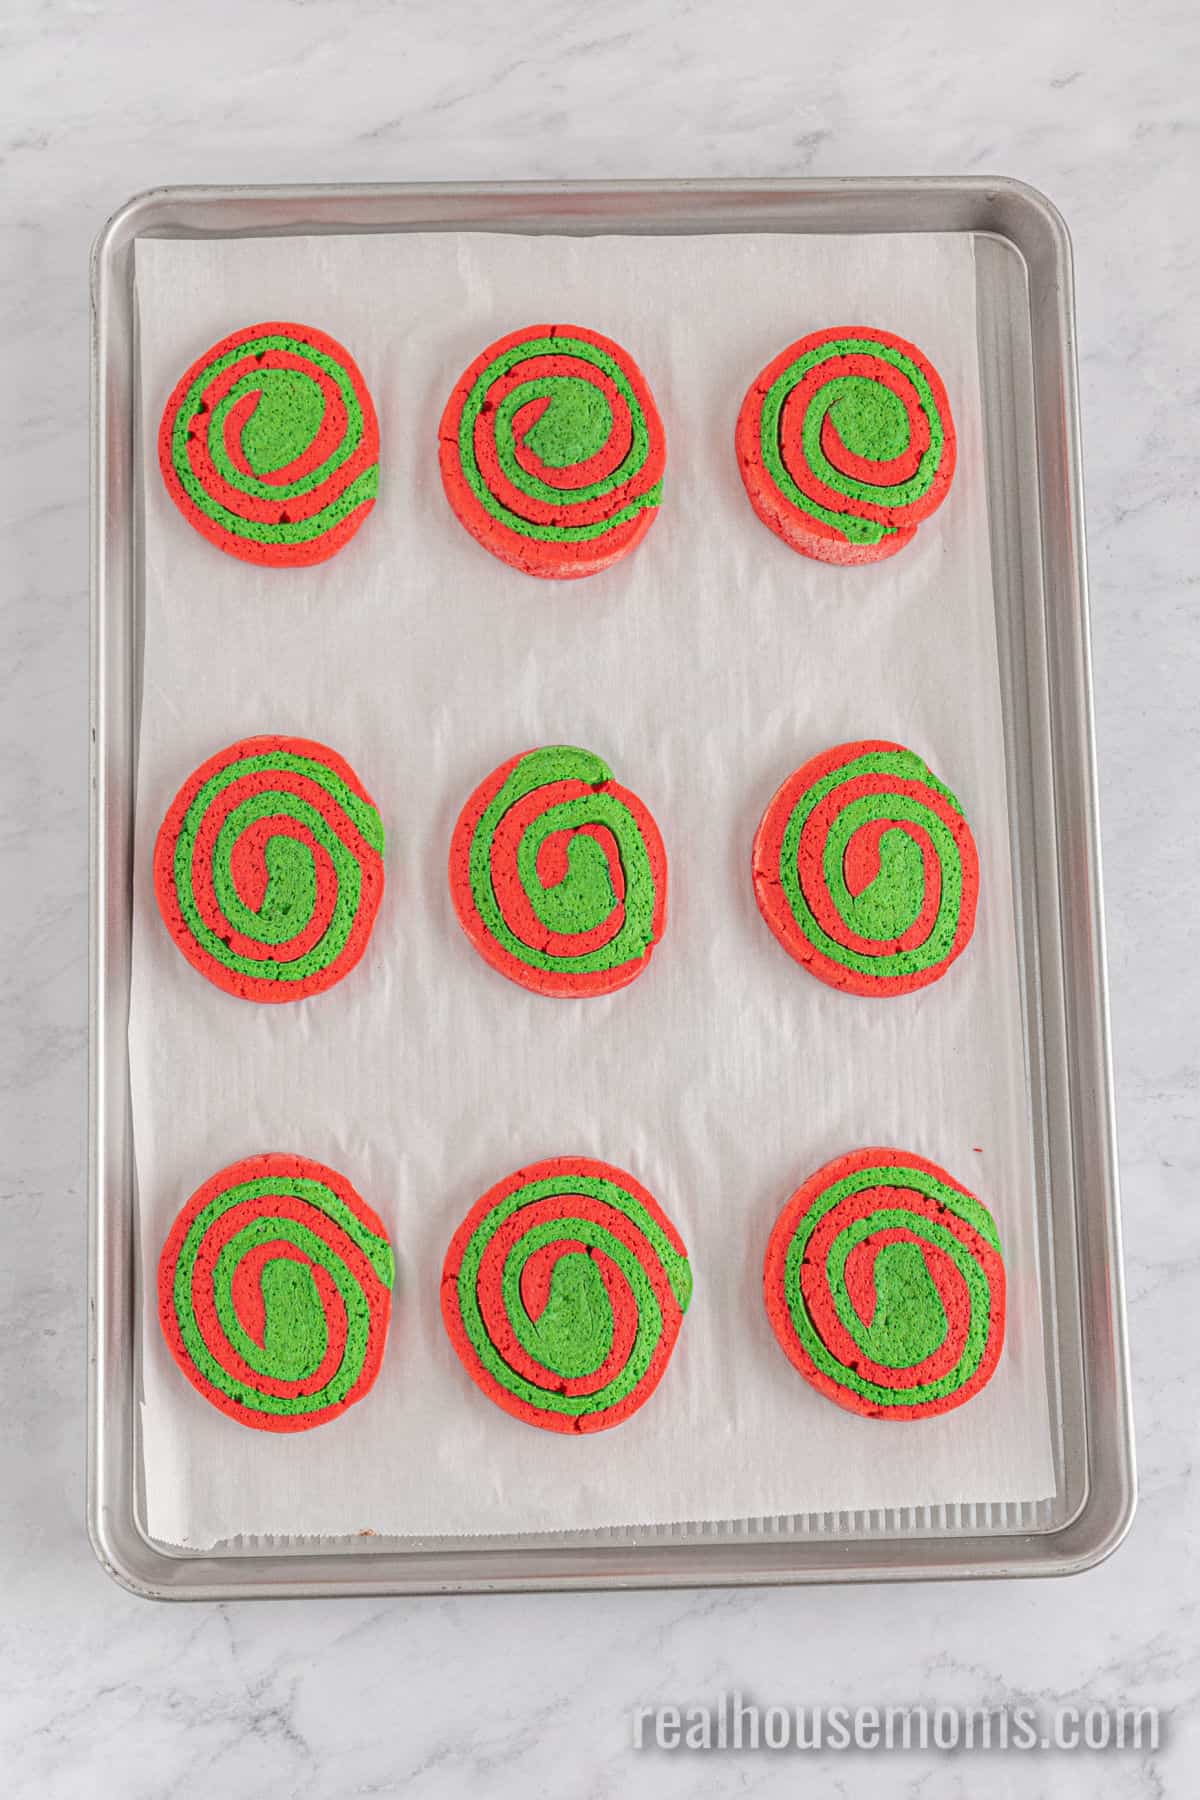
STEP FOUR: Preheat your oven to 350 degrees F and line a baking sheet with parchment paper. Unwrap the cookie dough and it into 1/2-inch slices. Place the cookies on the baking sheet, leaving 3 inches of space between each cookie. Then bake them for 14-18 minutes. Once they’re out of the oven, allow the cookies to cool for 10 minutes before enjoying them.
Tips for Success
- Keep an eye on the first batch of cookies to get the timing right for future batches. You don’t want the cookies to start to turn a golden color because that means they will be crispy and crumbly instead of soft and cakey.
- Don’t roll the cookie dough out longer than the recipe states. This may cause holes in the dough or spots that are too thin, which could make the cookies not look as delicious.
- The cookie dough can be frozen once it has been formed into a log and wrapped tightly with plastic wrap. When you’re ready to bake, let the dough thaw for 15-20 minutes or until you can easily slice through it. Then slice and bake as instructed in the recipe.
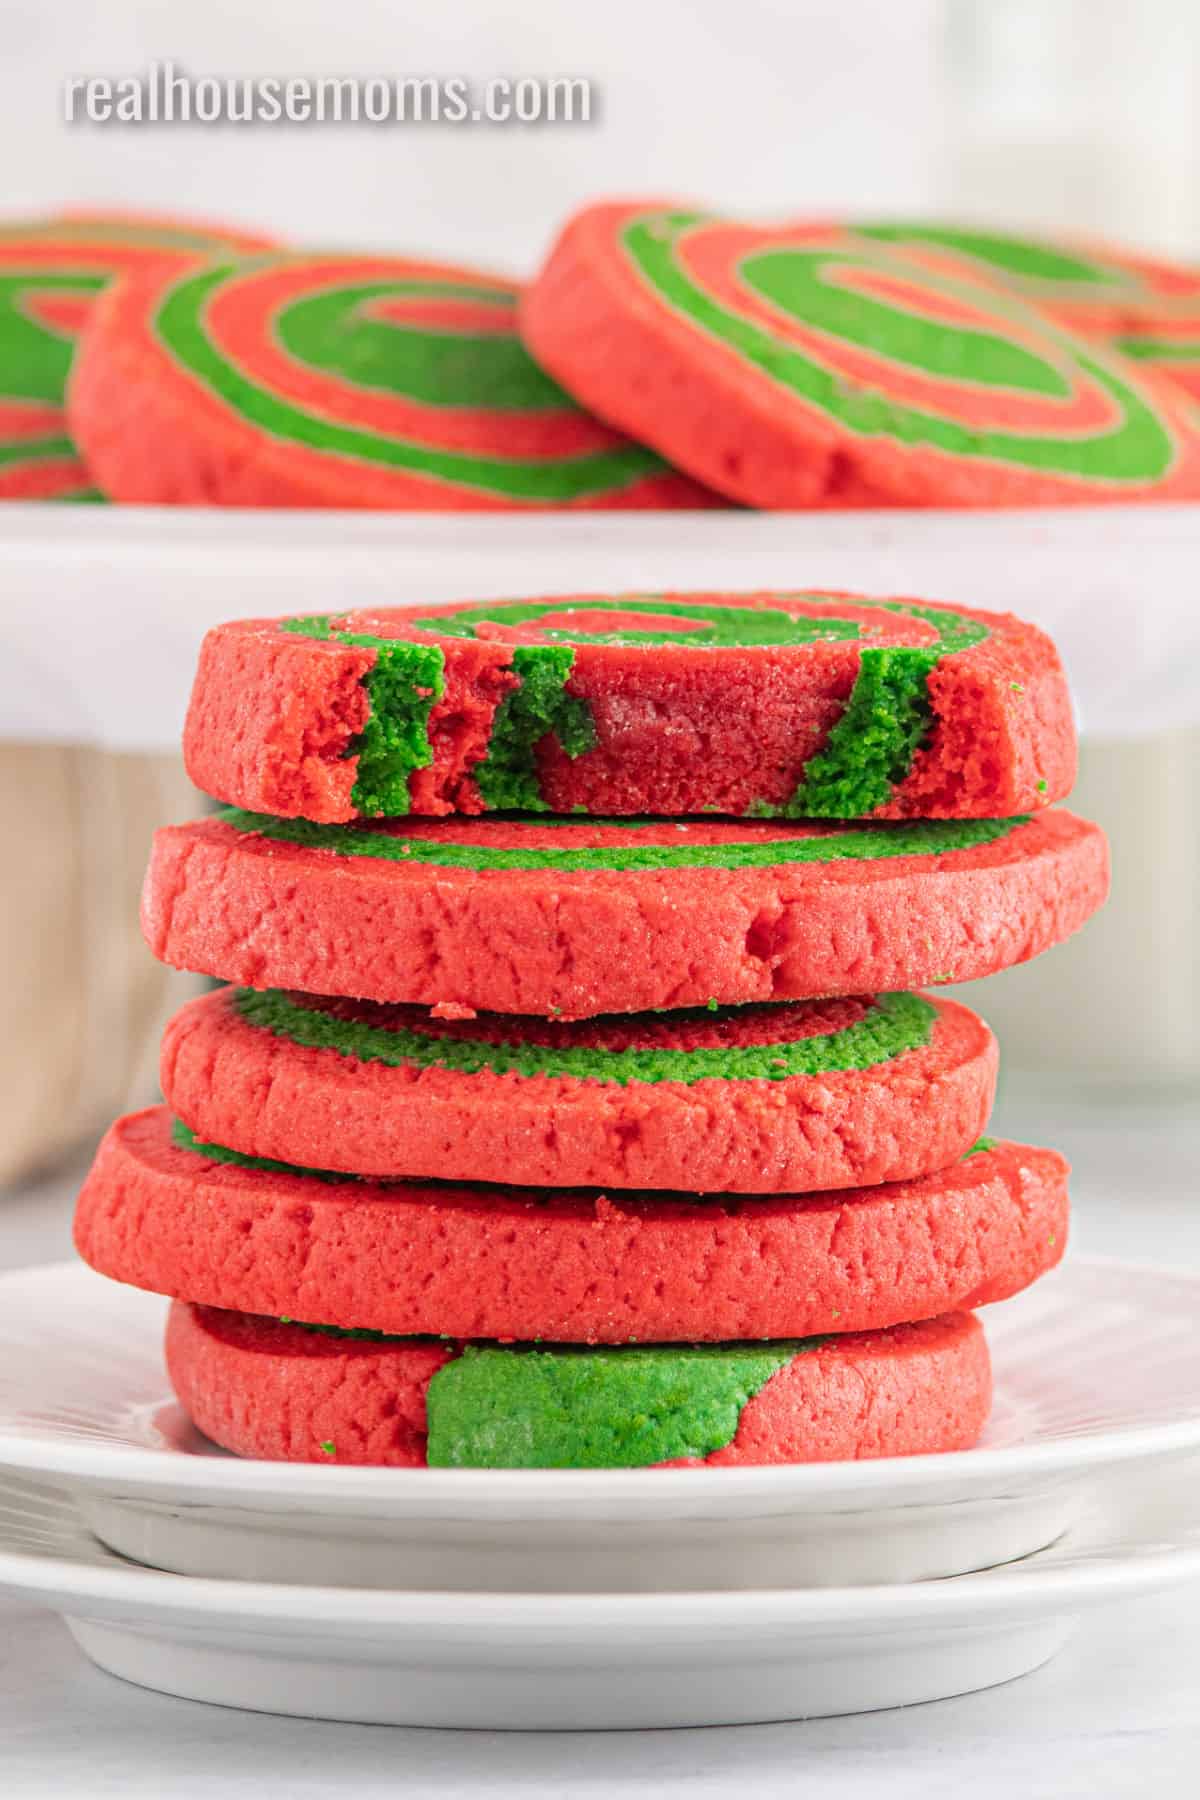
- You can store the baked cookies in an airtight container on the counter for up to 5 days.
How do you roll pinwheel cookies?
To roll some great pinwheel cookies, there are a couple of important things to do.
The first is to make sure to press both sheets of dough to the same size. That way, when you stack them, they pretty much match, and you don’t have one color that’s too big or too small. Cut off the ends of the dough if they don’t match well enough so that you are left with a clean line.
Next, don’t roll the dough out too thin in hopes of getting more cookies out of the dough. The light, fluffy, cakey texture of these cookies is best achieved by rolling the dough to the size listed in the recipe.
When it’s time to roll the dough into a log, use the plastic wrap the dough is on to help you roll it. That way, your fingers don’t stick to the dough. You don’t have to roll the dough super tightly, but it is a good idea to press the dough together a little after every 1-inch of rolling. Don’t worry about any gaps once you are finished rolling the dough up. The cookie dough spreads so these potential holes will be completely filled in while baking.
What “extras” can I add to these cookies?
When it comes to taking your cookies over the top, there’s nothing better than sprinkles! Once you have rolled the cookie dough into a log, cover the plastic wrap with a layer of sprinkles and roll the dough log through the sprinkles coating the outside. Then refrigerate the dough and follow the recipe as written.
You could also add or swap out for another flavor extract, such as peppermint, in one of the doughs for a seasonal flavor.
Pinwheel cookies are perfect for other holidays, too, not just Christmas! Color the dough orange and black for Halloween, and use a black licorice extract. Or make them red, white, and blue for the 4th of July with strawberry extract. There are so many different ways to change the look and flavor of these cookies to match the occasion!
More treats to bake and gift!
- Grinch Chocolate Covered Oreos
- Christmas M&M Cookies
- Hershey Kiss Pretzels
- Cream Cheese Mints
- Eggnog Cookies
Ingredients
- 3 ⅔ cups all-purpose flour
- ½ teaspoon baking powder
- ½ teaspoon baking soda
- ½ teaspoon salt
- 1 cup unsalted butter at room temperature
- ⅔ cup light brown sugar paked
- ⅓ cup granulated sugar
- 1 egg
- 1 egg yolk
- ¼ cup 2% milk or whole milk
- ¼ teaspoon vanilla extract
- ¼ teaspoon butter extract (see note)
- Red and green food coloring (see note)
Instructions
- In a large mixing bowl, whisk together the flour, baking powder, baking soda, and salt. Set aside.
- In the bowl of a stand mixer fitted with a paddle attachment, beat together the butter, brown sugar, and sugar on high speed for 1 minute or until smooth and creamy. Add in the eggs, milk, vanilla, and butter extract. Beat together for 30 seconds. Add in the flour mixture and bring together until fully incorporated.
- Divide the dough in half and place each half in a separate bowl. Add red food coloring and vanilla extract to one bowl and green food coloring and butter extract to the other bowl. Mix well until the cookie dough in each bowl is evenly colored.
- Transfer each dough ball onto its own large piece of plastic wrap. Shape each ball of dough into a 5-inch x 5-inch square. Wrap tightly with plastic wrap and place both squares into the fridge to chill for 30 minutes.
- Once the dough has chilled, remove the plastic wrap, and stack the dough squares on top of each other so that they are aligned. Place the dough onto a lightly floured surface. Gently flour the top of the dough. Use a rolling pin to roll the square out into a rectangle about 9 inches wide and 18 to 20 inches long. Roll the dough up into a log. Tightly wrap the log with plastic wrap and place it into the fridge to chill for at least 1 hour.
- Once the dough log has chilled, preheat your oven to 350 degrees F and line a baking sheet with parchment paper.
- Unwrap the plastic wrap from around the dough log. Place the log onto a cutting board and slice it into ½-inch thick cookies. (If needed cut a thin slice from the ends of the log first, so they are even.) You should have about 18 cookies. Place the cookies onto the prepared baking sheet leaving at least 3 inches of space between each cookie as they will spread.
- Bake for 18-20 minutes. The cookies should not be browned around the edges. The edges will feel set and the rest of the cookie will feel soft.
- Remove the baking sheet from the oven and place the cookies onto a wire rack to cool completely. Allow the cookies to cool for at least 10 minutes before serving, as this allows the cookies to set up.
Notes
- If you don’t have unsalted butter on hand, skip adding salt to the dry ingredients and use salted butter instead.
- You could swap out the butter extract for more vanilla extract, almond extract, or peppermint extract if desired.
- For a more vibrant color, use gel food coloring instead of liquid food color.
- You can store the baked cookies in an airtight container on the counter for up to 5 days.
- The cookie dough can be frozen once formed into a log and wrapped tightly with plastic wrap. When you’re ready to bake, let the dough thaw for 15-20 minutes or until you can easily slice through it. Then slice and bake as instructed in the recipe.




Leave a Reply