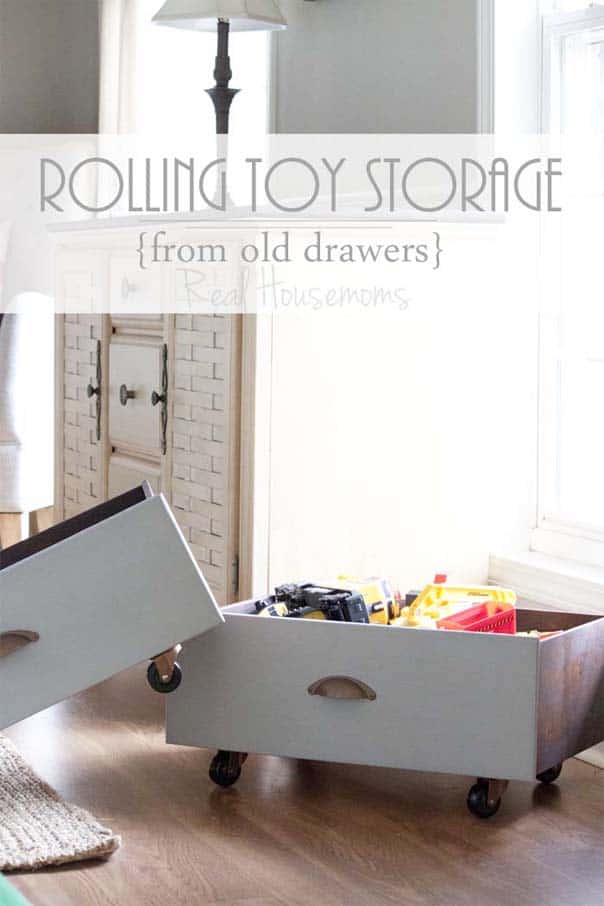
How to Repurpose Old Drawers into Rolling Toy Storage for nice, neat and beautiful toy storage anywhere!
I have kids, therefore, I have toys. And try as I might to contain them they kind of have a way of traveling all over the house. Know what I mean? And really, it IS their house, too.
I don’t mind having toys in the living room, office or even the rug in the foyer (because as inconvenient as it is, this is their favorite place to play!) What I do mind is not having a (relatively attractive) place to store them at a moment’s notice. So when a client recently asked to me makeover her old chest of drawers and remove two of the drawers in favor of baskets, I found myself with two orphan drawers. Here’s how I tuned them into rolling toy storage for all of those rogue toys that need a quick stash!
How to turn Old Drawers Into Rolling Toy Storage
Supplies:
- Old drawers or wooden containers
- Wood scraps
- Casters
- Drawer pulls (or other hardware)
- Wood glue
- Paint and/or stain
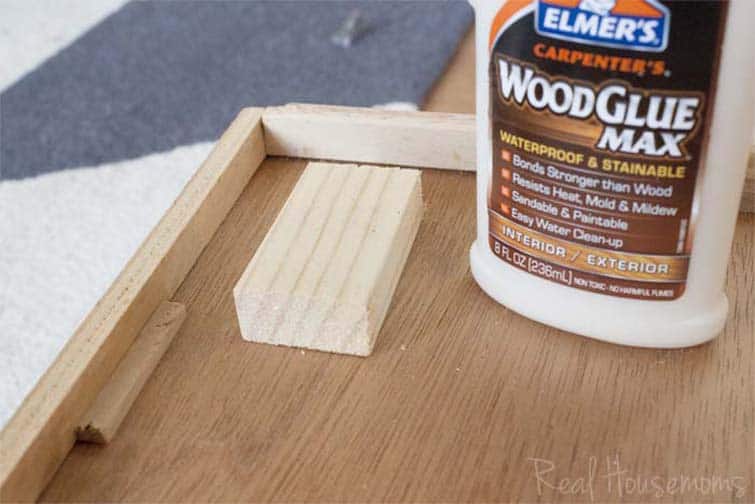
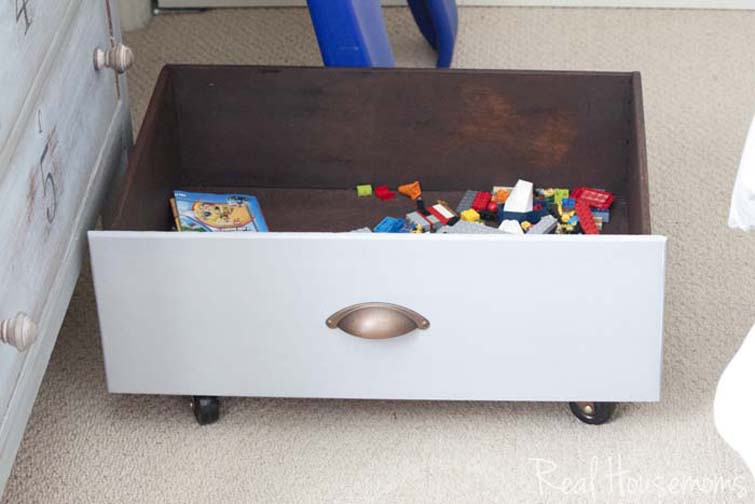
First, because the underside of drawers is too thin to attach the attach the casters to, I added some leftover scraps of wood using wood glue. These are approximately 1×2’s but really any thin section of wood will do. I wouldn’t suggest anything over 1″ thick though because then the underside of your drawer won’t hide it from view.
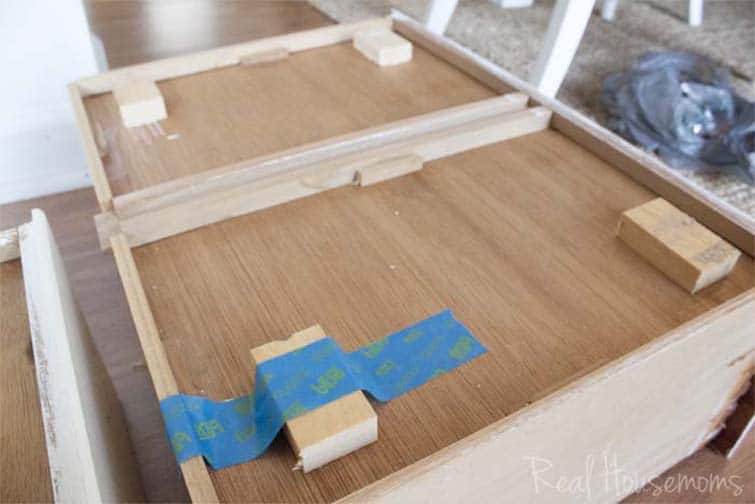
My drawers already had wooden tracks down the center. This is great for extra stability after adding the toys. However, if your drawers come with metal tracks I suggest you replace them with a section of wood instead to prevent injury. Just glue it down as you would the wooden pieces for the casters.
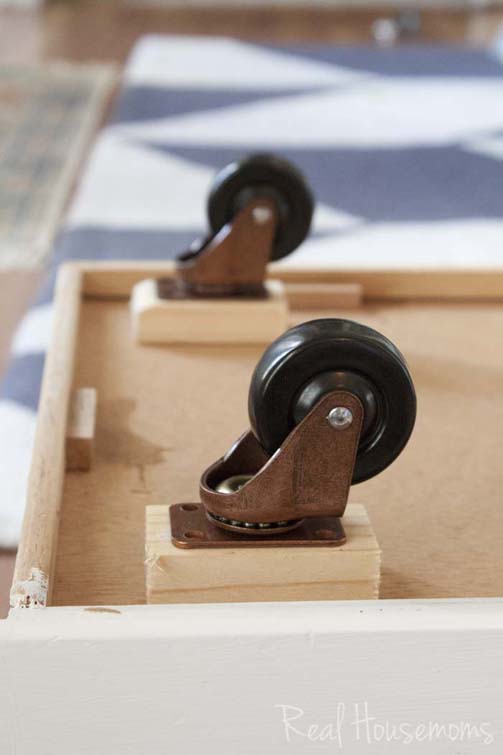
Once the wood pieces were secure I added on the casters. These weren’t packaged with screws. Whether you purchase some that include screws or whether you have to purchase them separately be sure of the length as you don’t want the screws penetrating the drawer bottom.
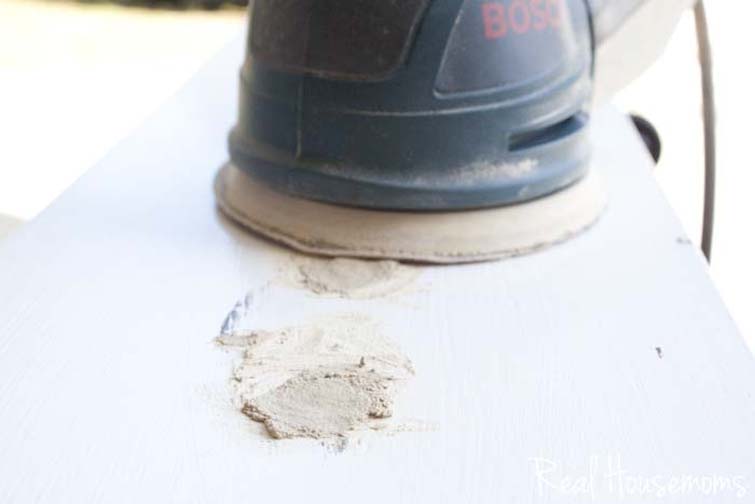 I filled the hardware holes on the front of the drawers because, instead of two handles, I only wanted one down the center.
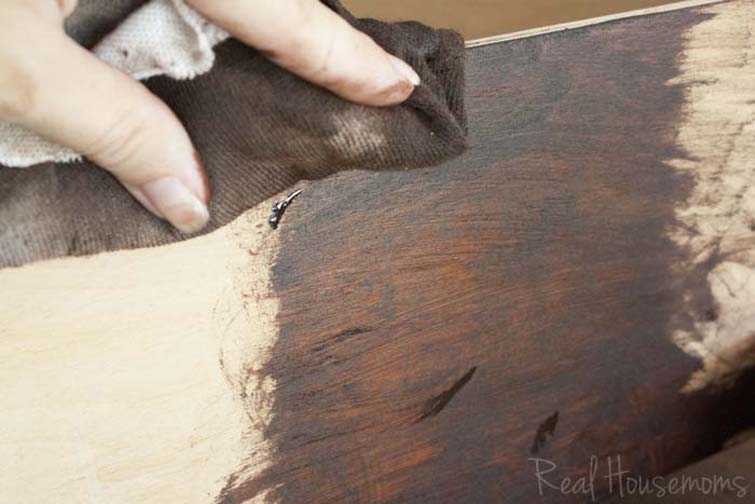
I also wanted to dress the drawer up a bit so I decided to stain the sides and the inside.
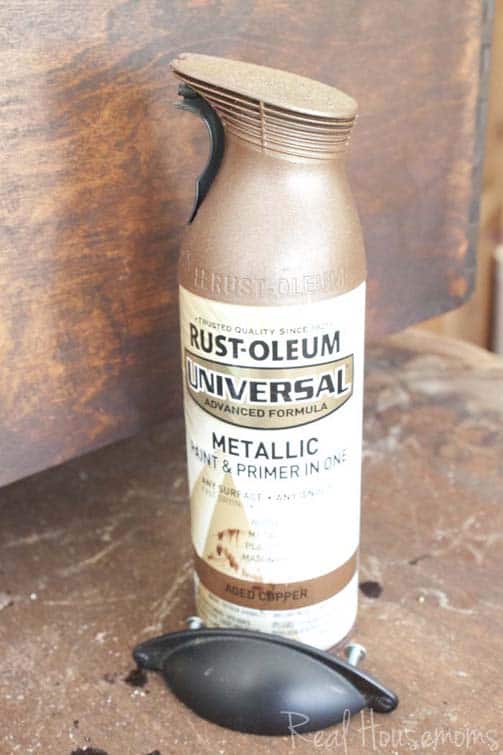
To save on cost I used the original handles but spray painted them an aged copper.
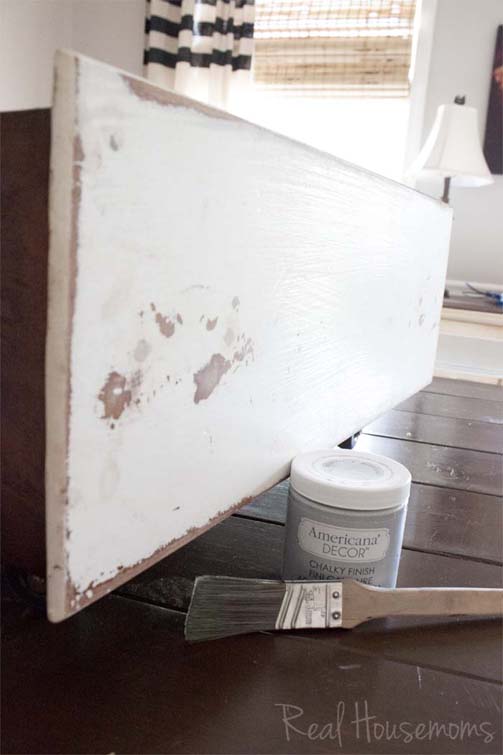
After sanding down the holes I filled on the front of the drawer I painted it in a light gray with a chalky finish paint and then sealed with a creme wax. All that was left was a day’s wait for dry time.
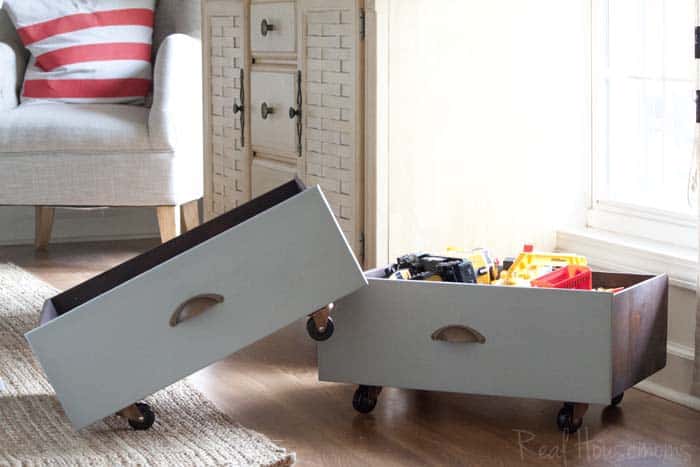
I am excited to say that these drawers have been in use for weeks now and not only are they so novel they themselves have become a kind of toy but the have {miraculously} made clean-up time so much more pleasant.
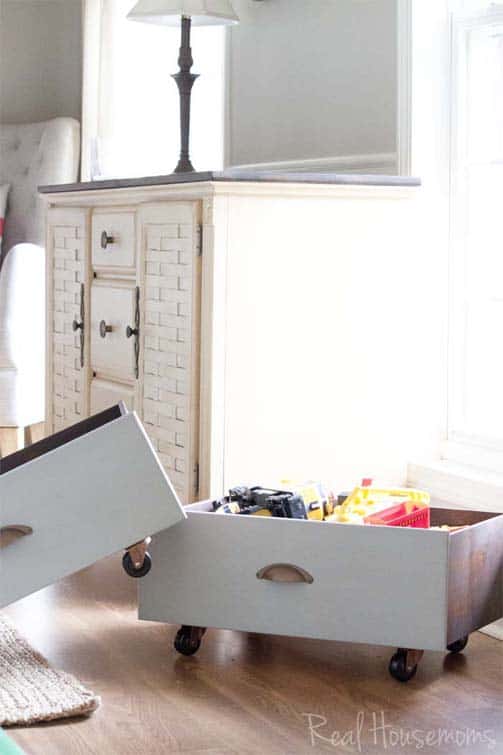
Not to mention, so much more attractive!
And the best part is, you could easily store these under beds, benches or coffee tables. Plus, in addition to toys, they’re great for storing blankets or even crafting supplies. The possibilities are endless.
So, how you feel about toys being on display in your home? It just kind of goes with the territory, right? But now that territory can be a little more fun for them and more attractive for us Moms!


kristin says
Such a great idea, love how it turned out! Thanks for linking up to INpsire Me Monday, featuring later today.