These 5 Tips for Kitchen Spring Cleaning will leave your kitchen refreshed and ready to make all your family’s favorite meals!
Spring cleaning season is just around the corner. I have my usual to-do list for the big clean, yet my kitchen seems to be the one neglected room of the house. While it gets “cleaned” every night after dinner, it needs a good deep cleaning just like any room, and I’m going to help you stay on track this year!
*This post is sponsored by Glad. All opinions are 100% my own.
The biggest hang-up I have about spring cleaning my kitchen is where to start. It’s easy to wipe down the counters and fridge shelves, but what about the things that really need cleaning? I’m talking cabinet doors, freezers, pantries, pots, and pans. Luckily, it just takes a little time, TLC, and the right tools to get everything done.
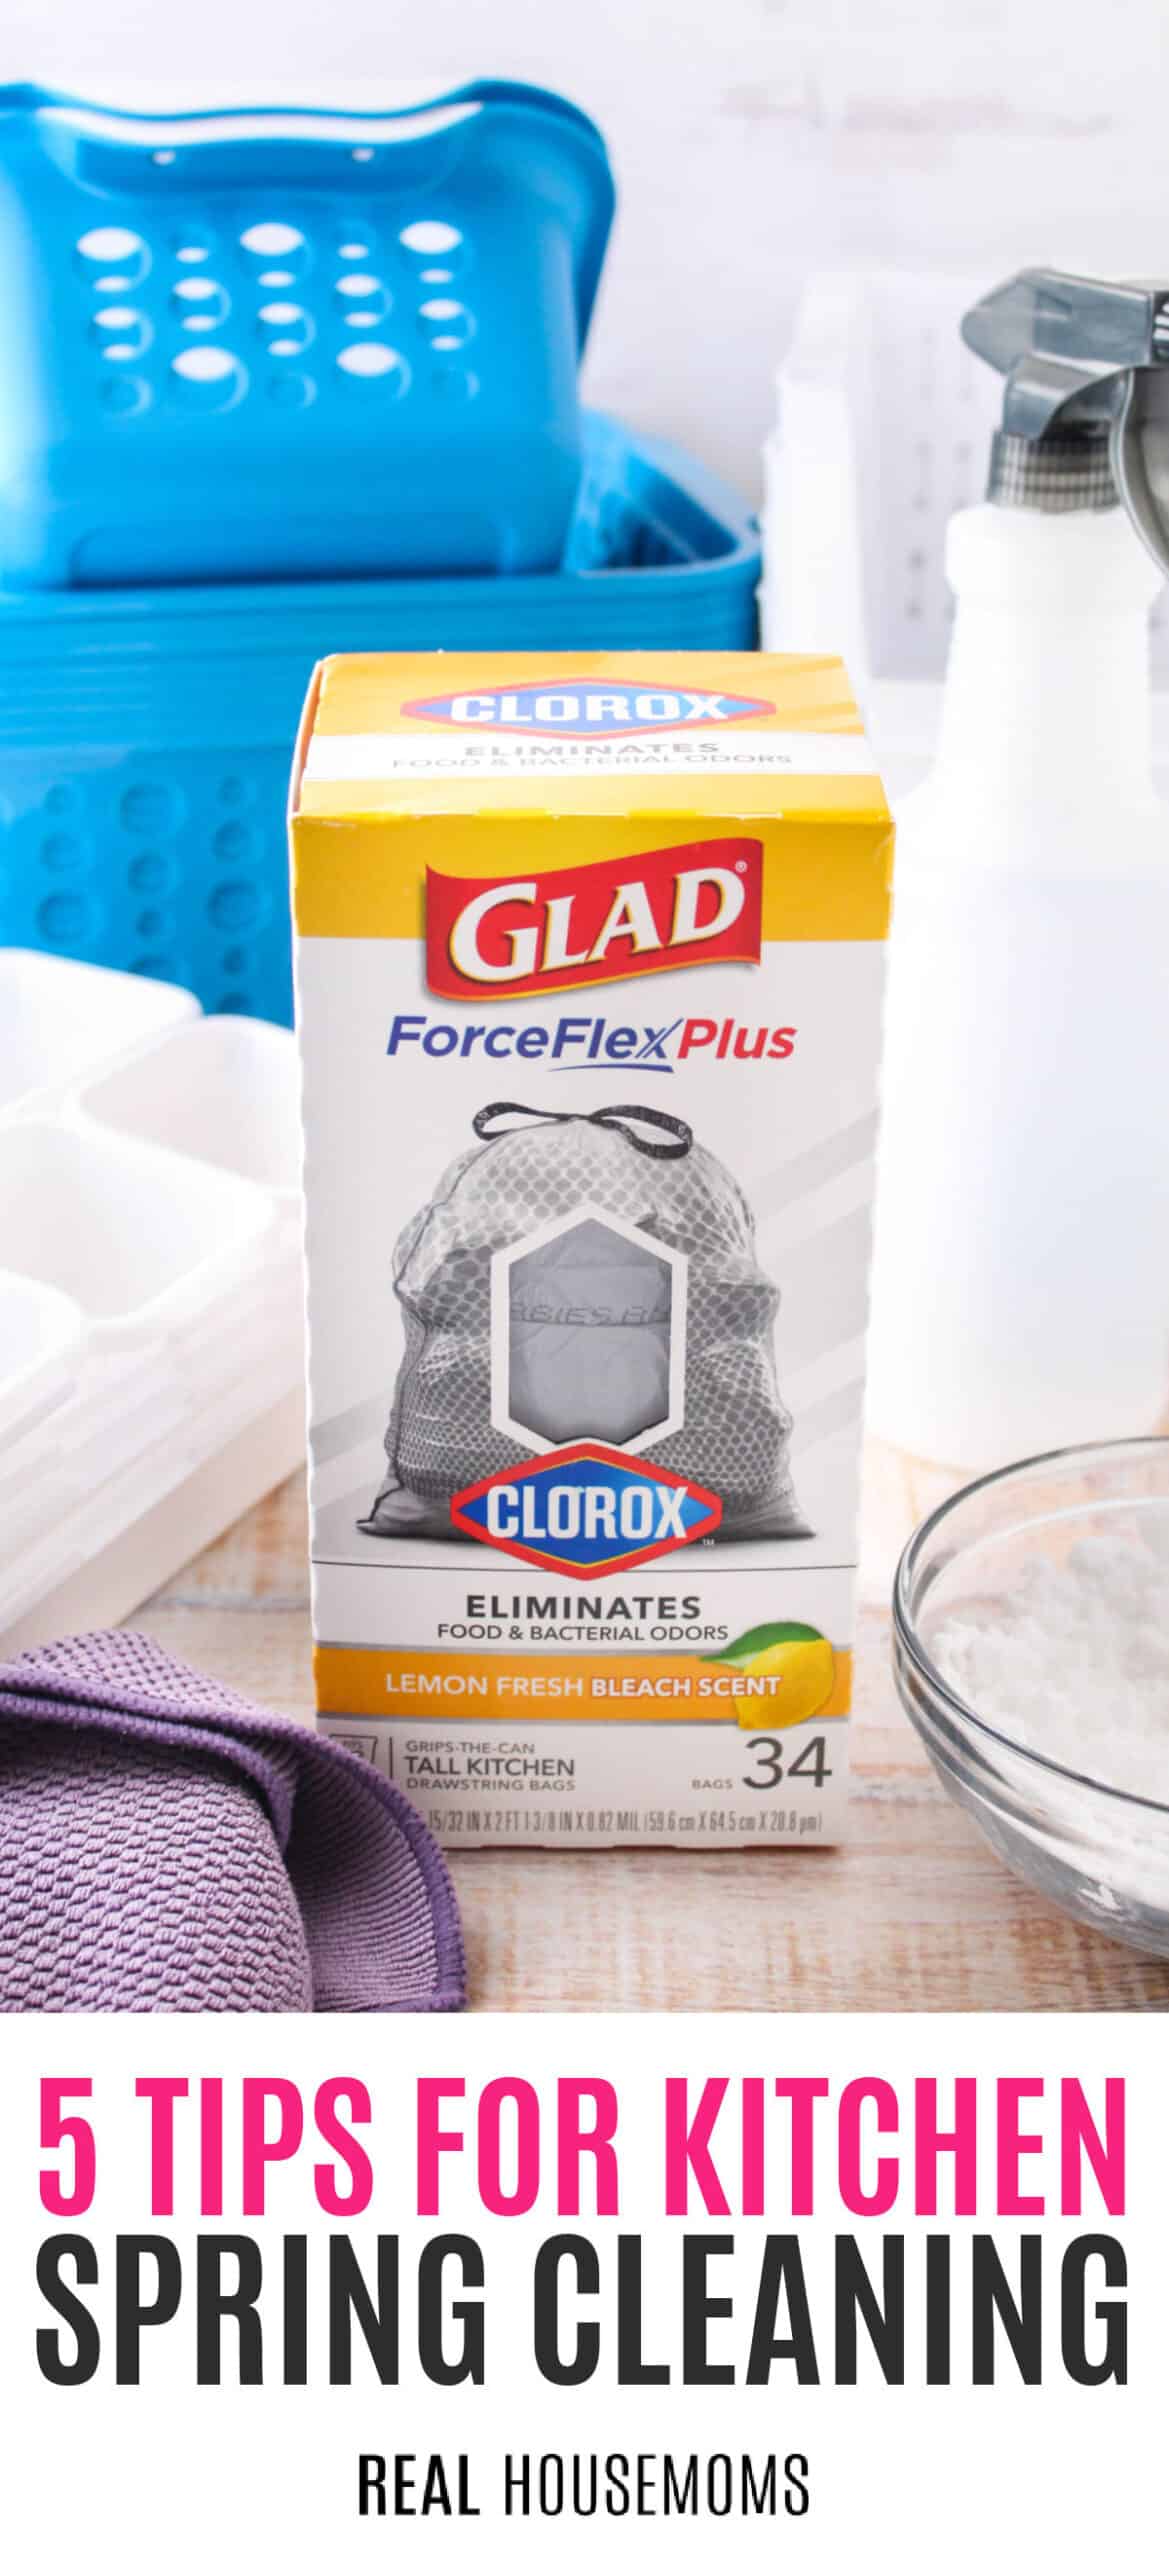
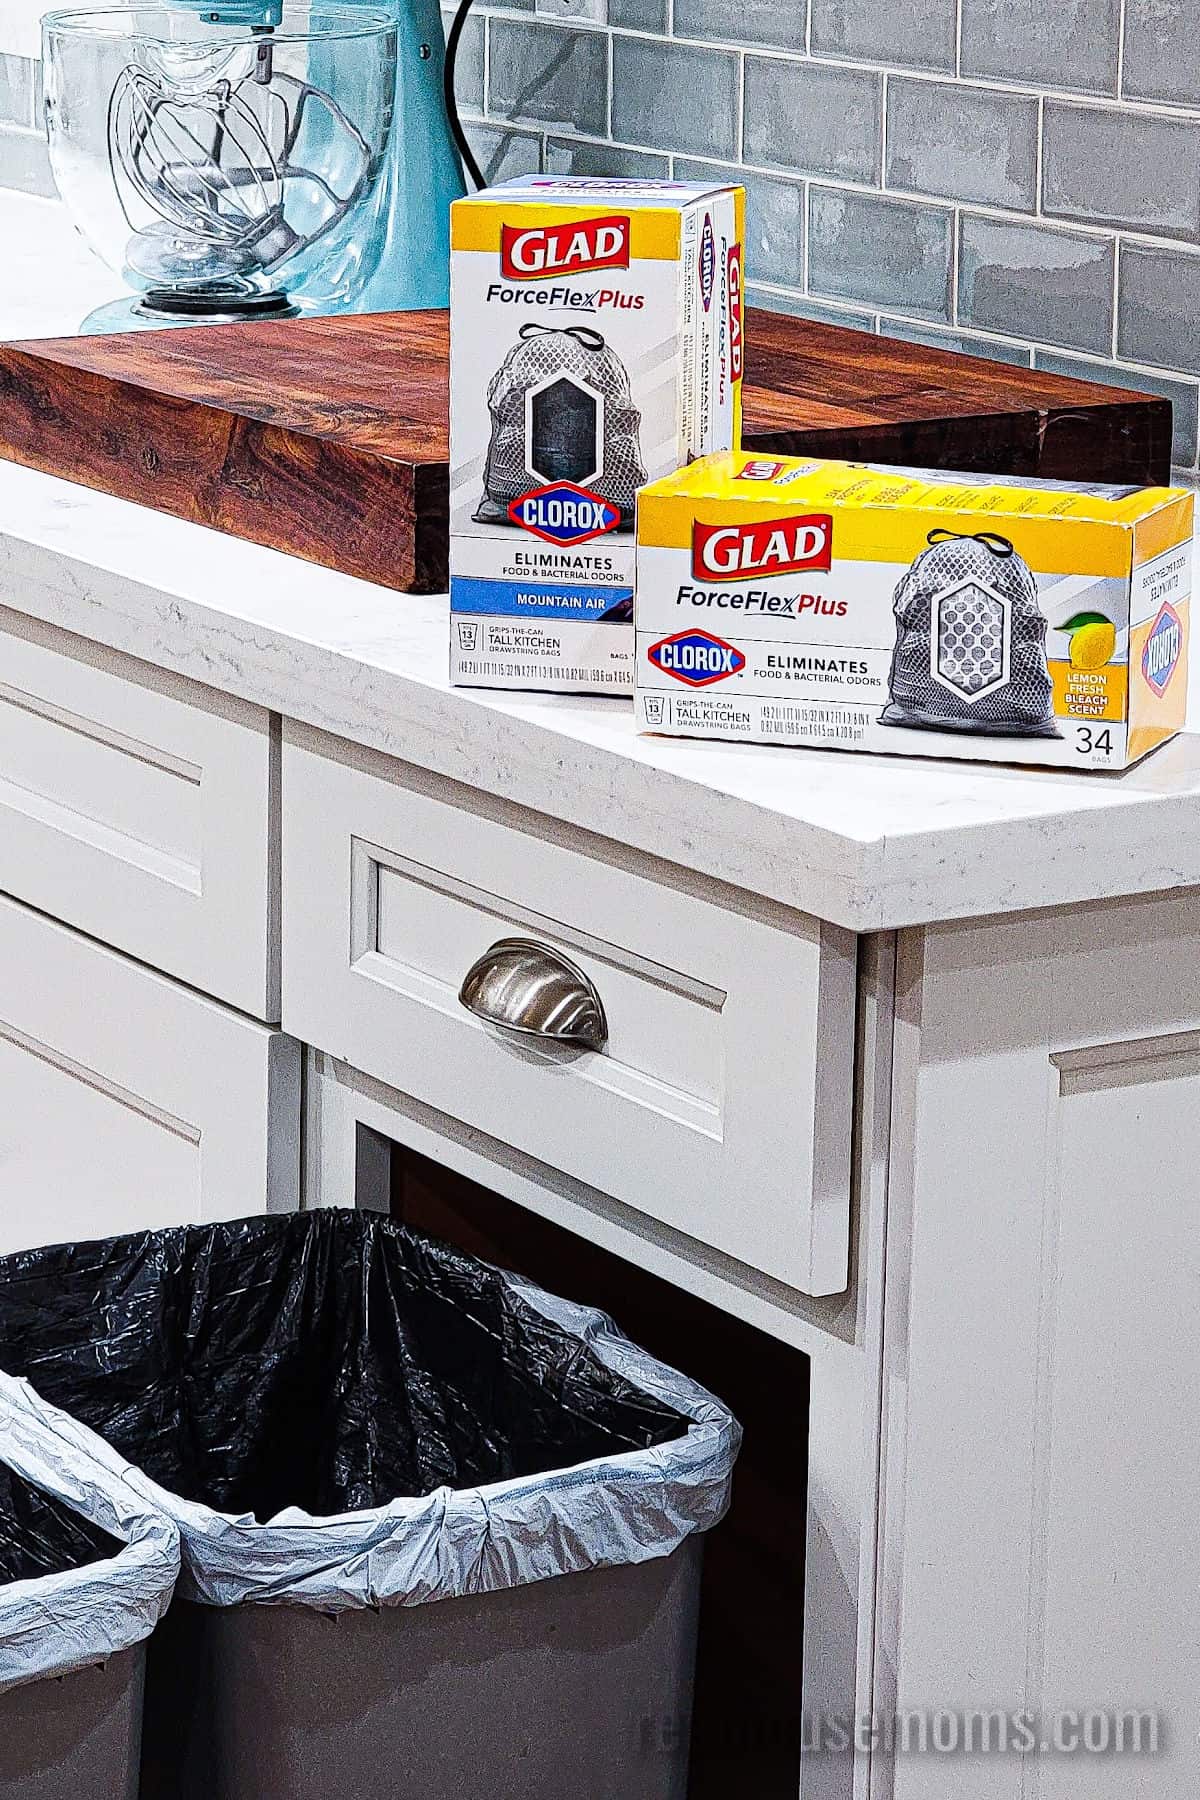
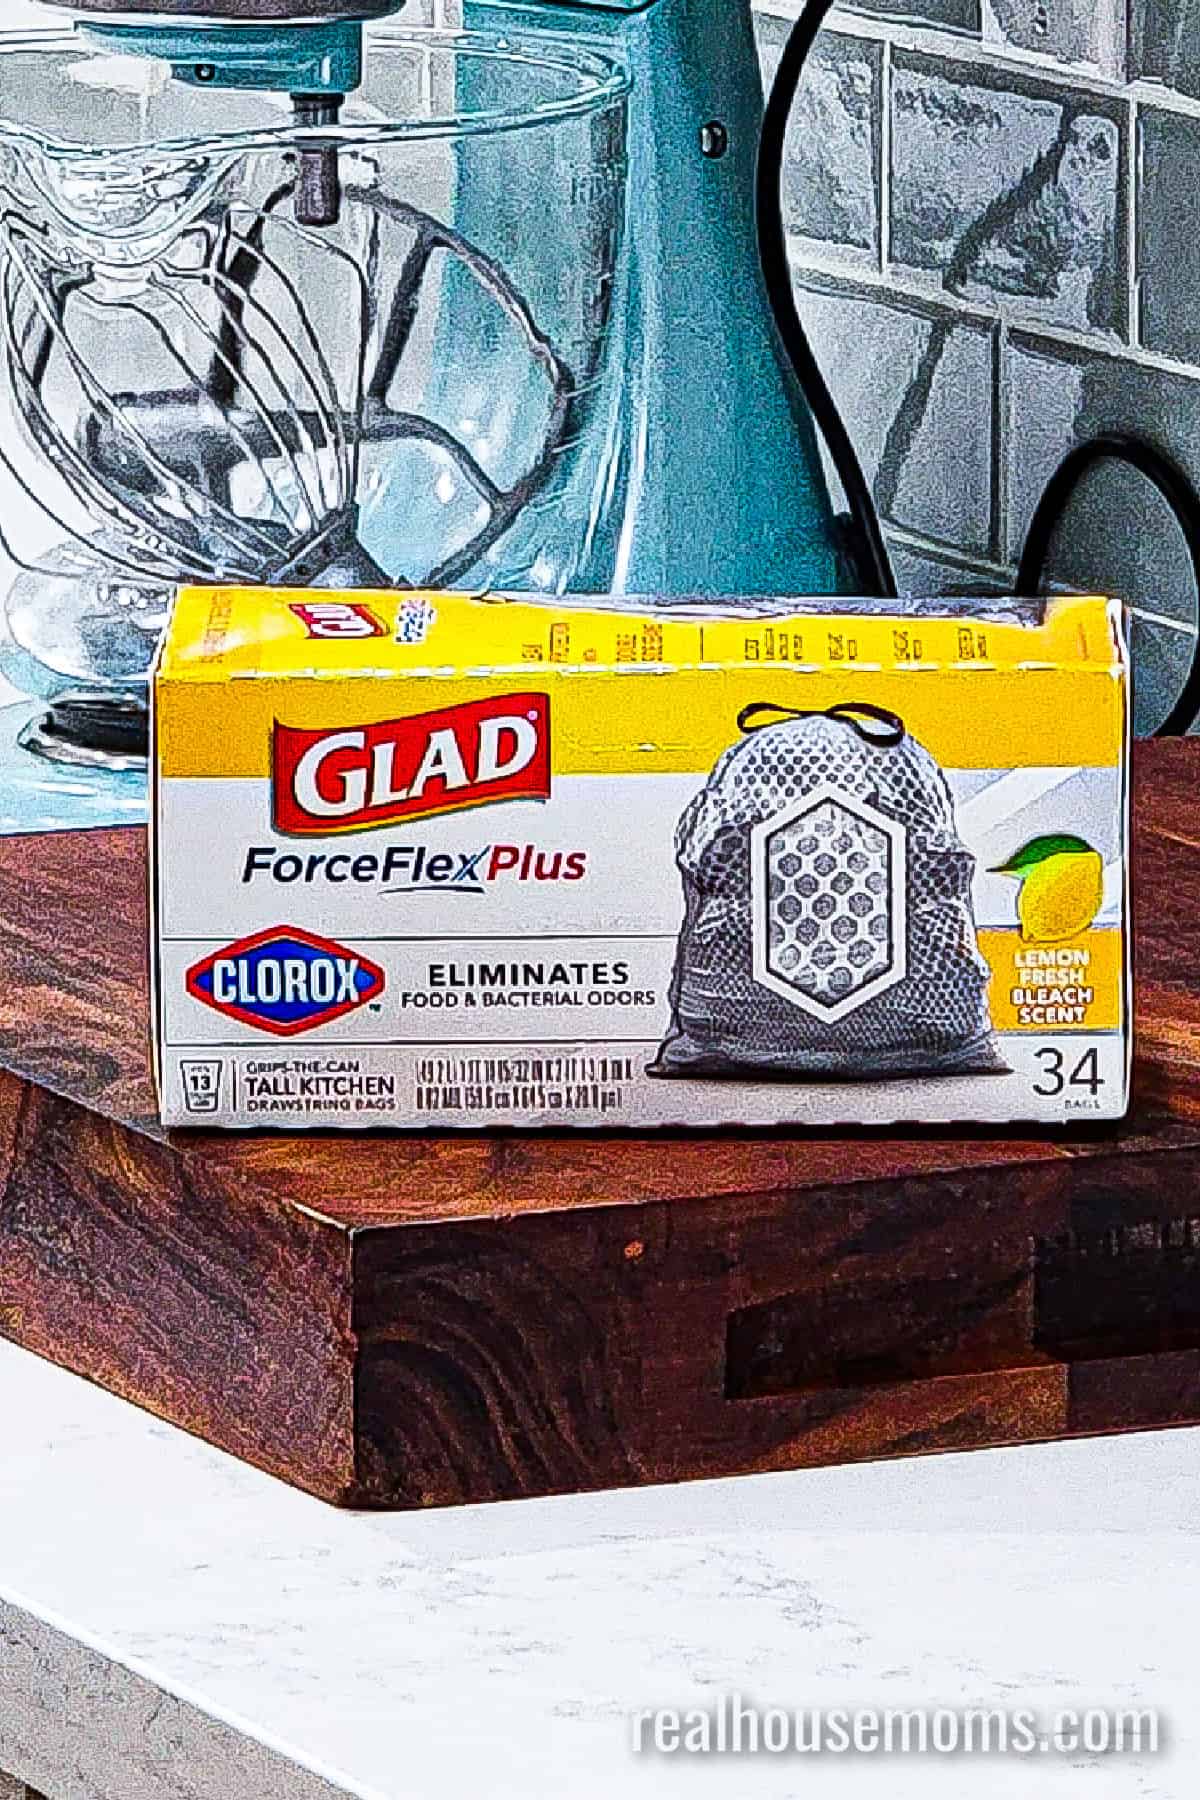
I keep a box of Glad® ForceFlexPlus with Clorox™ trash bags on hand for our regular trash needs, but also for big clean-outs. They provide great leak protection, even when the bag gets heavy. I love that these trash bags help eliminate food and bacterial odors to keep my home feeling fresh. And that Lemon Fresh Bleach Scent… I seriously sat there the whole time I was working on the kitchen thinking, “These bags smell amazing!” Winning.
Pair these bags with my DIY All-Purpose Cleaning Spray and a good scrubber sponge, and you’re ready to clean!
Looking for more great cleaning tips?
15 Baking Soda Uses to Clean Your Home – You can use baking soda to clean and refresh so many things around the house! #8 has been a lifesaver with my boys.
10 Amazing Uses for Toothpaste – If you have little kids you need to know these tricks, but toothpaste isn’t just for teeth. Use it to give your sneakers new life and patch nail holes. Yep!
5 Tips for Kitchen Spring Cleaning
#1 – Clean Out Your Pantry and Fridge
This sounds like a no-brainer, right? But think about all the canned and dried goods you’ve stocked up on in the past couple of years. When was the last time you checked the expiration dates? It can be easy to grab things you plan to use and never get to them. (I’m going to raise my hand here.) Or there are basic items you think last longer than they do and you forget to toss and replace them until you get a taste that’s “a little off.”
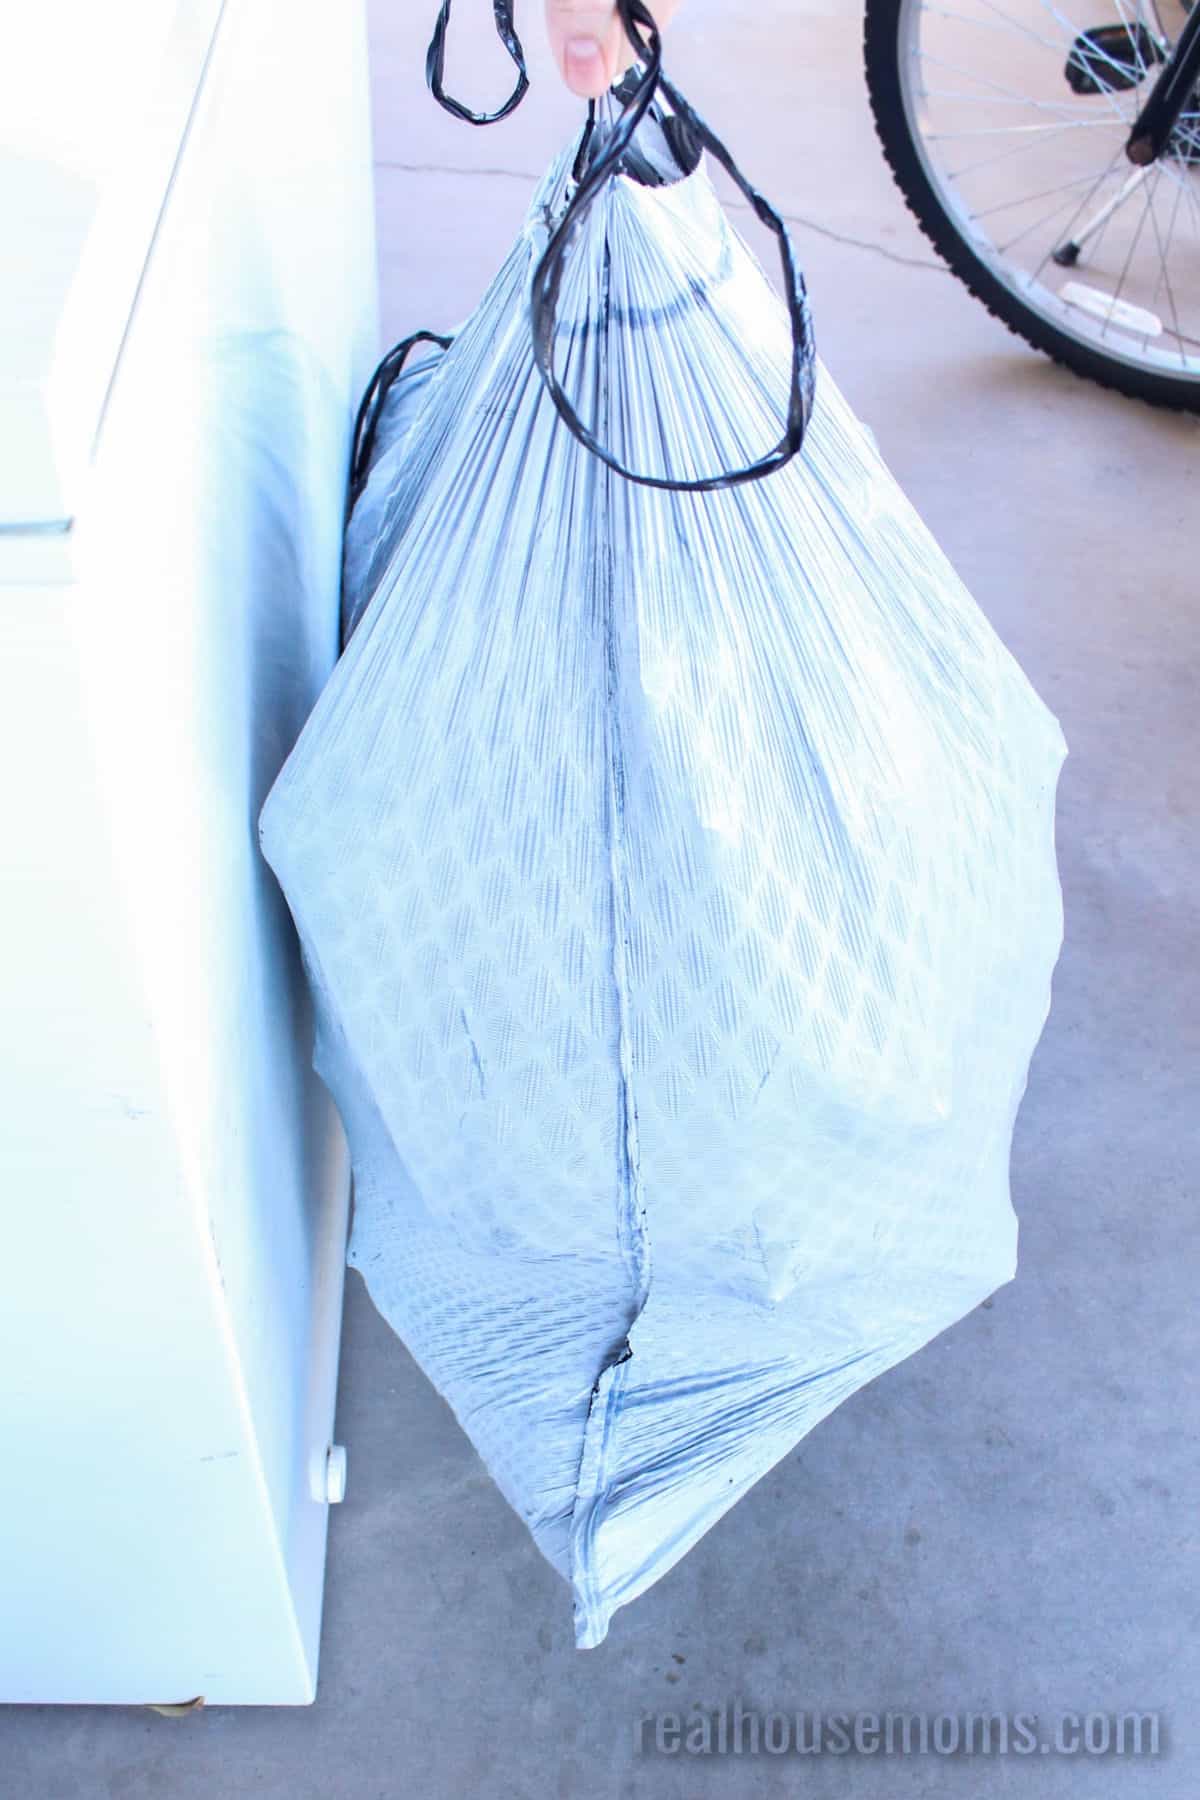
Make sure you recycle empty cans and boxes. For anything that can’t be recycled or composted, here’s where the Glad® ForceFlexPlus with Clorox™ trash bags really come in handy. I need a bag that is strong and can make it to the trash bin without tearing, and Glad is it.
Pro Tip: I like to keep a notepad or use a smartphone app to make a shopping list for anything I’m tossing out that needs a replacement so I don’t forget later. I’ll even have one of the kids hang out in the kitchen and make the list for me while I sort through everything. Making the list as we go helps make the process easier and then we’re not missing any items we really need later.
#2 – Organize Your Pantry, Fridge & Cabinets
Now that all those food items are cleared out it’s the perfect time to get organized or re-organize your pantry fridge and even the cabinets. Sometimes it’s as easy as grouping similar items together so you’re not guessing where they are. Other times, using a few organization products will make a huge difference to keep things easy to grab and “must use first” items front and center.
For the pantry, keeping like items together will really help focus your organization. Or if you have the room, you can even take a section to group items for dinner each night so that you can grab the bundle/basket and get cooking. I don’t have quite that much room, so here is how I like to organize things.
- All of our snacks and breakfast foods on the bottom shelf for the kids. This way the boys don’t need a chair to reach them.
- All the baking supplies on one half of the next shelf up and rice, pasta, and pasta sauce on the other side on the shelf. I don’t always need to grab from here, so these items don’t go on the main middle shelf.
- Go-to middle shelf has all the canned goods, bread, peanut butter, jelly, and tortillas. I’m constantly grabbing from this shelf for school lunches.
- The top shelf has Mom & Dad’s snacks, sauces, oil, vinegar, nuts, and any other miscellaneous stuff we need.
For the fridge, you’ll have to decide what works best for your fridge layout. I usually keep baking supplies, sauces, and random bottles on the door shelves. Then a few bins for grab-and-eat snacks and an egg holder to make it easy to contain smaller items that might just float around otherwise.
For the cabinets, you can just give things a once-over and decide if they need an update. It is something worth doing. I have a catch-all cabinet I throw things in during the year and when I go through it for spring cleaning, I can usually find things I’m ready to part with or that make me go “why do I have this?!” Grab anything you’re ready to donate, and maybe consider reorganizing things if needed.
This is also a great time to go through your spice cabinet! See if anything is past its expiration date, make note of what items are low and need to be added to the shopping list, and find the extra dried parsley that got pushed to the back. So you don’t have 3 bottles like me.
#3 – Clean Out and Organize Your Freezer
If you’re like me, the freezer becomes a catch-all for any meat you found on sale. I try to be good about making a list of what I have on hand, but sometimes it’s not that easy. Things fall to the bottom, especially in our chest freezer, and I forget what all we have.
The best way to start with your freezer is to take everything out. Yes, everything. Once that’s done, go through items and see if anything is freezer-burned or beyond usability. Those items get tossed, and I’m sure you’re thinking, “OMG my trash bin is going to get so stinky as those frozen foods thaw.” Don’t worry friends! When you use Glad with Clorox trash bags those food and bacterial odors get eliminated.
Then make your inventory list by cataloging the remaining items. Once you have this done, use bins to group the foods together by type. I grabbed a bunch of bins from the dollar store. No need to spend big money on a simple task, just make sure they’ll fit in your freezer and have a square or rectangle shape for maximum efficiency.
Once your foods are in the bins, stack them in a way that makes sense for your needs. I usually have seafood and pork on the bottom row, chicken and beef in the middle, and all the kids’ stuff and desserts on the top row. The bins make it easy to take out items and get to what’s below. And if you have large boxes or bags, just leave a spot for them instead of worrying about fitting them into a bin.
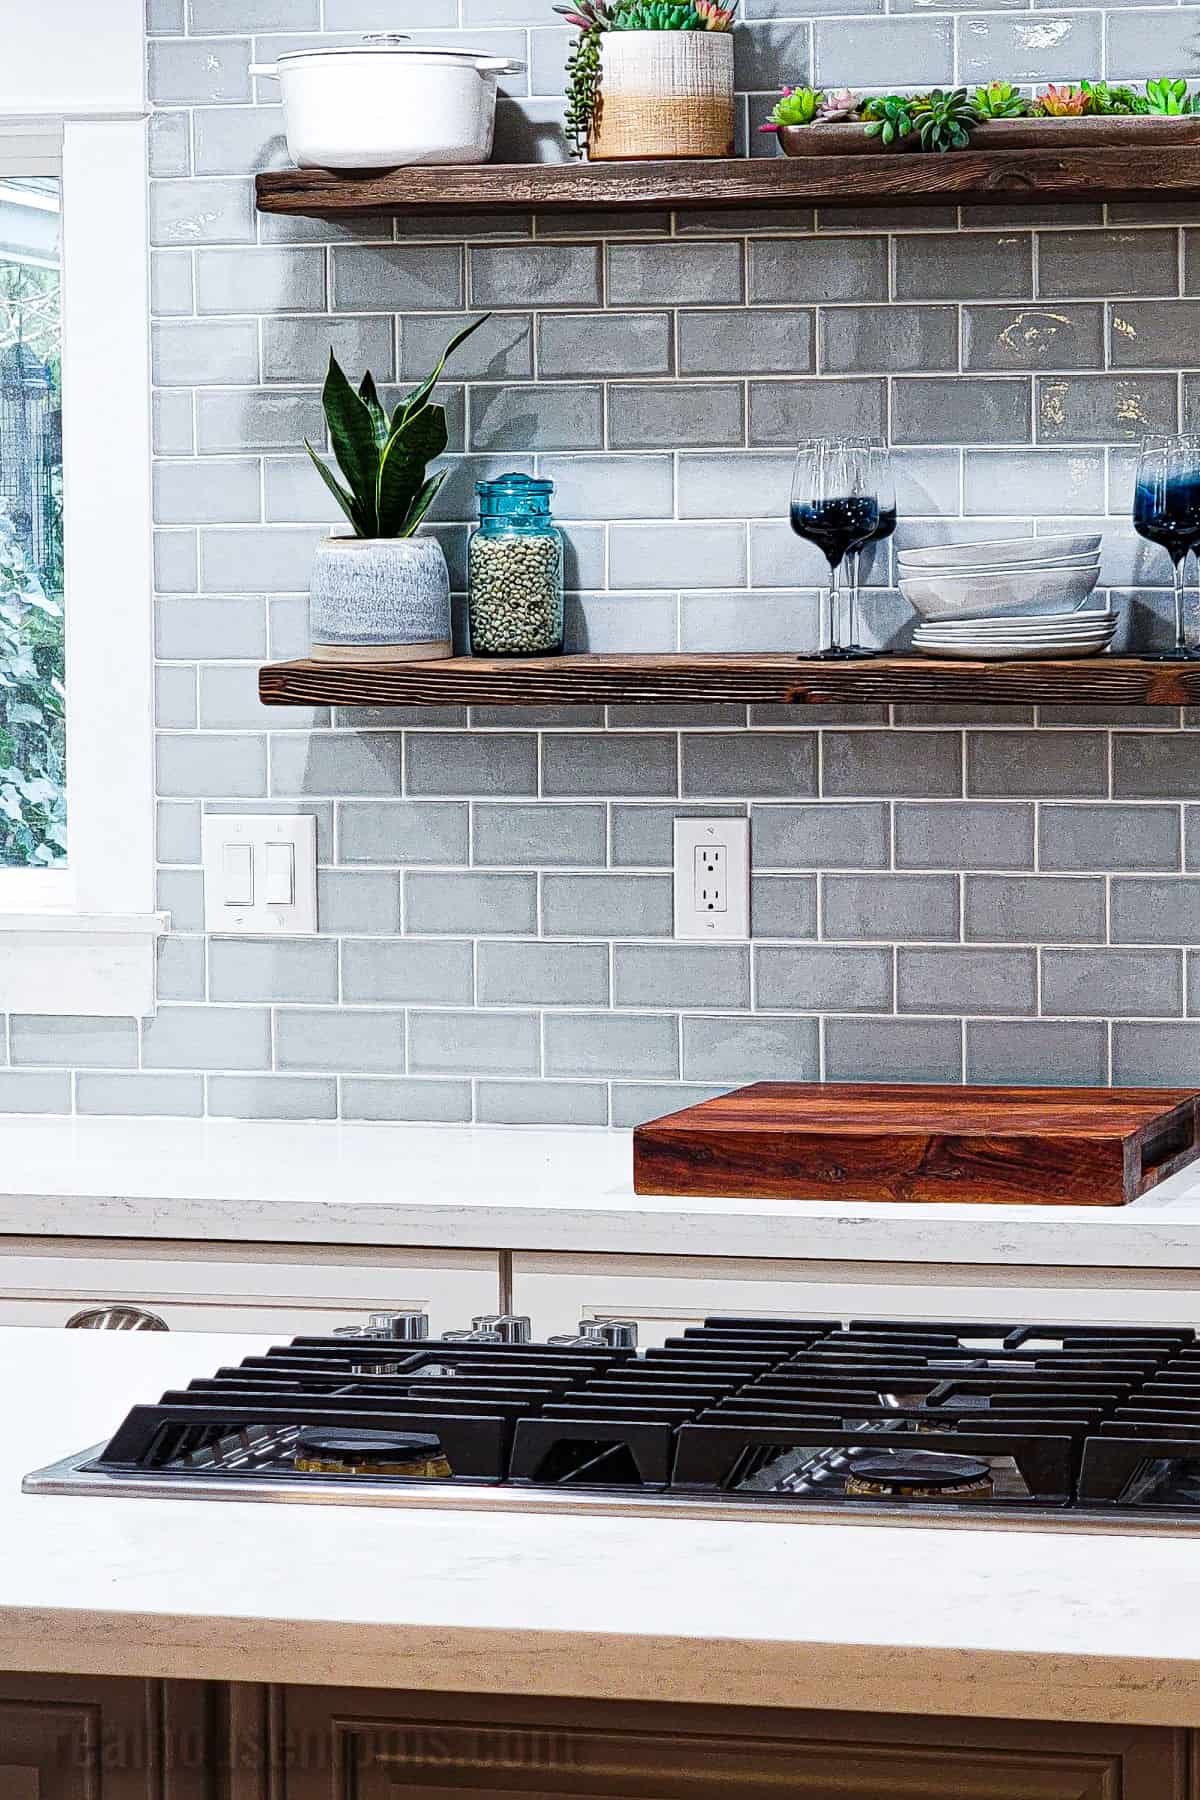
#4 – Deep Clean Kitchen Appliances, Pots & Pans, Cabinet Doors, and Cutting Boards
This is the part of spring cleaning I used to never think about. Spring cleaning always felt like one giant purge. Go through your clothing, hall closets, and the garage. But what about the everyday items staring you in the face? Now’s the time to tackle them!
I use my stand mixer all.the.time. But I rarely deep clean it. If you haven’t done a deep clean on your mixer before, I’ve got you. Just follow these easy steps for stand mixer care and maintenance and it’ll be like new in no time. You can even treat your kitchen to this simple DIY stand mixer attachments organizer so you’re not trying to fit them into cabinets or drawers any more.
Your microwave needs some love. Wet a sponge and pop it into the microwave for 2 minutes. Take it out (carefully, it will be hot!) and then wipe down the inside. The water from the sponge will turn to steam and help loosen anything caked onto the walls and roof of the microwave for easy cleaning.
My cutting board is in constant use. From dinner to making lunches in the morning it’s the kitchen workhorse. So don’t forget to give a good deep clean with these steps for how to clean wood cutting boards & utensils. Yup, your wooden spoons could use some lovin’ too.
When it comes to pots and pans, you have to see what kind you have. Most of mine are metal, so some dish soap and a green scouring pad are usually enough to get the build-up off the bottom. However, to really get my enamel items clean, I follow these steps for how to clean enamel cookware. They’re like new once I’m done. It’s almost as satisfying as watching those power-washing videos.
Now let’s talk about the elephant in your kitchen – the cabinet doors. They get a film of residual grease from cooking, debris from hands touching them constantly, and dog slobber that builds up. (When you’re cooking yummy things, the doggos can’t help but hang out in the kitchen and drool a little.) Sure I wipe them down often, but spring cleaning is the perfect time to really get those doors really clean with some degreaser or a baking soda/hydrogen peroxide mixture.
#5 – Clean Out and Organize Your Junk Drawer
Oh, the junk drawer. Every kitchen has one and I feel like I have to dig through the whole thing to find anything I need. Well, forget that! All you need are a few drawer organizer bins or some cardboard taped to size and then secured with strong tape (I’m all for being frugal if you have these items on hand already.)
Take everything out of the junk drawer. See if anything needs to be put away in other parts of the house – like tools that aren’t used often or your son’s Lego Boba Fett that’s been missing for 2 months.
Then start grouping items together in a way that makes sense for your needs. Grab the bins and put the items into each one depending on their size. You may have things like scissors or random items that don’t fit. That’s okay. Use however many bins work for your needs and arrange them in the drawer.
The great thing about making your own bins with cardboard and duct tape is you can make them the exact size you need for your drawer and items. If you want to make them look extra nice, you can cut some contact paper and line the bottom of each bin with it.
If you have an entire kitchen desk-type area, you can grab my kitchen desk organization tips to tackle this bigger job.
The other thing to remember while you’re going through your kitchen is that Glad trash bags are great for hauling any items that can be donated. So don’t forget to set aside things that are still in good shape so you can donate them to local charities.
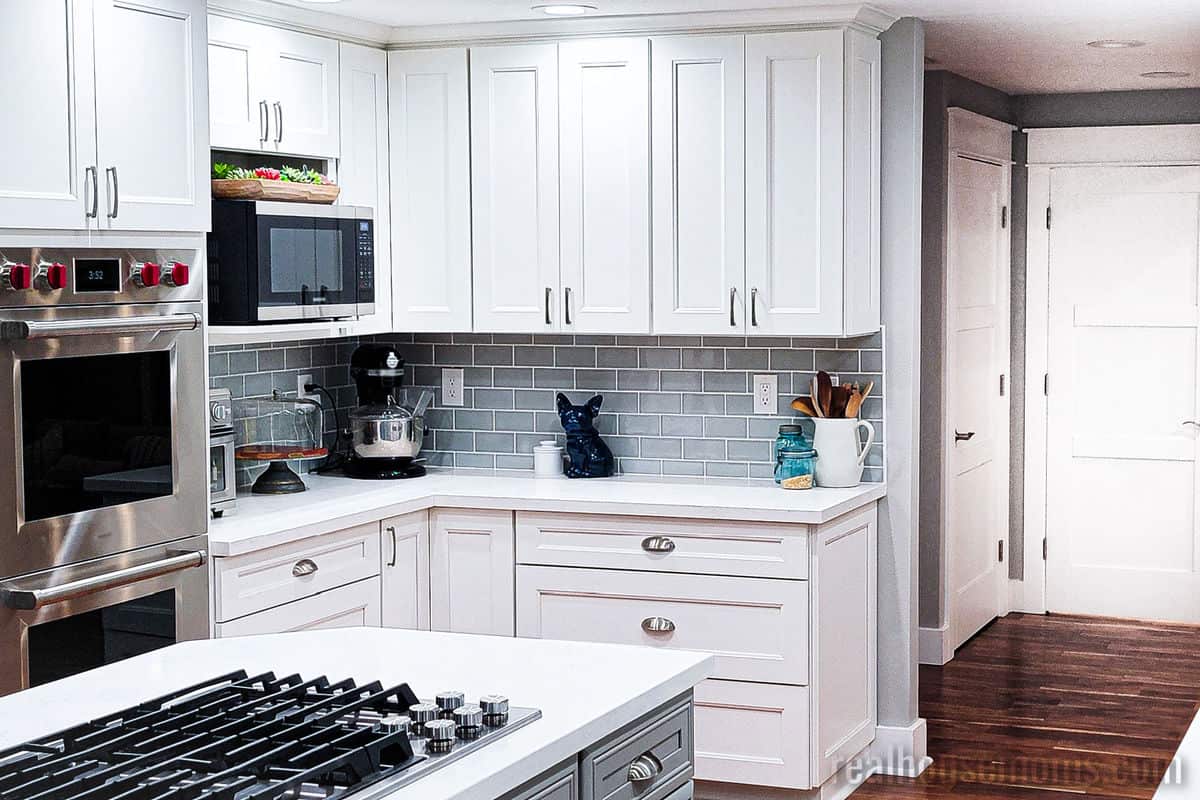
Now that my kitchen is clean and organized, I’ll continue to use GLAD with Clorox trash bags to help keep my home as fresh and clean as possible leading up to the summer entertaining season. It’s so nice having everything freshened up! It makes me excited to be cooking and spending time with friends and family in the kitchen.


Leave a Reply