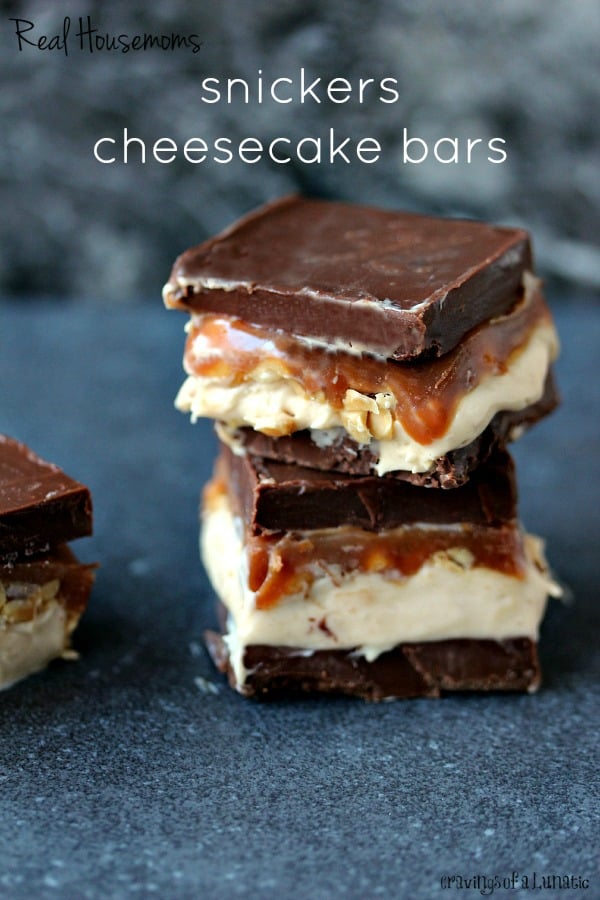
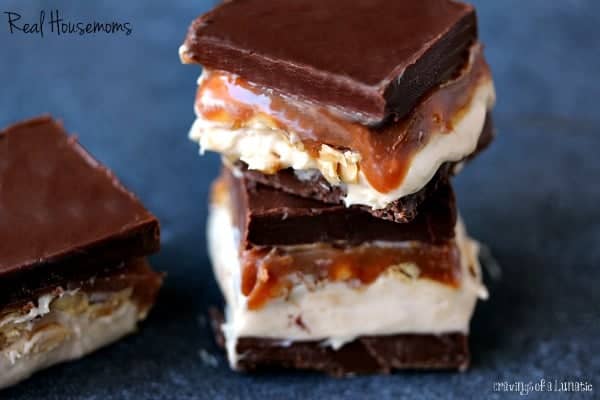
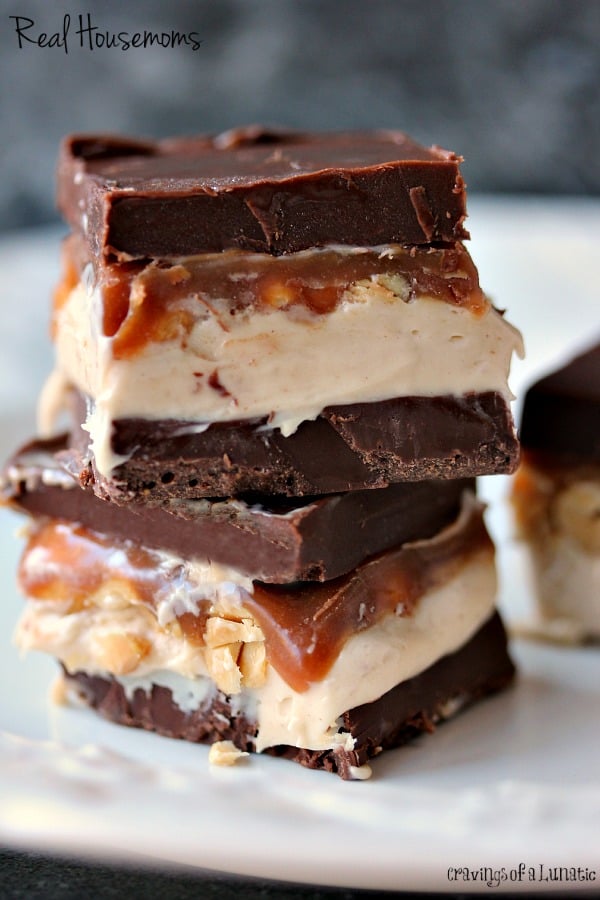
Homemade Snickers Cheesecake Bars uses cream cheese in the filling for a little added YUM to your favorite candy bar!

There are some recipes that make you want to jump up and down, screaming about how good they are, encouraging everyone in the world to try them. Then there’s some recipes you almost want to keep to yourself, hoarding them, and keeping them secret out of sheer fear you might be asked to share your piece of it. This recipe fits in both categories. Part of me wants to scream from the rooftops, part of me wants to go hide in the closet so I can chow down on the whole batch all by myself.
But that would be wrong. Although I’m not above hiding in the closet to eat the best recipes in solitude. I’m a lot of things, but a sharer of food, ya, not so much.
I have been wanting to make Snickers Bars since the beginning of time. Not even kidding. It was a lifelong goal. One I finally rose to the challenge to complete. There are so many recipes online for Snickers. Just google it. Bars, cheesecakes, parfaits, cakes, ice cream, you name it and it’s been snickerfied. What? That’s a word. Or at least it is now. People love Snickers. Bloggers love Snickers. Food websites love Snickers. I suddenly feel like a slacker that I’ve never snickered anything up on my blog. I should really be ashamed of myself.
So to make it up to you, and myself since I get to eat the whole darn thing, I decided to Snickerfy (yes, that’s a word too, trust me) cheesecake bars. But I wanted to combine all the ingredients without adding a Snickers bar to it. Not that I’m above shoving a boatload of chocolate bars into recipes. I do that often. But for this particular recipe I wanted to make a homemade candy bar without cheating by tossing the actual store-bought bar in it. Does that make any amount of sense? Probably not. I digress.
I usually develop my own recipes but for this one I kept coming back to a pin from a blogger friend of mine. Her name is Roxana and she blogs at Roxana’s Home Baking. The woman is a whiz in the kitchen. Eons ago she posted a photo on pinterest from her blog of a Snickers Bar. I’ve literally been dreaming about it ever since.
So this is my riff on Roxana’s recipe. I made a quick change by adding some cream cheese, because, well, it’s what I do. Cream cheese all the things. I love a good no bake cheesecake. But I didn’t want to make this a parfait so I just turned it into a snickers cheesecake bar. It’s flipping out of this world.

Ingredients
Chocolate Layer
- 3 cups semisweet chocolate chips divided
- ½ cup creamy peanut butter divided
Nougat Layer
- 7.5 ounces marshmallow fluff
- ¼ cup creamy peanut butter
- 1 ½ cups powdered sugar
- 8 ounces cream cheese
- 1 cup dry roasted unsalted peanuts
Caramel Layer
- 11 ounces caramels
- ¼ cup heavy cream
Instructions
- Line a 11 x 17 inch baking dish with parchment paper. Set aside.
Chocolate Layer #1
- Use a double boiler to melt 1 1/2 cups chocolate chips and 1/4 cup peanut butter. Stir occasionally until smooth. Pour into the baking dish. Pop this in the freezer for about 5 to 10 minutes to harden.
Nougat Layer
- Combine the fluff, peanut butter and confectioners sugar in a mixing bowl, stir until combined.
- Pop the cream cheese in a stand mixer and whisk on medium speed until smooth and fluffy. Add the ingredients from the other bowl into the mixer and whisk until combined. Pour over the chocolate layer you placed in the freezer earlier. Press the peanuts into the mixture slightly. Pop back in the freezer for about 5 to 10 minutes.
Caramel Layer
- Use a double boiler to melt the caramels in the cream. Simmer over hot water until caramel is smooth. Allow to cool slightly. Now pour the cooled caramel over the filling mixture and peanuts. Pop back in the freezer for about 5 to 10 minutes.
Chocolate Layer #2
- Use a double boiler to melt 1 1/2 cups chocolate chips and 1/4 cup peanut butter. Stir occasionally until smooth. Pour into the baking dish. Pop this in the freezer for about 5 to 10 minutes to harden.
- Cut into 12 squares with a sharp knife. This recipe is a bit messy. Just roll with it. It's totally worth it.
Notes
Nutrition
This is a challenge to cut. If you want a clean cut keep them frozen. Then grab, or hold, the top with a piece of parchment. That way you won’t mark up the top. If you try to cut them cold from the fridge they will be messy. not going to lie. If you try to cut them warm after they’ve been on the counter you’ll make an even bigger mess. So just know these are messy.
Even while eating them they are messy. Just give in to it. It’s liberating to munch on chocolate and end up wearing half of it. Makes you feel like a kid again. Which is always fun since these remind me of childhood. I was covered in chocolate and caramel while taking photos of these bars. I just smiled and told my daughter how hard my job is. Let’s just say she didn’t believe me.
So run into the kitchen and make these bad boys. Wear a bib, possibly an apron. And embrace the fun.


Judy says
I am assuming they have to be stored in the refrigerator?
Julie K says
Yes.
Lindsey Michelle says
I just made these! I can’t wait to try these out!
Keith says
I can’t wait to make these bad boys!!!
Kim Sturre says
I had to google about the double broiler. It worked using a heat safe bowl over a sauce pan. 🙂
Janet Wolf says
I do not have a double broiler can I use the microwave to do the melting?
Julie E says
You can create a double boiler set up by placing a couple inches of water in a medium sauce pan, bring it to a simmer, and then place a metal or glass bowl over the top of the pan.
Chelsea says
You could use a saucepan with boiling water and put a glass bowl on top.
I’m going to make this for christmas.
Kim Beaulieu says
Hope you love it Chelsea.
felicia says
U can take a pot fill the bottom with water, let the water come to a boil, find a bowl that can sit in the pot but not touch the bottom add your chocolate and peanut butter. Keep stirring until melted remove bowl.
Kath says
I always use a microwave to melt chocolate. Do it in 30 second bursts, stirring after each burst.Usually takes about 3 bursts – 1.5 minutes.
Amanda says
Yes, I do it all the time… just do it in increments of 20 to 30 seconds and stir often
Kim Beaulieu says
Hey Janet, you can melt chocolate in the microwave. Just add a little butter or shortening to keep it smooth. It’s just a personal thing, I hate the way microwaves get hot spots. They can scorch chocolate pretty quick. But if you’re used to melting it in the microwave it’s a-okay.
I don’t have a double boiler either. I use the bowl method. I place a saucepan with a few inches of water on the stove, bring to boil, reduce to a low boil or simmer, place a heat-proof bowl over top, then pop the chocolate in there to melt. I find it just melts it perfectly every time.