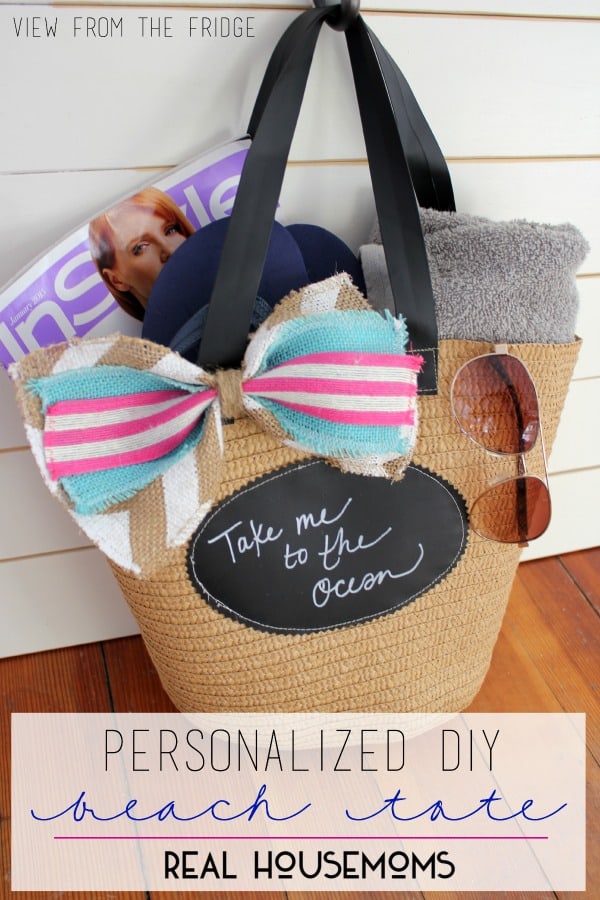
Are you ready to get excited for Summer (or, even better … Spring Break)?! This quick and simple DIY Beach Tote will get you in the mood! I took a Dollar Spot bag from Target and gave it a little extra style and personality. Less than $5 and made in less than 15 minutes!
Here’s how she started:
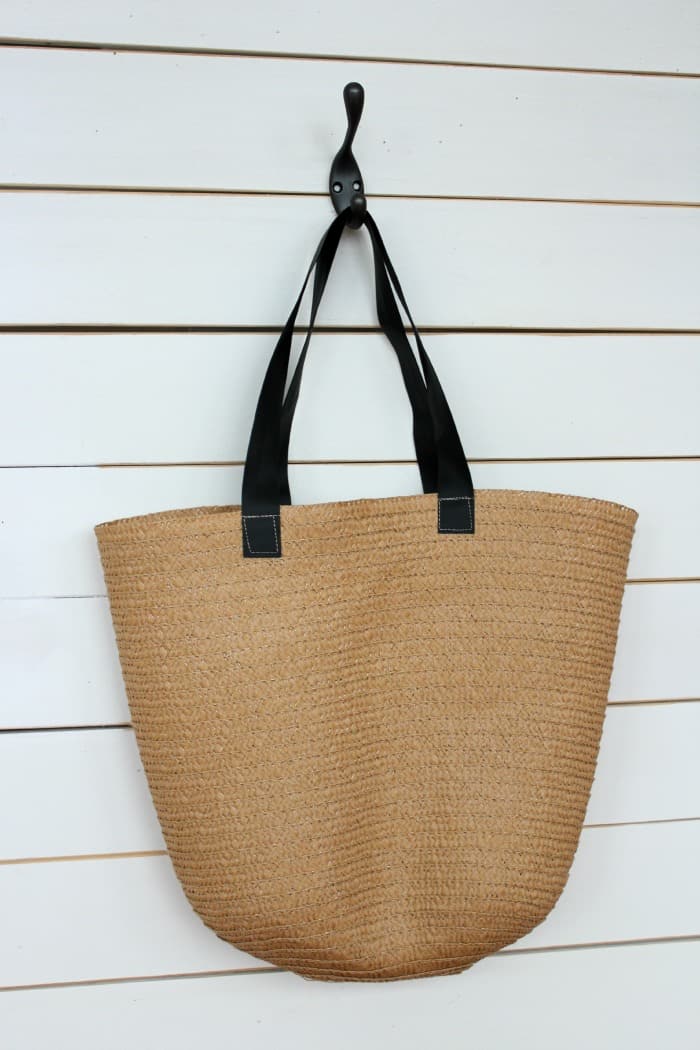
A plain old straw sack from the Dollar Spot at Target! Practical, and cute enough, but I decided to give it a little extra personality.
Here was my plan to up the appeal of my tote:
- Add A large chalkboard label on the front to add a cute saying or message.
- and an oversized burlap bow in Spring or Summer colors.
Simple enough, right?
Now … for the chalkboard label on the front:
Did you know there was such thing as Blackboard (or Chalkboard) Fabric? Well … there is, my friends, and it’s basically a heavier weight vinyl. If you use a Chalk Marker the words stay put nicely, but also wash off easily with a damp cloth. Oh the possibilities of such a material …
To make the label, I used:
- This fabric from my local JoAnn Fabrics, but you can also find similar fabrics online.
- A pinking shears
- Sewing machine and thread
And it took two easy steps:
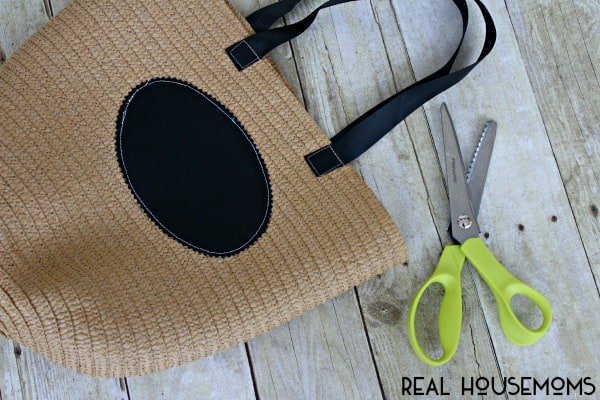
- Simply cut out an oval shape out of your blackboard fabric with a pinking shears (if you’re a perfectionist, you can make up a quick template out of paper and trace onto vinyl before you cut.
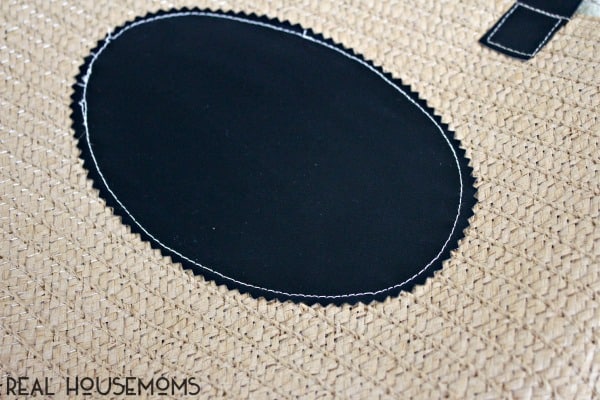
- Position label in center of one side of tote and simply sew into place.
Label sewn onto front of tote:
Next, for the burlap bow … feel free to use what you happen to have on hand, but I used:
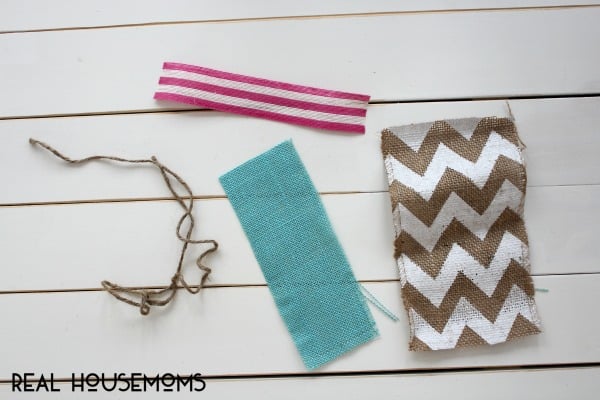
Burlap Bow Supplies
- 5″ thick burlap ribbon with white chevrons (left over from this wreath). I used approximately 10″ of this ribbon.
- 3″ x 10″ strip of aqua / light blue burlap
- Pink and white striped fabric ribbon that I also had on hand (10″ piece)
- Jute Twine
And here are the three quick and easy steps to creating the bow:
- First, finish all unfinished edges by sewing with a wide zigzag stitch to prevent fraying.
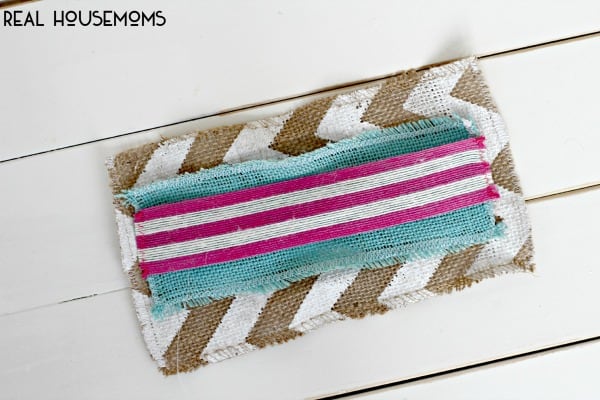
- Next, layer all pieces on top of one another as shown below:
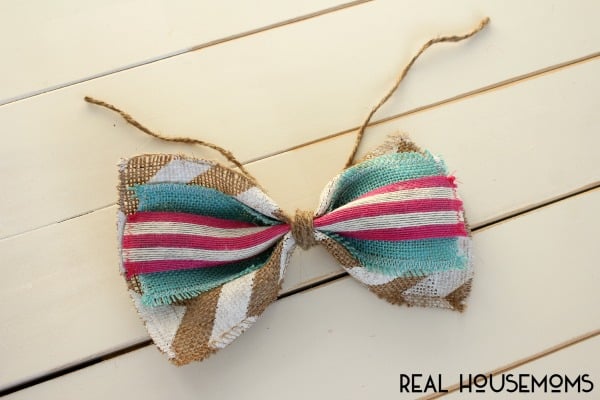
- Gather center of all layers and tie twine around the middle to secure. Leave enough twine on each end to secure the bow to the handle of the bag.
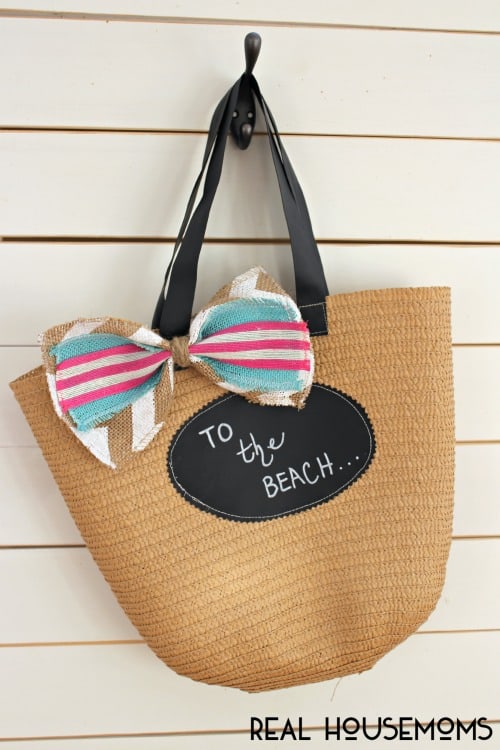
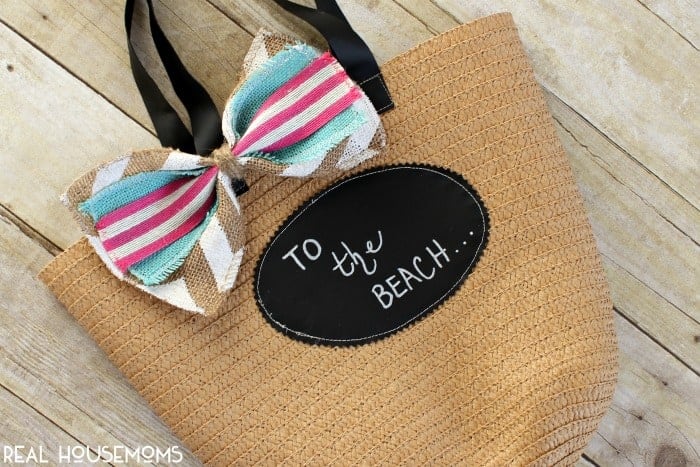
That’s it! And … because we’ve just spent several days in the warmth and sunshine of Southern Florida, I’ve got the beach in mind! Add whatever saying you like to the front using a Chalk Marker.
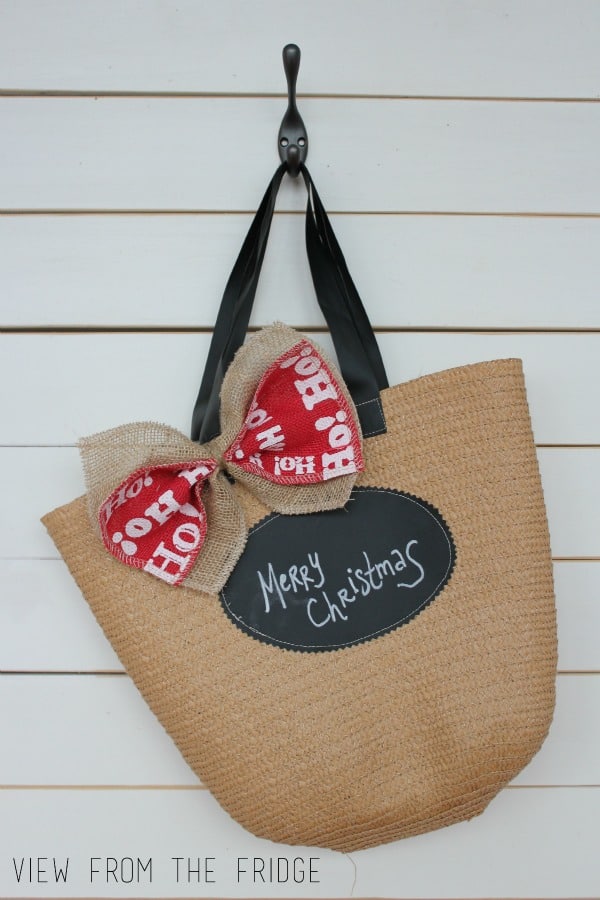
And you can easily switch it up for the seasons:
This would also make an absolutely adorable bridesmaids gift (add some fun treats and essentials for your best ladies and label each with their name). Or … sticking with the wedding theme, these would also make an awesome hospitality bag for your out of town guests (if you’re having a destination or beach wedding … even better!).
How about an end-of-the-school-year-welcome-to-Summer Teacher’s present filled with some goodies?
A personalized Easter ‘Basket’? (or Easter Egg collection bag)?
A surprise ‘treat’ / ‘toy’ bag for each child for a road trip?
A baby shower gift?
The possibilities are endless, and at less than $5 a piece are a very affordable gift idea …
But I’m still in beach mode:
Thanks for having me here again this month! I hope you’ve enjoyed this simply DIY project and can use it to jump start your own creativity!
Now … here’s hoping for some warmer Spring-like weather! 🙂
I’d love for you to pop over to View From The Fridge to say hello and check out what we’re up to lately! If you are in the mood for more Spring and Summer-ish projects, you might like:
Upcycle old wooden toy bins into serving trays:
Science class meets home decor with these {Room & Board Inspired} Flask Vases:


Vanessa says
OMG to freakin cute!! Now I will have to make these for all the girls in the family. Lol. Where do I get the chalk board pen? Does it wipe off and you rewrite? This is genius! .