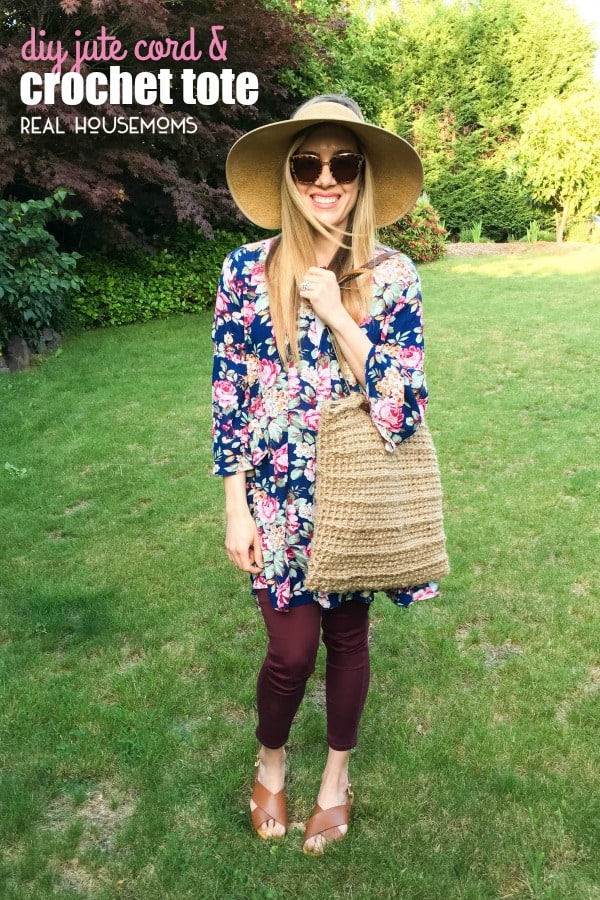
With sunnier days around the corner, I have an easy DIY JUTE AND CROCHET TOTE that will knock the socks off your savings account!
Warmer and sunnier days are getting more and more consistent here in the pacific coast west as we approach summer. Most of us have probably set aside our knitting and crochet hooks, well take them out because you will need them! But instead of fussing with warm yarn, we are gonna use a jute cord to keep you looking “cool”. The crocheted tote bag will be a big hit this summer and this bag is EVERYWHERE.
Shops like Anthropologie, J. Crew, Nordstrom all have them in stock and that’s because they are the perfect summer bag. The only thing that stops me in my tracks is that price point and the simplicity of just screams “I can make that myself” and THAT’s exactly what I did!! I am not a “professional crocheter is that a word?)” but I do know how to work a basic stitch and if you know how to do the basics, YOU can make this bag, too! For my talented friends out there – SKY’S THE LIMIT, please make an extra for moi.
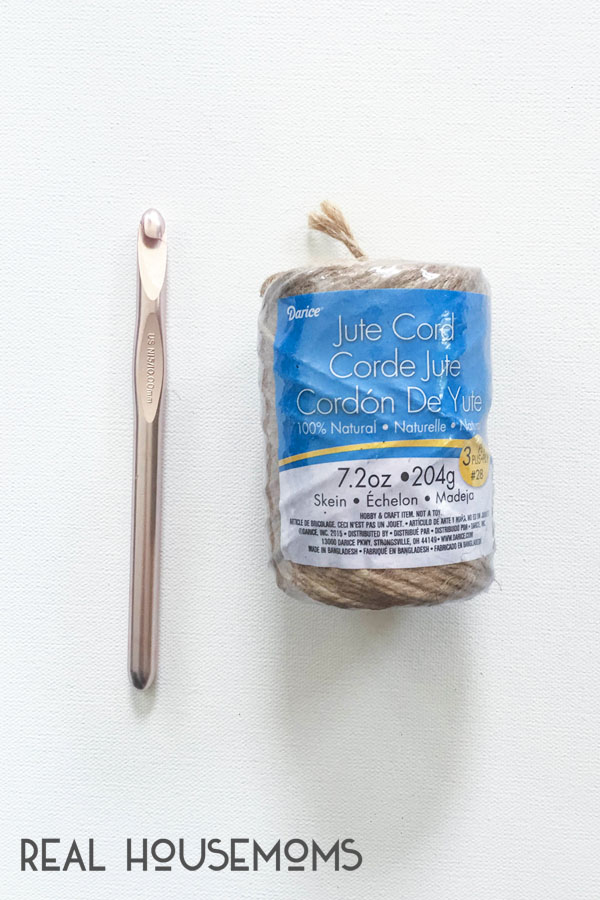
To make this DIY Jute Cord and Crochet Tote, you will need the following:
- Jute cord (I bought 3 to create my sized bag),
- Crochet hook 10.00mm or bigger,
- Scissors
Directions.
Mind you, I am no professional crocheter, so the directions are not super fancy and I kept my stitches are very loose, use the diagram below to help you get started…
Foundation chain: 20 – remember to keep it LOOSE.
Round 1: SC (single crochet) in the second chain from the hook, repeat in the same chain, 16 SC across, 2 SC in next CH, 2 SC in next (end) CH, now round the corner and turn your work and 2 SC in next CH, 16 SC across the other side of the foundation CH, 2 SC in next chain CH, 2 SC in next chain CH (end), SC to the top of first CH.
Round 2-desired round (did 28): SC in each stitch.
To finish: Single stitch into next the stitch, tie off and leave a 5-8 inch tail. Weave in tail.
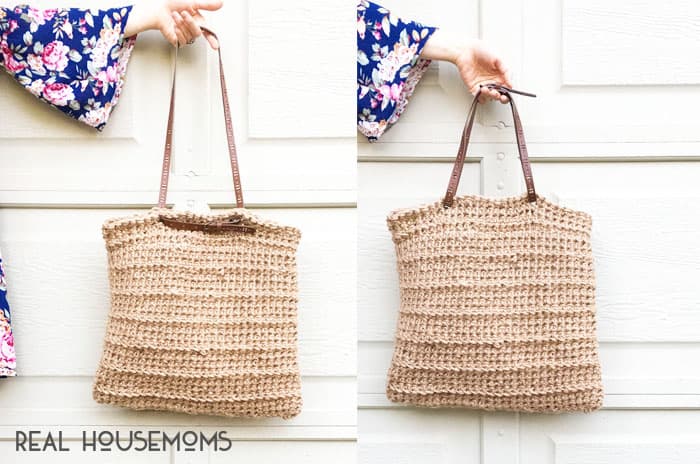
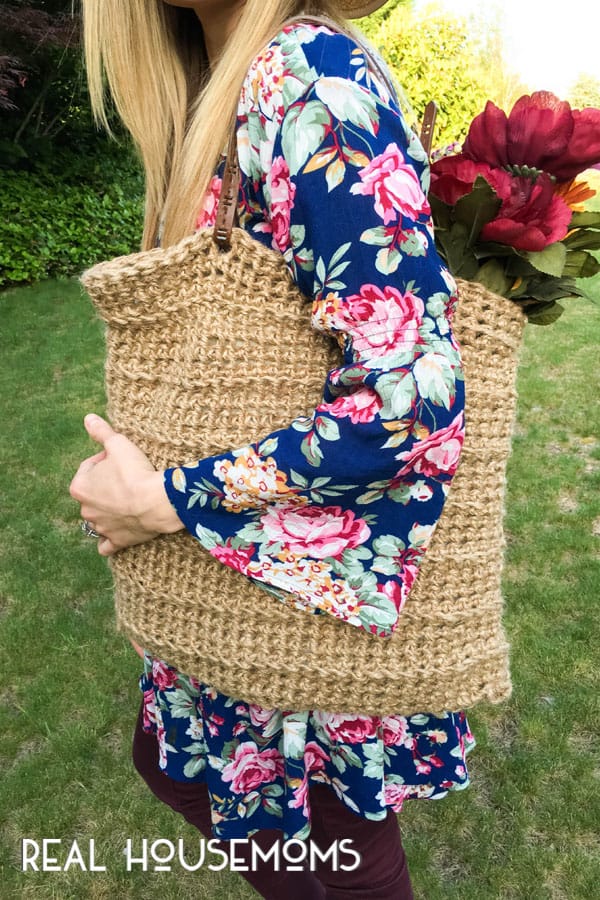
As far as the bag handles, I used an extra belt I had laying around. YES, you read it right, A BELT. Using my old skinny belt, I weaved through the top of my bag through two points on each side of the tote. I fell in love with the buckle detail the belt brought to this look. I also love the way, I carried my bag (long or short depending on how I held the belt), it was always closed. I suppose you could always add whichever handles you like, but for me, I loved the ease this skinny belt brought to the look.
Optional. You could also attach a lining to the inside of your tote, but again, completely optional. You are the designer – make it work!
Pretty easy, yes? HECK YES. I really liked keeping the stitches very loose for this particular look, it kept it easy looking. If you have a larger hook, I would give it a try! But what I love most about this particular bag was the price point – $10 (plus tax) and 5 hours time. I had the hook and scissors and my jute cording was 2.99 a roll, maybe I will have to try a more complicated and fancier stitch in the future but until then I am obsessed with the final project and I have had compliments galore!
Thanks so much for stopping by, hope you enjoyed this tutorial as much as I enjoyed making it!


Leave a Reply