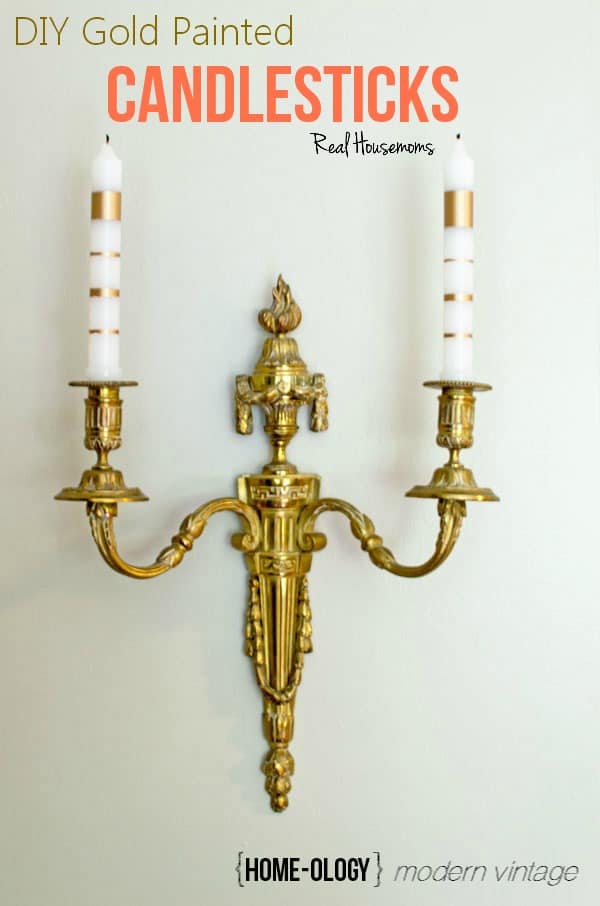
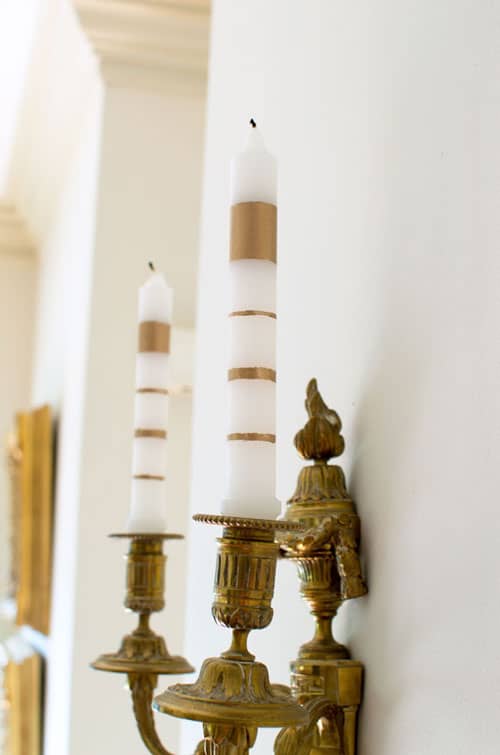
Hello everyone. I’m Sarah, and I blog at {Home-ology} modern vintage. I’m thrilled to be a contributor for Real Housemoms and look forward to sharing some of my creative diys and decor with you each month. I love using creative diys in my home’s interior, and today is no exception as I show you how to make these DIY Gold Painted Candlesticks.
I have a beautiful French wall sconce that I absolutely love; but it’s too formal for the space I want to use it in. So by adding just a bit of unexpected to it, I dropped the formality down a notch and got this very formal piece to play a little more nicely in my space.
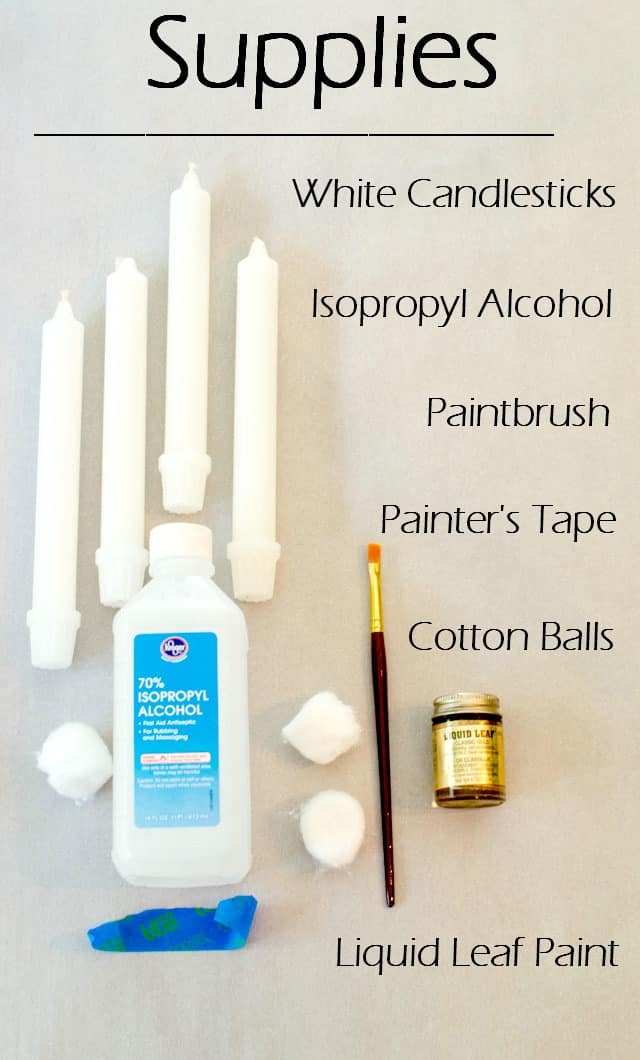
To recreate these candlesticks, you’ll need a few supplies:
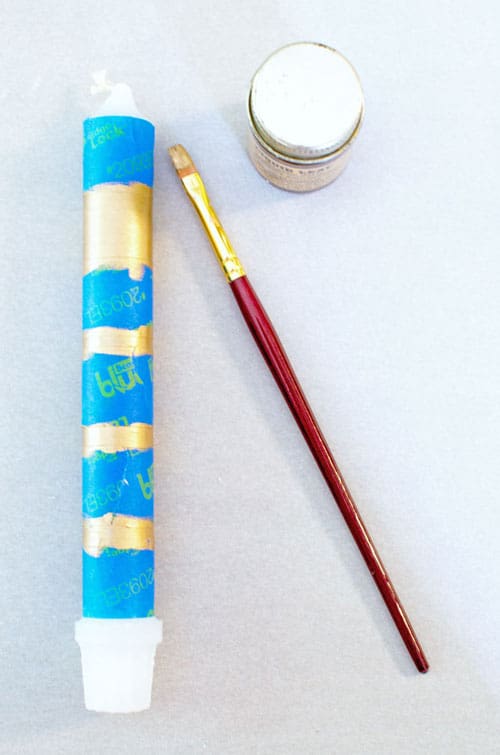
Begin by removing any greasy residue that may be present on the candlesticks with the alcohol and cotton ball. Once clean, apply painter’s tape in a pleasing design and paint. (Standing your candlesticks within a candlestand will help keep them smudge-free as they dry.) Allow the paint to dry for at least 30 minutes.
After the 30 minutes, you can very gently peel away the tape (being sure not to touch the painted areas yet) or you can allow the paint to cure for the full 24 hours. I found that I got a cleaner edge if I removed the painter’s tape sooner than later. But keep in mind that it does take a full 24 hours for the paint to fully cure.
Once you’ve done that, you’re project is complete. That’s all there is to this quick + easy diy!
A designer once told me to always burn the wick on new candles before displaying them so they look like they belong in the space and not just placed there for looks. I’ve done it ever since. (Just a little designer tip I thought I’d pass along to you guys!)
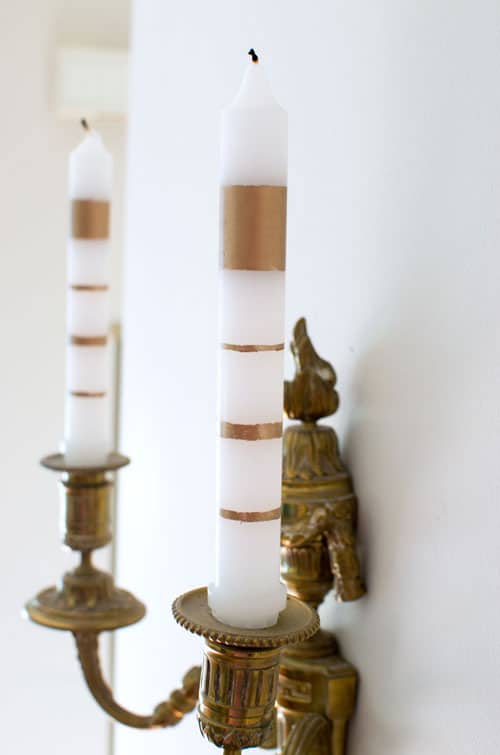
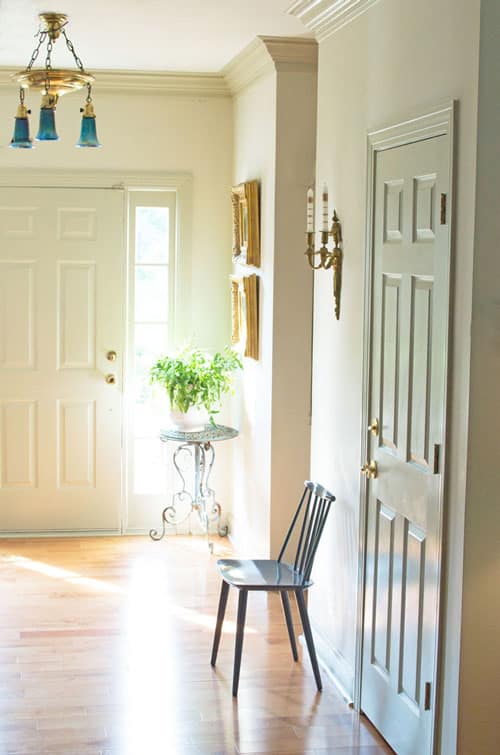
I love how my wall sconce now looks in my foyer. By simply changing out the candlesticks and giving them a little twist of whimsey, the space gets a little bit of edge to soften the formal.
If you have a space that feels overly-formal and stuffy, try this little simple little trick. Adding an unexpected element in your room will create a lighter, more playful side and give balance to the overall scheme.
I hope you enjoyed this little project as much as I did making it. Until next month…



Leave a Reply