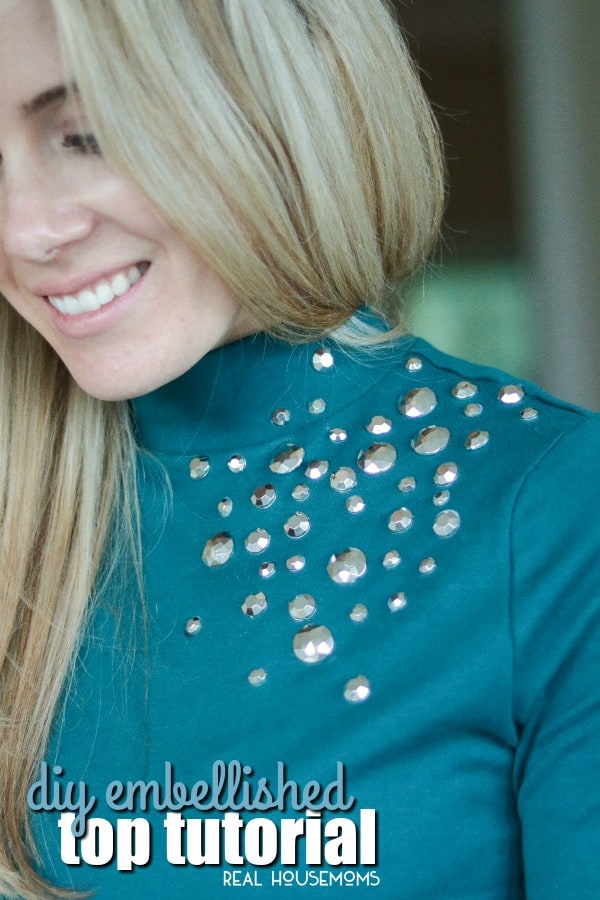
This DIY Embellished Top is an easy way to dress up your favorite top and look stylish for all the holiday party season!
There is something magical about the holiday season that makes regular people embrace red hues, sparkle and good food. Oh, the food… gah, it’s the best and you know what? I can always eat, ha! Unfortunately, yours truly is not um… ahem, the “best chef in the kitchen”. So yeah… this post is not about food, HOWEVER, it’s more of what to wear when you are eating all the yummy Christmas recipes on Real Housemoms and this DIY Embellished Tee will not disappoint!
DIY EMBELLISHED TOP
Like this tutorial? Pin it to your STYLE pinboard!
Follow Real Housemoms on Pinterest
Additionally, there’s a designer that I currently love at the moment that is always pushing the envelope and creates garments that excite the mind – just like food. The design house, Delpozo, plays with structure, color, and is risk-taking – just like all my favorite foods! (Yeah… I know… I need to cool it about the food references). So today, inspired by one of Delpozo’s tops, seen here, I have an easy DIY that will update any garment in your wardrobe with a little high-end flair! Or inspire a trip to your nearest store to pick up a quick tee, supplies, and get your craft on. I love finding reasons to go shopping… ha!
To recreate this DIY Embellished Tee look, you will need the following items:
- Rhinestones
if you still have some left over from these DIY J Crew Inspired Flats then you are already one step ahead! - Jewelry glue
- Item of clothing, ie. tee, high neckline dress
DIRECTIONS
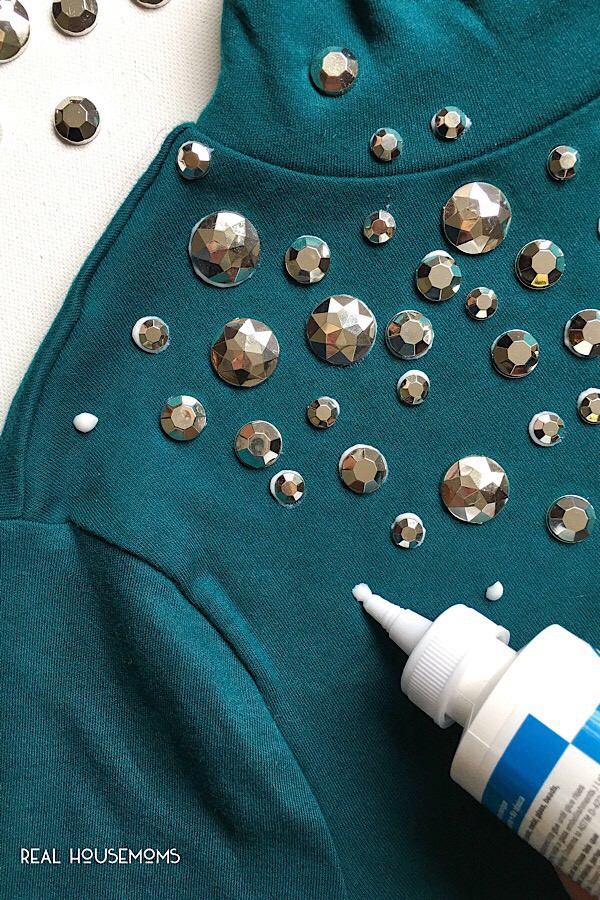
- Gather your supplies and lay your garment.
- Plan out where you want your rhinestones to be placed, I love the asymmetrical, cluttered look of the original embellishment on Delpozo’s tee and that will be a major influence on where I add that detail!
- With a few glue drops before hand, add your rhinestones to your top. Don,t worry if you can see your glue, it will dry clear.
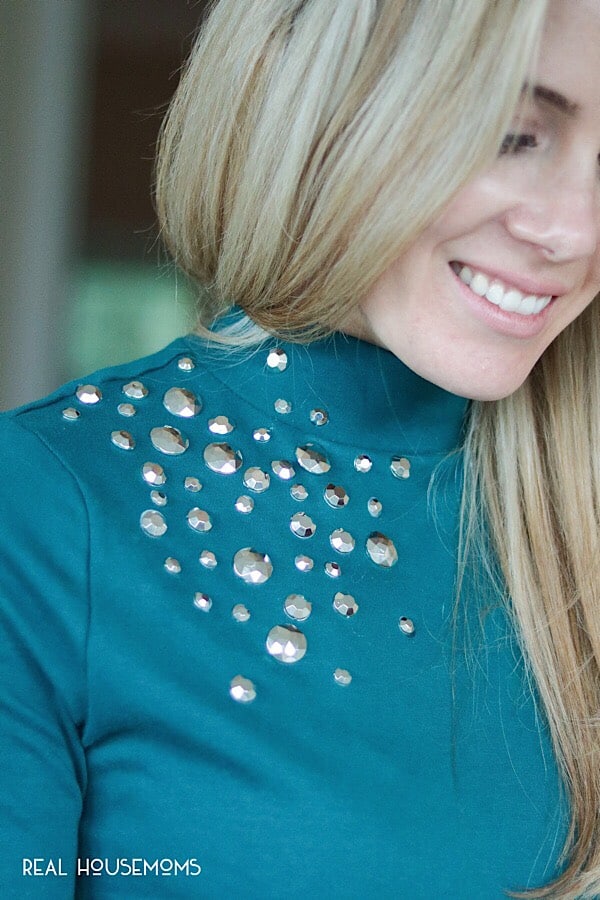
- Once the glue is dry, you can where your top! Ta-Da!
There are a few differences made to my garment compared to the original, the original look uses bent paillette’s and is sewn in place. THIS is definitely an option if you are not afraid of a little sewing. For the purpose of keeping it simple and making life easier, I prefer the gluing technique for today’s post! It’s a great way to add some stress-free, high-end charm to an old or new garment!
As far as washing is concerned, I would wash this inside out, on cold, and layout or hang up to dry. The glue says it is permanent, but I would be slightly hesitant to treat is as your normal garment! Luckily, this washing technique is easy and can be done with a push of a washing machine button these days!
Finally, I hope this post inspired some sparkling ideas that the holiday season requires! Thanks so much for stopping by and have a glamorous day!
xo, Riva


Leave a Reply