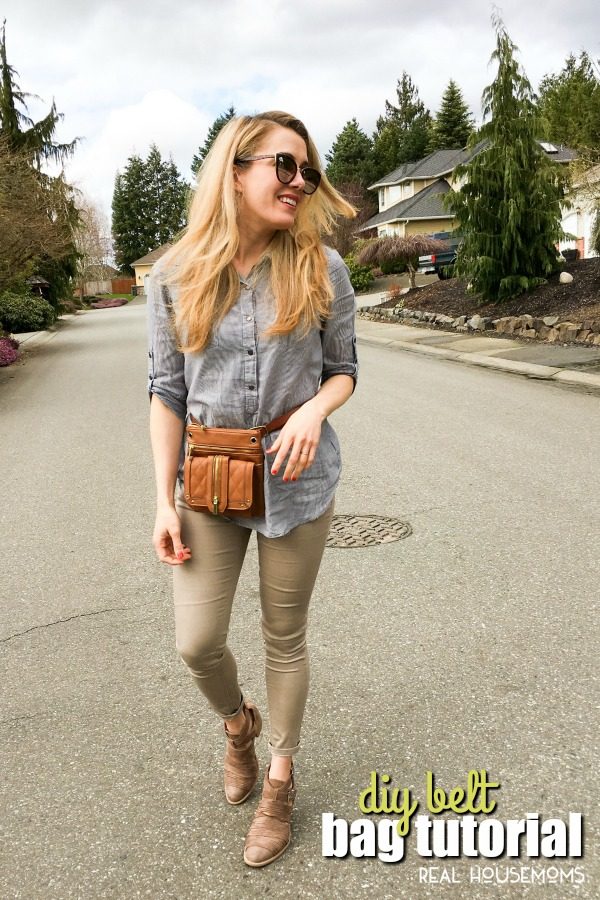
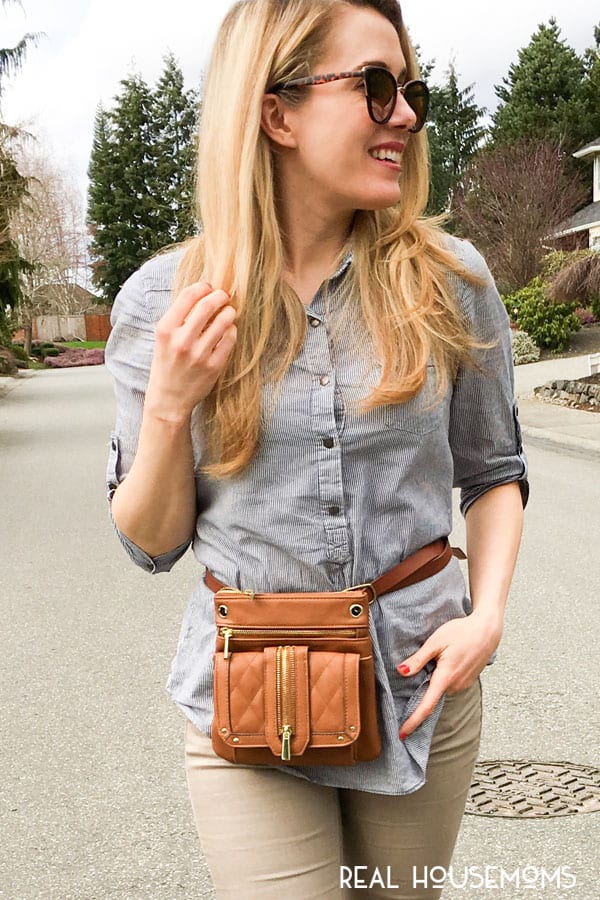
For women on the go, this DIY Belt Bag is so easy to recreate and it’s currently the “it accessory” to own this spring season!
DIY BELT BAG TUTORIAL
Like this recipe? Pin it to your DIY pin board!
Follow Real Housemoms on Pinterest
I have been watching this trend slowing unfold over the last year and a half and I have to admit, I had my doubts. SOOOOO, many doubts. You see, I was that kid in the 90’s rocking the neon, multi-colored fanny pack.
It fit my Walkman and my beloved Paula Abdul and NKOTB cassette tapes perfectly – haha, I was so cool. Not really and for years I vowed I would never wear another one. But after seeing so many chic revivals of this look return, I felt like I could finally get on board as soon at the traditional fanny pack look was out of the picture. No more canvas, no heavy duty buckles, no more neon and endless amounts of zippers. Nowadays, we are seeing purses, chic mini purses and wallets thrown on a belt and somehow, all of a sudden, IT IS SO COOL. Since this is a DIY post, I’m showing you how to recreate your ownwithoutt breaking the bank!
This post contains affiliate links. If you make a purchase, we receive a small commission at no additional cost to you.
Here’s what you need for this DIY Belt Bag Tutorial:
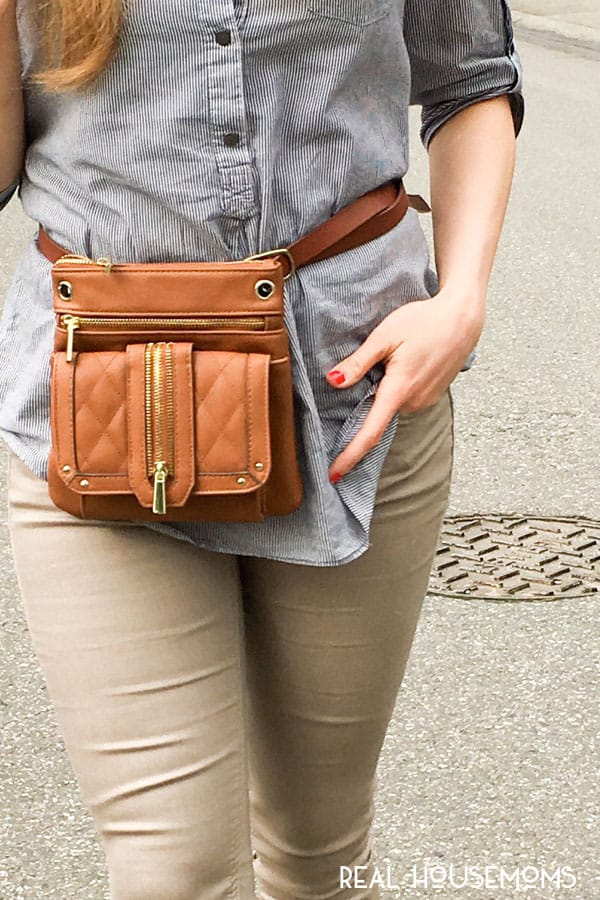
- Small Purse, (don’t be afraid to place it on your waist – making sure it covers ¼ of your front waist. We want it cool, not over done or oversized)
- Matching belt
- Metal eyelets and kit from the sewing notions wall at your craft store,
- D-Rings
- Scissors
- Liquid fray-check
- (2) Heavy duty pliers
- Marking tool
Directions:
- Look at your purse for a long time. Remove the purse strap from your small bag and unnecessary hardware that you will not be needed for the belt.
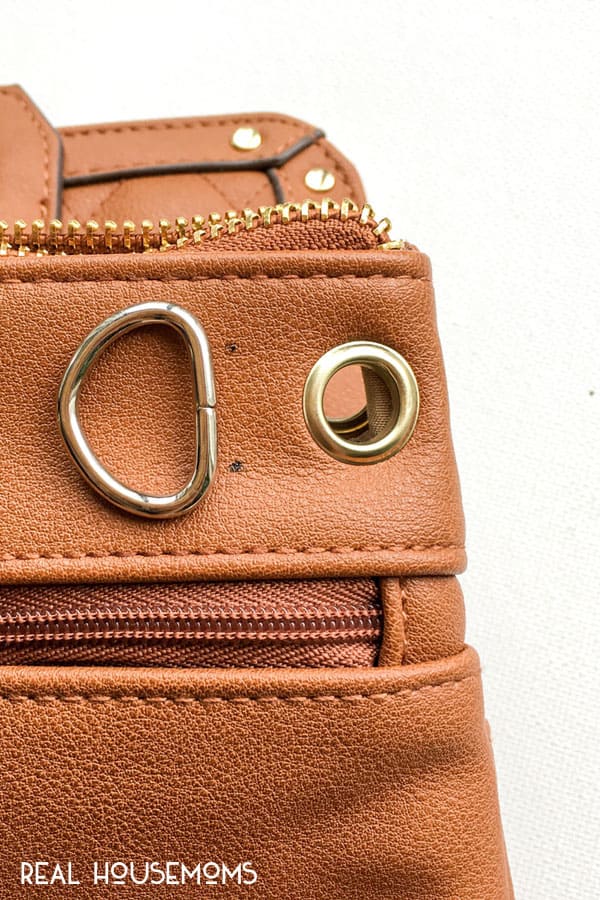
- On the back of your purse, decide on the best place your D-Rings could attach so the purse can easily hang from the belt. Mark the placement for your D-Rings on the bag.
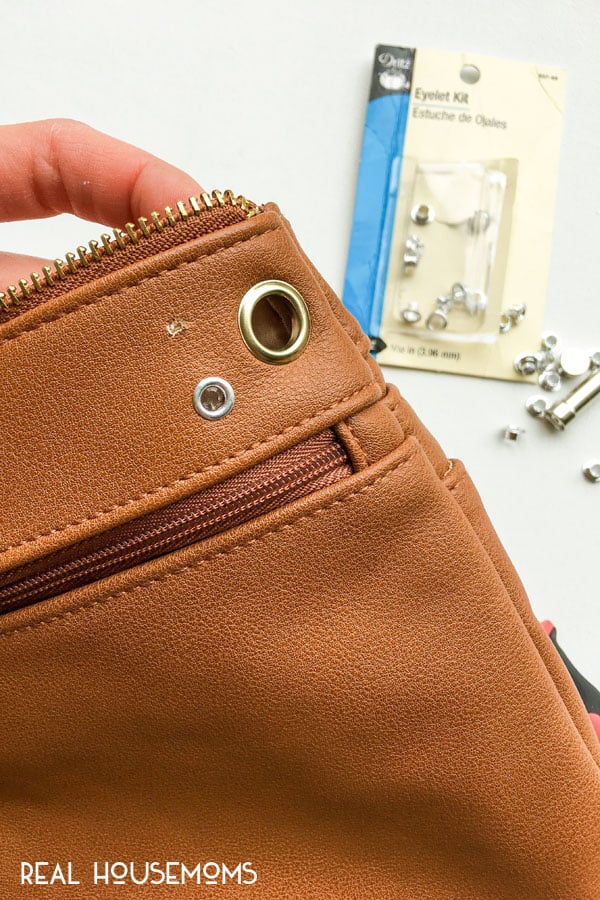
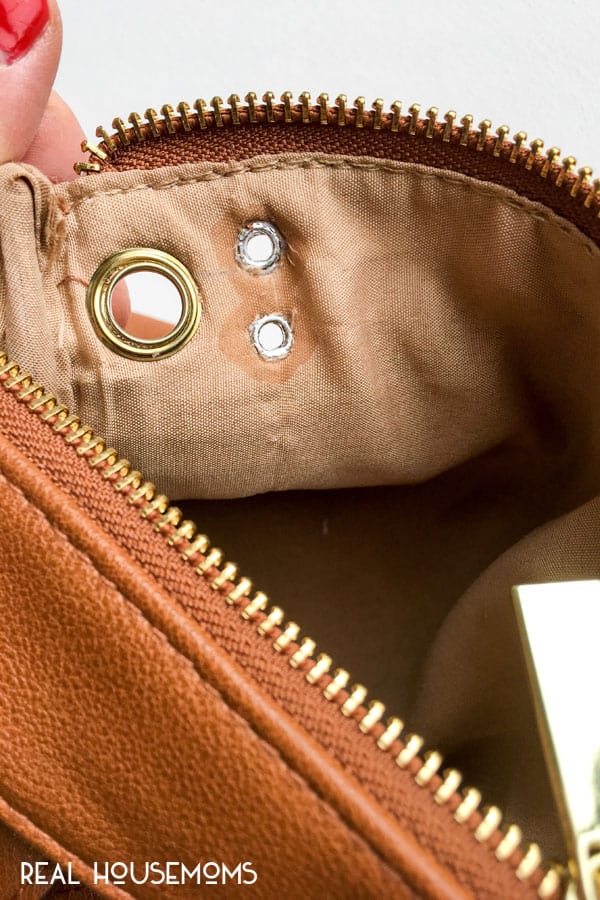
- With scissors, cut a small hole that’s barely big enough for your metal eyelet to fit through – two holes for each D-Ring.
- Using the package directions from your metal eyelets, hammer the eyelets in place. I chose to fit the eyelets to fit through the outside of the bag because I could never get a clean look on the inside through all the layers, as seen below.
- To prevent the woven lining fabric of my bag from fraying, I dabbed a little fray-check to secure the lining around those new holes, doing so provided it with some stability through the wear and tear of the garment.
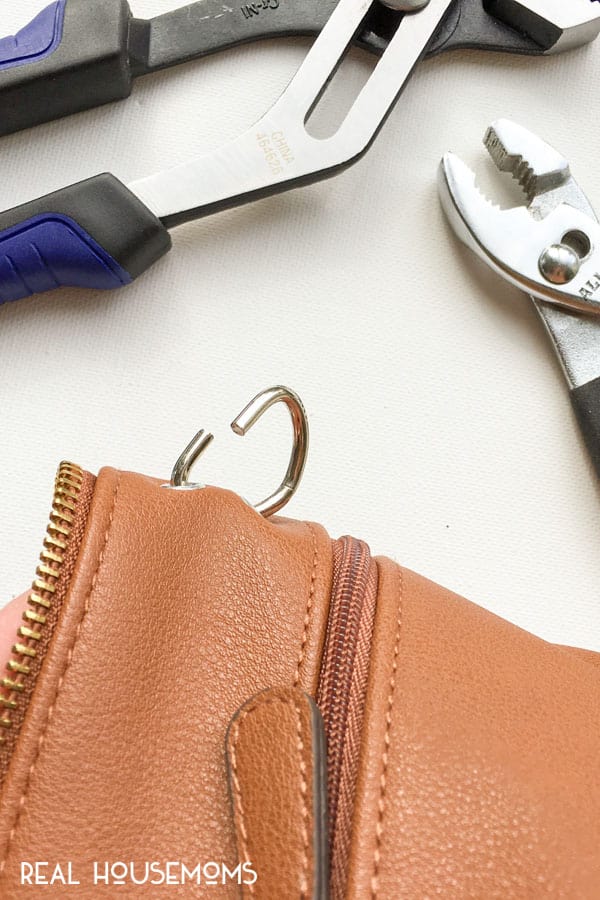
- Once all the D-rings are marked and in place. I will attach the actual D-RING next! These rings are quite hard to move and open up a little – mainly because they are not made to pull apart. I needed 2 heavy duty pliers (wrenches?) to make this work. Once attached, repeat with the remainder of the d-rings needed.
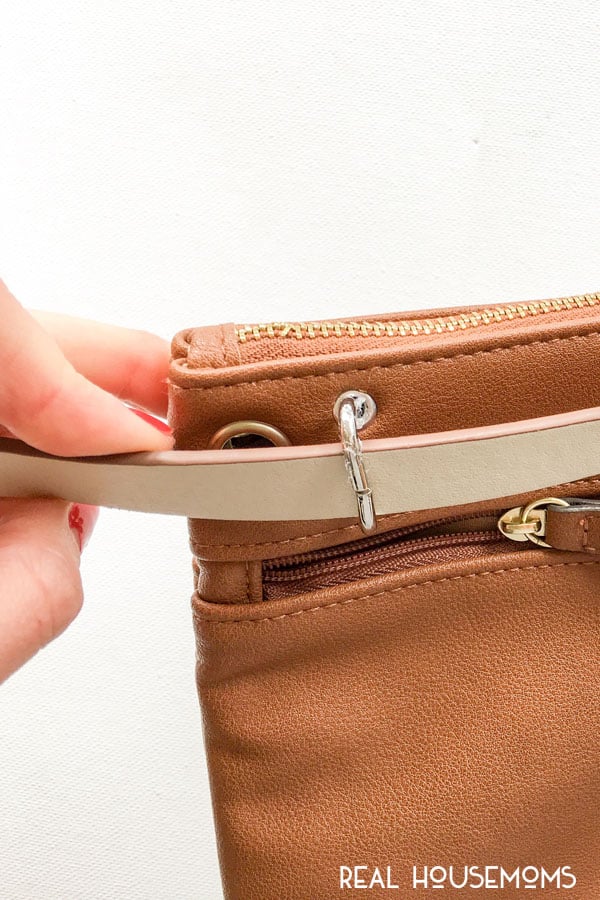
- After that, thread your new belt through the D-rings, throw your new accessory around your waist, and go have an adventure… in STYLE!
Trying to come up with this tutorial was not as easy as I have hoped, but in the end, I think this DIY Belt Bag Tutorial came out pretty good. Initially, as I planned for this topic, I thought I would use the strongest glue on the planet. But, glue never worked and making slits in your bag with scissors to feed a belt through jeopardizes the stability of the purse fabric. I feel like the D-Rings and metal eyelets were the best way to stabilize the alterations made and stabilize the integrity of the purse. AND of course, proving to not interefer a woman on her many adventures, whether it’s dropping kids to and from school, conquering the work day and commute, or vacationing in a far away land with your most important documents fashionably on your body at all times.
Thanks for stopping by and have a glamorous day!



Leave a Reply