The other day I went into Target to pick up one thing, a shirt. I had been giving myself a pep talk all morning long, I will only get a shirt, I will only get a shirt, I will NOT get a shopping cart. Well, I’ll be honest, I was nervous. I didn’t have any kids with me to rush me along and it was my birthday! I wanted to be good though. So I walked into the store and didn’t get a shopping cart. I started to head straight back toward the clothes when I saw some Spring items over in that darn dollar section!!!! I thought to myself, I really haven’t done any decorating yet and it is only a dollar. Well, I found some things, more things than I could carry, so I back tracked and got a shopping cart and then before I knew it, I had a cart full of dollar items. Well……. there’s always next time. 🙂
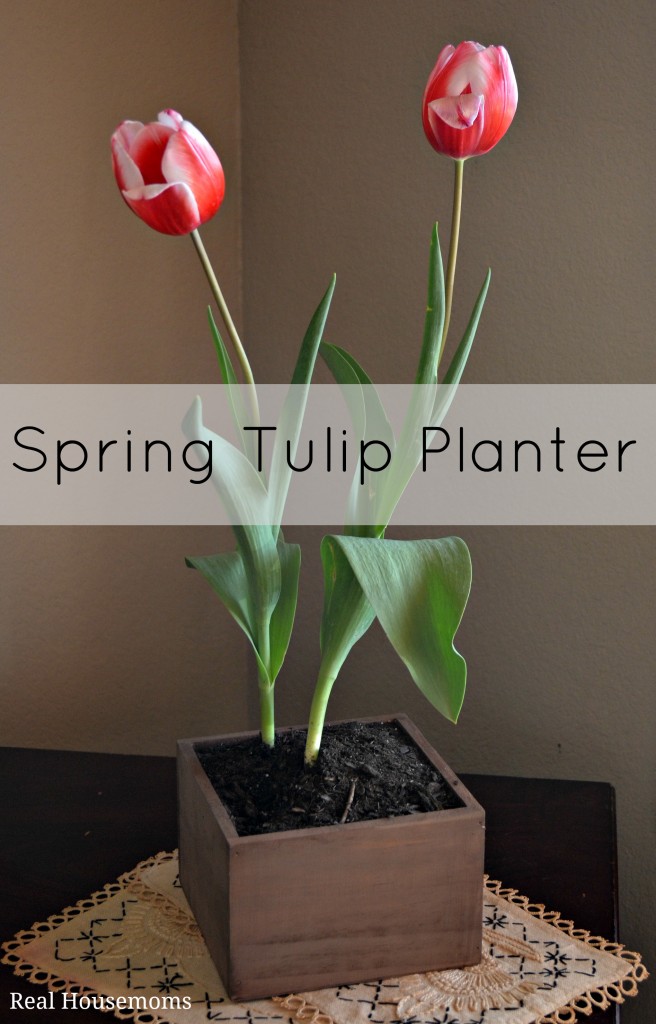
I don’t know about you but I get a lot of inspiration in Target’s dollar section. Like these Spring Tulip Planters. I found these unfinished wooden boxes in the dollar section that day and I’ve had so many ideas for them ever since. I actually ran out of the boxes and now want to return for more but I’m afraid I’ll come out with more than just the boxes. My first idea, and I still may do it later……. was to use an oxidation stain on the wood to age it and then put a Styrofoam cube in and cover with fake green moss (also bought from the dollar section at Target) then place fake tulips or other spring flowers in the boxes. I still like that idea but today I was at the hardware store getting herbs for my OTHER box idea when Vaughn (my youngest little monkey) saw these beautiful tulips and really wanted me to get them and they were on sale so I had to get them, right?
Let me pause here and let you know that I know nothing about growing Tulips. I planted my first real garden last year and it’s all vegetables and herbs so if you are looking for tulip growing advice you may want to pop on over to Pinterest. This post is about creating a pretty box for my tulips to sit in. You can really use this box for so many things and I have another post coming soon with more ideas for this box that I think you’ll love, I do. So, let’s just get started. 🙂
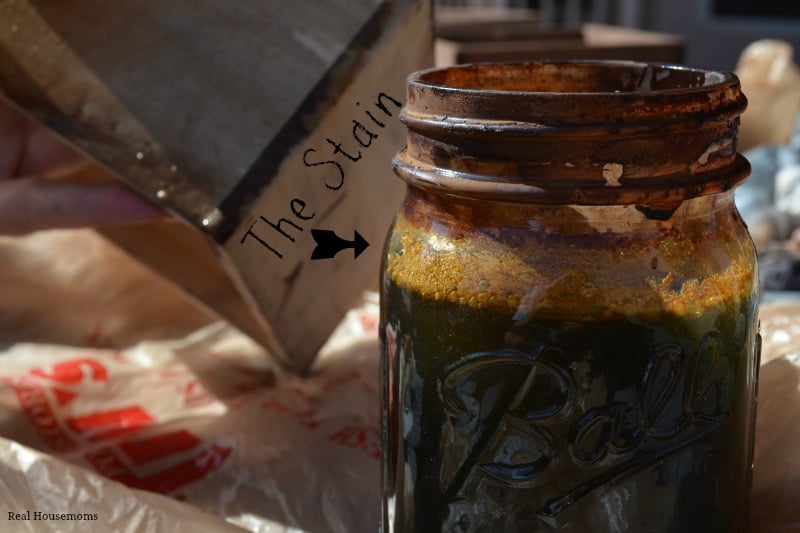
I’ve been seeing all kinds of different posts on Pinterest showing how to stain wood so that it looks old and weathered. This one looked the most promising so I decided to give it a test and I was so happy with the results. You can click over and take a look at the time lapse photos that she took. It is very easy to make the stain. You will want to get #0000 Steel Wool (found in the paint section) and tear up a hunk of it and place in a glass jar, then fill the jar with white vinegar, let it sit for a few days while the steel wool oxidizes (rusts) and dissolves. Just take a look and shake it up every once in awhile.
Once your stain is ready you’ll steep some STRONG black tea. I put four tea bags into a bowl and poured the boiling water on top and let it sit for at least five minutes. This is supposed to help develop the color of the stain. I did a test of the stain without the tea and with it and I liked the color better with the tea. It had a deeper color and had less of an orange undertone.
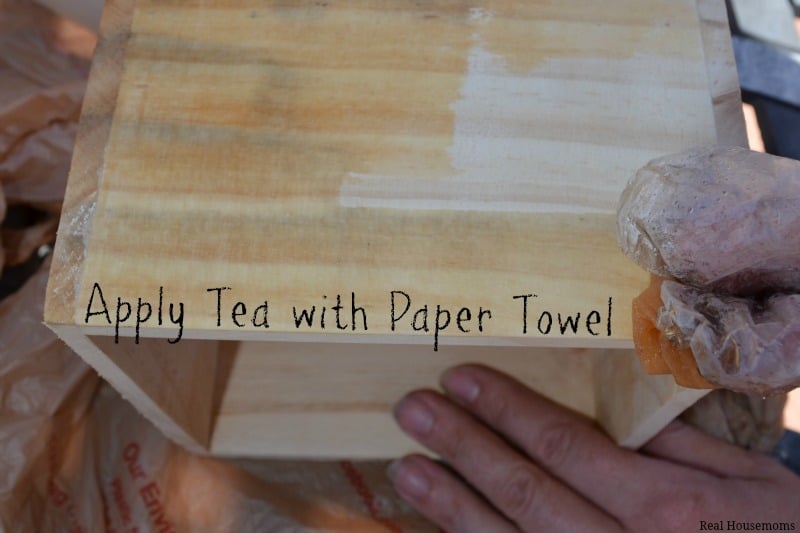
I applied a single coat of the tea to my box, inside and out as well as the bottom, using a paper towel. You won’t really see a big color difference as it dries but don’t worry. The tea is adding tannins to the wood that will help to develop a great color later. Once you’ve applied the tea everywhere let it dry completely. I did this on a sunny day outside and it dried really fast.
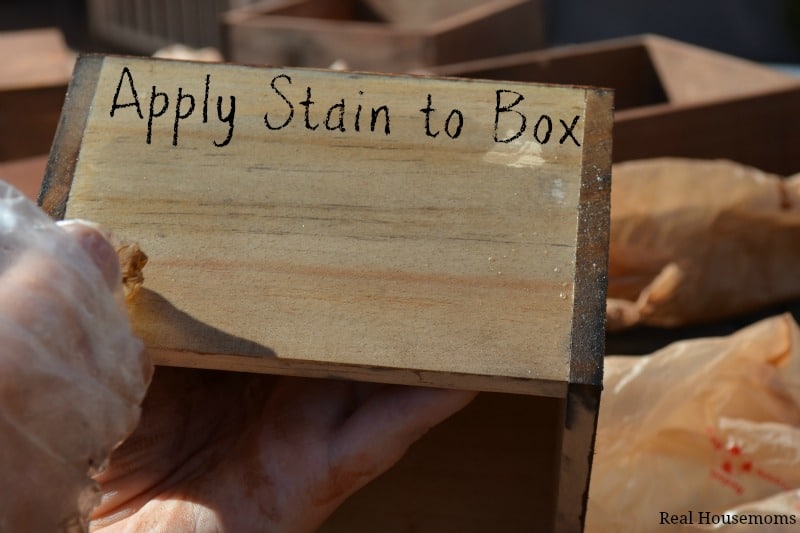
Once the tea is completely dry you’ll apply the stain. I used a paper towel for this also. I HIGHLY recommend wearing latex gloves for this. I used simple plastic gloves and it went right through and stained my fingernails! You don’t need to apply a lot of the stain. Make sure that the wood is absorbing the amount you are applying and it’s not running or bubbling anywhere. If you look at the picture above it looks very light. Don’t worry, this is normal. Within minutes you’ll see a dark color start to develop right before your eyes! I found it was easiest to do the outsides and the bottom, then once those had dried, flip and do the inside also.
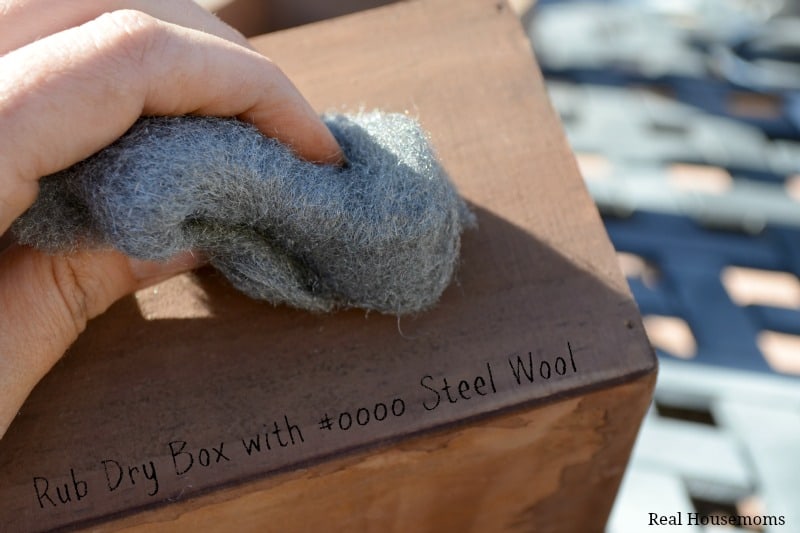
Once the wood is dry I rubbed it with a new piece of the #0000 Steel Wool. This really just evened out the color. Be sure to be outside for this. I had a lot of steel glitter all over the place when I was done. 🙂
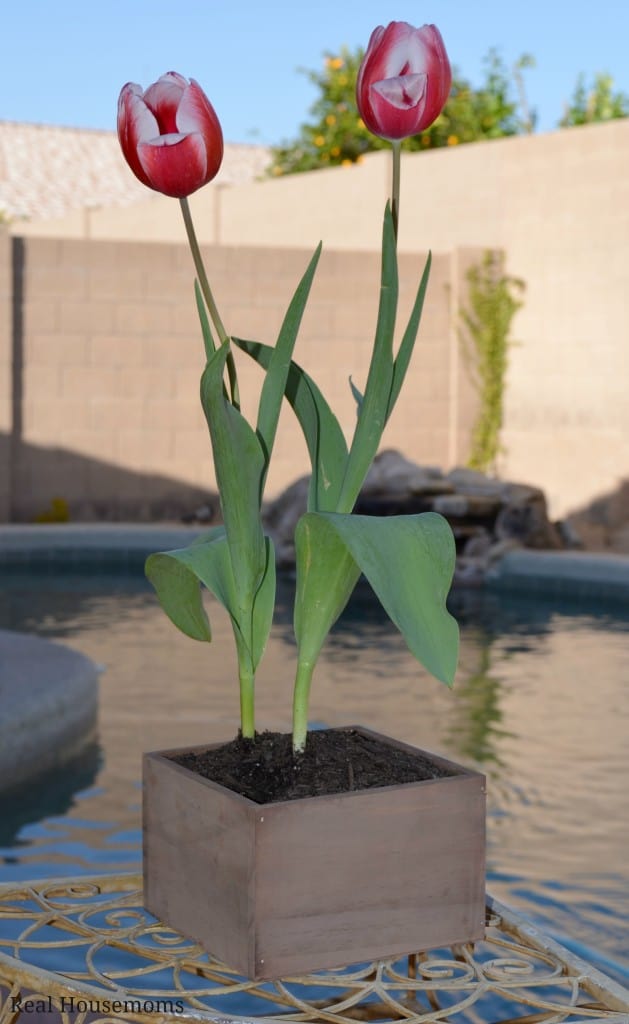
Now your box is done! I cut a piece of a Styrofoam plate and put it on the inside bottom of my box in case of water leakage. I probably should have put some gravel in the bottom and then my potting soil but live and learn, right? I planted my tulips and then found a place for them. They like full sun for at least six hours a day so you may want to put them in a window in the kitchen. I have an idea for mine that I’ll be sharing later with you all. So, this is one of my simple Target dollar section projects and I’m super happy with it. What inspiration have you gotten from the dollar section?



Rita says
This is beautiful! I love tulips.
Aubrey says
Thanks Rita! I love them too. They are just so simple and beautiful. 🙂
Diana Rambles says
Pretty! Looking forward to spring!!