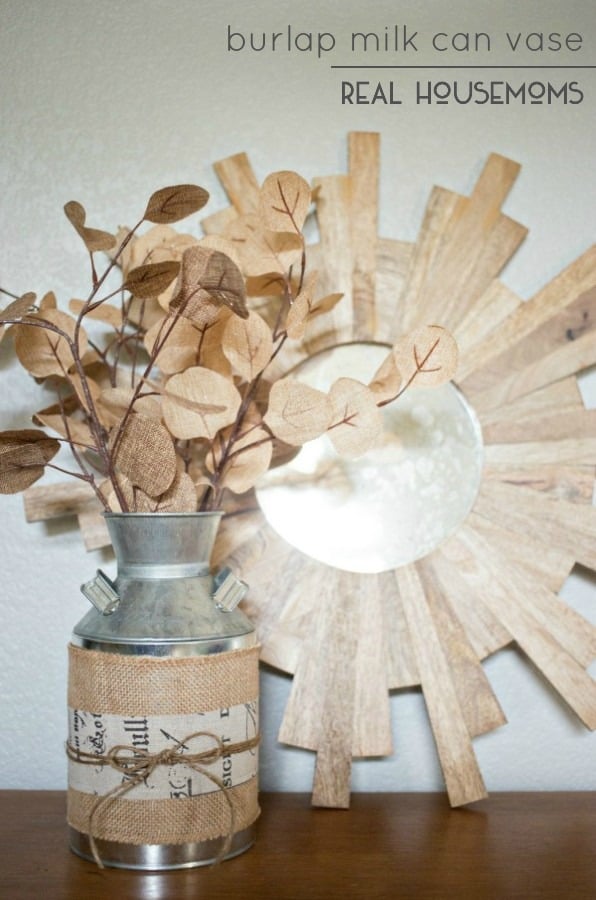
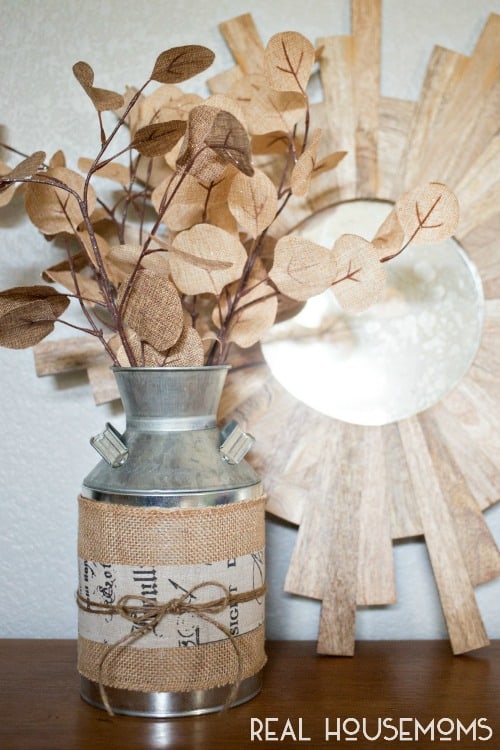
I love summer crafting. If I’m not whipping up something in shades of red, white, and blue, then chances are I’m working with seashells or burlap! For some reason I just love those rustic neutrals for summer crafts. And today is no exception – I’m going to share with you an easy way you can update tin cans, paint cans or a cute galvanized milk can like I did here with this Burlap Milk Can Vase!
I love the contrast of the galvanized steel and burlap, don’t you? That’s why this sweet technique can really be used with a number of different “tin” options. I just happened to come across this galvanized milk can at Michaels and just fell in love! But can you picture a little tin can, wrapped in burlap, holding a sweet little succulent? Yah, me too. Maybe that’s next on my list! I also found this sweet burlap ribbon that came with a strip of cute fabric right on top. That adds layers and interest to your project instantly! I saw so many options, they can really change up the look of your craft! Now let’s get to it…
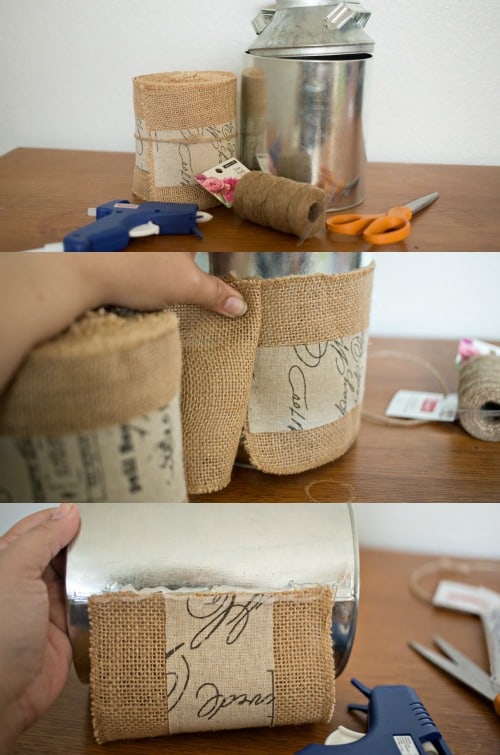
Here’s what you’ll need:
- Galvanized milk can (or paint can, tin can)
- Burlap “ribbon”
- Jute twine
- Glue gun/glue
- Scissors
And the steps:
- Start by measuring just how much burlap ribbon you’ll need to go around the can.
- Once you’ve measured that, simply cut the burlap where you’ve indicated.
- Then using your hot glue gun, run a strip of glue down the seam of your can, covering the glue with one end of your burlap ribbon.
- Add another line of hot glue on top of the burlap that was glued down AND another line on the tin can right next to it.
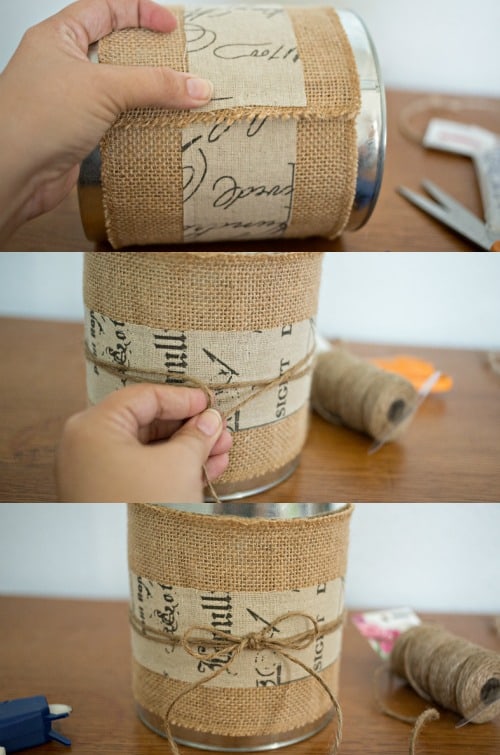
- Then tack down the other end of the burlap on top of the glue, adding more glue to hold it down as needed.
- Lastly, tie a length of jute twine around the can on top of your burlap ribbon – in a cute little bow if you’d like.
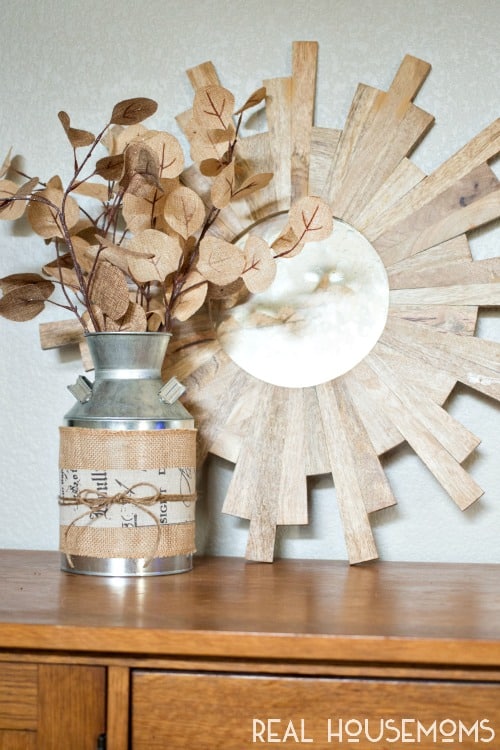
And there you have it – an adorable and easy Burlap Milk Can Vase made in just minutes that you can add to your summer decor. Now THAT is my kind of project!
Add in any kind of flowers or stems you’d like – it really will go with ANYTHING!
If you enjoyed this quick and easy craft, be sure to head over to A Night Owl for more! Say hi if you drop by!


Leave a Reply