Need a super simple personalized gift idea? Or are you looking to practice your sweet zipper skills? Welp, here ya go, an answer to both. A simple two toned folded clutch. Let’s do this.
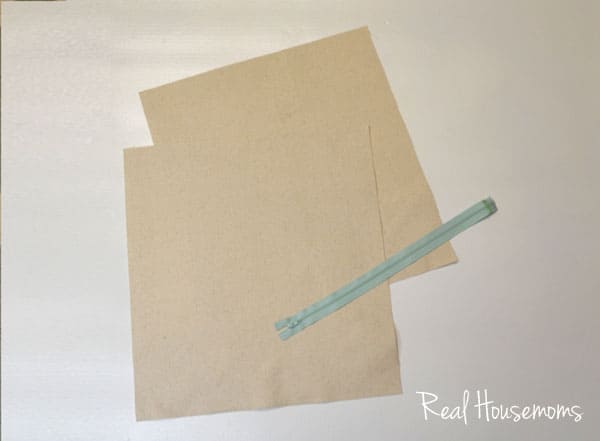
This clutch is unlined so you will only need two pieces of fabric and a zipper. I used two pieces of 15″ x 16″ natural canvas and a 15″ zipper. Make sure your zipper is the same length as your fabric. You can easily change the dimensions and create a smaller zippered pouch to toss into your purse.
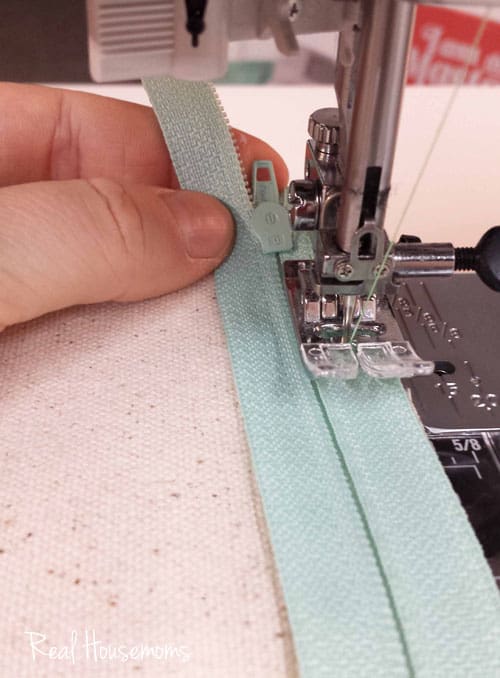
With your fabric right side up, lay your zipper face down on the fabric.
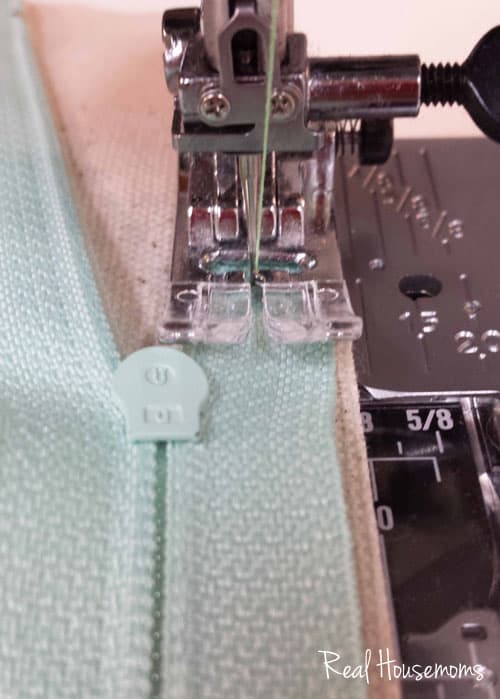
I didn’t use a zipper foot for this. Most machines come with a zipper foot, so, if you bought your machine recently, that foot should be included if you want to use it, but it’s totally not necessary.
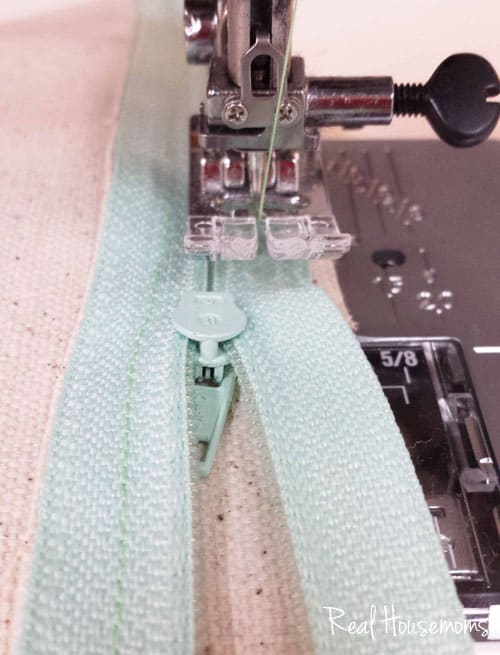
Unzip the zipper just a tad and run a stitch down the edge, joining the zipper to the fabric. Be careful not to sew over the metal teeth in the zipper, this could break your needle and send it flying towards your face. True story. Totally happened to me.
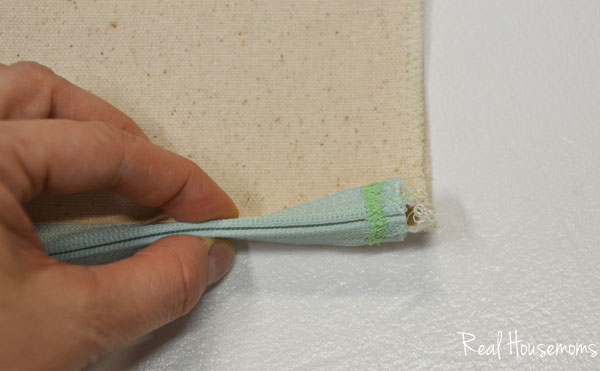
When you get to the zipper handle, with the needle down, raise the presser foot and slide the zip past your sewing foot. Lower presser foot and sew to the end of the zipper and lock the stitch.
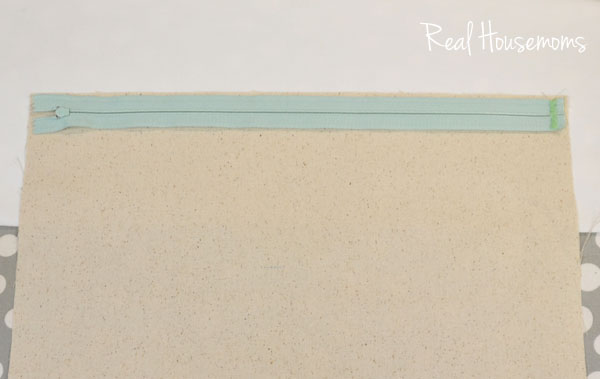
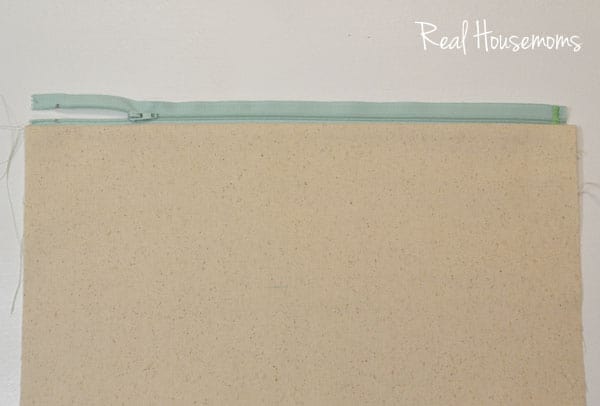
When you turn the piece over, this is what it should look like.
Repeat the process with the other side of the zipper.
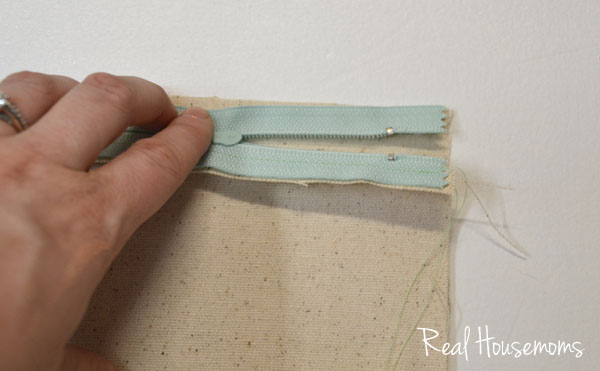
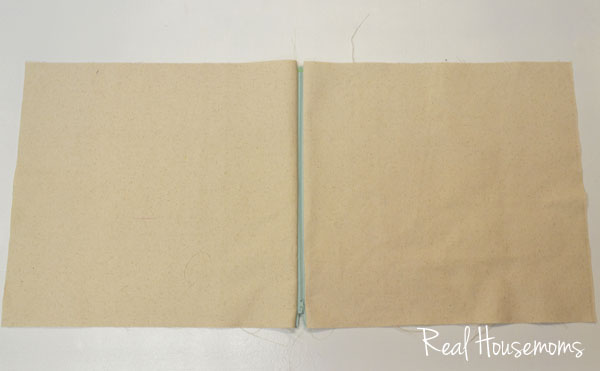
Place the zipper face down on the other piece of fabric and stitch all the way down.
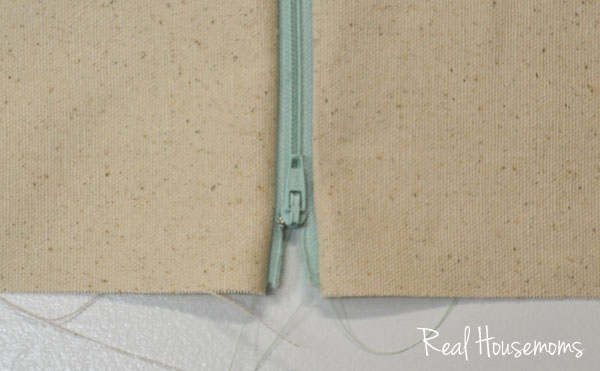
This is what you will end up with.
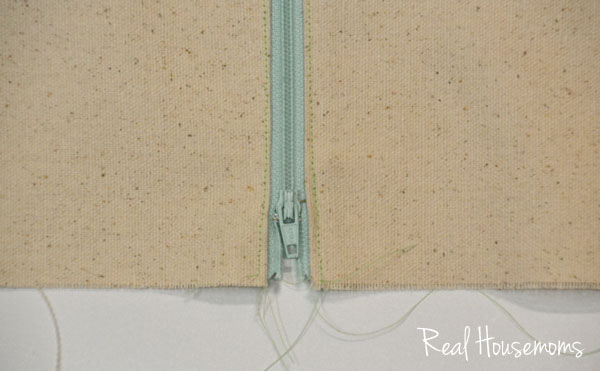
Whip out your iron and press. If you are using a zipper with plastic teeth, this isn’t the time to lollygag. That ish will melt if you let your iron hang out on there for too long.
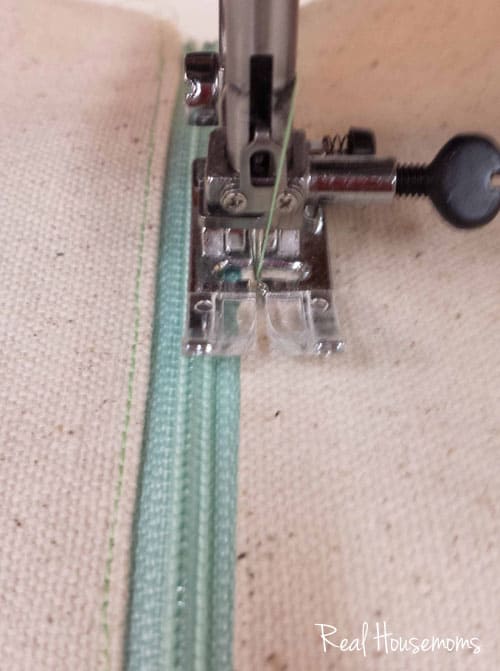
Next, run a top stitch along each side of the zipper. This will give it a nice finished look. When you get towards the end with the zipper, you will need to bypass it once again by leaving your needle in the down position, raising your presser foot and unzipping the zipper to bypass the foot.
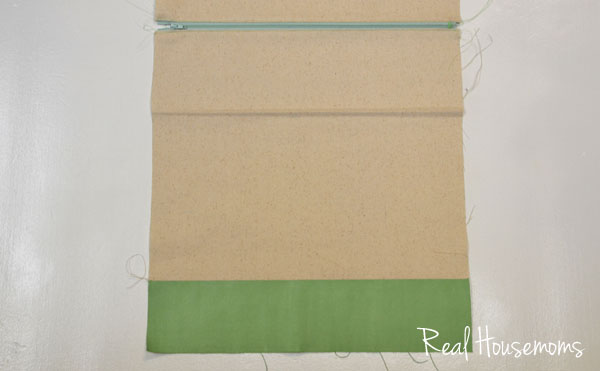
This is what you will end up with.
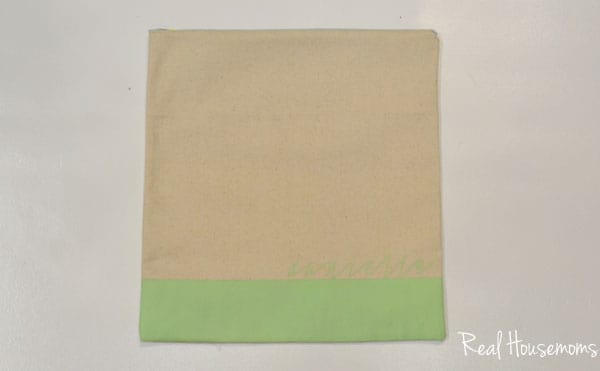
This is the point where you can get cray and do some personalizing. I taped off a section of the bottom and painted it with some fabric paint I had in my stash.
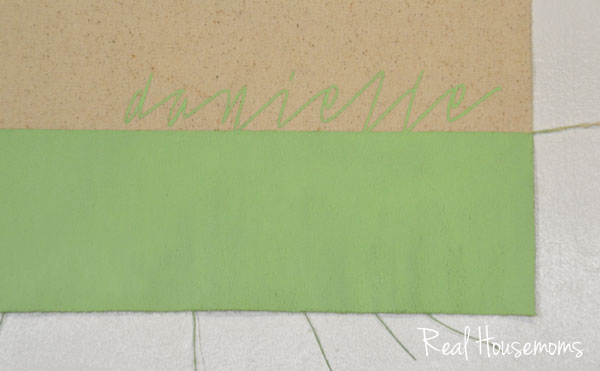
Once that was dry, I used my Silhouette Cameo to cut out a vinyl stencil to add my friend’s name to it. The font is Tamoro Script.
Once all the paint was totally, completely dry, I covered it with a pressing cloth (aka an old white pillow case) and used a dry iron to heat set the paint. I also used my serger to clean up the sides, but that’s totally optional.
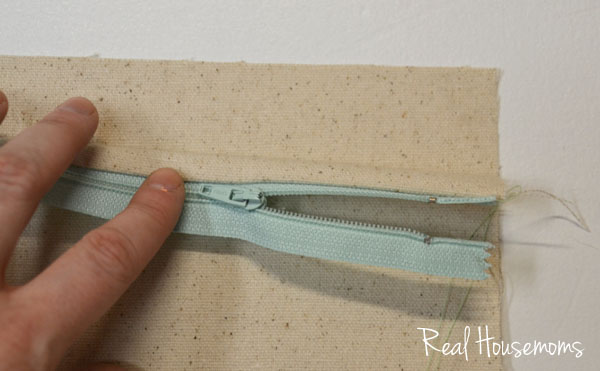
This part is important: Unzip your zipper about halfway. You will need a place to turn the clutch right side out so you’ll want to leave an opening in the top. With right sides together, and zipper halfway open, run a stitch all the way around the clutch.
Start at the top at one end of the zipper. The keep the zipper from looking all wonky on your finished clutch, make sure the zipper teeth are facing away from your fabric. Just give it a pinch, so that the teeth are facing out and then start running your stitch around the edge. When you get all the way around back up to the other side of the zipper, give it another pinch and make sure the teeth are facing out.
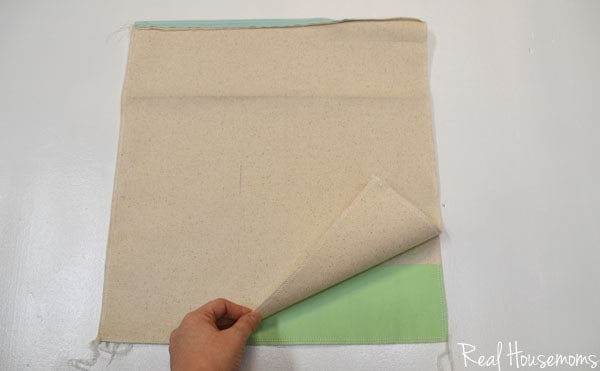
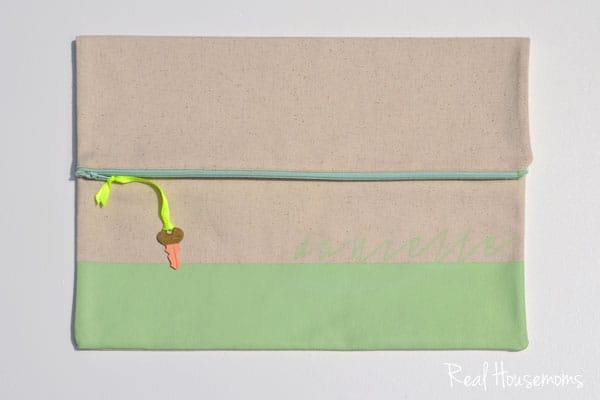
Boom. Turn right side out and you’re good to go. Making this a fold over clutch is super duper tricky, ya ready?
Fold it over. Press it.
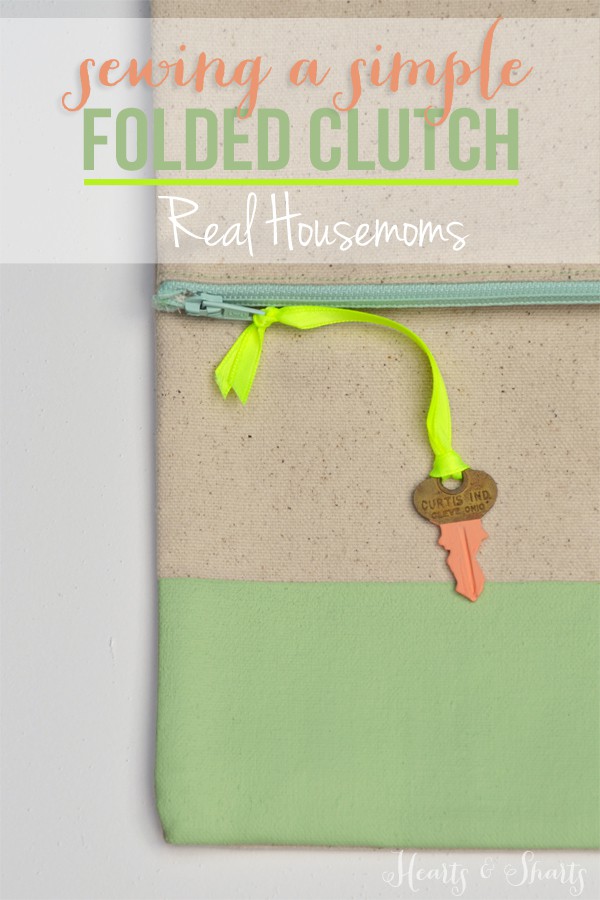
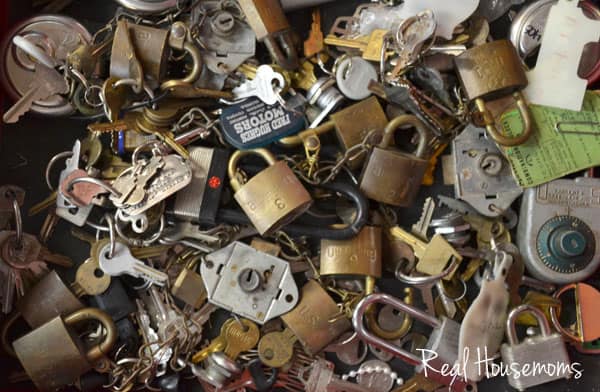
Since this was a gift for my friend Danielle, I thought I would add a little pop of color. I dug through my collection of old locks and keys (yes, that’s real. and yes, I have a problem)…
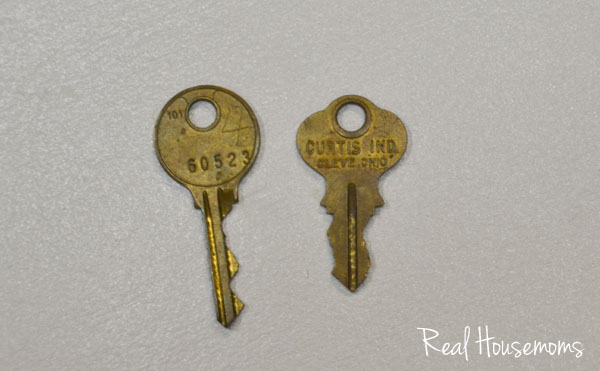
… found a couple that I liked…
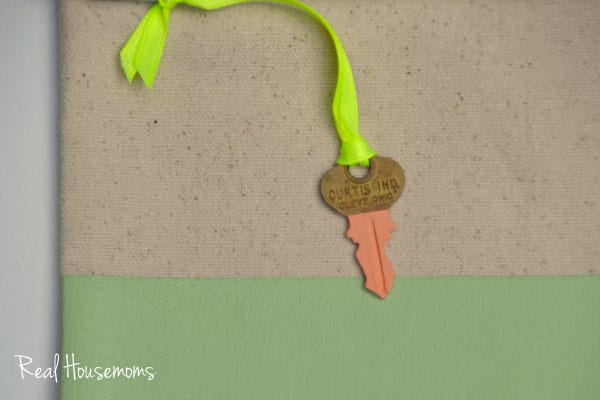
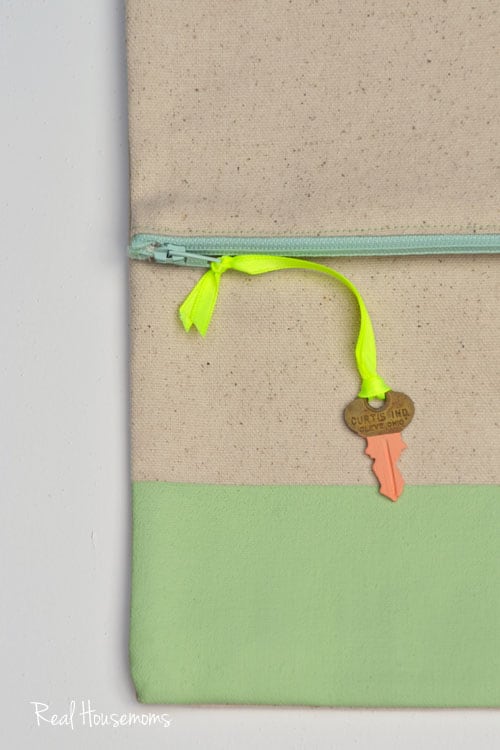
…and dipped them in a pink paint and hung them over my workbench to dry. I ended up just using one of them, two just looked like too much. Then I grabbed some neon yellow ribbon and tied it to the zipper to make a little zipper charm.


Christine says
I absolutely want to make one too!! Thanks so much for the tutorial and for sharing it at From Dream To Reality. It was a pleasure featuring it this week. 🙂
Ginnie says
This is so cool, and I absolutely love the key you added! Very jealous of your collection, too;)
Stephanie @ Mommyzoid says
LOVE this look! I pinned it to my DIY pinterest board. I really want to make a bunch of bags like this for organizing inside my diaper bag. Great post!! I found you on The DIY Dreamers features from last weeks link up 🙂
Stephanie @ Mommyzoid
Barbara Rucker says
What a great idea for sewing. I’m doing this for my brother tomorrow.
Julie says
Lovely bag, lovely instructions and I LOVE that little yellow ribbon just to finish it off. IT’s the perfect finishing touch.