Add some festive character and color to your holiday table with our DIY SIMPLE EASTER PLACECARD IDEA!
Easter just might be my favorite holiday which is, in part, to the fact that it unofficially kicks off Spring for me. About this time every year, I get really excited to bring Spring colors into our house. Traditional Easter decor, with all the pastels and bunny figurines, however, just doesn’t quite fit our style. We like to go a bit more modern and simple. That’s why I love this place card idea. Festive and fun (for both kids and adults), but simple and minimal.
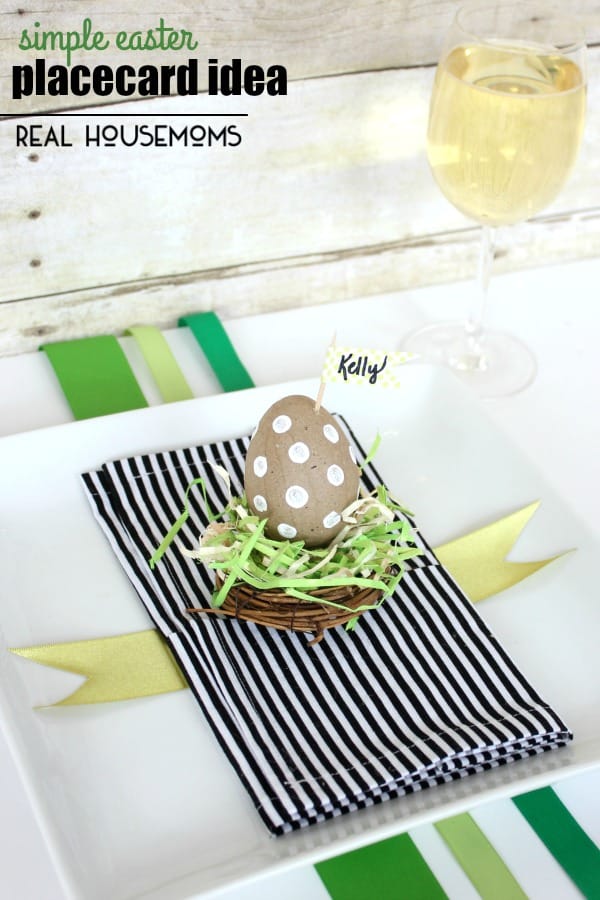
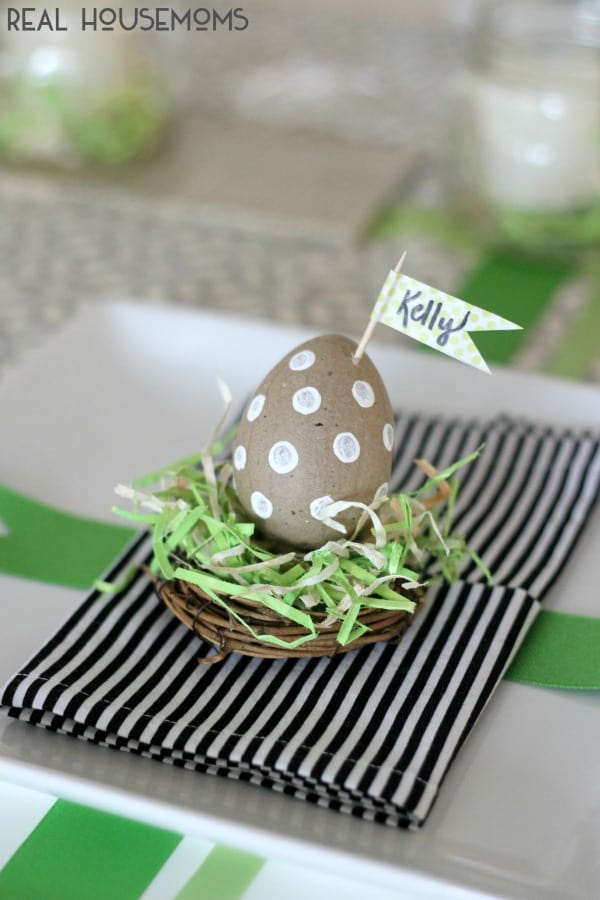
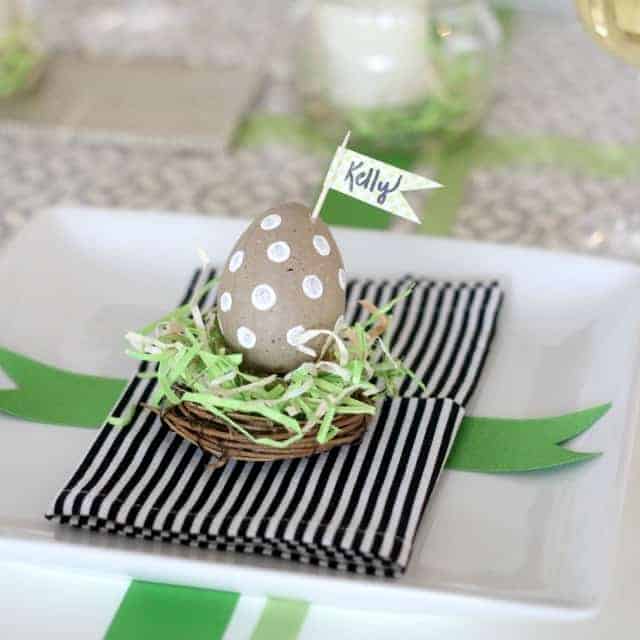
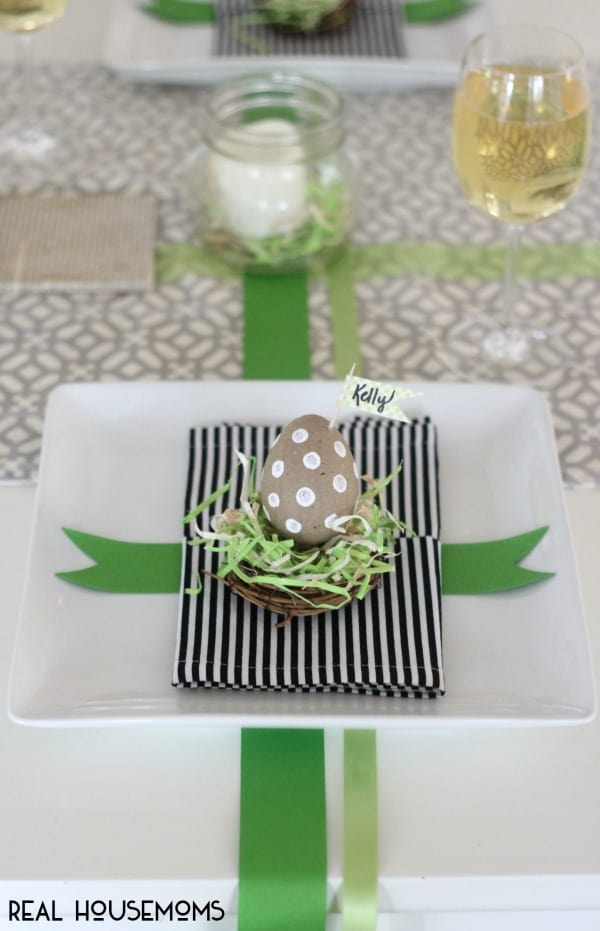
A little nest and an egg displaying each guest’s name:
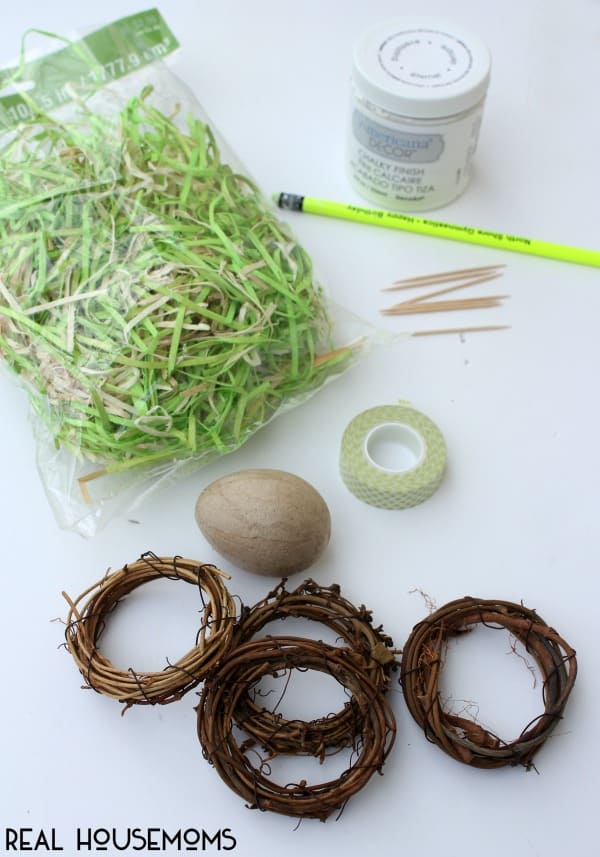
You really don’t need many supplies to make these. A quick trip to the craft store, and less than $10 and you should be set! Here’s what you’ll need:
SUPPLIES:
- Mini Grapevine Wreaths (find these at most craft stores … 6 for <$3)
- Paper Mache Easter Eggs (also at craft stores)
- Easter Grass; I choose a package with a mix of greens and natural)
- Washi Tape and a permanent marker (not pictured) to write names
- Toothpicks
- White Craft Paint (or chalk paint) and pencil with brand new eraser for stenciling polka dots on eggs (you could also choose to skip the dots and this becomes even easier!)
And when you get home from the craft store, the assembly is fast and easy (especially if you skip the polka dots and go for a plain egg):
ASSEMBLING THE PLACE CARDS:
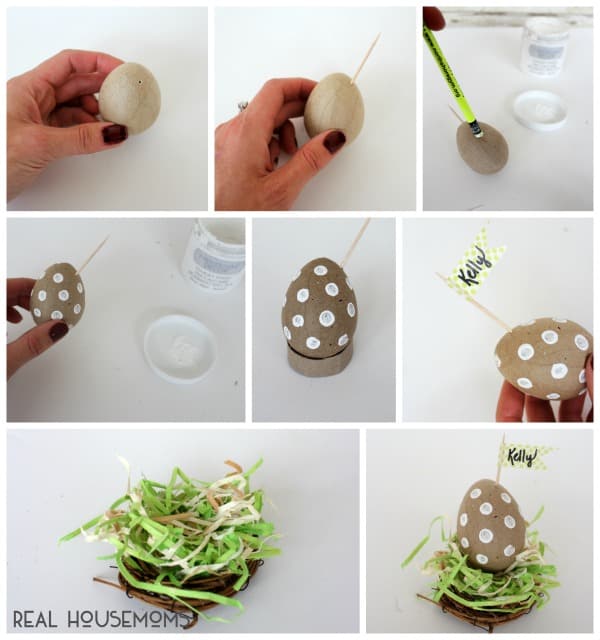
- First, punch a tiny hole in your egg near the top using a pin, thick needle, or even a nail. The hole should be just big enough to allow a toothpick to fit inside snuggly.
- Next, insert your toothpick.
- If you choose, stencil your polka dots onto your egg: Dip the eraser of the pencil into a bit of white paint (just enough to cover the surface of the eraser entirely). Dap onto the egg. Repeat for as many dots as you prefer!
- Allow paint dots to dry. I found the best way to do this was to cut the end off an empty toilet paper roll and set egg inside to dry (see center picture above).
- Next, cut a piece of washi tape and loop around the end of a toothpick. Cut a ‘banner’ design on the end and write the name using a marker.
- Next, grab a handful of Easter grass and set onto wreath as shown. Press the middle down to form a slight ‘cup’ for the egg to sit in.
- Finally, place your egg on top of the grass and set in place on the table!
That’s it. Simple, modern, and festive.
I’m loving green this season (if you couldn’t tell), and I think it looks great with pops black against crisp white. We made these fabric napkins last Fall, which work perfect for this Easter table. You can find the tutorial HERE.
And … if you’re looking for an idea for an Easter Kids Table, check out this kid-proof idea (complete with bunny napkin rings, table entertainment, and favors):
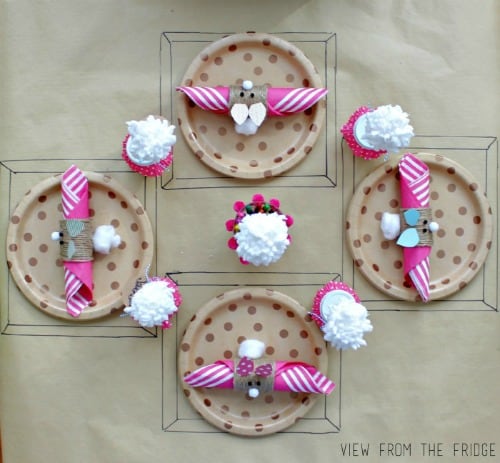
Kids Easter Tablesetting Idea


Leave a Reply