


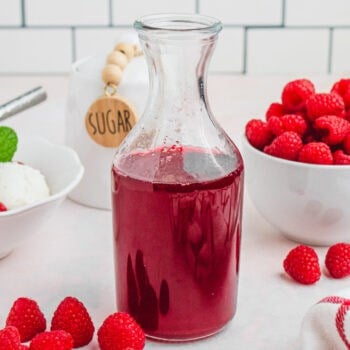
Homemade raspberry syrup is an easy, all-natural recipe with fresh berry flavor that’s perfect for drinks, breakfast favorites, and desserts.
This syrup recipe is one I keep coming back to because it tastes fresher and more natural than anything from the store. I’ve tested it enough to know that a quick simmer, a good strain, and a splash of vanilla make all the difference in getting a syrup that’s smooth, fruity, and good on just about everything.
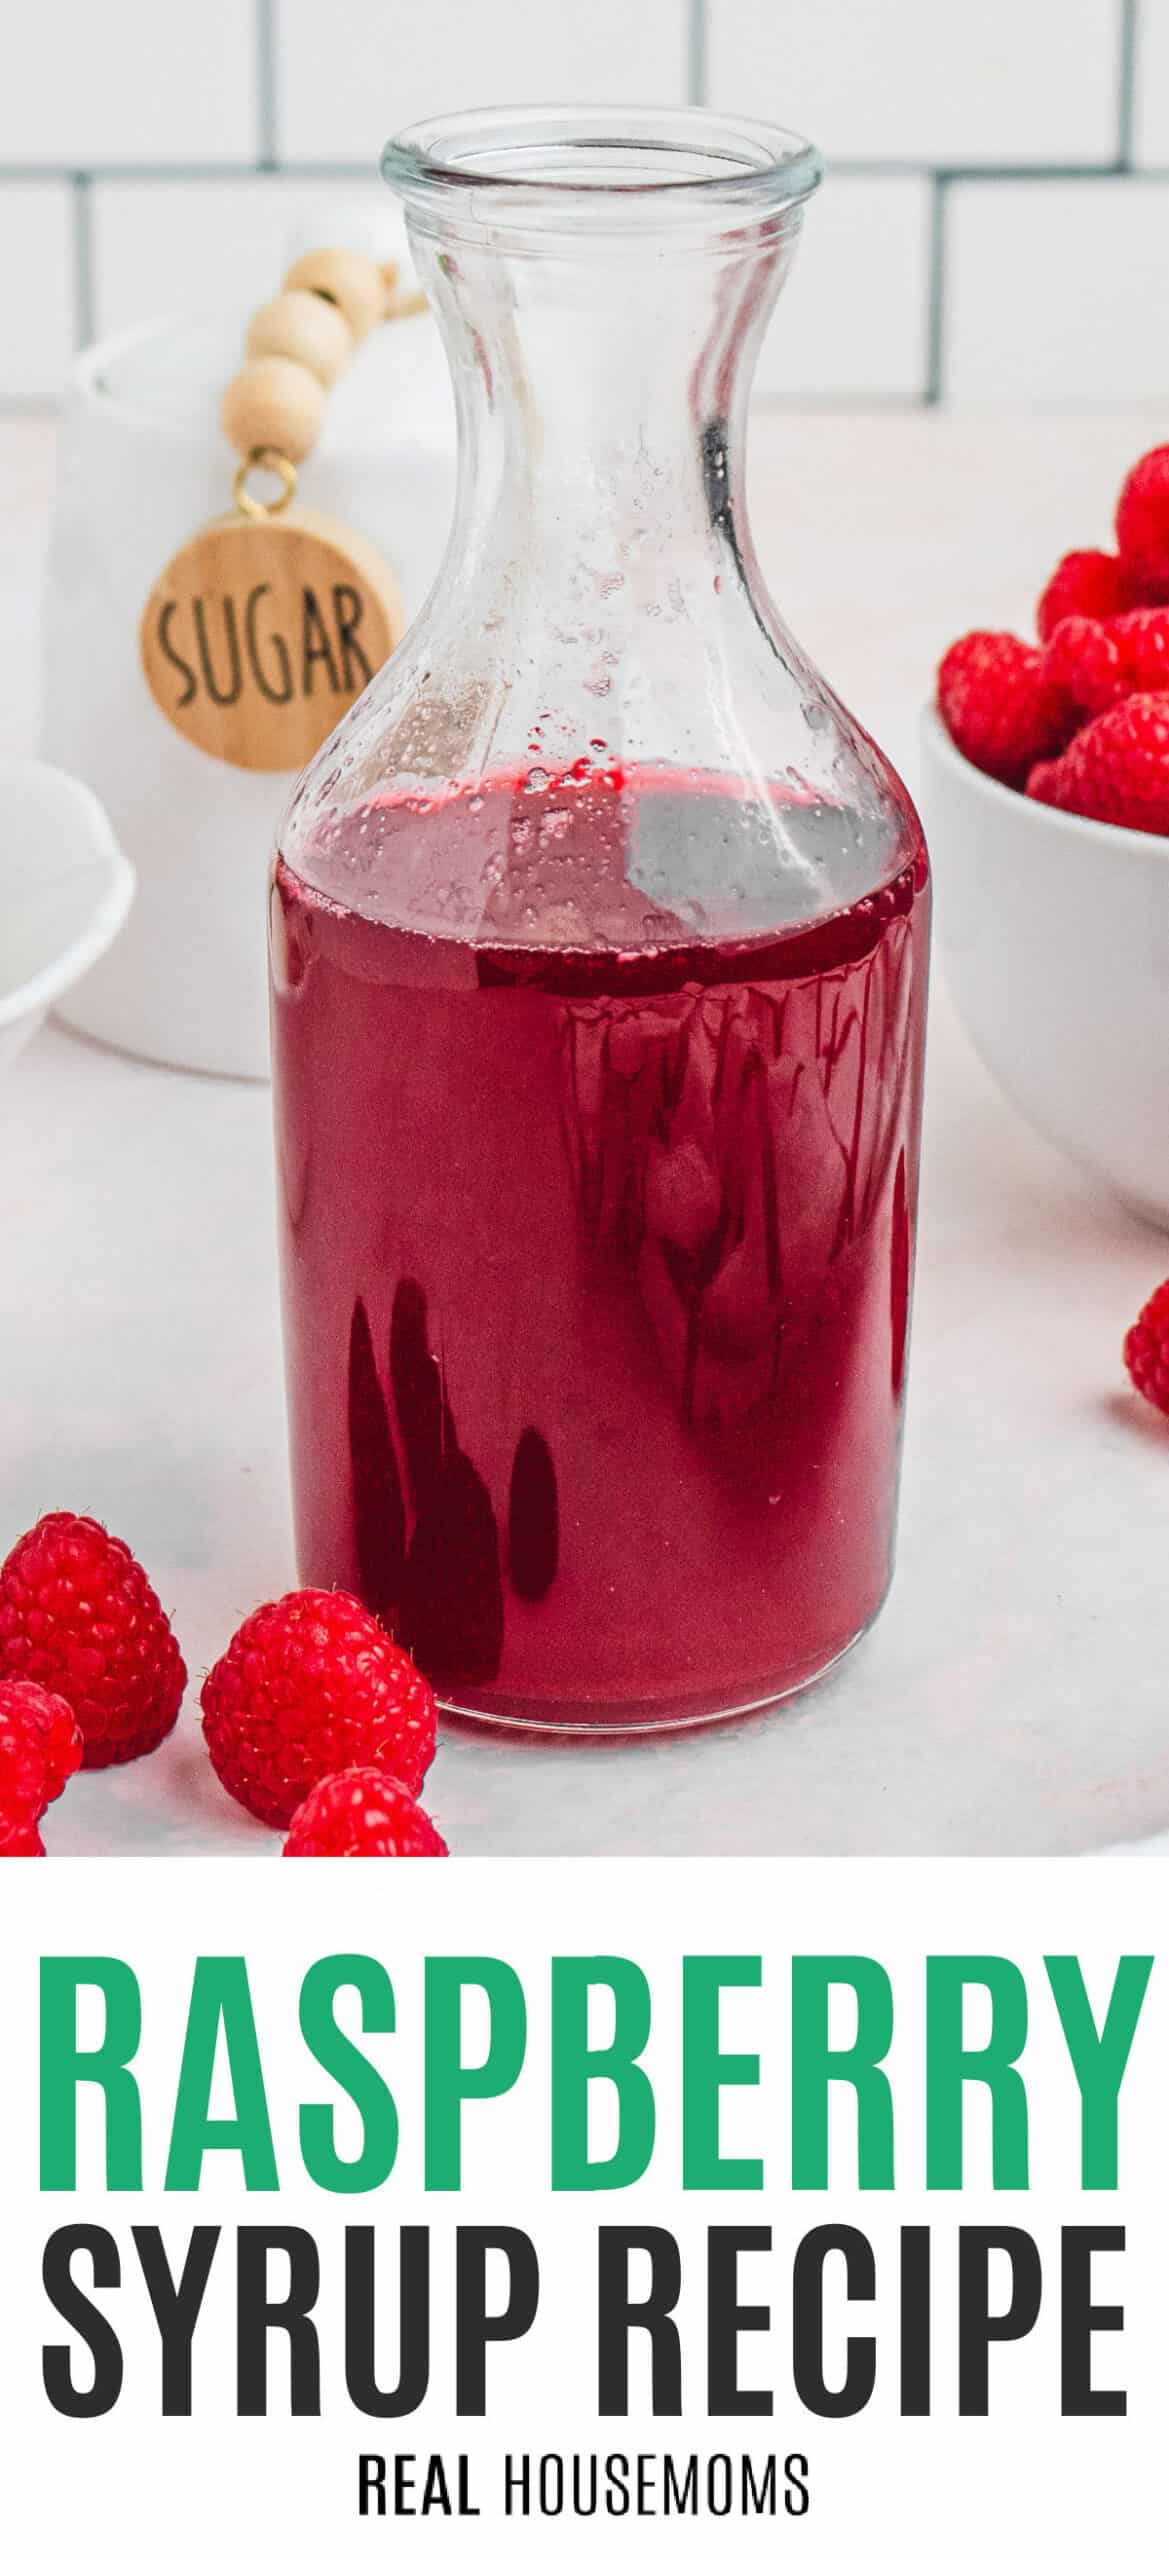
Table of contents
Homemade Raspberry Syrup vs Store-Bought
Homemade raspberry syrup has a fresher, fruitier flavor than bottled versions, with no artificial ingredients and plenty of easy ways to use it. It works just as well in drinks as it does on brunch favorites and desserts, so it’s one of those simple extras that makes all kinds of recipes feel a little more special.
What Readers Say
⭐⭐⭐⭐⭐
My 6 grandsons gave the recipe all a high five rating!
Ways to Use Raspberry Syrup
There are so many easy ways to use it, and a little goes a long way.
- Drinks: stir it into lemonade, tea, coffee, Italian sodas, cocktails, and mocktails.
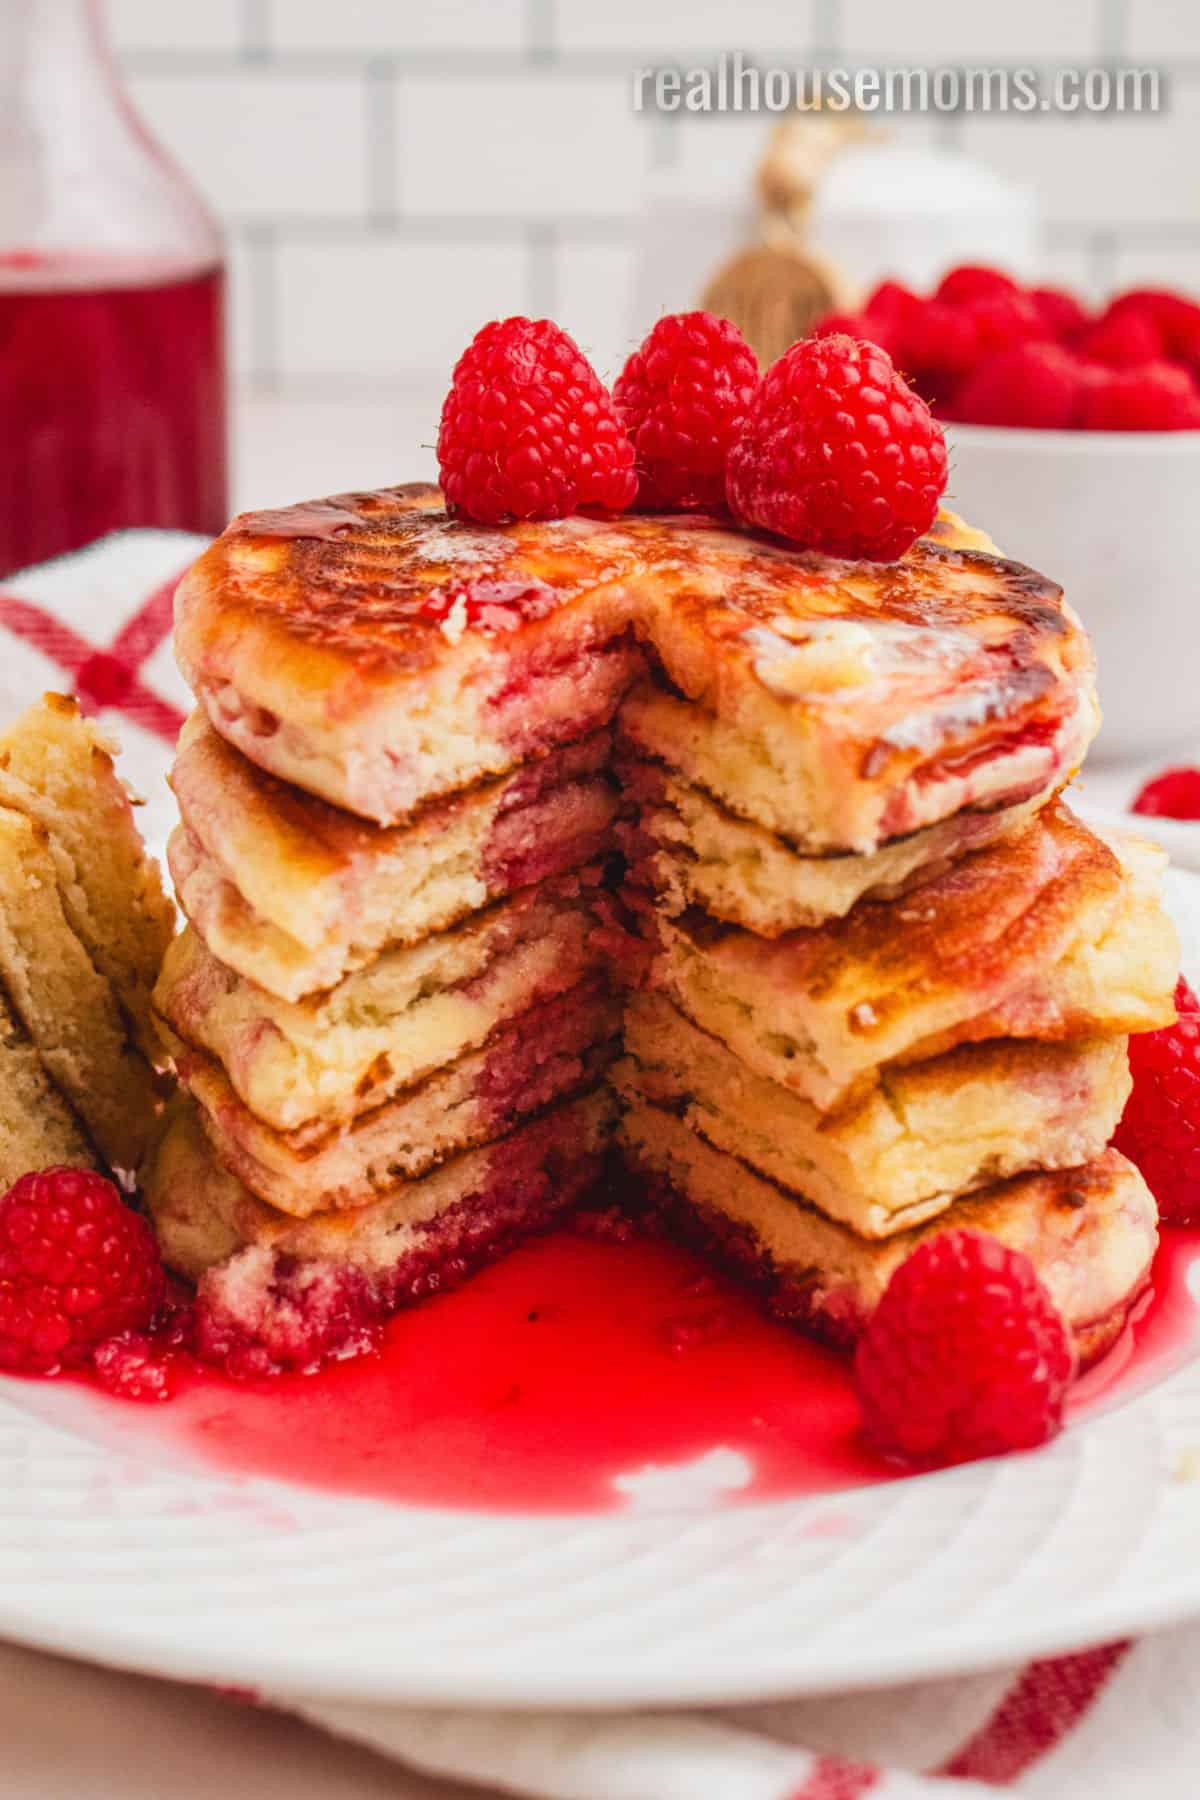
- Brunch: drizzle it over pancakes, waffles, French toast, oatmeal, or yogurt.
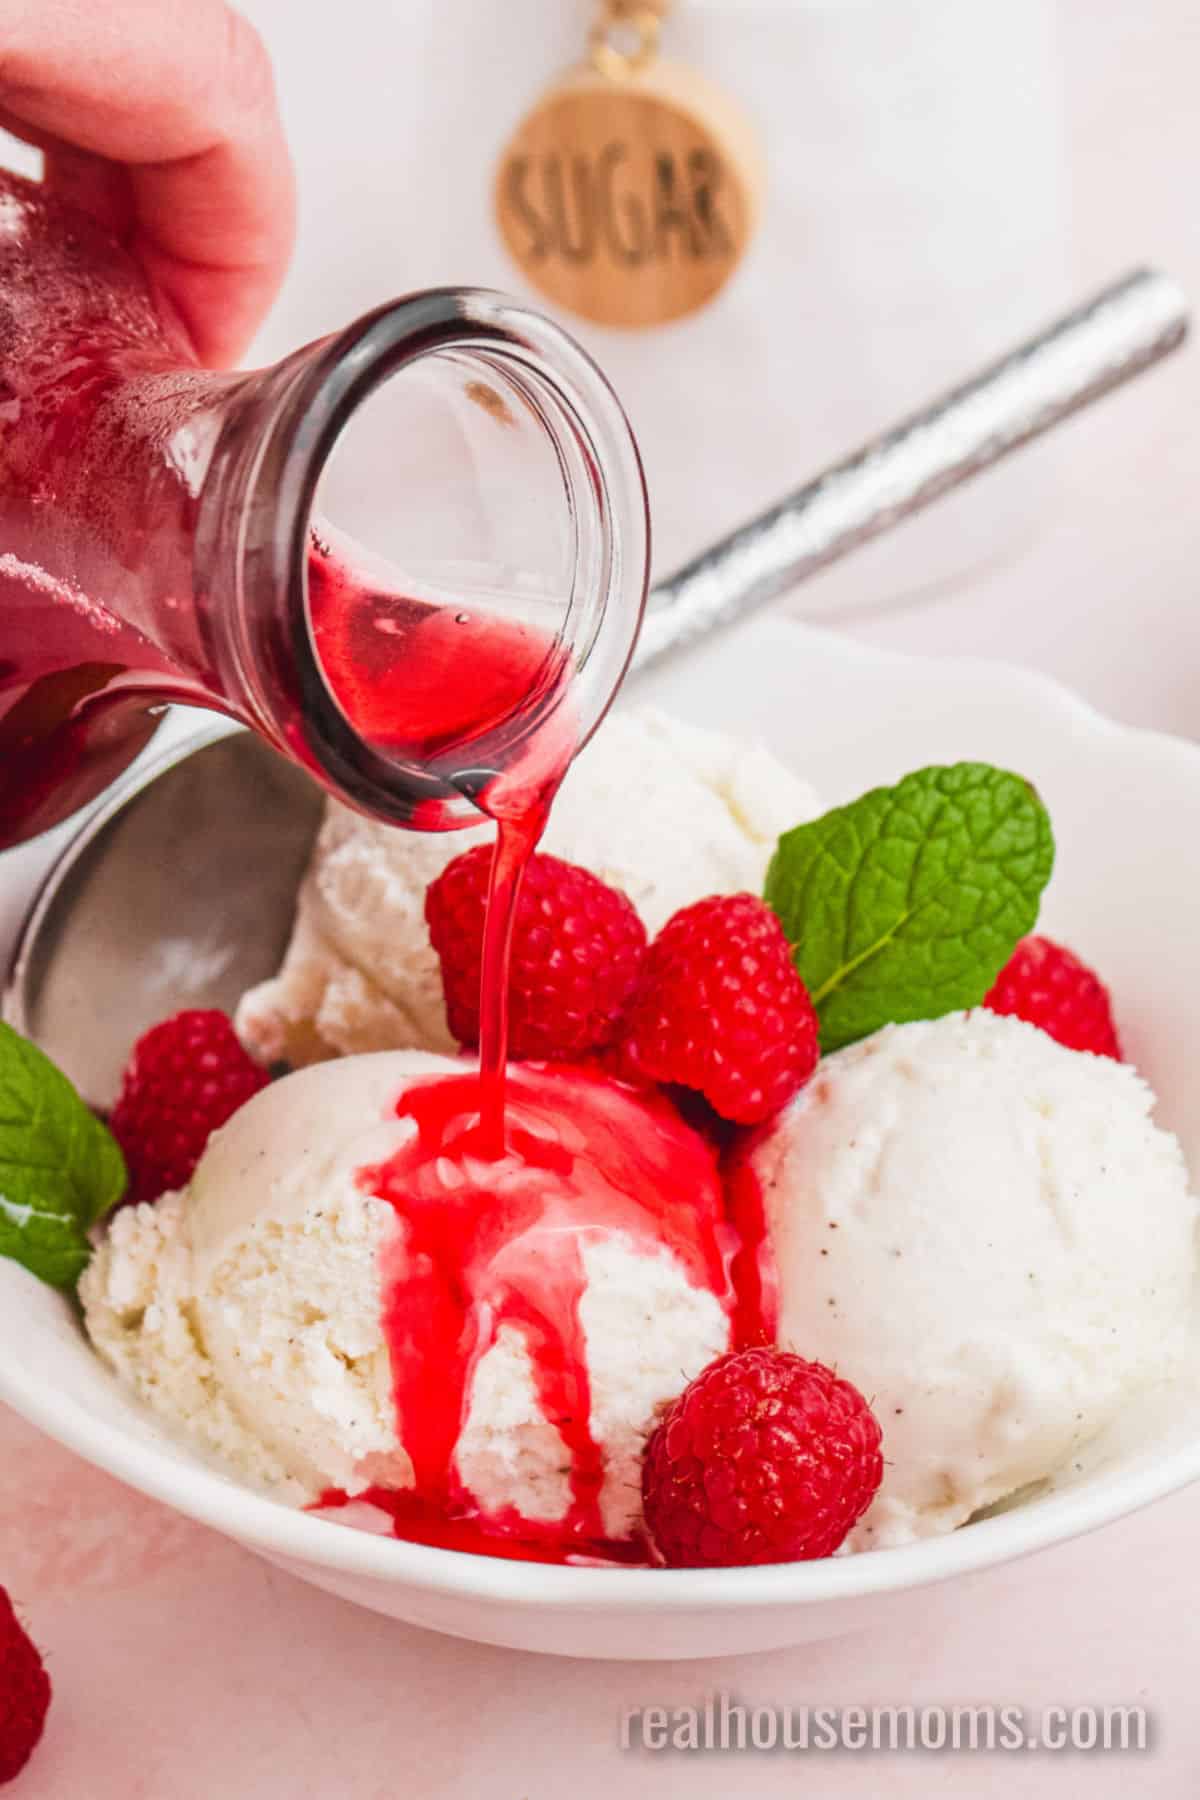
- Desserts: spoon it over vanilla ice cream or cheesecake bites, or blend it into milkshakes.
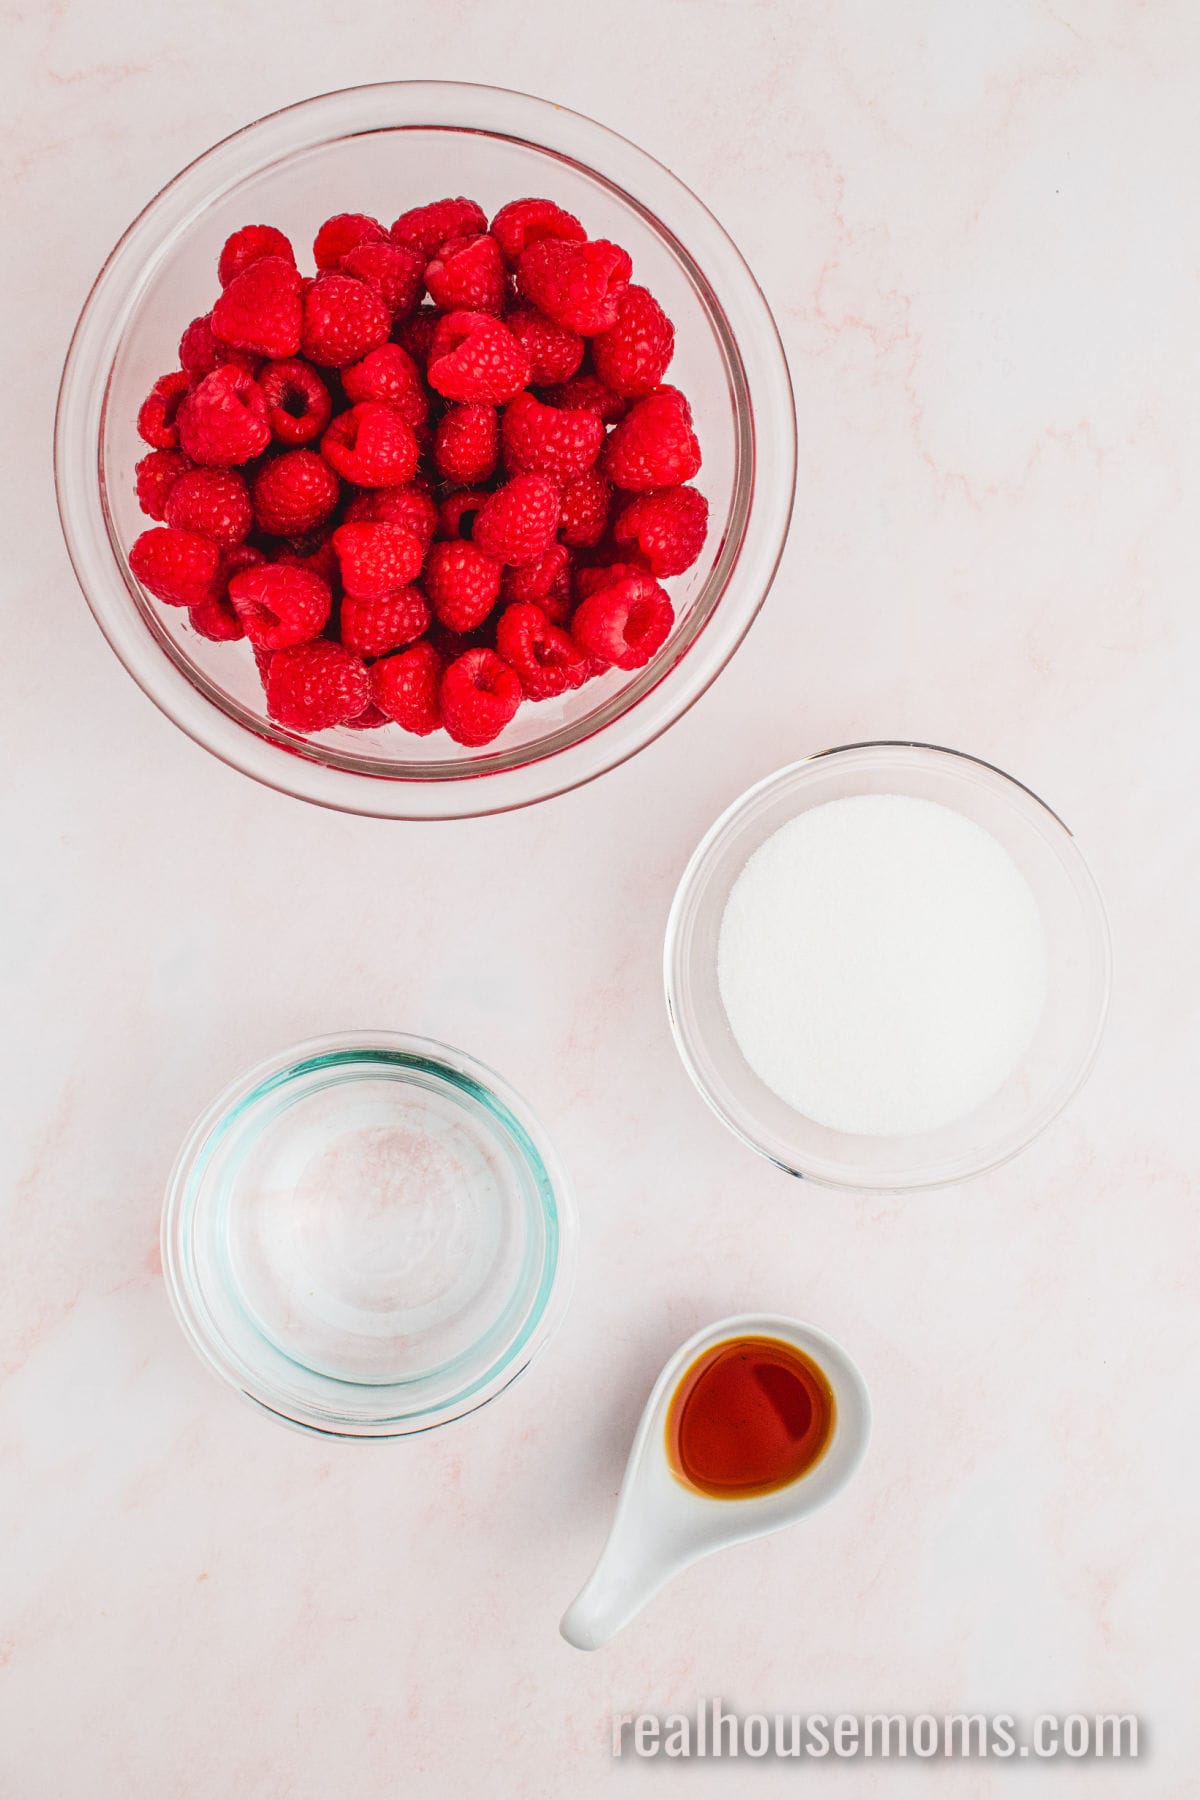
Ingredients
Fruit: Fresh or frozen raspberries both work well here, so use whatever you have on hand.
Sweetener: Granulated sugar keeps the syrup clear and classic, while other sweeteners can slightly change the flavor and texture.
Extract: A little pure vanilla extract rounds out the raspberry flavor and gives the syrup a richer taste.
Water: Filtered water helps cook down the berries and turns everything into a smooth, pourable syrup.
How to Make Homemade Raspberry Syrup
STEP ONE: Simmer the raspberries with part of the water until the berries have broken down and the mixture looks loose and jammy. If the fruit still looks pretty whole, let it go a little longer to get the most flavor.
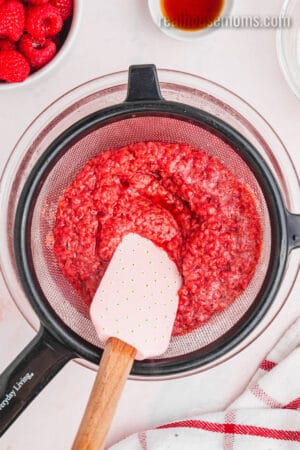
STEP TWO: Pour it through a fine-mesh strainer and use a spatula to lightly press the solids to help the juice flow through. You can press harder for a little more syrup, but more pulp will get through too, so the syrup won’t be quite as clear.
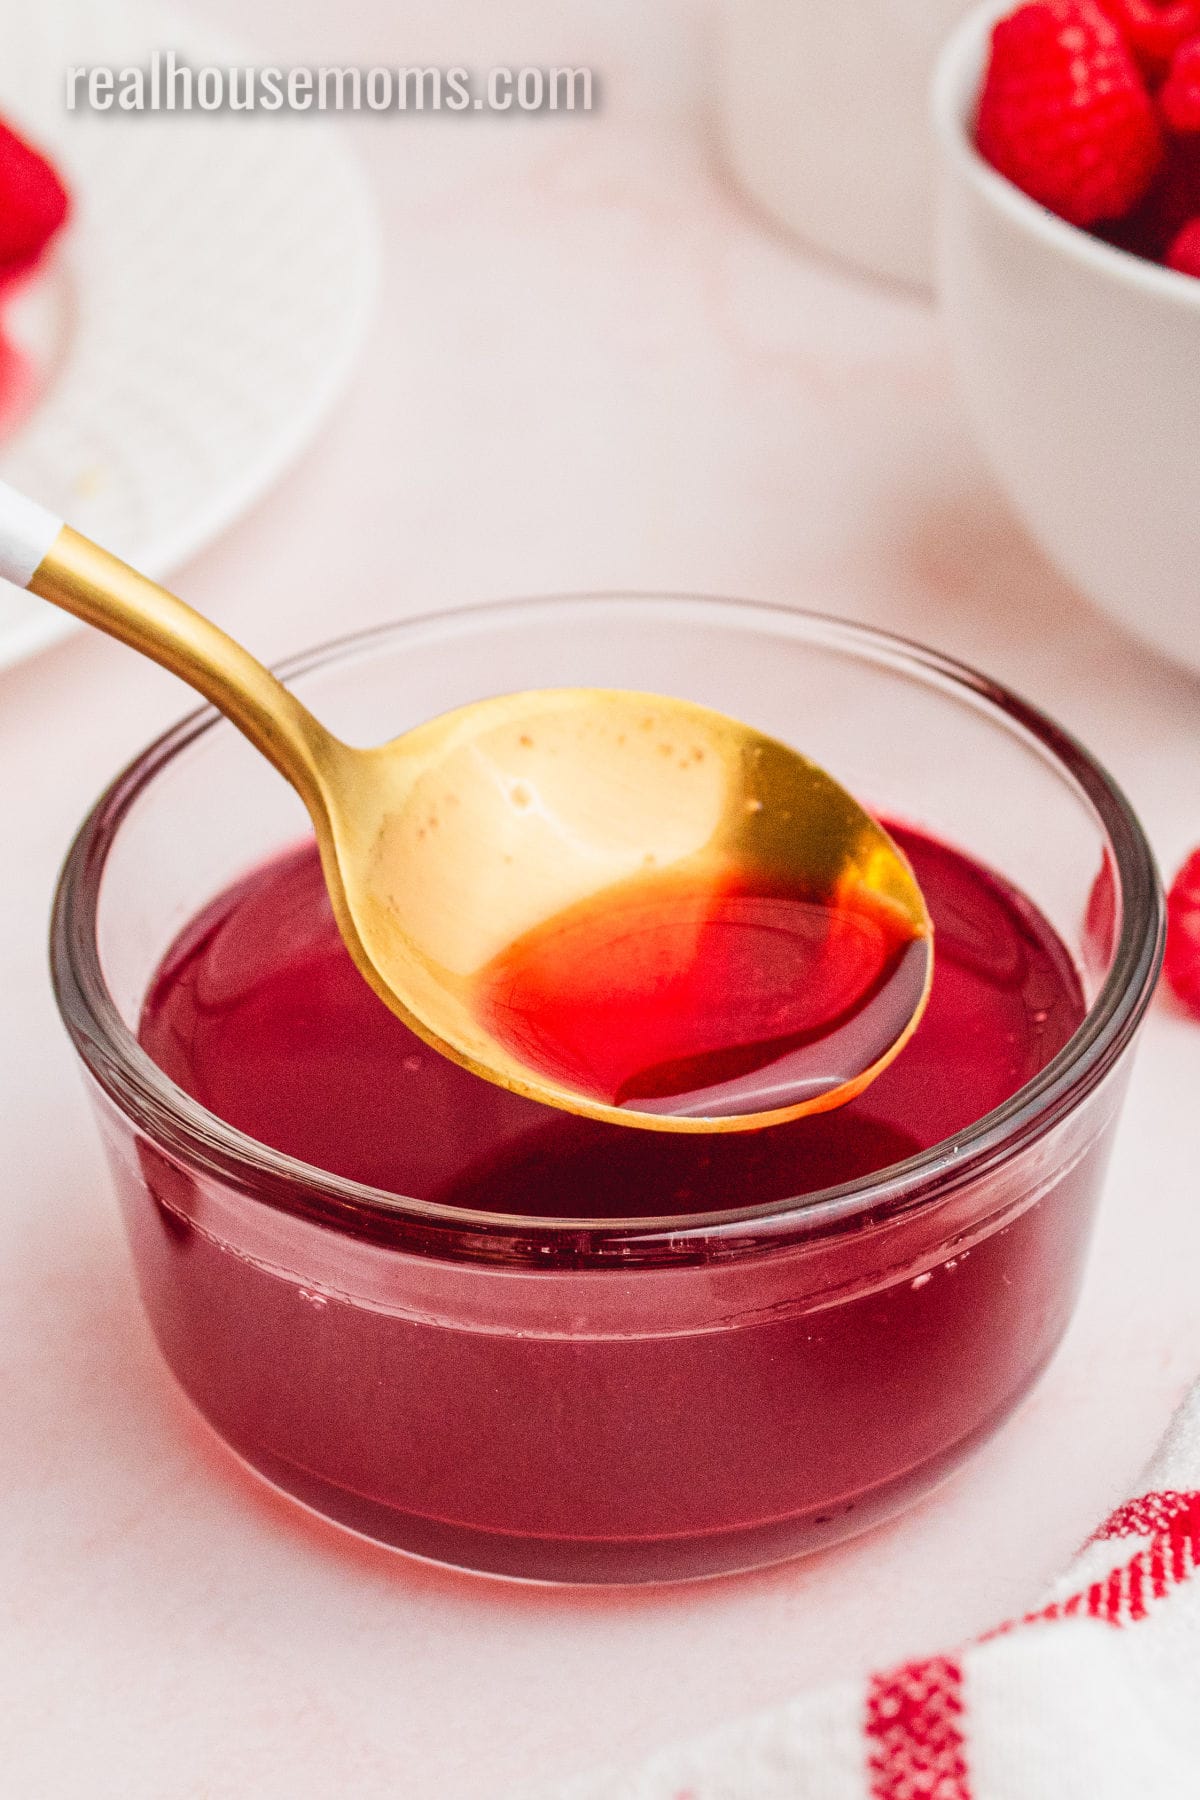
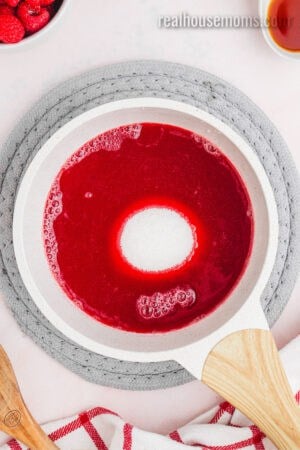
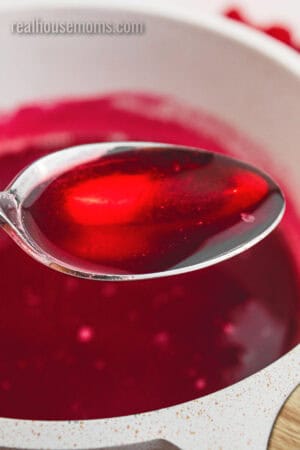
STEP THREE: Once you add the sugar, simmer the syrup until it is glossy and slightly thicker than water. It will still seem pretty thin while it’s hot, so don’t overcook it trying to make it thick in the pot.
STEP FOUR: Add the vanilla after you take the pot off the heat, then let the syrup cool a bit before serving or storing. It thickens more as it cools, so the final texture will be smoother and a little richer once it’s no longer hot.
Tips for Success
- Strain and press gently. Press the cooked berries lightly with a spatula to get plenty of juice without forcing too much pulp through the strainer.
- Don’t judge the thickness while it’s hot. The syrup will still look fairly loose in the pot and thicken more as it cools.
- Help prevent crystallization in bigger batches. If you’re making a large batch, add a teaspoon of lemon juice or corn syrup to help keep the syrup smooth.
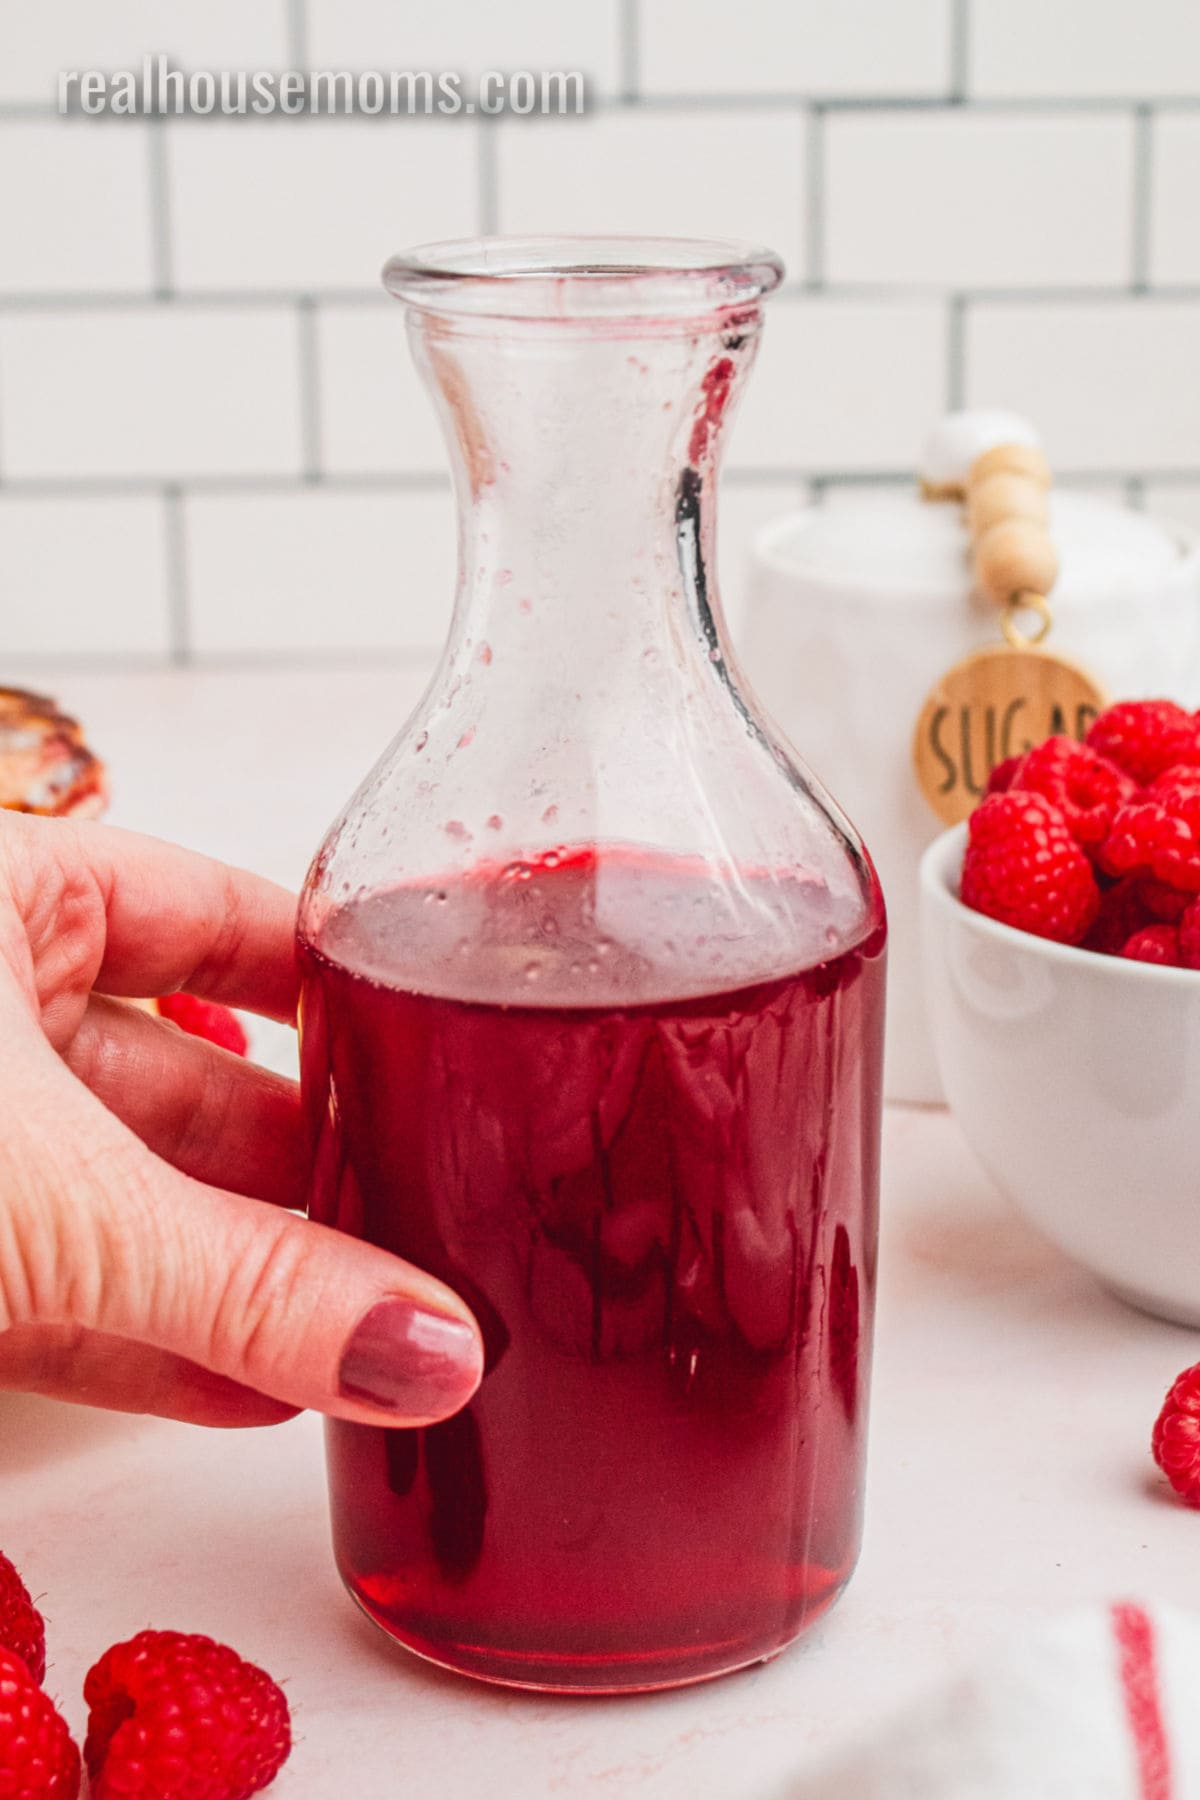
How to Store Homemade Syrup
Store raspberry syrup in a clean glass jar or other airtight container once it has cooled. Refrigerate it and keep the container sealed in the fridge between uses to keep it as fresh as possible.
Can I Freeze Raspberry Syrup?
Yes, raspberry syrup freezes really well. Let it cool completely, then freeze it in an airtight container or in ice cube trays for easy, small portions to thaw as needed. Because it has a high sugar content, it won’t freeze completely solid and will stay a little slushy. When you’re ready to use it, just let it thaw in the fridge.
How Long Will Raspberry Syrup Last?
Homemade fruit syrups will usually keep in the fridge for about 2 to 6 weeks. If the syrup has a higher sugar content, store it in the coldest part of the fridge to help it last even longer.
Raspberry Syrup Variations
Once you’ve made the base recipe, there are a few easy ways to change it up without doing anything too different.
- Lemon raspberry syrup: Stir in a little fresh lemon juice or zest for a brighter, tangier flavor. Lemon is a really common pairing with raspberry and works especially well in brunch and dessert recipes.
- Thicker syrup for pancakes and waffles: Let the syrup simmer a little longer so it reduces further and thickens slightly. That gives it a more brunch-style texture that clings better to pancakes, waffles, and French toast.
- Blackberry or strawberry syrup: Use the same method with blackberries or strawberries to get a different berry flavor. Both are common homemade syrup variations and work in the same way for breakfasts and desserts.
FAQ
Yes, a little less water can help it thicken faster, but remember it also thickens more as it cools.
No, but without it, the syrup will be much tarter and won’t have quite the same classic syrup texture.
Yes, absolutely. The vanilla just adds a little extra depth, but the syrup is still good without it.
Usually, that means too much pulp got pushed through the strainer. For a clearer syrup, press gently instead of really mashing it through. But don’t worry, it’ll still taste good.
Yes, you can stir a little into soda water the same way. Just start small and add more to taste since homemade syrup can be a little less concentrated than bottled versions.
*This post originally posted on 03/25/2015.
Raspberry Syrup Recipe
Ingredients
- 3 cups raspberries fresh or frozen
- 1 cup water divided
- ½ cup granulated sugar
- 1 teaspoon vanilla extract
Instructions
- Combine 3 cups raspberries and ½ cup water in a medium saucepan. Bring to a boil over high heat. Then reduce the heat to medium and cook for 15-20 minutes, stirring occasionally. Add ½ cup water to the pot, bring to a boil for a couple of minutes, then remove from the heat.

- Strain the mixture through a fine mesh sieve into a clean bowl. Use a rubber spatula to press as much pulp through the strainer as possible. Discard any solids. You should have about ¾ cup of raspberry juice at this point.
- Rinse out any solids remaining in the saucepan. Then add the strained raspberry juice and 1/2 cup granulated sugar back to the pot. Bring to a boil over medium heat. Reduce the heat to low and cook for 5-10 minutes. Simmer until the syrup looks glossy and slightly thickened, but still pourable.
- Remove from the heat. Stir in 1 teaspoon vanilla extract. Allow the syrup to cool to room temp, it will thicken more as it cools down.

Notes
- Press the pulp gently when straining for a smoother, clearer syrup.
- The syrup thickens as it cools. Simmer longer for a thicker syrup, or add a little water to thin it for drinks.
- Store for 2-6 weeks in an airtight container in the back of the fridge.
- Freeze cooled syrup in an airtight container or ice cube trays for easy, small portions.
Nutrition
More Homemade Syrup and Sauce Recipes
If you liked this one, here are a few more sweet toppings to make next.
- Peach Simple Syrup
- Apple Pie Syrup
- Buttermilk Syrup
- Easy Homemade Blackberry Sauce
- Homemade Salted Caramel Sauce
- Brown Sugar Cranberry Sauce


Charmaine says
Are the berries crushed to make the 3 cups?
Nana says
My 6 grandsons gave the recipe all a high five rating. Really good on pumpkin waffles.
Jan Myhre says
Flavour is wonderful but it thickened up too much on cooling and turned into a jelly. First time I cooked it exactly as written. Second time I cooked it 5 minutes after the sugar. Still thickened into jelly. My suggestion is everyone’s altitude and type of raspberry may cause different effects. Next time I will cook it less before juice extraction and start checking the set after 3 minutes.
Brianna says
Has anyone tried to can this recipe?
Michelle says
Made this yesterday with homemade pancakes, and it’s delicious! My only issue is that it didn’t thicken up very much, so next time I will try leaving it to boil longer.
Aubrey Cota says
Good idea, boiling it a little longer will help to reduce the water content so it will thicken very nicely.
Jenny says
Made this today and we loved it!