Hi! I’m Jamie from Southern Revivals. I’m a new DIY contributor to Real Housemoms. I have a super simple DIY project to help get you organized for back to school. If you’re anything like me you’ve gotten really relaxed over the summer and now that school is back in session you’ve got to get yourself back on a schedule. That’s hard to do without being organized!
Because I do lots of DIY projects, I always have leftovers on hand. This project literally cost me zero dollars to complete. But if you don’t have lots of tools and supplies already on hand you can totally do this project and spend very little. And you don’t necessarily need any special tools to complete it!
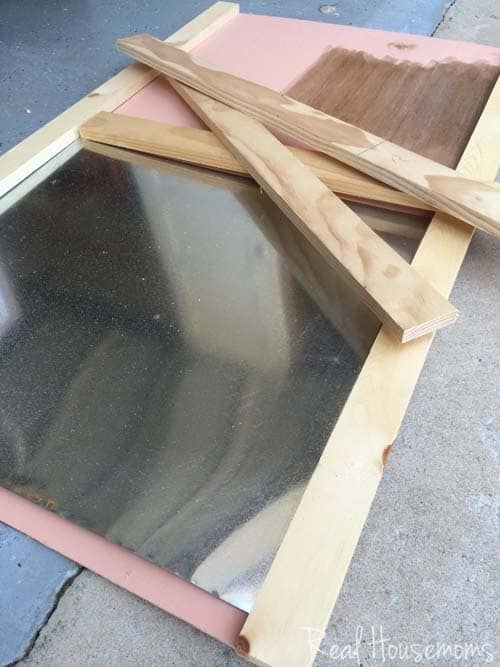
I had bits of wood leftover from our DIY herringbone table top as well as some thin plywood and metal sheeting from an old entertainment center turned play kitchen for my niece. I am a big fan of using what you have on hand but if you’re starting from scratch, here’s what you’ll need.
Supplies:
- 1/4 plywood, cut to length and width you desire (mine is 47″ l x 27 1/2″ w)
- 2 – 1x3x8 sticks of pine
- metal sheeting – 20 x24 or size of your choice (these come in pre-cut rectangles in the hardware section of most big box stores. You can even find them in some craft stores)
- Elmer’s Wood Glue
- Elmer’s ProBond Advanced
- Chalkboard paint (I used Americana brand)
- Stain (I used Carrington by Rustoleum)
- Old rags
- Fine grit sandpaper
- Clamps (or heavy objects to keep piece in place while glue dries)
Optional: chop saw and table saw. If you aren’t comfortable using powertools or don’t have any available you can have the hardware store cut your pieces in advance for you. Just predetermine the size you want your message board, give them the dimensions and let them do the rest!
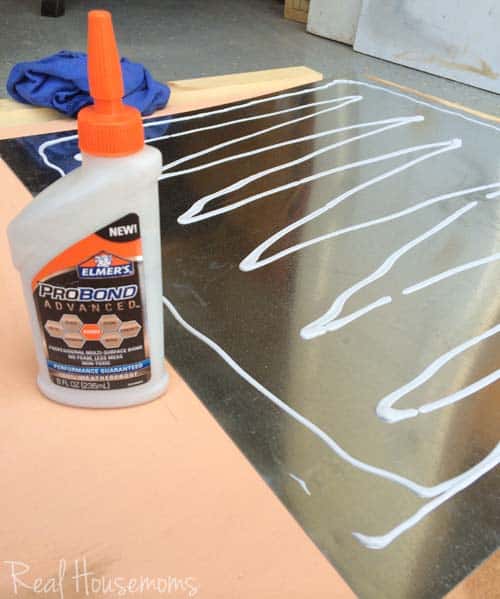
I started by attaching my metal sheeting to the plywood backing with Elmer’s ProBond Advanced. It’s designed to attach different surfaces together, like metal to wood. Make sure to read the instructions for best results!
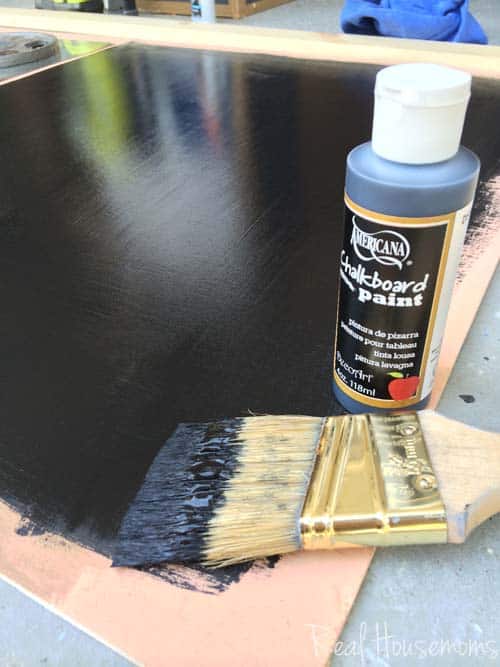
While the glue was drying on one side, I painted my chalkboard on the other. The paint I used required two coats within an hour of each other. One coat vertically, the other horizontal. Allow to cure 24 hrs before using the chalkboard.
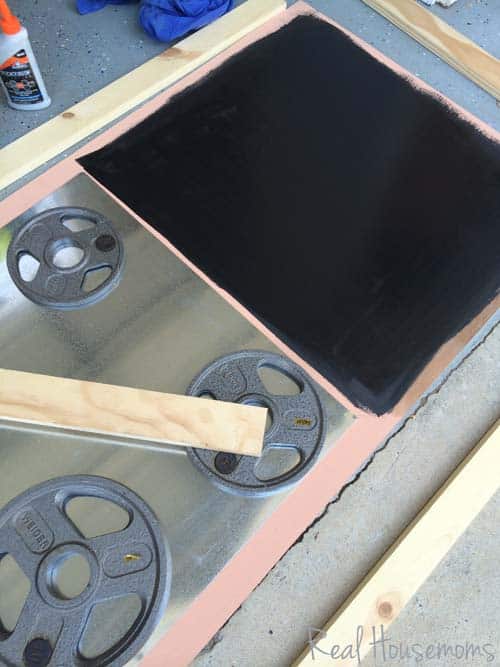
I used some weights from the garage to hold things in place while they dried. (Isn’t that what the weights in the garage are for anyway?)
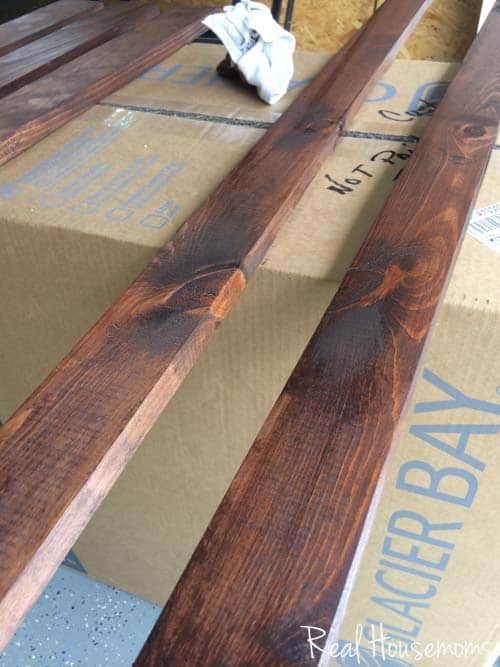
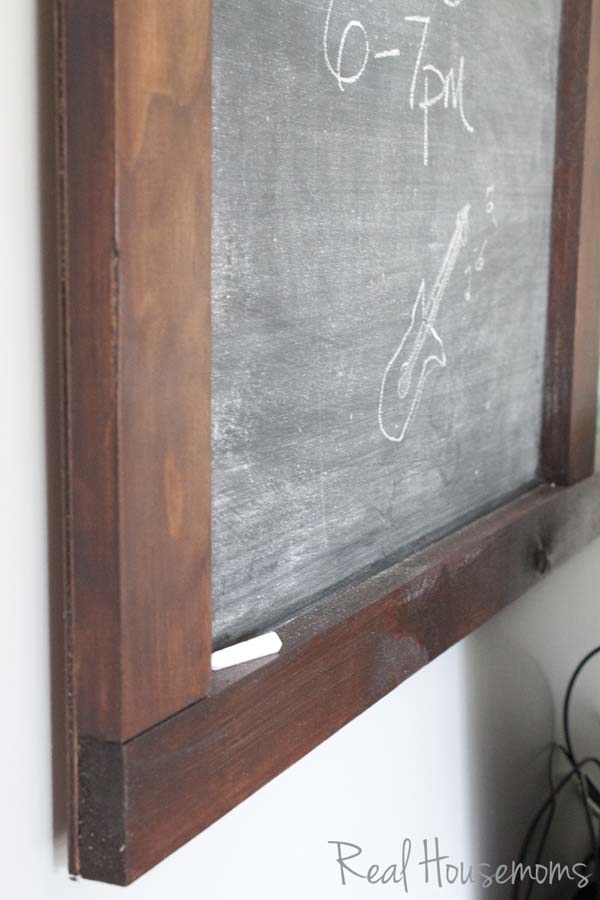
While I allowed my chalkboard and magnetic boards to dry, I stained my outside frame. I used Carrington from Rustoleum. I love this rich color.
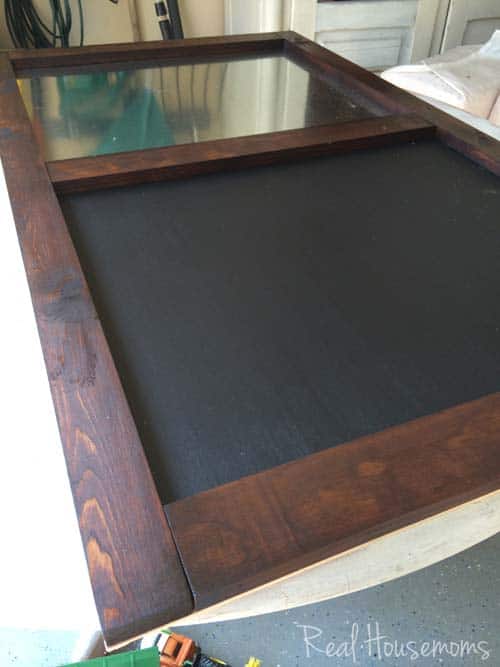
After all coats were applied and everything dried, I assembled my frame around the chalk and magnet boards. I used wood glue and clamps to secure the frame in place. If you don’t have clamps you can use other heavy objects and maybe even a little painters tape to hold things in place while it dries. Just be sure once you have everything secured it doesn’t move!
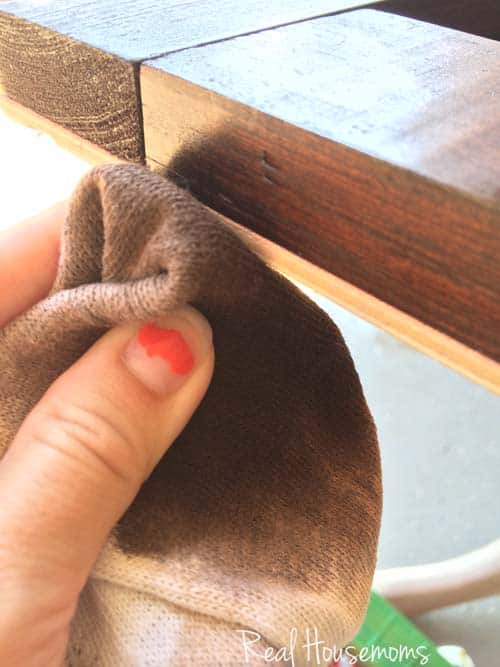
After my frame was in placed and securely dried, I went back with my stain rag and covered the edges of the plywood backing.
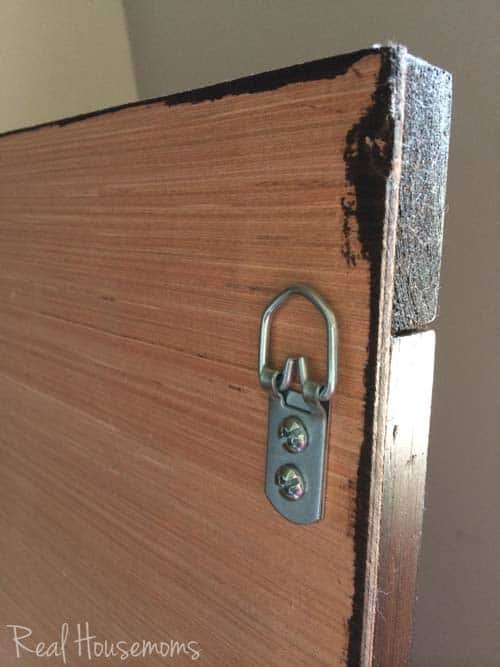
Finally, I added my D-hooks for hanging and it was almost ready to use!
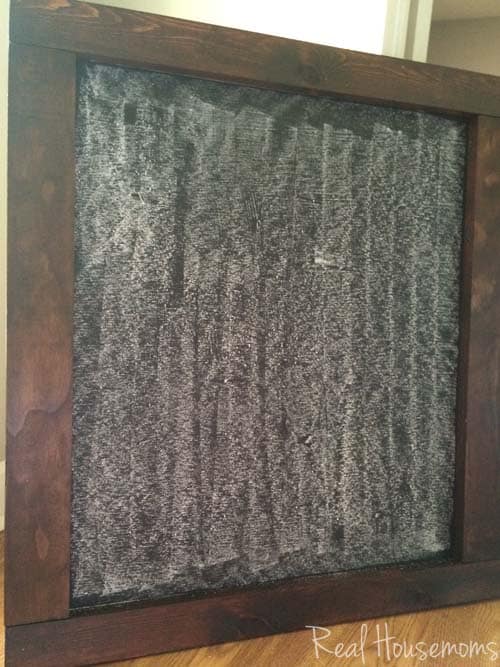
Before using any freshly made chalkboard you should first “prime” it with chalk. Turn your chalk piece on its side and rub the piece over the entire surface. Otherwise the first thing you write on your chalkboard will be permanently etched on the surface. Trust me. I learned this the hard way.
That’s it! You’re all done and it’s ready to use.
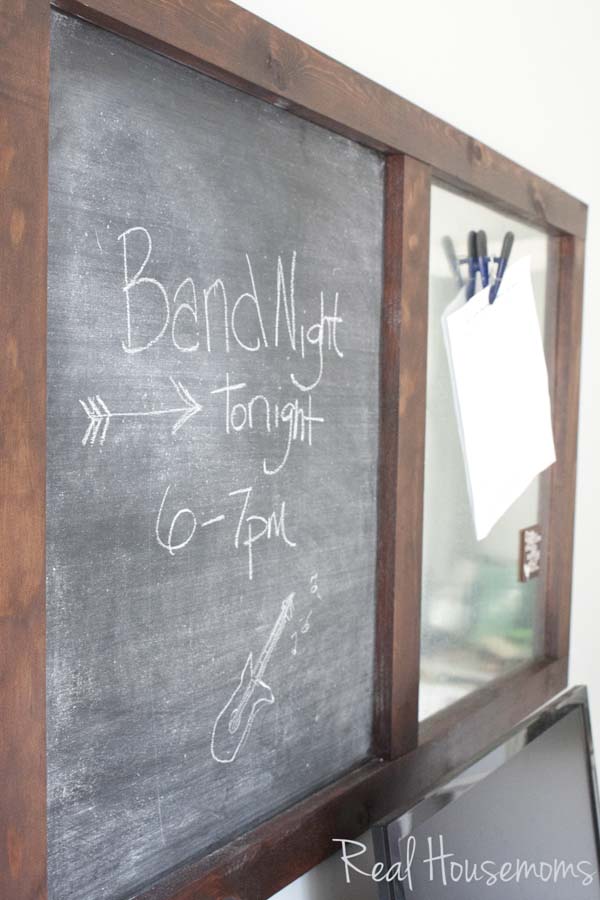
The hardest part now is deciding where you want to hang it.
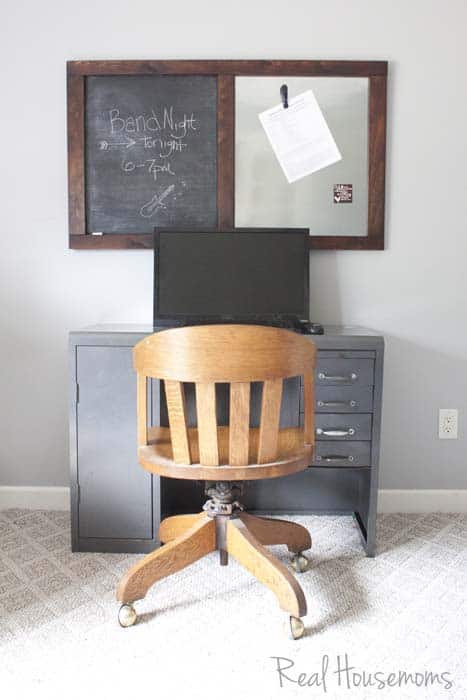
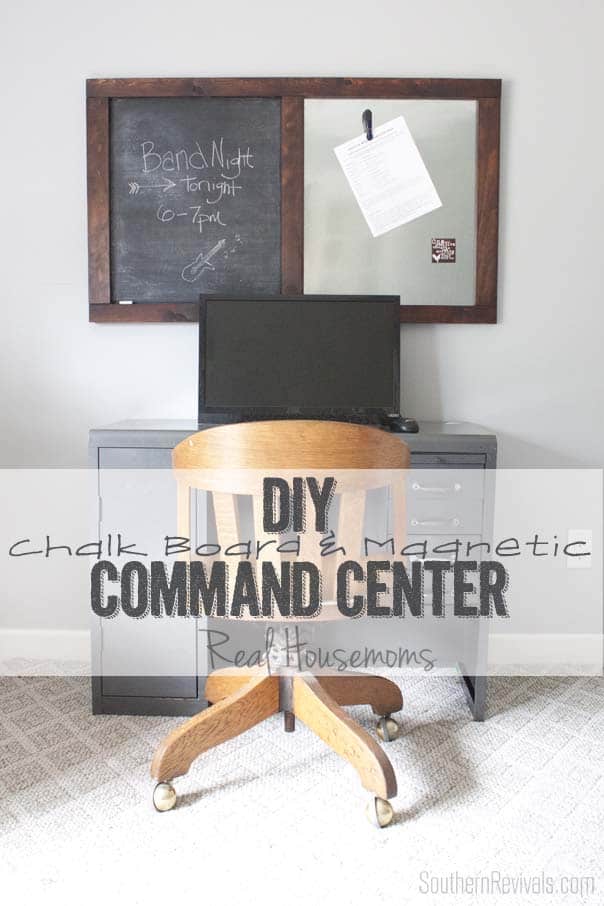
For now, we put it just above our son’s vintage metal desk in the office. That way he can keep track of important papers and notes and have them handy at his desk. Now I just need to make one for me!
If you enjoyed this DIY Message Board and Command Center be sure to check out my School Supplies “Cake” Teacher’s Gift. It’s a gift she’s sure to love and use!
For More Back To School Inspiration:
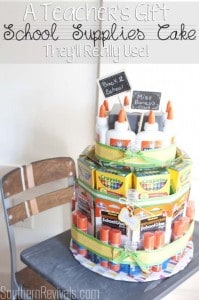
School Supplies “Cake” Teacher’s Gift


Comments