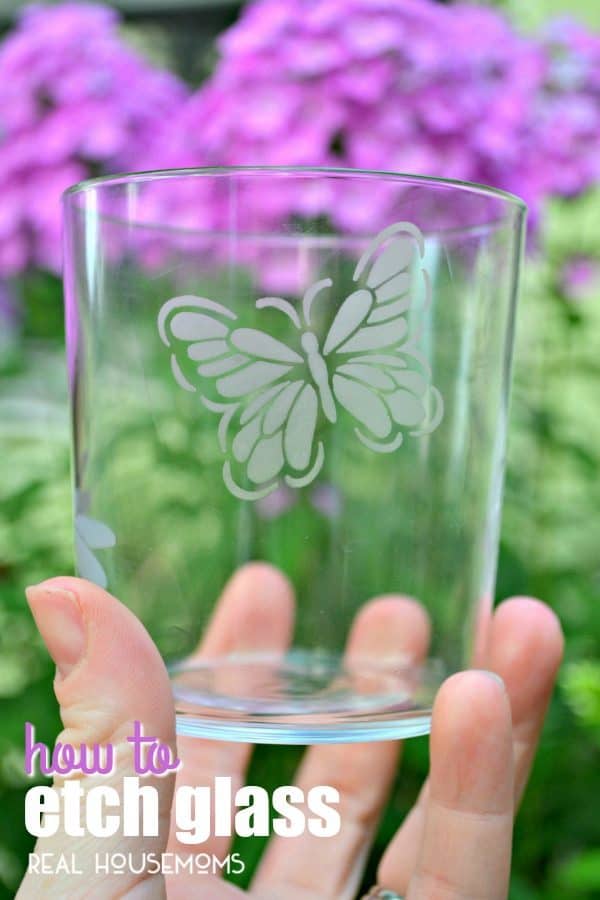
I love crafting, but sometimes those “Pinterest projects” shown online can be daunting to a crafting newbie until they find their creative bone. One of my favorite crafts that I think has such a WOW factor and is extremely easy for veteran crafters and non-crafters alike is etching glass. Glass etching is very easy, takes very little time, and requires very little in the way of must-haves. Today I thought I’d share how to etch glass and create cute teacher’s gifts, party favors, or otherwise just spruce up simple pieces of glass!
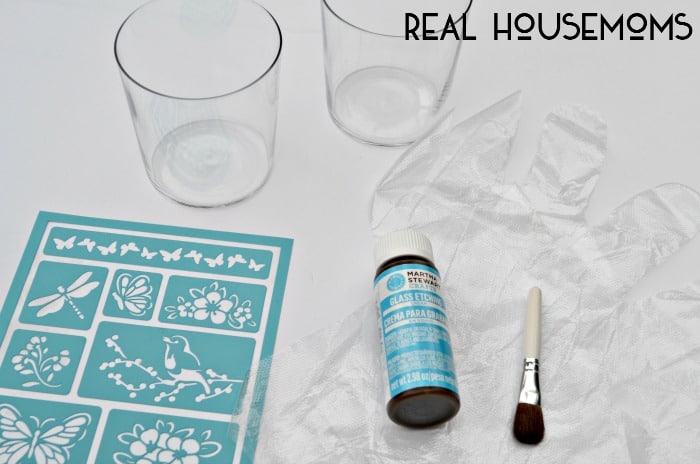
Here’s what you need:
- Glass Etching Cream
- Etching brush (or regular paintbrush)
- Gloves
- Stencil of choice
- Glass
How to:
Start by washing your glass(es) thoroughly and choosing the stencils of your choice. If you don’t want to use a stencil, you can use tape and tape off geometric designs on your glasses, which is another really fun option.
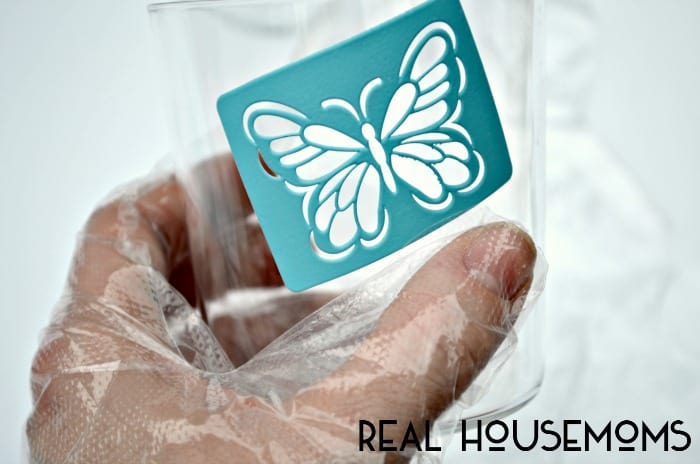
After your glasses are washed, apply your stencils to the glass and be sure they are secure. For extra protection, add tape around the edges if you want to ensure that you don’t get etching cream on the glass. Remember, anything the cream touches on the glass will be etched.
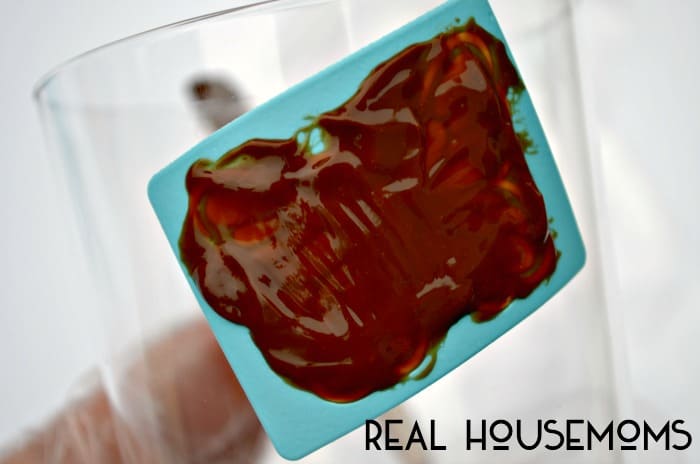
Next, apply a thick coating of etching cream over the stencil and allow to sit for 15 minutes.
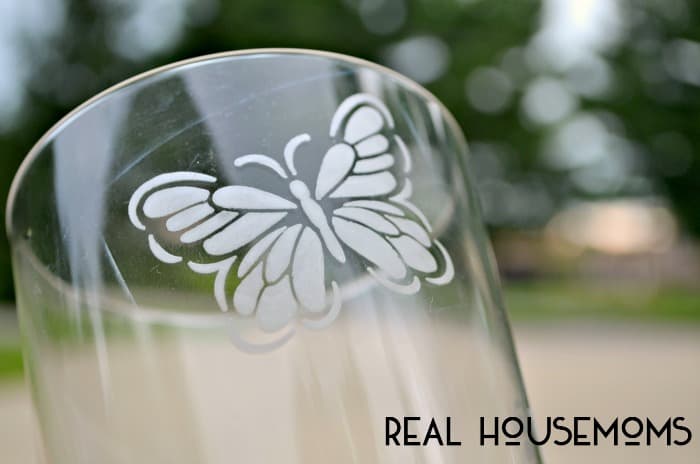
After 15 minutes, carefully rinse away the cream, remove the stencil, and enjoy your creation!!!!
I like to get re-useable, peel and stick alphabet stencils and make water glasses for favors or for my guests when they stay over. Glasses are really inexpensive and you can take your etching cream and put it back in the bottle if you so choose and reuse the excess.
If you enjoy this craft, you would also enjoy these posts over at my site:


Leave a Reply