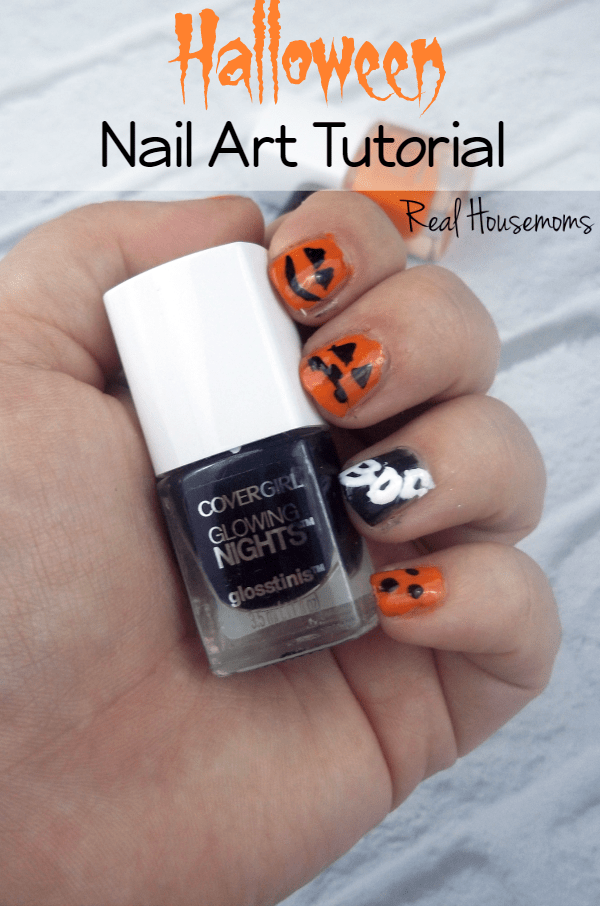
One of the things that I love about Halloween is dressing up. As a beauty blogger it’s a great time of the year for me to stretch my creative skills as I try to use makeup to look like the Bride of Frankenstein, Audrey Hepburn, and even Marilyn Monroe. However, not everyone has the opportunity to dress-up on this one day of the year. With that in mind I decided to share with you a Halloween Nail Art Tutorial that you could wear to just about anywhere! Also, the products are super easy to get your hands on and while the finished product looks difficult to do, it’s actually quite easy.
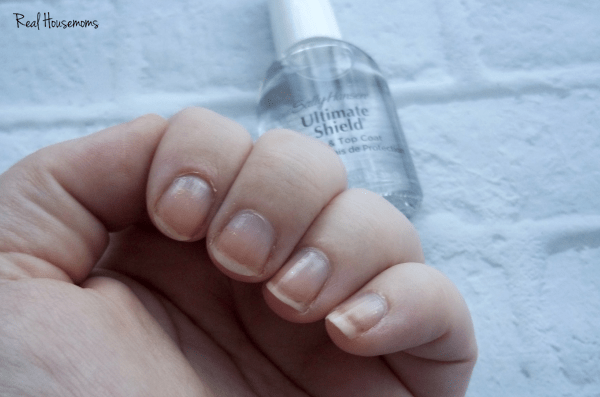
Step One: The first thing that we’re going to want to do is prep our nails with a base coat polish. We want to do this because some polishes can stain your nails and this will help keep that from happening. You want to do one coat of base coat and let it dry completely before moving onto the next step. I’m actually using a base coat that will double as my top coat which is perfectly fine, just make sure that the packaging says that it can do this.
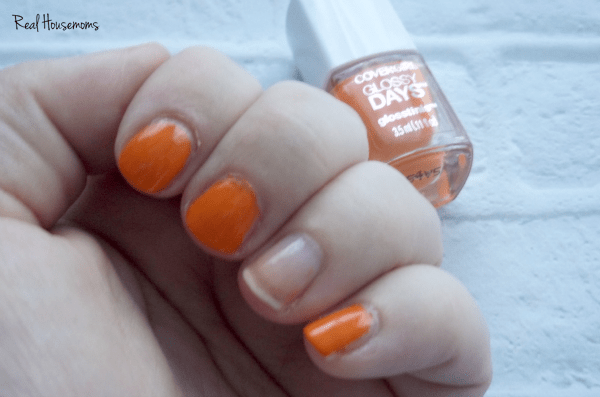
Step Two: Next we’re going to take an orange polish and do two coats on four nails, letting each coat dry completely before moving on. You can use any finish of polish you want for this step as long as it isn’t a textured polish, using a textured polish on this step will make the next step a bit more difficult. As for which nail you choose to leave bare, that’s completely up to you.
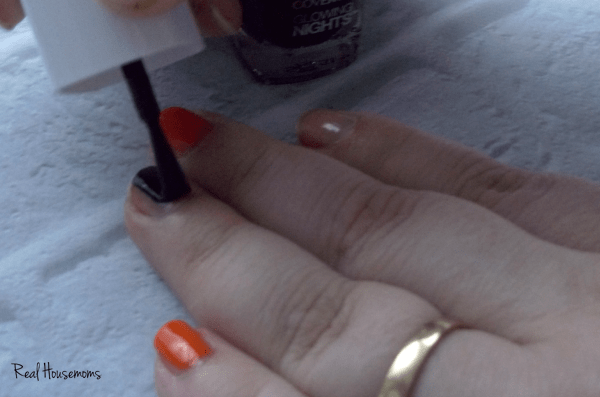
Step Three: An accent nail always makes your nail art stand out a bit more and it gives it a bit of a twist. The finger that you left without polish in Step Two is the one that’s going to be your accent nail. For this tutorial we’re going to paint our accent nail with two coats of any flat black nail polish. Try to stay away from any blacks that have another color mixed with them as that distract from the nail art. Once the second coat completely dries we can move to the next step.
Step Four: Here is where things can get a bit more difficult. The first thing you’re going to need for this step is a dotting tool. The one that I’m using for this tutorial I got from Sephora and is from their “Art At Your Fingertips” Nail Kit, you can purchase it here (they also have a cheaper Nail Art Set available here.) If you don’t have a dotting tool, and don’t think it’s something that you will need in your collection, you can always use a toothpick.
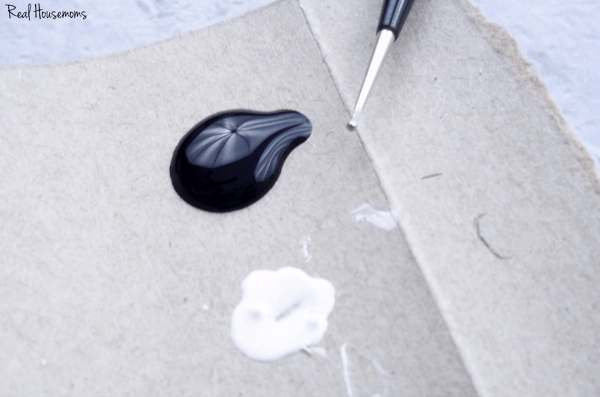
- Pour a little bit of that same black polish from Step Three out onto a lid or card.
- Using your dotting tool/toothpick pick up some of that black polish on the end. You want to make sure that you don’t get so much that you’ll be dripping all over the place or it will cover most of the nail when you apply it. However, you want to make sure that you have enough that you won’t streak the polish.
- Dip back into the black as often as you need. If you need to dip back in three times for one nail then do it! You can always pour a bit more polish onto your surface as needed.
- Use the black to do webs, ghosts, pumpkin faces, words, etc.
- Webs: Place a dot of polish either in the middle of the nail or on the side. Using the dotting tool drag out from the dot to the edges of the nail.
- Ghosts: Using just a bit of polish draw the outline of your ghost. Grabbing more polish that before fill in the ghost with your dotting tool.
- Pumpkin Faces: Take a small amount of polish and as carefully as possible make little triangles at the top of your nail. Going back for more fill in the triangles if needed. With a little more polish go across the bottom of the nail to make your mouths. To make the jagged mouth draw a line straight across and then come back with a smaller line at the top on both ends and a small line at the bottom in the middle
- Words: Remember you are writing on your nail so keep the words small if you can. Being very careful, use the dotting tool to write the letters by going one piece at a time. For example, in BOO do the stick of the b first and then come back to do the top curve of the circles on the b and continue at that pace.
- Repeat the process that you just did on the orange nails on the black nail using a flat white polish
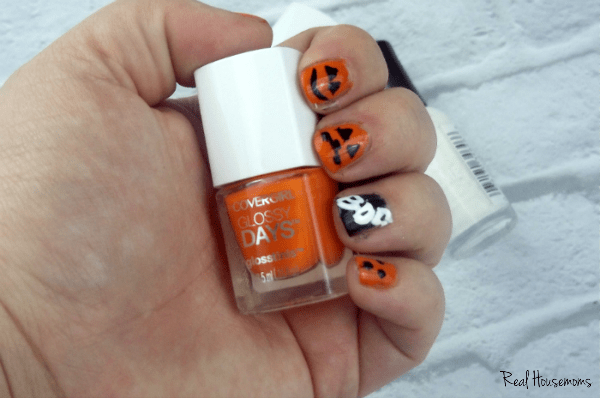
Step Six: The last step is to just apply your favorite Top Coat that will have your nail art lasting awhile. As you can see I did pumpkin faces and the word boo. All were pretty easy to do with patience. One thing to remember is that if you make a mistake it’s not the end of the world. I actually started this tutorial with the intentions of doing webs on my nails. However, that didn’t work out so I used some finger nail polish remover to take the polish off that nail and changed to the pumpkin faces. Just don’t forget if you decide to remove your polish and try again to start back at Step One with your base coat!
All that’s left to do after that top coat dries is head on out to your Halloween parties and let everyone marvel at your awesome nail art skills!


Leave a Reply