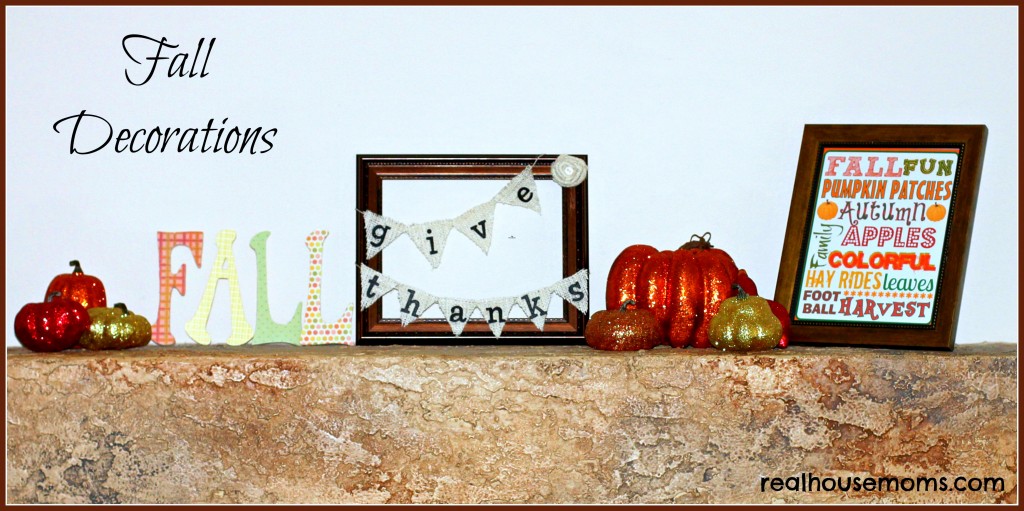
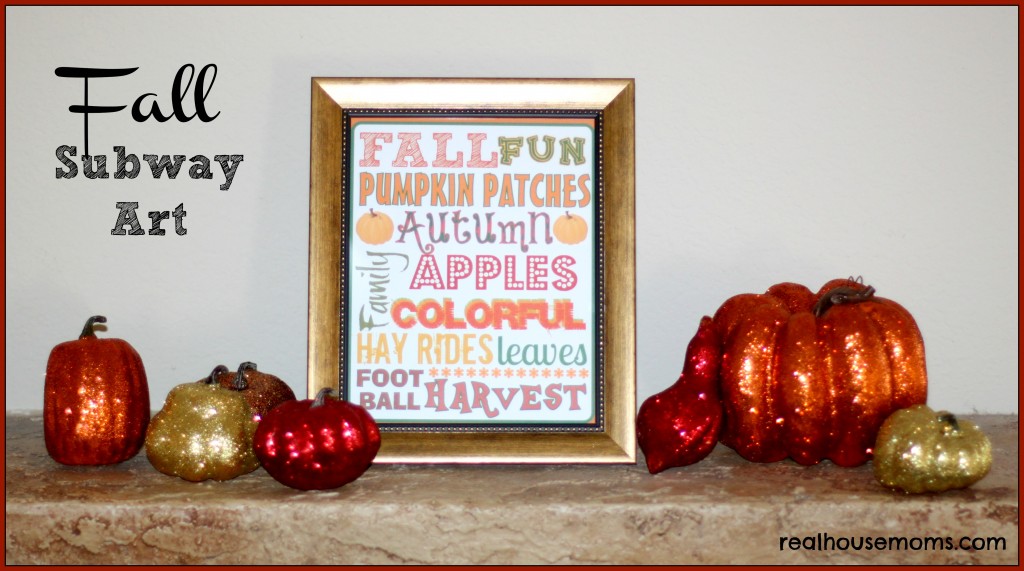
I wanted to add some color to my mantle and enjoy a fall theme, so I made a few decorations.
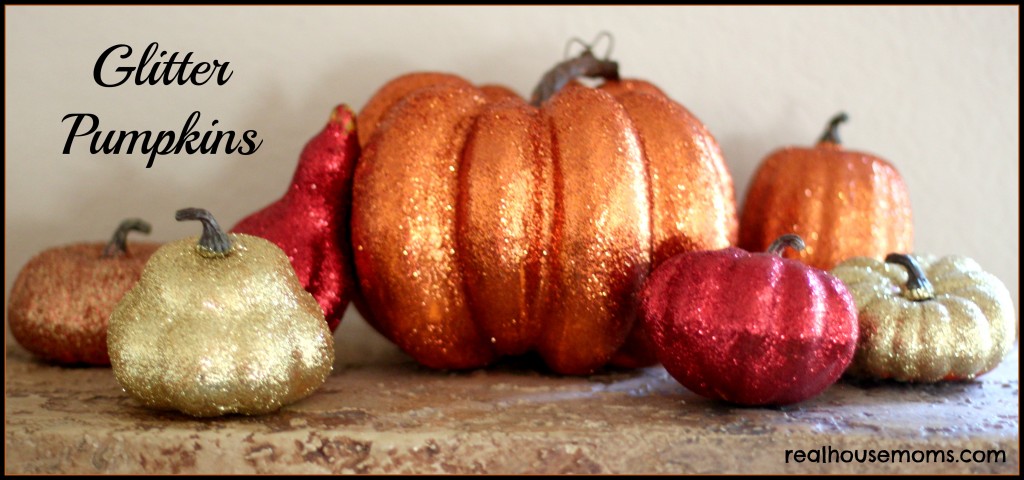
Supplies: pumpkins (different sizes and shapes), white glue, paint brush, fine glitter, cooling rack, wax paper or newspaper
Directions: Put wax paper or newspaper on your table. Put your pumpkin on there to paint on white glue. Shake glitter all over the glue, and tap off the excess glitter. If you miss a spot, just paint glue there and add glitter. Fold the wax paper or newspaper and pour the extra glitter back in its container. To let the pumpkin dry, place it on a cooling rack over wax paper (or newspaper) and begin on the next pumpkin. For a larger pumpkin, put glue and glitter on it a little at a time so the glue won’t dry.
I love subway art and I chose this one to display because of the particular colors and phrases.
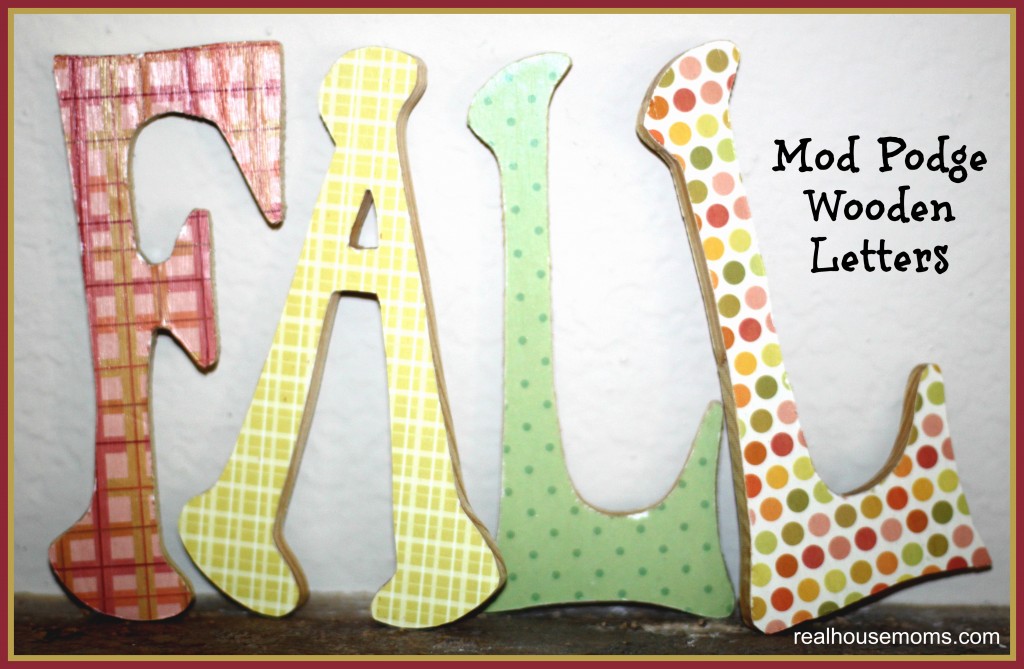
Supplies: wooden letters, scrapbook paper, paint brush or foam brush, mod podge, x-acto knife, cutting mat
Directions: Use a paintbrush or foam brush to apply mod podge on the front of a wooden letter. Put your scrapbook paper picture down and lay the wooden letter on it. Turn the letter over and smooth out any bumps. Let the letter dry for a few minutes. Turn it over so you see the back of the scrapbook paper, put it on a cutting mat, and use an x-acto knife to cut off the extra paper. Apply a coat of mod podge to the top of the letter. Let it completely dry and apply a second coat. Repeat for each letter.
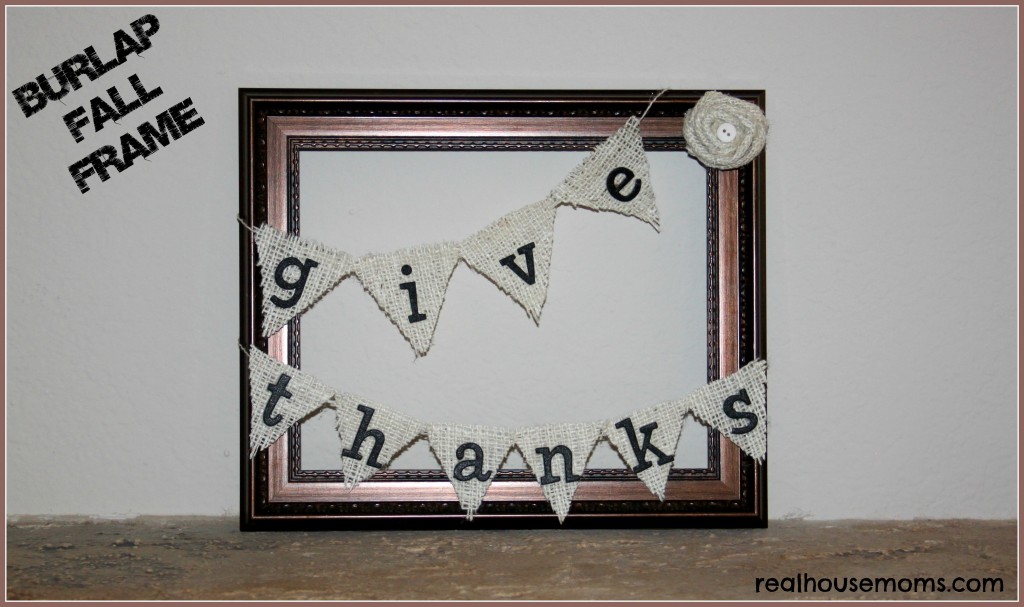
Supplies: frame (I used an 8×10, but you can use whatever size you like), burlap, scissors, letter stickers, mod podge, tacky glue, hot glue gun, felt, button or small embellishment
Directions: Take the backing and glass off the frame. Depending on the size of your frame, decide on the size of your burlap triangles. (I used a little larger triangle template for the letters in “give”). Cut out your triangles. Put the letter sticker on the burlap, apply a coat of mod podge over the entire sticker, let it dry, and apply one more coat. You could also use stencils and fabric paint, but I liked the look of these particular stickers and they were the perfect size for my triangles. Turn the triangles over, starting with the last letter of the word, so they are lined up like this: “evig” and “sknaht”. Put a line of tacky glue along the top of each triangle. and a single strand of burlap over the tacky glue, along the top of each word. Press down on the burlap strand, into the tacky glue. Once the glue dries, put a coat of mod podge on top of the string. Let it dry and attach them to the frame. You can use a hot glue gun, or tape, to attach the string of words to the back of the frame. For the burlap flower in the corner of the frame, cut a 1 1/2 inch by 15 inch strip of burlap (If you want a larger flower, use a longer strip of burlap) and cut out a small felt circle. Fold the burlap in half, lengthwise, and start rolling it, making the center of the flower. After 3-4 rolls, start twisting the burlap away from the center to start creating the petals. Continue twisting the burlap around and holding in place with your fingers, until you are at the end of the strip. Use a hot glue gun to attach the end of the burlap to the flower. Use hot glue on the back of the burlap flower and attach it to the felt circle. Apply more glue in spots that need it and trim excess felt if needed. Glue a button or small embellishment in the center of the flower. (I referred to Craftaholics Anonymous to help me make my burlap flower.)


Leave a Reply