If you’re like me, you have a lot of blank walls in your home just waiting for the perfect piece … or pieces. We’ve recently been working on our Entryway Makeover, and got stuck with what to display on the large, white, BLANK wall. I’ve been thinking, and I think people get stuck in this same place for a couple reasons:
- They are overwhelmed with the options, choices, and scale of what is possible (and instead do nothing … ). (I, too, am guilty of this one).
- They can’t find any artwork or other objects that appeal to you … or have meaning.
- They can’t commit to one style, piece(s), or theme for the space.
- It’s just too dang expensive to fill that wall with art!!
Well … I have an easy way to add a little fun and interest … and even meaning to your walls without much commitment OR expense. And, come to think of it, it doesn’t require much of your time either! Sound like a win-win?
Today, I’m sharing some Easy and Quick Clipboard Art that anyone can make with just a few supplies!
SUPPLIES:
Here’s what you’ll need:
- 3 clipboards. Check thrift stores … sales at Big Box Stores … or coupons at craft stores. You should be able to find these for $1 or less a piece.
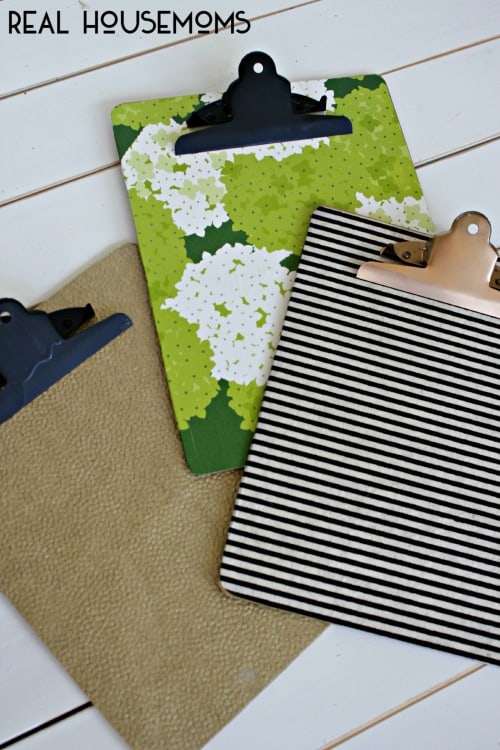
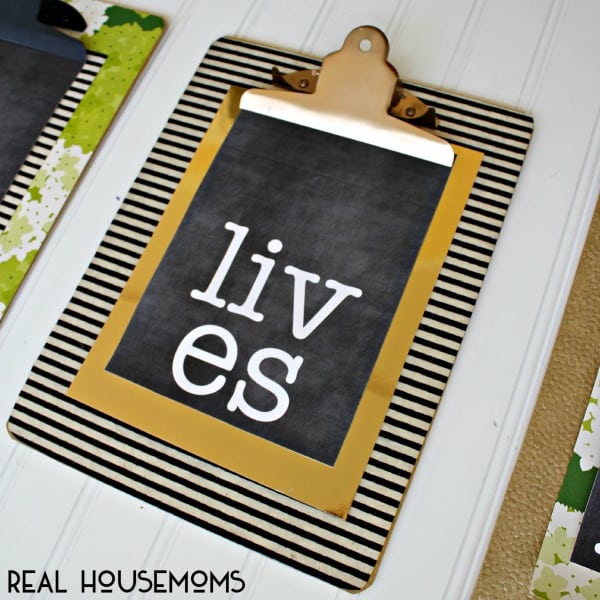
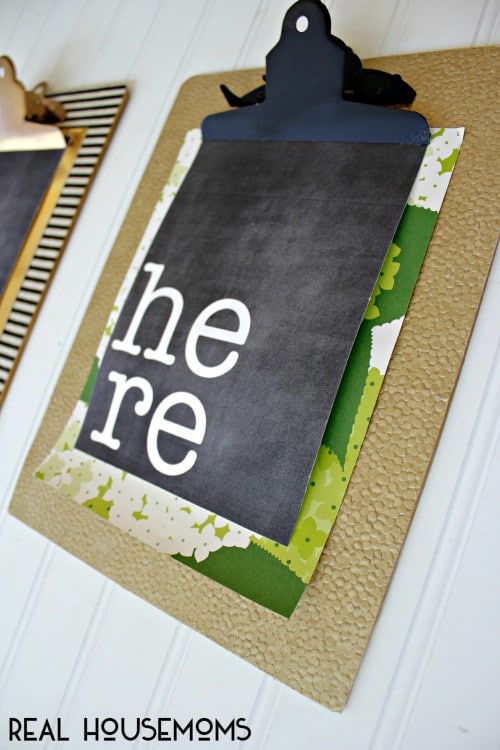
- Pretty paper. The paper choices I used were from Paper Source (Green Hydrangeas HERE and Black/White Stripes HERE) and the gold paper was from Michael’s.
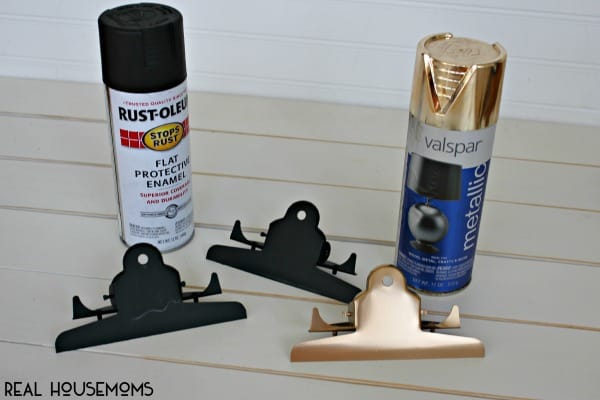
- Spray Paint for clip. I used Rustoleum Flat Black Enamel and Valspar Gold Metallic.
- Mod Podge (I used glossy, but use whatever finish you like to get the look you’re going for!)
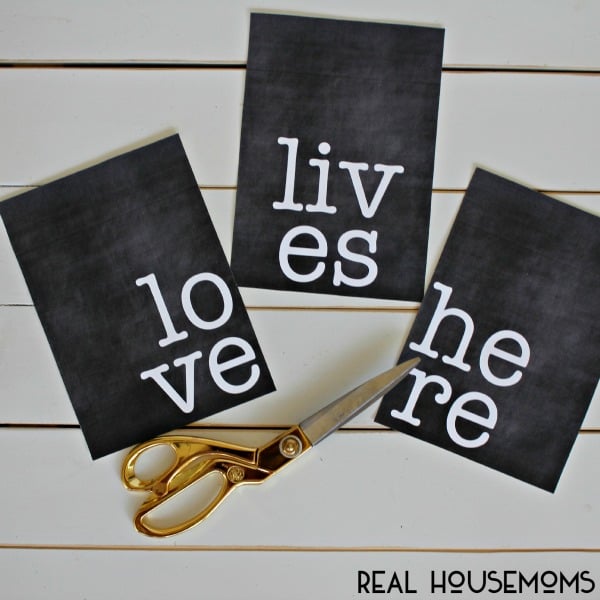
- And … Free Printable Art. You can download our ‘LOVE LIVES HERE’ art HERE or just make your own!
- Screwdriver
PROCESS
And here’s how easy it is:
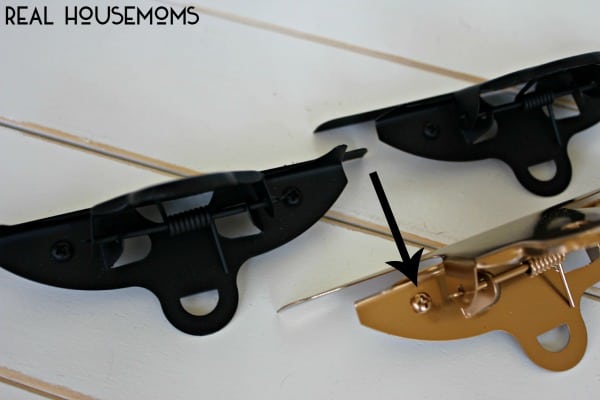
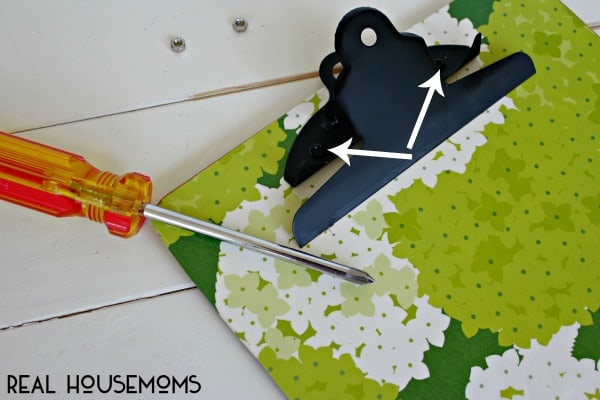
1) Using a screwdriver, remove the screws that are holding the clips onto the board. Then, paint those clips whatever color you choose (in my case, two matte black and one shiny gold).
I left the screws in the clips when spraying to the heads of the screws also were painted (details, details):
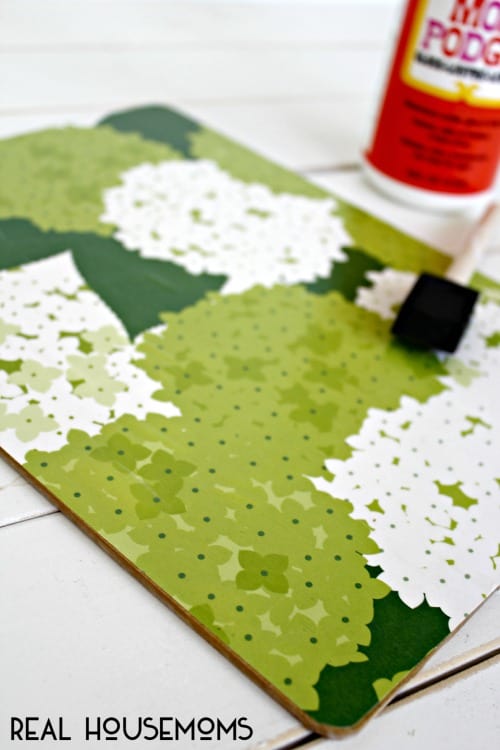
2) Grab the boards (sans clips), your pretty paper, and some mod podge, and adhere the paper to the boards. To do this, start by tracing the shape of the board onto the paper and cutting it out. Then, apply a GENEROUS coat of mod podge (I used glossy Mod Podge) to the face of the clipboard. Set your paper on top, then apply another generous coat of Mod Podge over the entire top of the paper. There’s no need to wait for the ‘bottom’ coat to dry before applying the top coat of Mod Podge. Try to smooth and even out the mod podge on top as best you can.
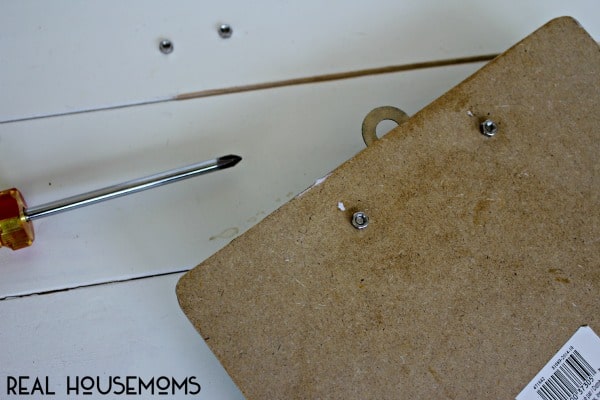
3) Next (and after both spray paint and mod podge have dried), reattach the clips with screws and washers:
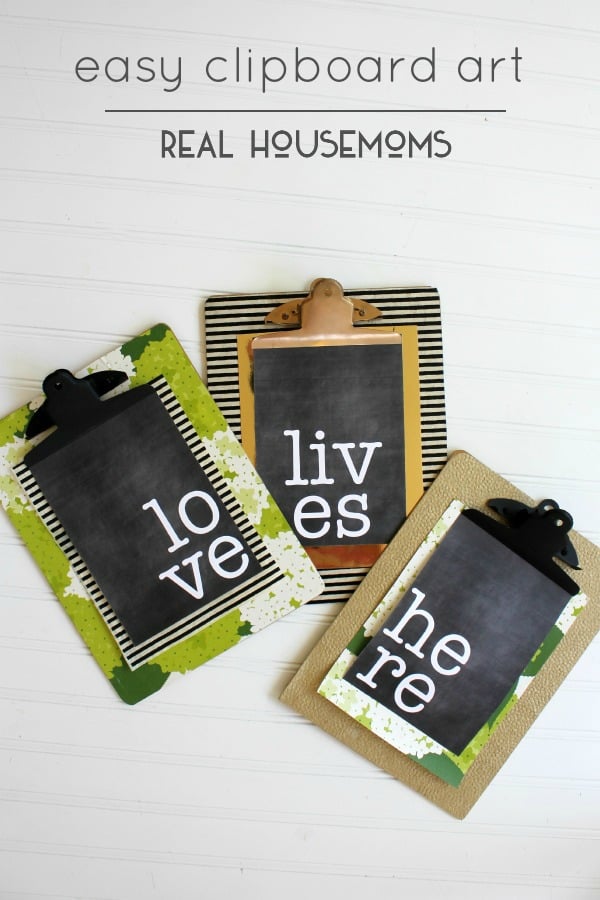
5) Cut out background paper just a bit larger than your printable in alternating patterns for some added interest if you choose (see below).
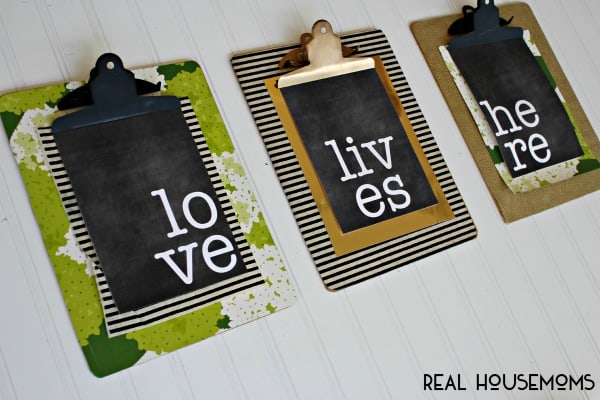
6) Clip ’em all in place:
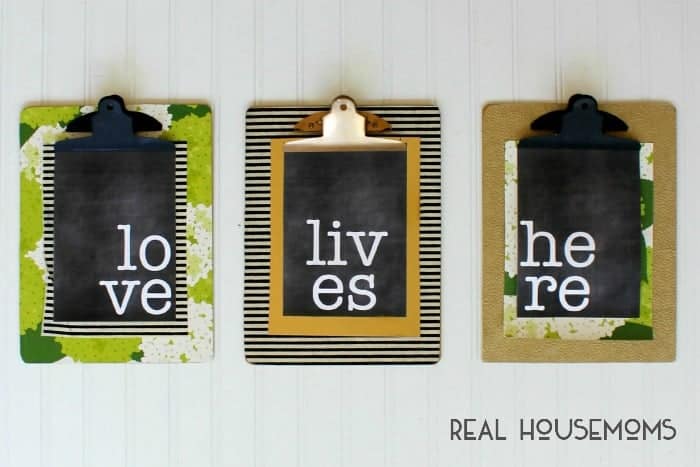
7) And decorate those blank walls … for less than $10!
Pretty, customizable art … with no commitment, much expense, and easy interchangeable! Think of all the possibilities to switch up the printables for the holidays and seasons!
Our entryway (read more about that makeover HERE) was in need of just this! Who knew?!?
Thanks for having me here to share some fun art! I’d love for you to stop over and say HELLO at View From The Fridge. We make it our mission to share easy and inspiring ways to create a Happy, Healthy, and creative family!


Leave a Reply