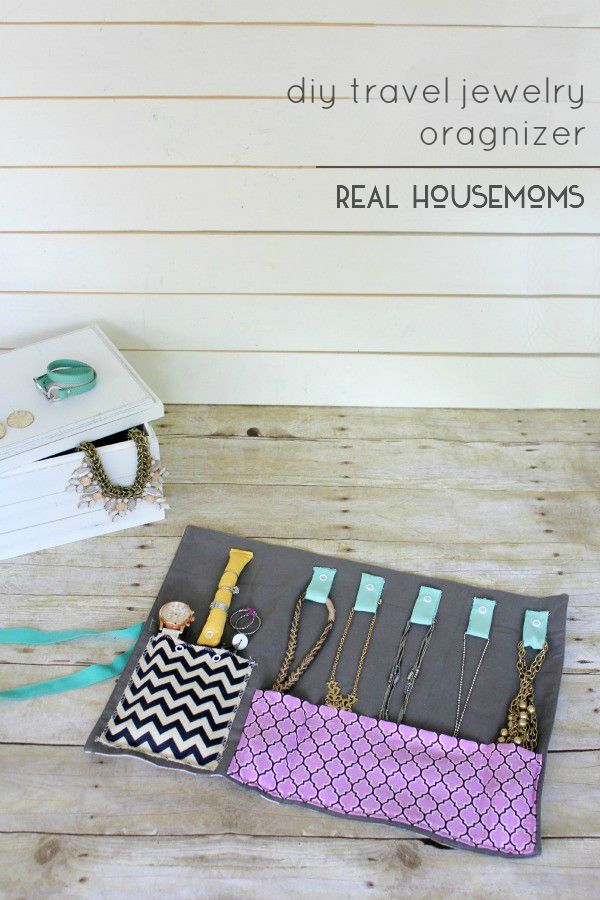
Summer road trips? Business trips? Girls Get-aways? If you have any of these planned in the near future, I’ve got a great {and pretty simple} DIY Travel Jewelry Oraganizer project for you today!
Don’t you hate it when your necklaces all become one tangled mess in your suitcase? Or when one of your pearl stud earrings goes missing (even if it’s a faux pearl from Target)? Yep … happens to me every. single. time. I travel … until now!
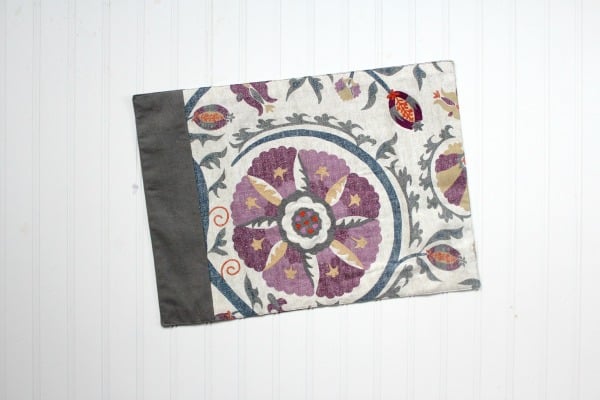
This fancy little contraption has been a life jewelry saver on my trips as of late! And it’s really not fancy … at all! It’s a simple, roll-up jewelry organizer made from a placemat that I found on clearance at Target. You see … this guy was $0.99 on clearance and was solo. Who wants ONE placemat? I’m guessing … no one, except me! Potential formed in my mind!
Obviously, she was meant for better uses. Like a DIY Roll Up Travel Jewelry Organizer Case? Well … yes, ma’am:
And making this was simpler than it looks (and sounds by my instructions below). Here’s what you’ll need:
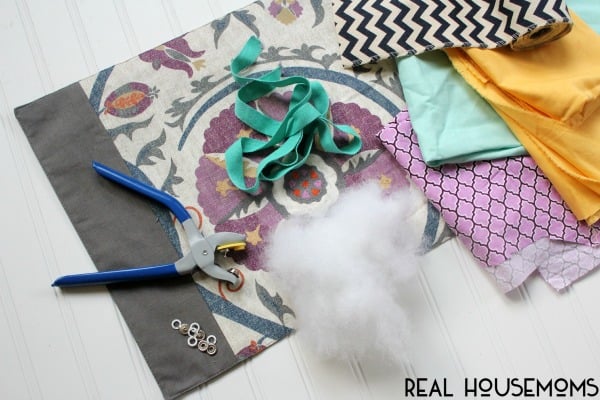
SUPPLIES
- Placemat
- Scrap Fabric in various patterns (largest pieces needs to be ~ 15″ x 7″). I used three different fabrics and one ‘fabric ribbon’ (the navy chevron below) that I found at Michael’s for this project.
- 8 – 4 part snaps
- Snap Setter
- Ribbon for tie up (~ 2′)
- Poly-Fill (or similar) for ‘ring finger’.
And here’s the steps …
STEP 1: Cut your fabric pieces
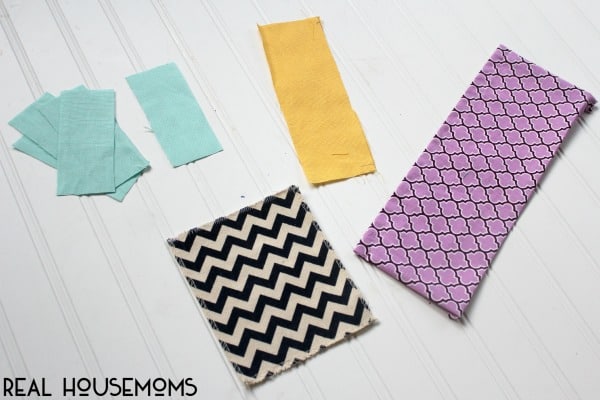
- You’ll need one larger piece of fabric for the necklace ‘pockets’. This is the purple fabric shown below. I cut mine to 15″ x 7″.
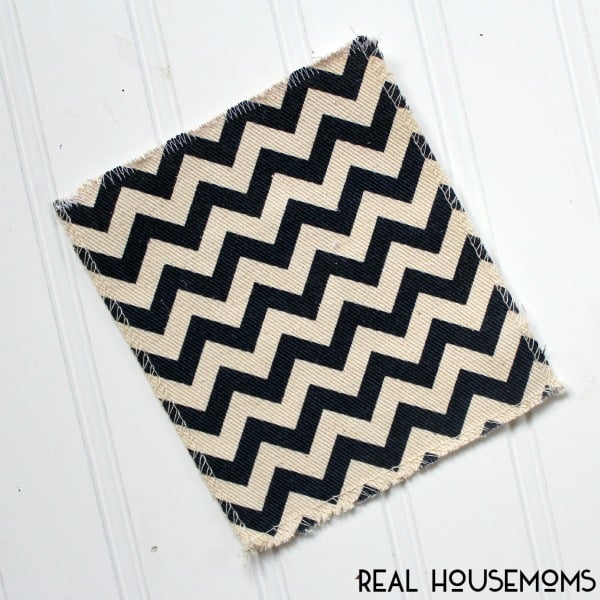
- One piece of fabric for the pocket. I used the chevron fabric ‘ribbon’ for this which is about 6″ (wide) x 8″ (tall).
- Cut one piece of fabric for the ring ‘finger’ at 3″ wide x 7.5″ long (yellow fabric shown below)
- Cut 5 pieces of fabric for the necklace top snaps. I cut 2″ x 5″ pieces of fabric, but you could also use a heavier weight ribbon in similar dimensions.
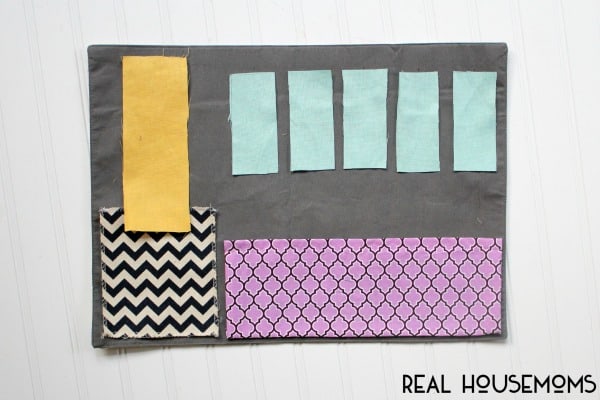
STEP 2: Determine the general layout of your organizer:
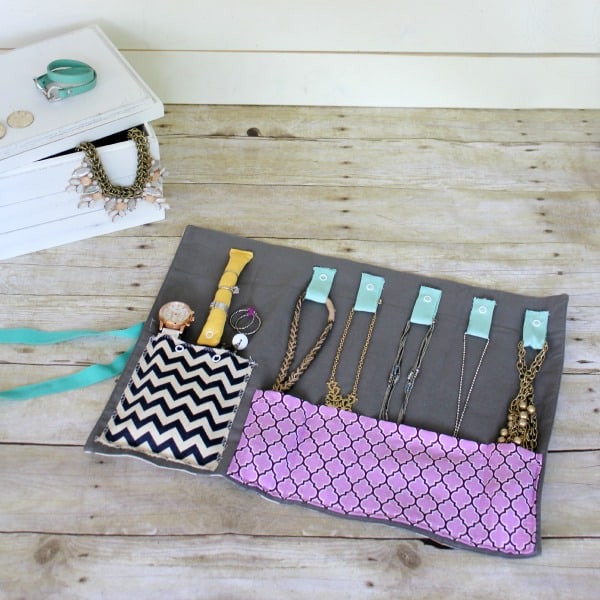
The yellow piece will be ring ‘finger’; the 5 aqua pieces will be top necklace snaps; the purple will be necklace bottom ‘pouch’; and the heavier chevron fabric will be the pocket for everything else!
STEP 3: Finish the edges of your pocket and sew in place in bottom left hand corner of placemat. I simply sewed all four edges with a zig-zag stitch to prevent fraying and then sewed the three edges onto the placemat (excluding the top edge to slip bracelets and earrings in and out of). After it was in place, I secured two snaps to the top edge using my snap setter. Using velcro here would also work great!
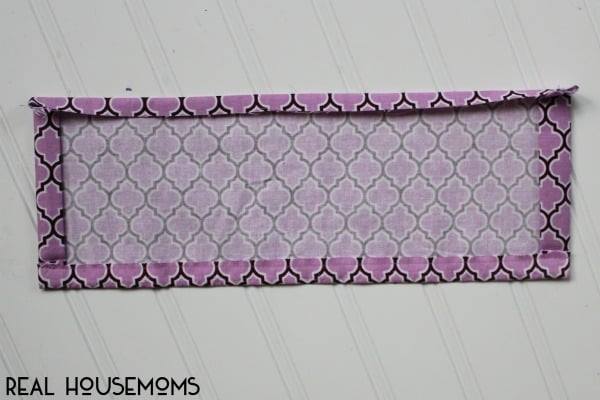
STEP 4: Create your necklace bottom ‘pocket’. Fold over all edges 3/8″ and press. Then … fold them over another 3/8″ and press again to create finished edges:
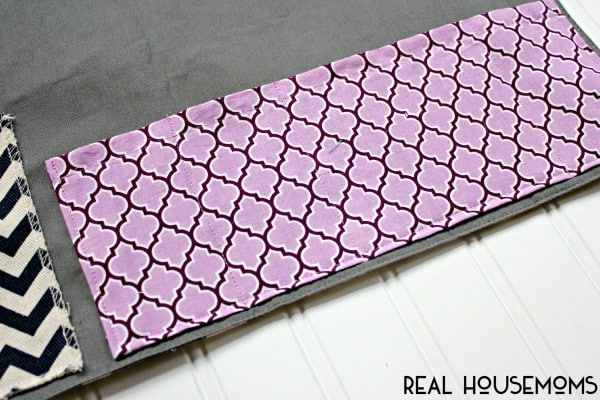
Pin and sew the bottom pocket into place on the placemat. I divided the pocket into 5 spaces (to help keep necklaces separated, and sewed dividers in the purple fabric:
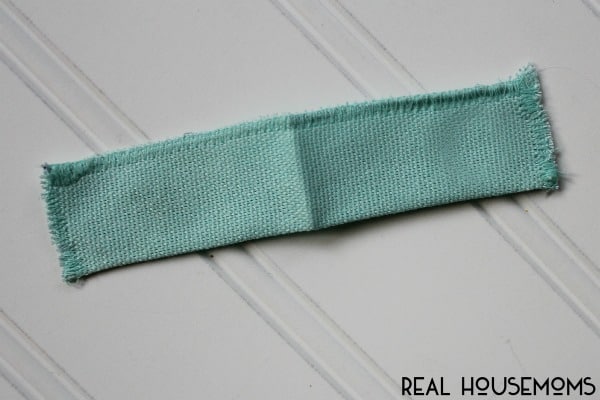
STEP 5: Make the necklace top ‘snaps’ with the fabric (or ribbon) rectangles you cut. I did this a ‘rough’ way. I simply folded the fabric strips in half lengthwise, ironed, and sewed the halves together around the edges using a zig zag stitch:
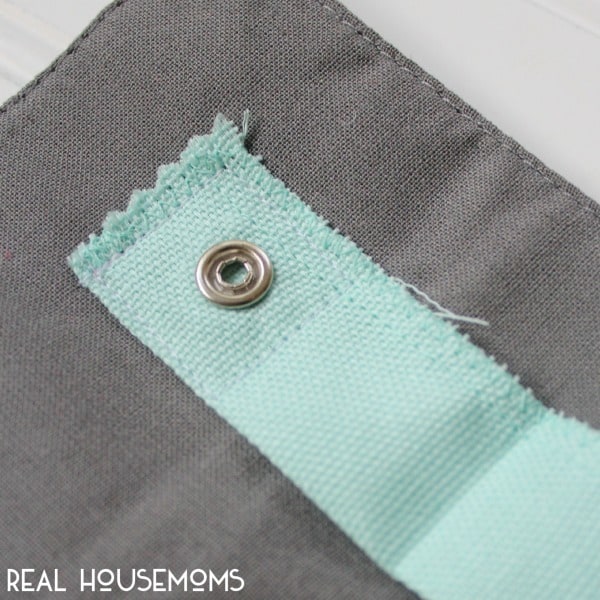
I added snaps to each end, and sewed one end of each fabric piece to placemat as shown:
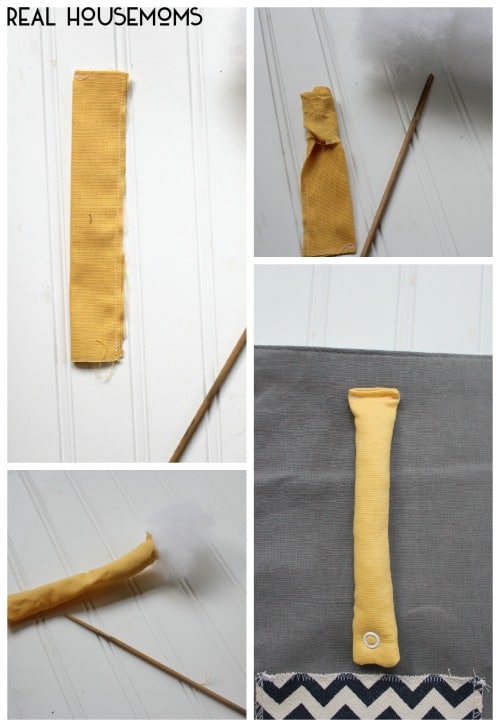
STEP 6: Make your ring ‘finger’! Grab your 3″ x7″ piece of fabric, fold in half lengthwise with right sides facing, and sew around two edges (leaving one small edge open). Flip the ‘tube’ right side out through the open end. Use a dowel, stick, pen, or other long skinny object to help! Then stuff the tube will a bit of filling (be careful not to overstuff or your rings won’t fit!). Once stuffed, secure the open end onto your placemat with a straight stitch that closes tube at the same time. Add a snap to the bottom end (with the other half of your snap secured to placemat to hold the ‘finger’ in place):
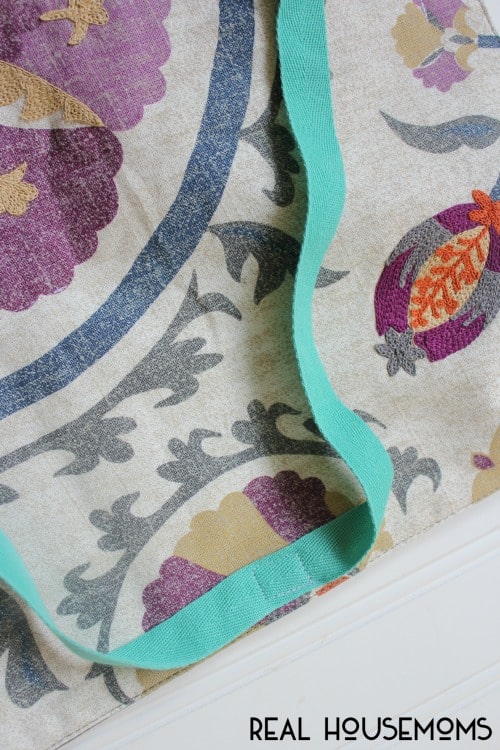
STEP 7: And finally … attach your ribbon to the outside edge of your placemat. I simply sewed the center of the ribbon onto the center of an edge of the placemat:
That’s it! Fill your organizer with your jewels …
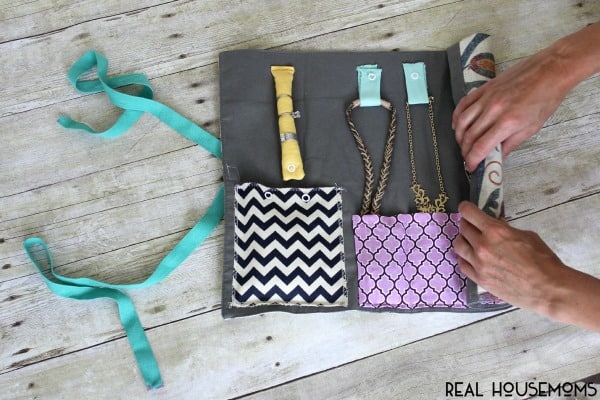
Roll it up …
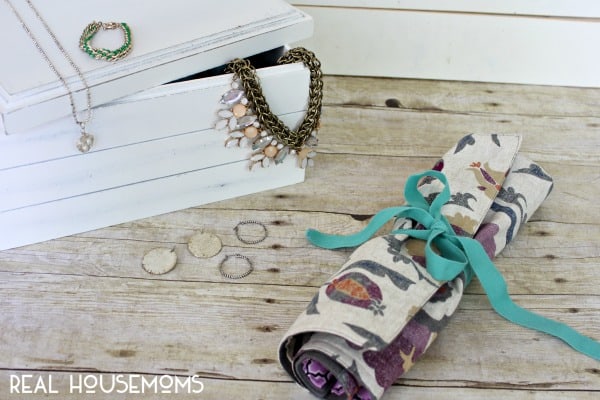
Tie a secure bow, and toss it in your bag!
And that’s it! A safe, convenient … and pretty way to keep your jewelry organized, safe, and tangle free on your next trip! Just keep your eyes open for a cute placemat on clearance.



Michelle says
These are totally adorable! I’m pinning for future use!
Vicki says
Very nice! Like something straight of Etsy!