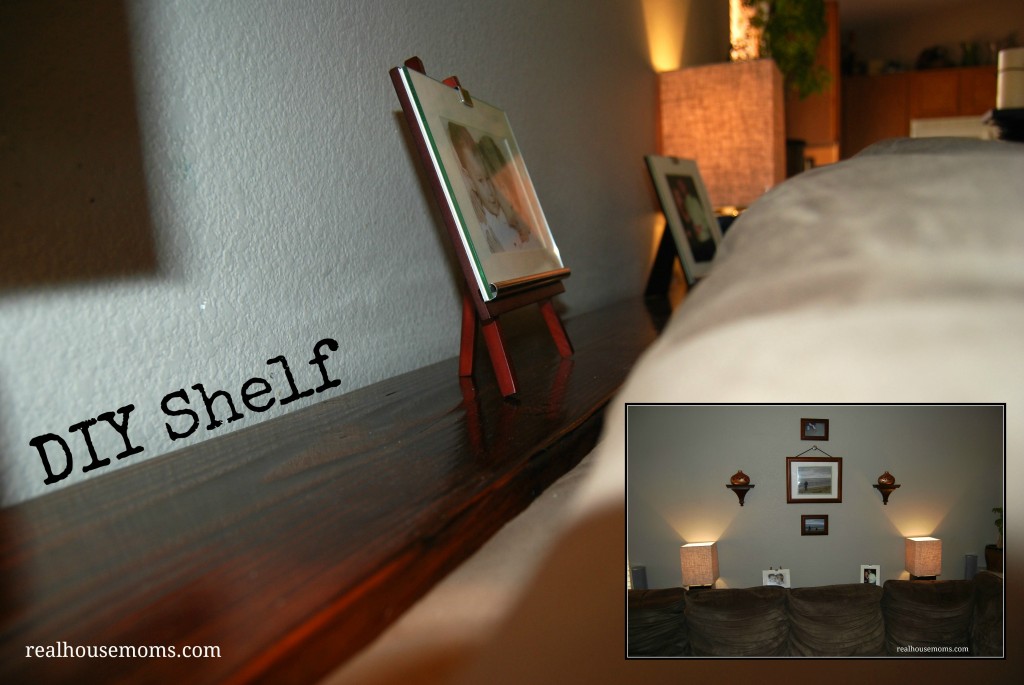
This was an idea that I saw on Pintrest and thought it would look fantastic in my living room. I loved the fact that it provided more space lamps behind the couch and for some fun decorative items. I already have a fall decoration slated for back there! This was so simple and inexpensive. There aren’t a whole lot of directions and it is easily customizable. It can be adapted to be used as a shelf anywhere around the house and much cheaper than those pricey shelves you can get. It was probably the easiest build ever and it’s a great project to start with if you haven’t done a lot of DIY yet. Let us know what you think or how you use the idea!
- Lumber (long enough and at least 10″ wide)
- “L” brackets (we used 4, your amount will be determined by the length of your shelf)
- Screws shorter than the thickness of your board)
- Stain (we used a polyurethane and stain combo)
- Sandpaper (#60 and #220 grit)
- #00000 Steel wool
To start you want to measure the length of the area where you want your shelf. In the original post they used a 12″ wide board. I wanted to use this but Casey was worried it would be too wide so we compromised and went with a 10″ wide board. I’m glad we didn’t go any thinner because our lamps barely fit and if it was a round lamp it wounldn’t have fit. When you pick out your board look over a few and see which one looks the prettiest if using stain. We then had the wood cut for free at the hardware store to save us the step at home and to make it easier to get it home.
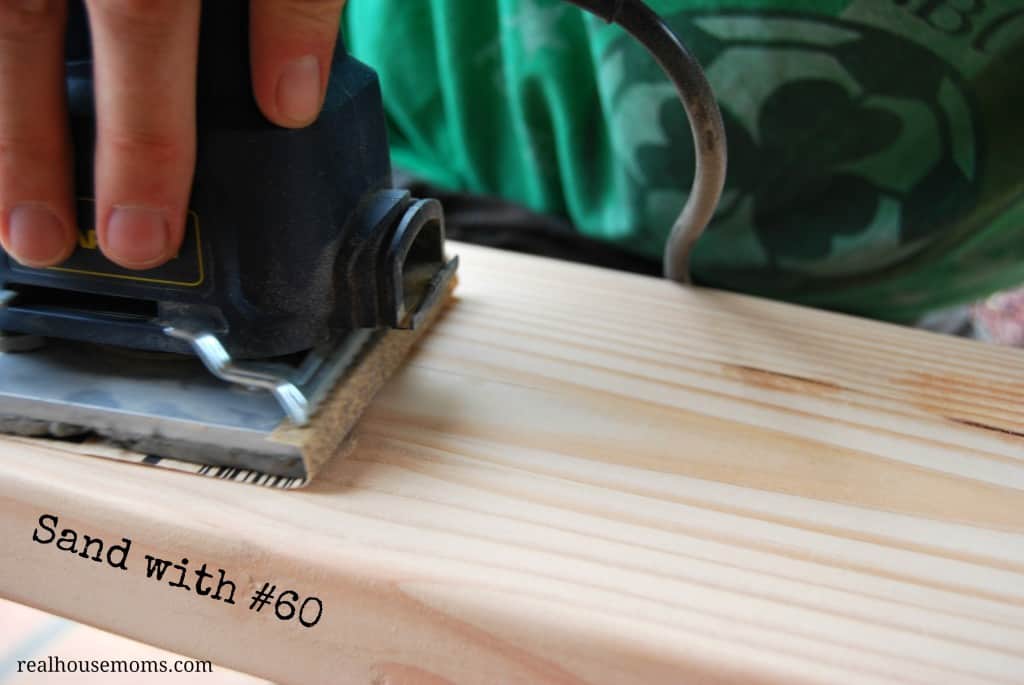
Start by sanding with the 60 grit sandpaper to get out all the imperfections and to round the edges and corners. Once this is nice and smooth switch to the 220 and go over the wood for an even smoother finish. Once this is finished get a hand towel damp. (I really wrung this out good.) Wipe down the wood but don’t allow it to get wet. You want a clean surface before you begin to stain.
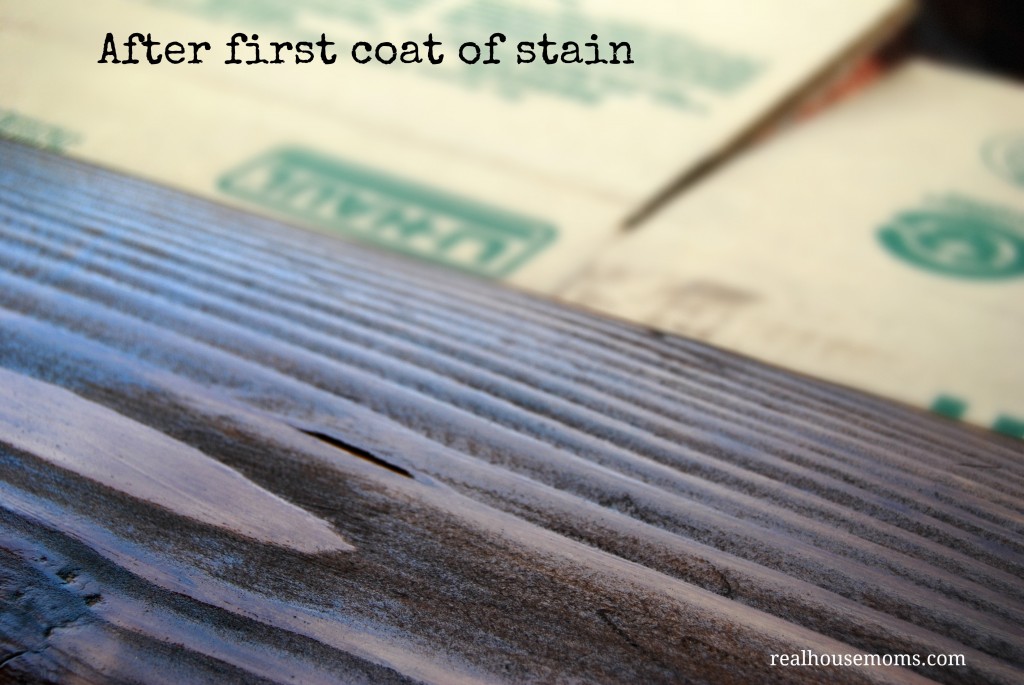
Apply your first coat of stain and avoid bubbles. I put the stain on then ran my brush down the entire length of the board at a 45 degree angle. Allow the stain to dry at least 7 hours then sand with the steel wool and apply your second coat. Allow this to dry, I let mine dry overnight.
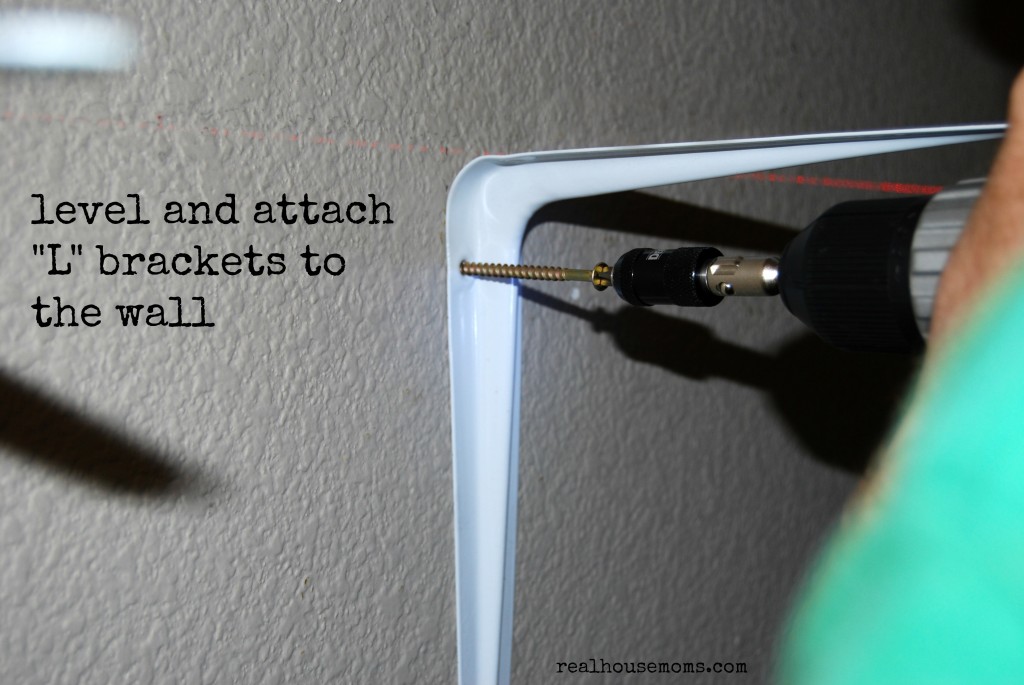
To hang on the wall we measured the height of the back of the couch and then marked that on the wall. We then used a leveler to mark this line along the wall. The next step is critical!!! Find the studs to make sure that once the weight is on the shelf it will stay up. You don’t want to see your wall on the floor! LOL.
You will now screw your “L” brackets into the wall. Make sure that you subtract the thickness of your shelf from your total height if you want it at a certain height. So, we wanted our shelf to be no higher than the back of the couch at 31″ and our shelf was 2″ thick so we put the “L” brackets at 29.” Once, you have these screwed into the wall you can lay your shelf on top and screw in. Now, enjoy your beautiful new shelf.
Inspired by:


Leave a Reply