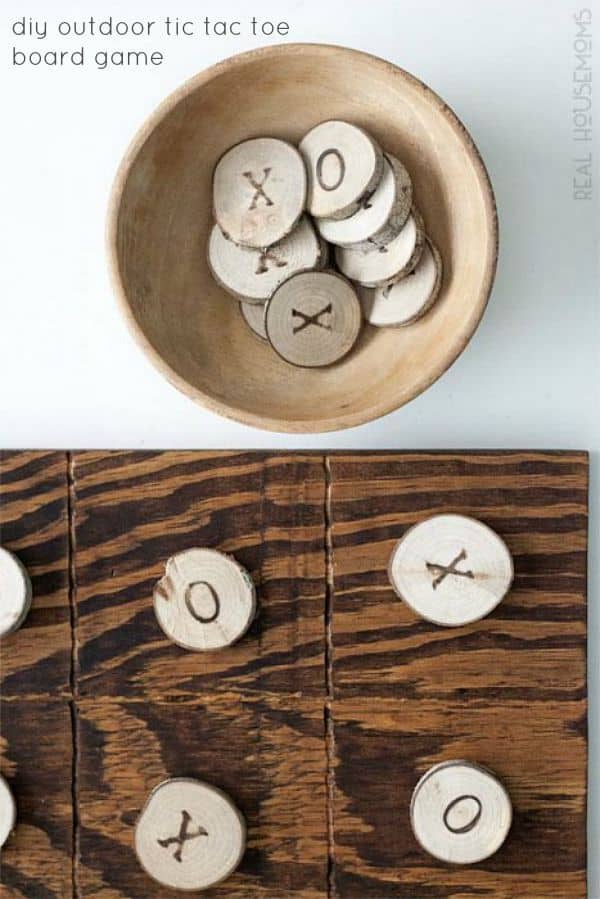
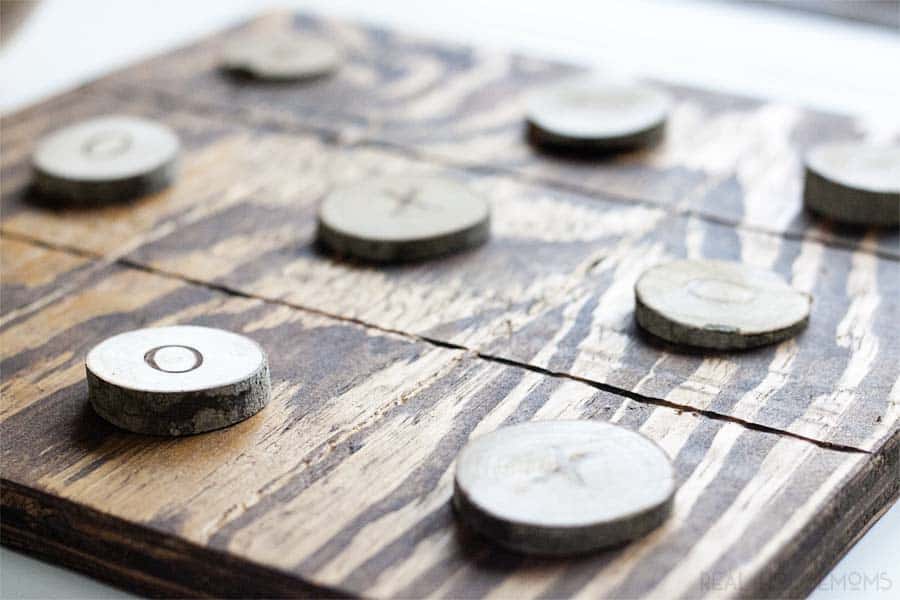
Umm. Quick question. Why is it called Tic Tac Toe anyway? I have no idea but I do know that this and Checkers could keep my kids busy all day! You’ll get no complaint from me on that. That’s why as we get close to finishing our ultimate clubhouse build (which I gave you a sneak peek of last month in my DIY Wooden Picnic Chargers post!) I thought it would be fun to make them an outdoor version for their new clubhouse. Here’s how I made a DIY Outdoor Tic Tac Toe Board Game for free using wood and yard scraps!
Of course you’ll require a couple of tools if you want to make my version but I’ll give you variations along the way in case you don’t already have these tools on hand. For example, to cut the board you’ll need a portable circular saw, often called a Skil saw. Then, you’ll need a table saw to cut the wood slices. I’m using scrap wood from a previous project for the board and wood slices I cut from an old fallen tree.
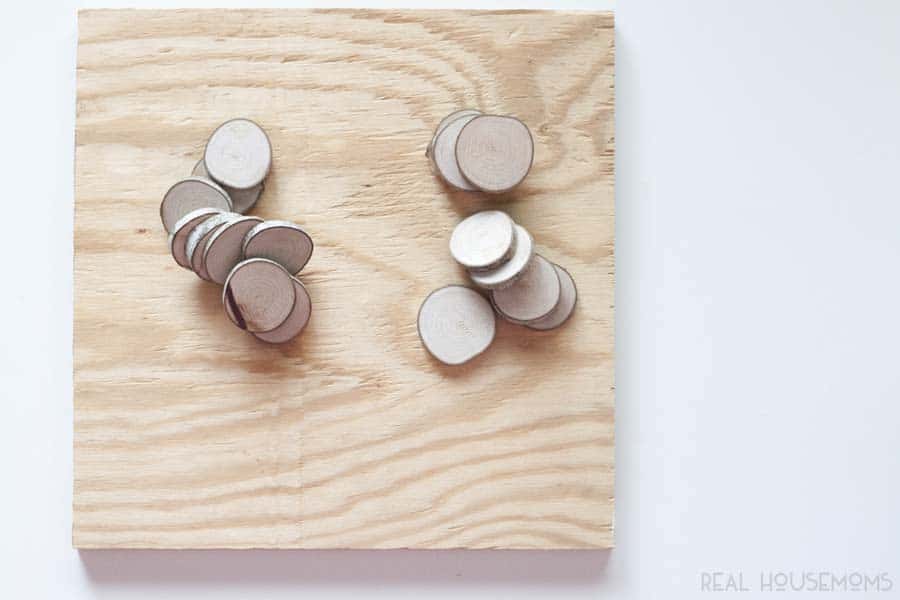
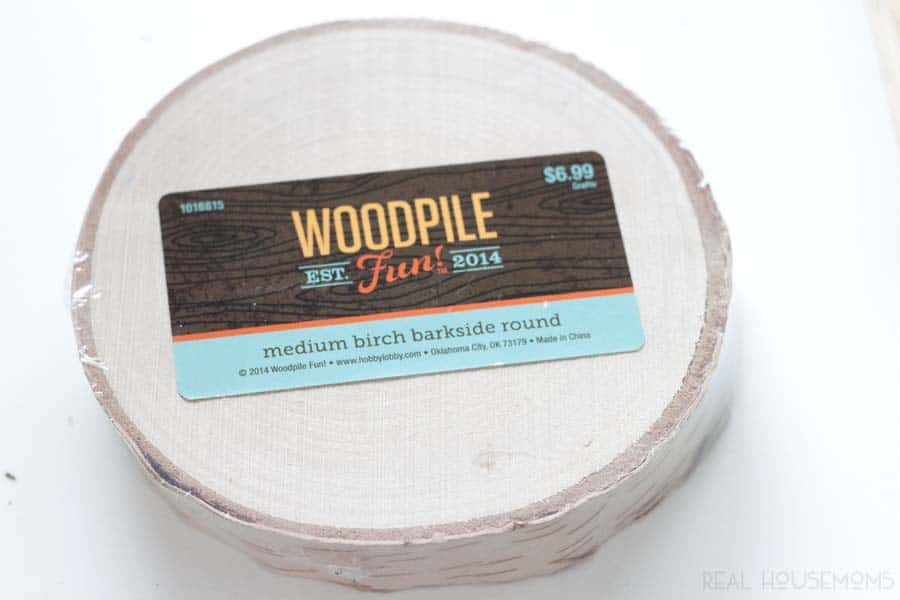
If you don’t have these tools and you wouldn’t work with them enough for it make sense for you to buy them you could always get a large square wooden plaque and pre-cut wood slices from your local hobby or craft store.
Supplies:
- 12-inch x 12-inch wooden board or plaque
- 18 wood slices (9 Xs and 9 Os)
- Wood Burning Tool
- Dremel, router or permanent marker
- Sander or sandpaper
- Pencil
- Ruler or measuring tape
- Stain
- Cloth (for staining)
- Outdoor sealer or varnish
- Brush for varnish
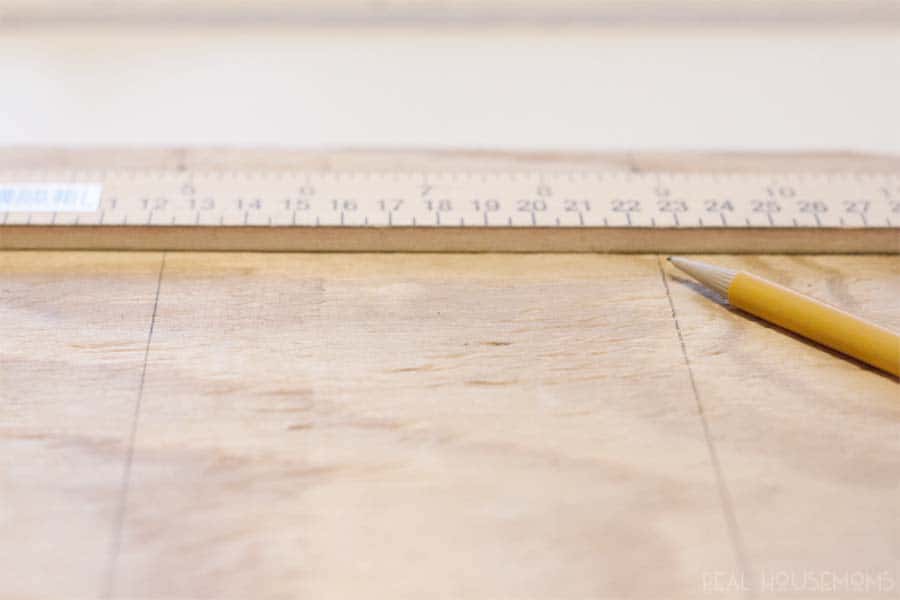
I started by diving my board into 3 equal sections. Since your board is 12″ square it makes for easy 4″ sections.
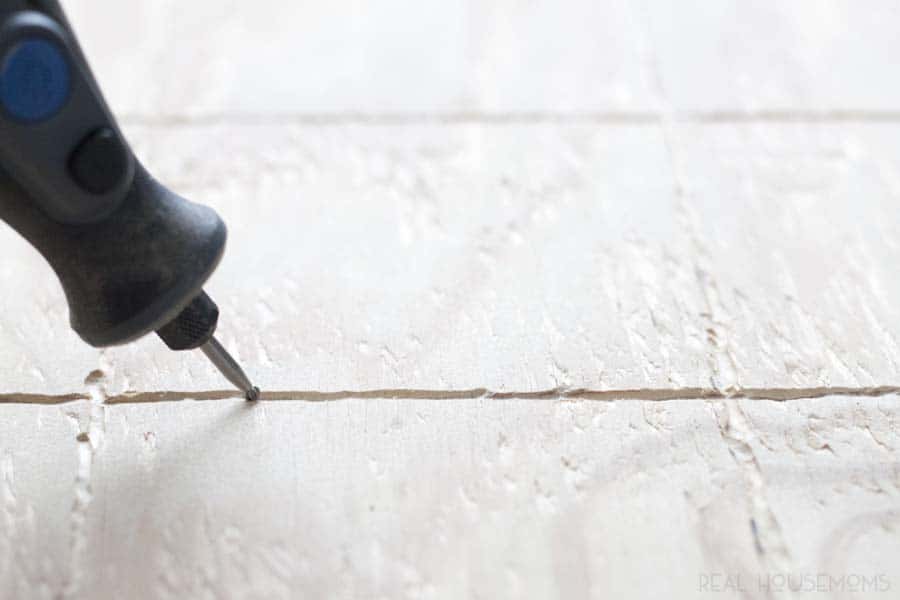
After my lines were drawn I used my Dremel to etch them out. I wanted my board game to have kind of a rustic feel but if you prefer straighter lines you could use a router to achieve a more polished look. Alternatively, if you don’t have these tools you could use a permanent marker to make your lines and just stain over that. It’ll dull your marker enough to make it blend in without taking away your line definition.
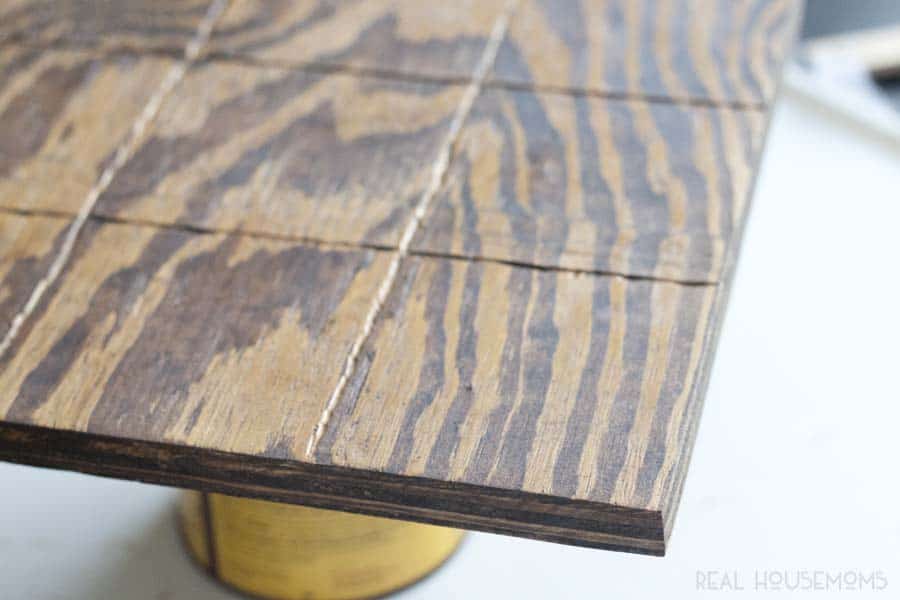
Now it’s ready for stain. My board only required one coat. I used an old cloth to apply the stain and allowed it to dry for 4 hours.
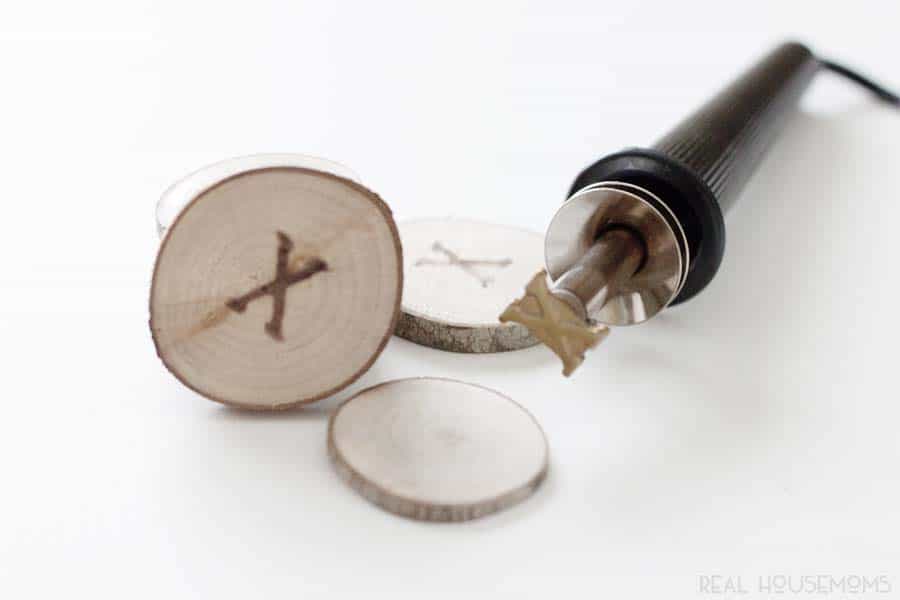
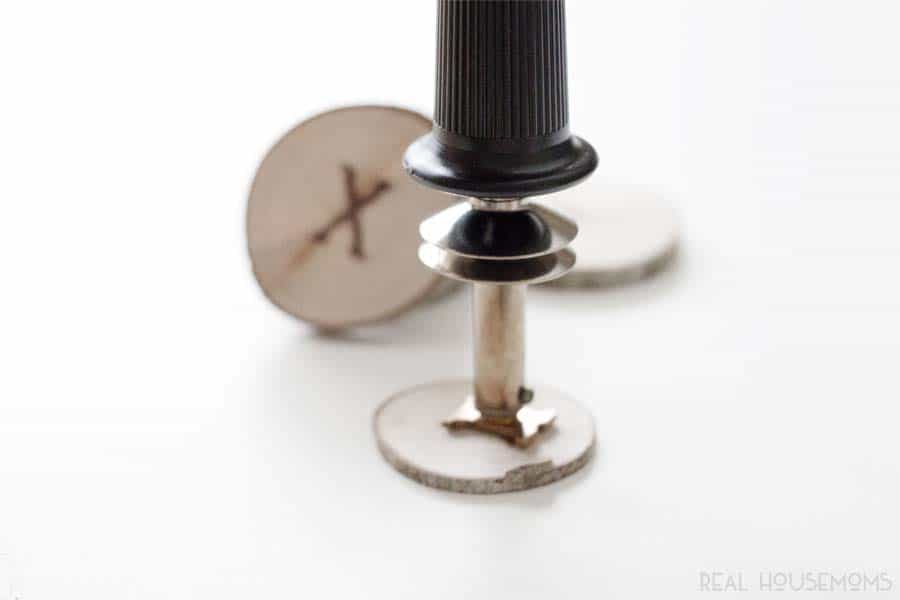
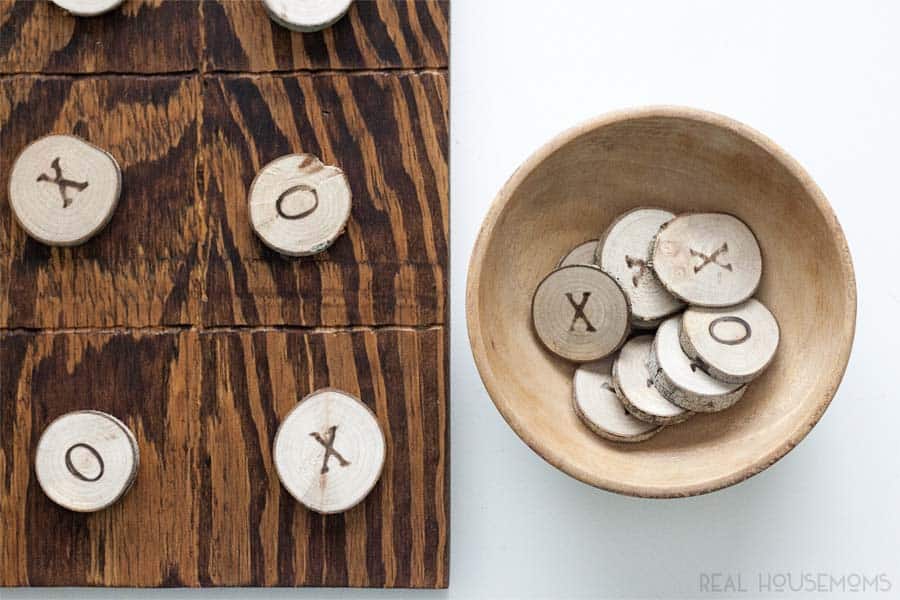
While I was waiting for the stain today I got started on the Xs and Os. Using a wood burner I burned them into each of the wood slices.
You’ll need 9 Xs and 9 Os.
Once your stain is dry you’ll want to cover your board (only) with an outdoor quality stain or varnish. You could also use Tung oil if you prefer.
Allow that to dry thoroughly and you’re ready to play. I can’t wait to show you how cute this all looks in the new clubhouse. Maybe I’ll make checkers next. What outdoor game would you love to make?


Leave a Reply