As we enter this holiday season, so much turns to handmade and DIY. And today we’re going to show you a project that you can take on that won’t take a ton of time or money but the result is stunning – this DIY Distressed Mason Jar Vase. Now I’m a HUGE fan of mason jar crafts, aren’t you? They just always turn out so cute and are perfect for decor or make the most welcoming of gifts.
And today we’re going to show you just how to achieve this beautiful time-worn look. Because who doesn’t love a little shabby chic? And with the warm colors of Fall, projects like these will be perfect for your craft parties and project lists!
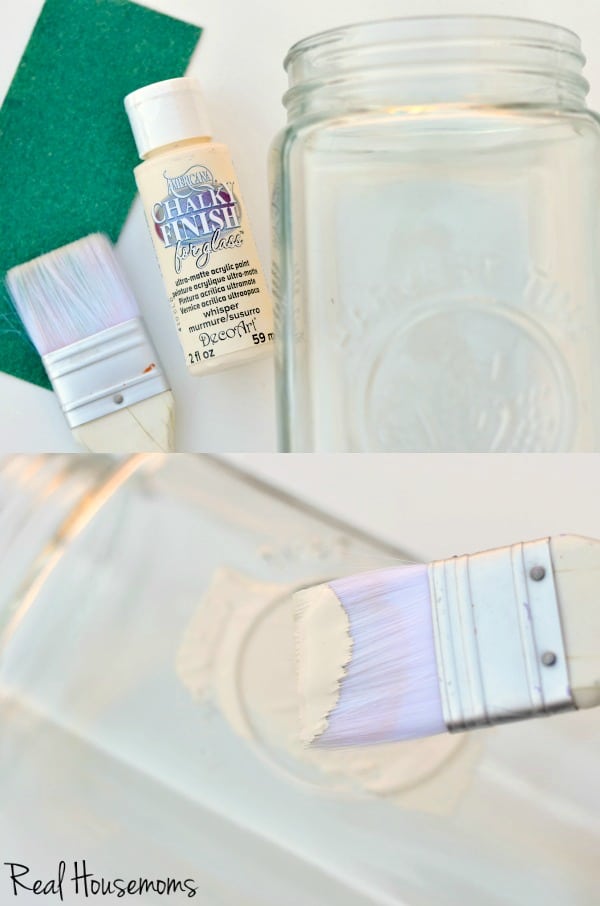
Here’s what you’ll need:
- Mason jar vase
- Chalk paint
- Paint brush
- Sand paper
And the steps:
- Wash and dry your mason jar vase thoroughly! Clean off any residue from tags or stickers.
- Once clean and dry, paint your jar with chalk paint until you reach your desired coverage. This may take a few coats; be sure to wait at least an hour between coats for adequate drying time.
- Once your desired coverage is achieved, let the paint dry completely, best overnight or for 24 hours.
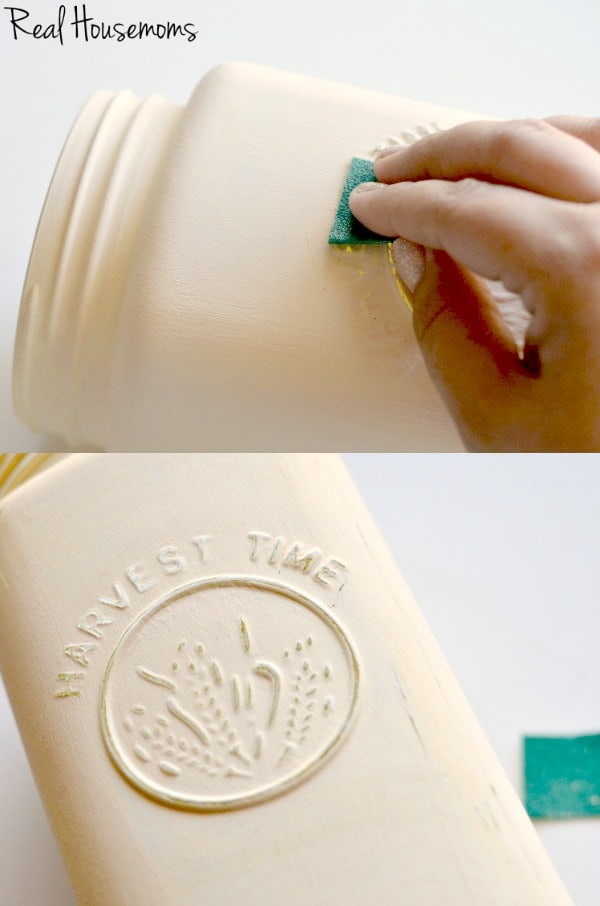
- Now that your painted mason jar is dry, it’s time to distress! Cut a small rectangle out of your sandpaper and fold over to make a small square.
- Run your sandpaper over raised areas on the jar – wording, images and the rim. This will let the details shine through! Then “rough up” some edges and corners of your jar until you’re happy with the final distressed look.
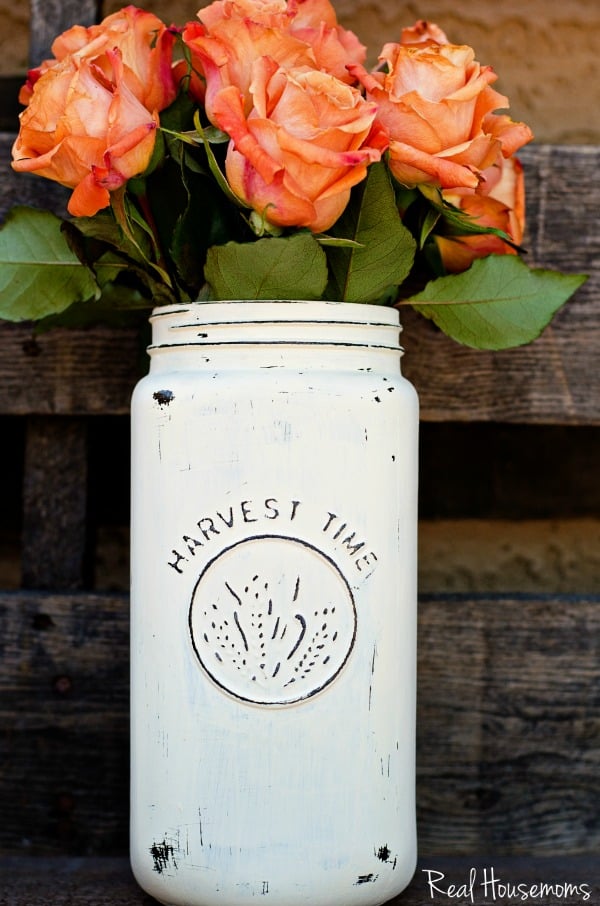
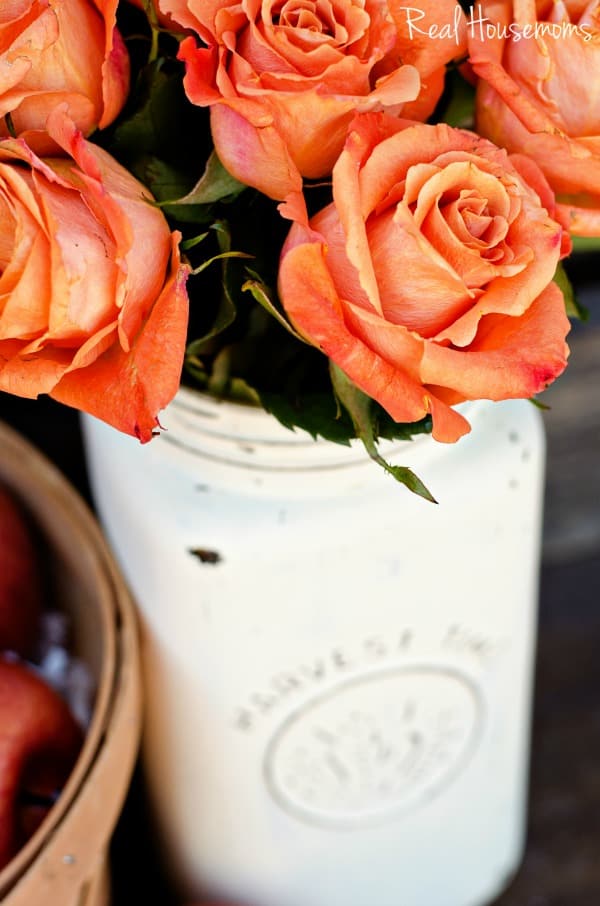
The hardest part of this beautiful craft? Literally waiting for the paint to dry! But the outcome? Completely worth it! Add in some gorgeous Fall colored flowers…
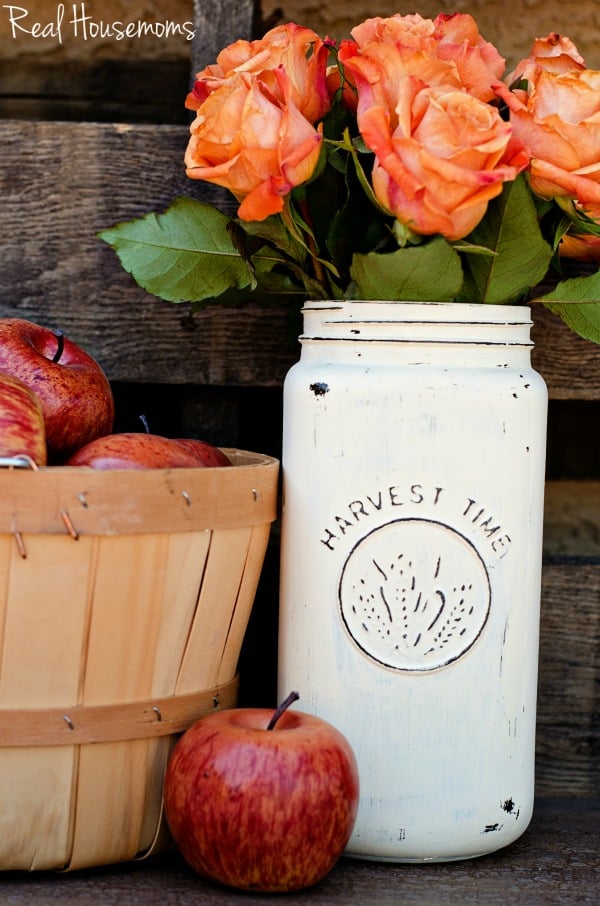
Pop it next to your Fall display – perfection!
Any which way, you can’t go wrong with this beautiful and EASY DIY Distressed Mason Jar Vase! Just think, your store-bought flowers never have to be embarrassed about their vase ever again. I snagged these beauties for just a few dollars and at home they’ve just warmed up the space! Just change out the arrangement for a variety of looks. Can you imagine a stack of dry wheat? That would look simply gorgeous! The sky is the limit and after you’ve put just a little effort in, you have a craft you can use time and time again.
Well thanks for having me folks! If you enjoyed this easy and beautiful craft, be sure to head over to A Night Owl for more! We’ve recently shared a gorgeous and Easy Fall Hydrangea Wreath and a DIY Apple Chalkboard that are BOTH perfect for your Fall crafting list! Say hi if you drop by!



Leave a Reply