Hi I’m Courtney and I blog over at Crafts by Courtney. I’m super excited to be a new contributor for Real Housemoms. I can’t wait to share all my craft ideas with you.
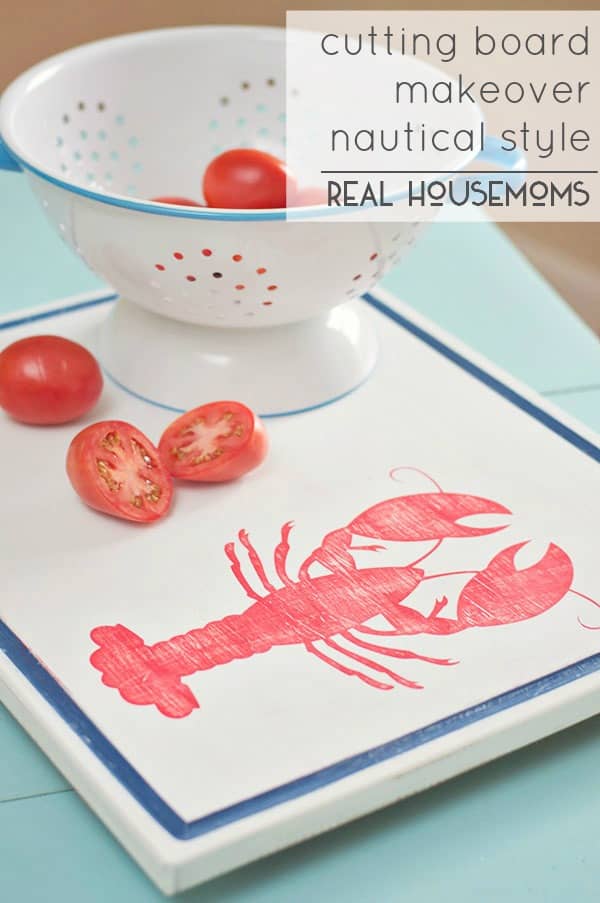
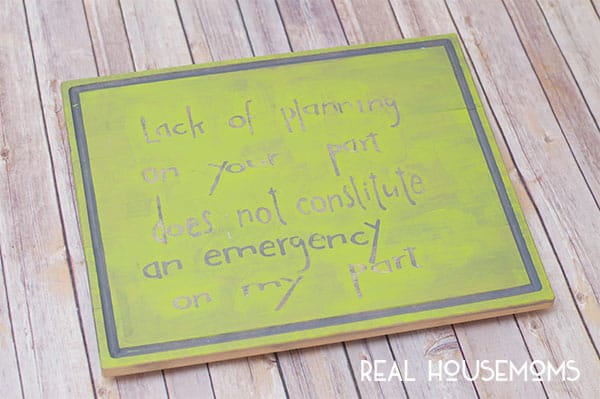
Recently, I was over at the Habitat for Humanity searching for some goodies and boy did a find one! I scored this cutting board for only $2.50. I knew I wanted to give it a cool nautical makeover to match my kitchen decor.
I’m OBSESSED with lobsters right now, so I knew I wanted to incorporate one into the new look of the cutting board.
The hardest part was picking out my colors. I didn’t know if I wanted to go for a more beach-y color palette (coral or turquoise) or something with a nautical theme (like red and blue).
In the end, I wanted to do something a little different and go more nautical. Since most of the colors in my home are beach-y. I also had to pulled out my “Handy Dandy” Silhouette Cameo for this project.
For this craft, you’re going to need the following materials:
Supplies
- Cutting Board
- Sandpaper
- Paint
- Paint Brush
- Soft Wax
- Silhouette Cutting Machine
- Vinyl
- Transfer Paper
Getting Started
Once I got home, I pulled out all my craft supplies. I already had everything on hand (which worked out perfect). It pays to be a craft supply hoarder!!
It’s naptime, so let’s get crafting!
Step 1 – Sand and Paint Board
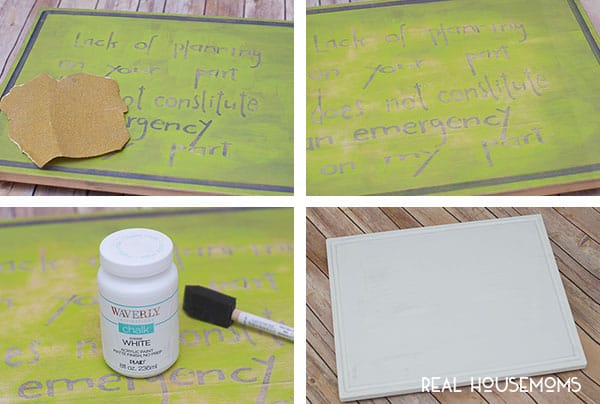
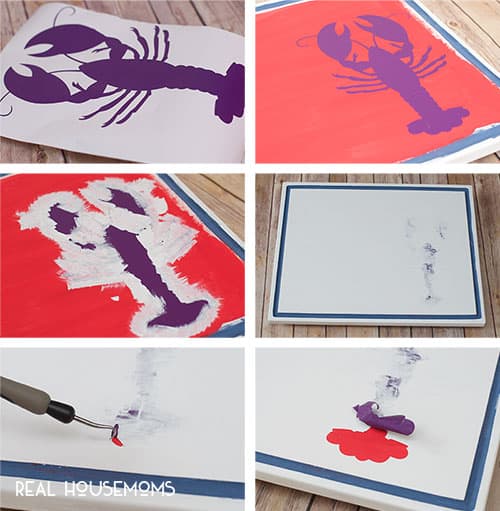
Since there was already some stenciling on the front, I just lightly sanded over the whole cutting board. Then, I added one coat of white chalk paint over the whole board letting dry 30 minutes.
Step 2 – Paint Center and Border of Cutting Board
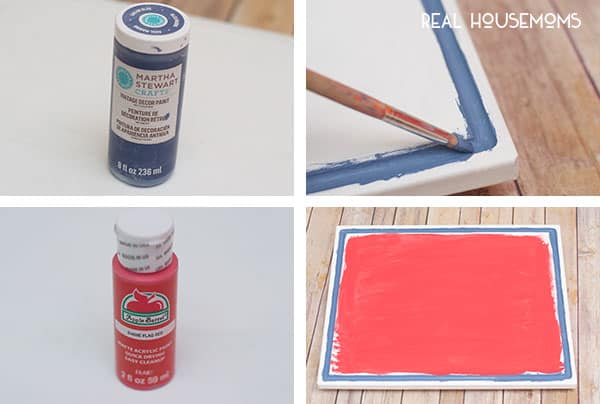
I went around the indented border of the cutting board with blue paint, then filled in the center with my red paint for my lobster!
Step 3 – Add Lobster and Paint Final Coat
I cut my lobster on my Silhouette cutting machine and used transfer paper to help me place the lobster on the cutting board. Next, I went over the center part of the cutting board again with my white chalk paint, letting dry 30 minutes.
Now it’s time to see our lobster!! I pulled out my “weeding” tool and gently started pulling up my lobster.
Step 4 – Distress and Wax
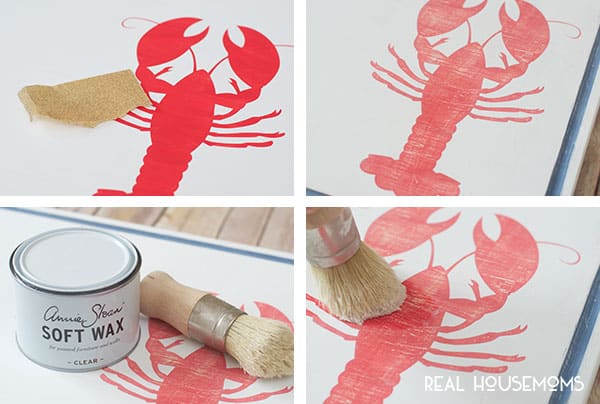
I wanted the cutting board to have an “aged” look, so I went over the entire cutting board with sandpaper. I wanted some of the red to POP through the white when I sanded it.
Finally, it’s time to wax…YAY!! Almost done.
I had some extra Annie Sloan wax on hand and I went over the entire cutting board with my wax. If you don’t have any Annie Sloan wax, you can use finishing wax (found at most home improvement stores).
Finishing Touches
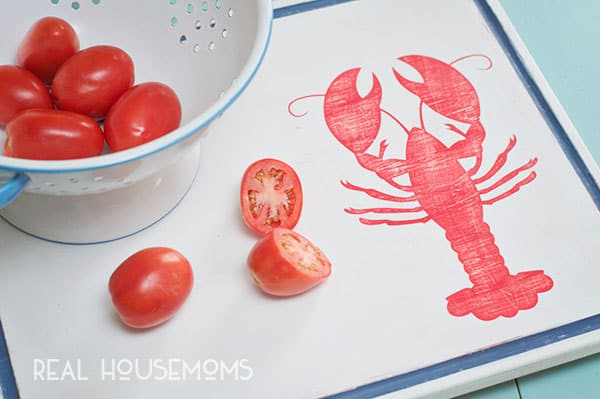
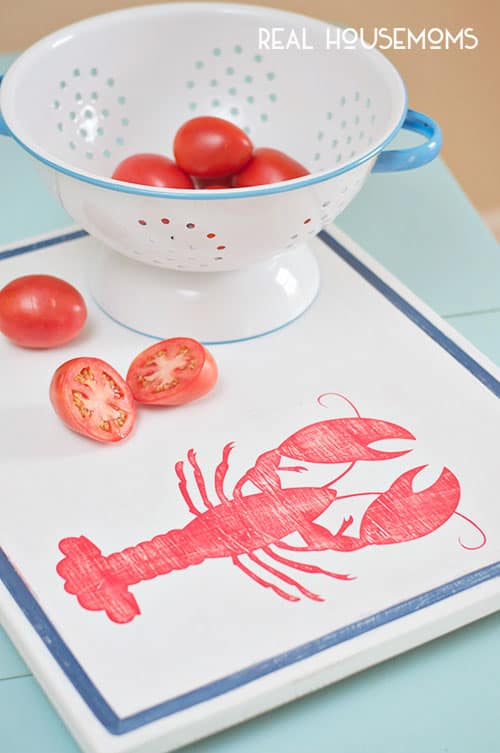
Now we’re done and ready to display on the kitchen table or counter!! I think it turned out pretty cool and it really stands out in my kitchen for sure.
You can cut fruits or veggies on here (make sure to clean it BEFORE each use) or just to display things on your counter. That’s one reason I “aged” it, because if I leave cutting marks, it’s not going to make a big difference 🙂
And there you have it, so easy to do!! If you don’t have a cutting machine, then using a stencil is another great option for this project. Plus the best part, I only paid $2.50 out of pocket because I had the rest of the items on hand.
Gotta love a craft project like that!
I hope you loved this craft. If you’d like to get more craft project ideas and inspiration stop by my blog!


Morgan says
Absolutely love these ideas and the designs! So cute! Can’t wait to give these projects a try! Thanks so much for sharing your creativity!
Erin says
This is too cute!!