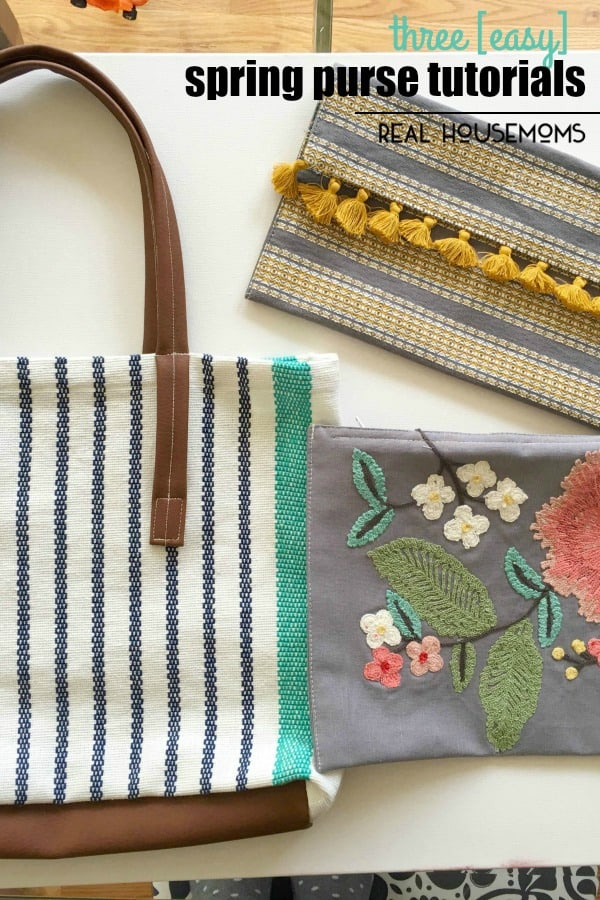
With a quick trip to Target’s home décor, you can find items that will accessorize your spring wardrobe in a flash and under $10 with these THREE EASY SPRING PURSE TUTORIALS!!
My love affair with Target is never-ending, time and time again they provide customers, like me, products that tickle the inside of my very soul, and I simply cannot resist!
Many times I have filled my cart to the rim wishing I could buy EVERY. SINGLE. ITEM. Especially their home decor department, which happens to be my muse this month.
Wait, what? Décor, you say? I typically blog about DIY fashionable/crafty things here on the Real Housemoms, so why home dec?
What I love so much about Target is their ability to incorporate the latest fashion trends not only in their apparel lines but ALSO in their home department.
Jewels are no longer found just in the accessories department, they also accent your coffee table.
Their throw blankets turn into my favorite blanket scarves.
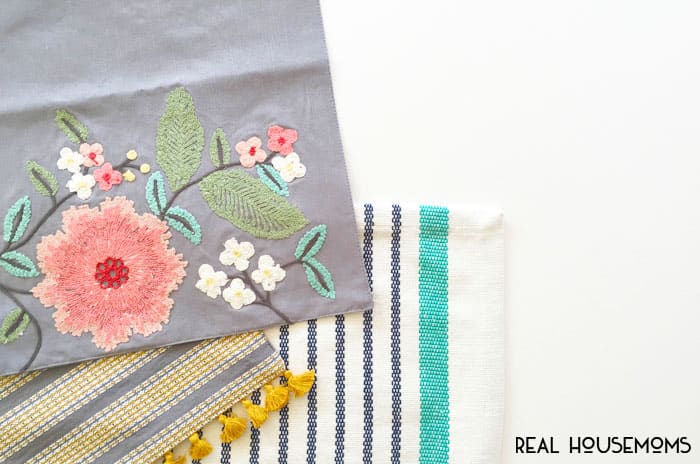
So it’s no surprise that I fell head over heels with their newest line of placemats.
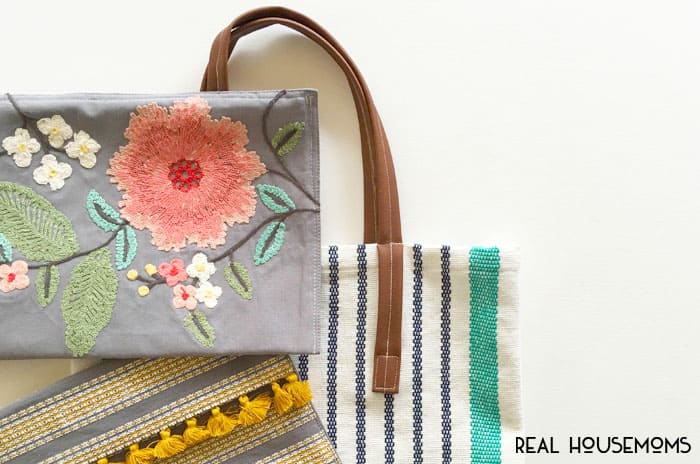
What can easily update the look of any dinner set up, CAN instantly update your spring ensembles as clutches and tote bags!
With three of my favorite target finds and some sewing supplies, you too recreate these looks in an afternoon with these easy purse tutorials!
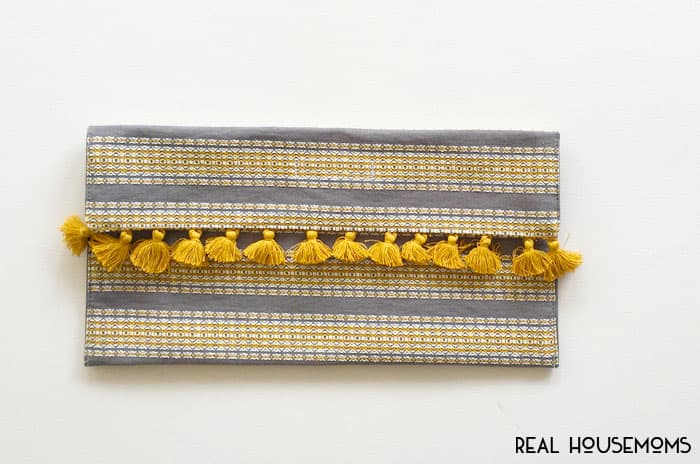
The Fold-Over Clutch
You will need:
- Placemat – I used this,
- Velcro,
- Thread to match and sewing supplies.
Directions:
- Remove tassels from one end of the placemat.
- Fold mat into thirds, a little less for the fold-over side (as seen in the photo below).
- While folded, place and pin Velcro into the desired place so it will keep the clutch closed.
- Sew Velcro in place.
- Fold placemat back into place, pin to secure and sew sides shut.
- DONE.
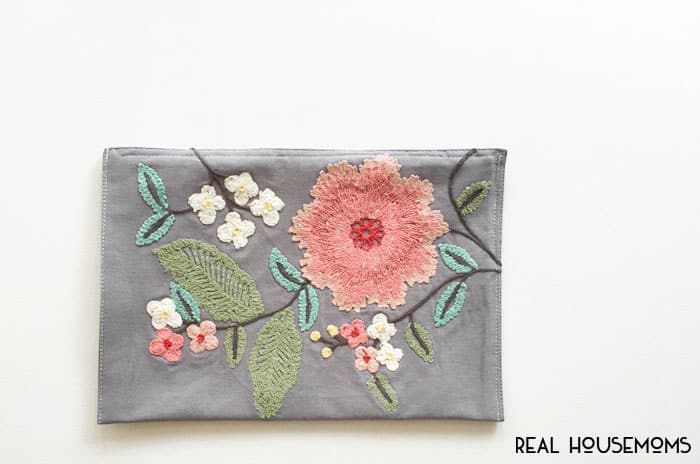
The Oversized Zippered Clutch
You will need:
- Placemat – I used this,
- Oversized zipper* (22-inches),
- Matching thread and sewing supplies.
Directions:
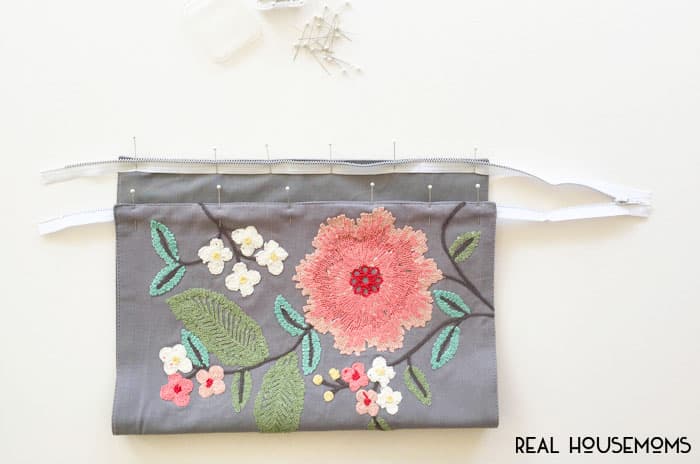
- Evenly pin zipper into place.
*I like to use a zipper longer than the side mat width measurement for these type of clutches
because it makes the zipper installation stress free (trust me). - Sew the zipper into place leaving 1/2-inch open on the ends and zipper.
This will allow the zipper to tuck nicely inside your clutch. - Sew sides together.
- Tack the zipper down inside your clutch so it stays out of the way.
- DONE.
The Tote Bag
This will a little more time but totally worth it!
The body of the bag is very reminiscent of my Celine Inspired Tote DIY last fall (here),
You will need:
- 2 Placemats – I used these,
- 1 yard of vinyl to match or other heavy-duty fabric,
- Thread to match and sewing supplies.
Directions:
- Cut 1 (base): 15-inch x 5-inch rectangle and 2 (straps): 35-inch x 2-inch rectangles out of your vinyl.
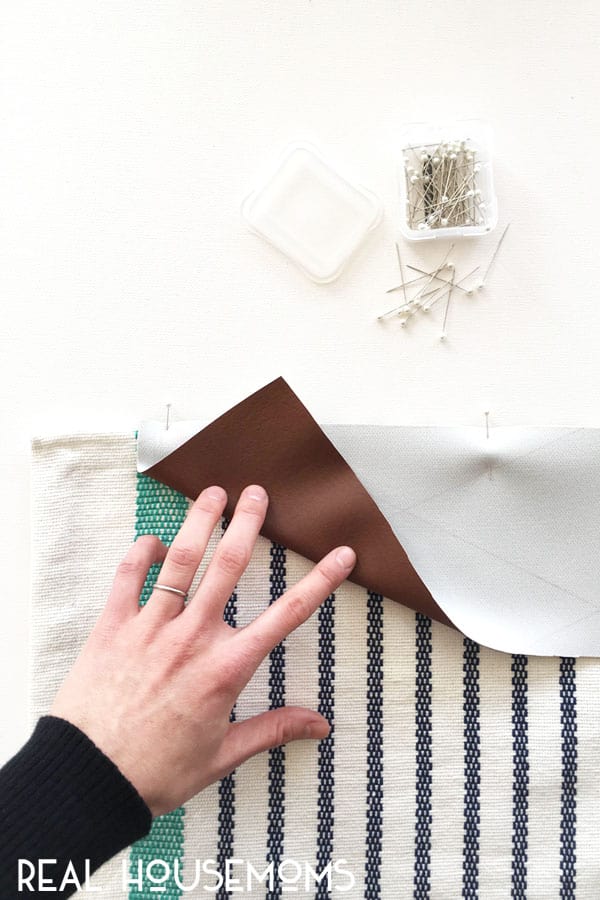
- Evenly place the length of your vinyl (right sides together) along the length of your mat.
- Repeat on the other side.
- Pin the side seams together and sew into place – do not turn the corner.
- Once the base and sides are closed, you will have openings on the bottom corners of your bag.
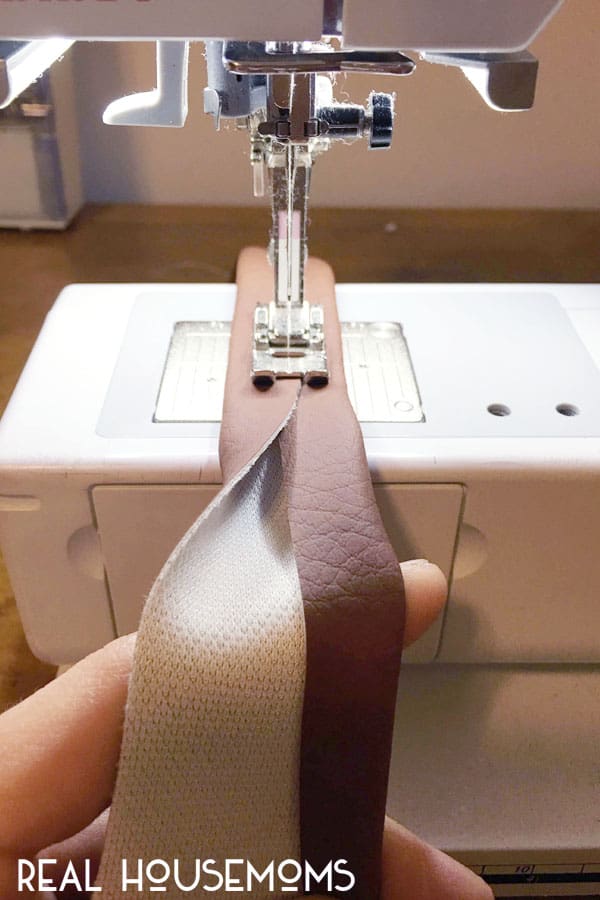
Open the fabric seam and pin to the vinyl base (right sides together). Sew shut. - Straps: Fold the length of your strap into thirds and sew shut down the center of your strap.
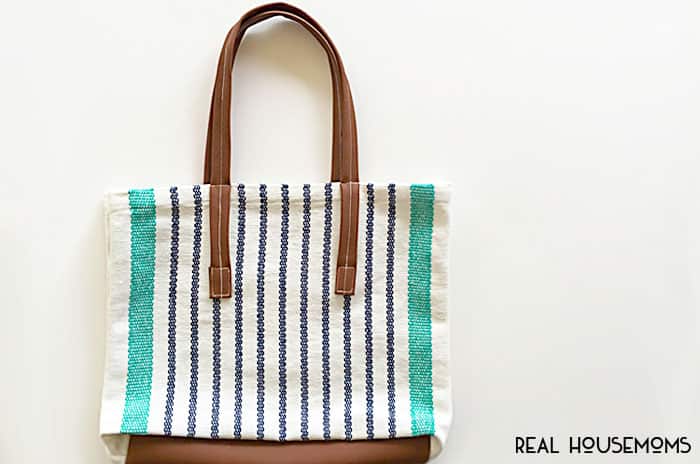
- Sew straps into place. Like to fold the ends under and sew a rectangle at the end of the strap,
additionally, I like to topstitch the strap onto the bag along with the center strap stitch AND across the top of the bag (as seen below). - DONE.
With a little sewing knowledge, these purse tutorials will be pretty simple to make!
Great for spring gift ideas, date nights, or whatever else you need to tote around!
Thanks for stopping by and have a fabulous day!
![Three [EASY] Spring Purse Tutorials CONTENT 7](https://realhousemoms.com/wp-content/uploads/Three-EASY-Spring-Purse-Tutorials-CONTENT-7.jpg)


Leave a Reply