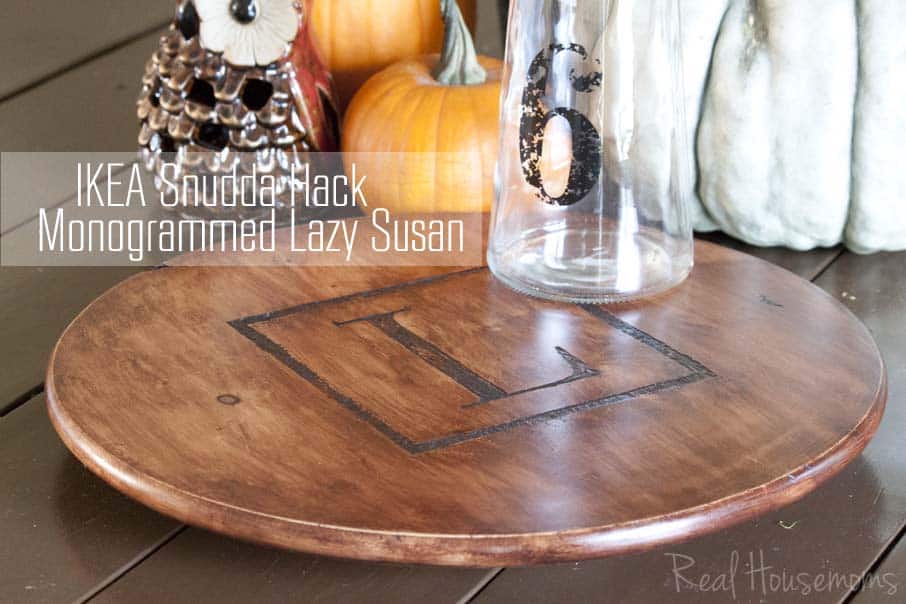
Turn an IKEA Snudda into a gorgeous DIY Monogrammed Lazy Susan just in time for the holidays!
The holidays are moving in swiftly and I just love the look a monogrammed Lazy Susan for my Thanksgiving farmhouse table. Here’s how you can DIY your own for under $10!
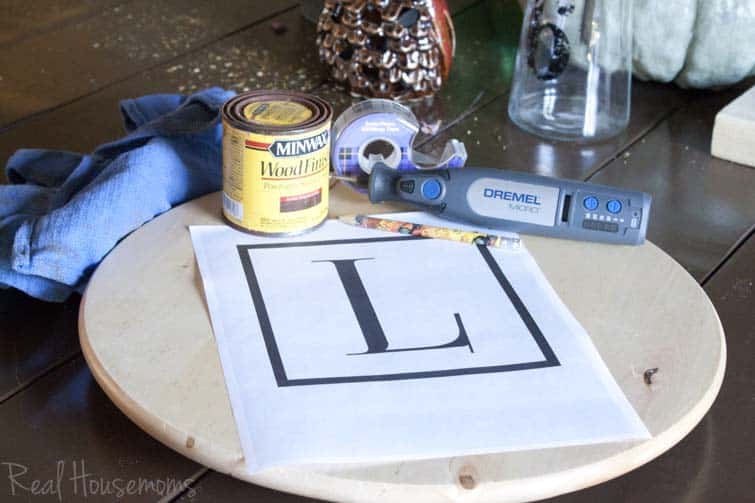
You will need one small but very powerful and versatile tool. The Dremel Micro. It’s a screwdriver, a wood engraving and a glass etching tool all rolled into one. The other supplies are:
Supplies:
- Dremel Micro (wood engraving bit that comes in the kit)
- IKEA SNUDDA Lazy Susan (they’re only 7.99!)
- printer, paper & tape
- pencil
- stain
- cloth
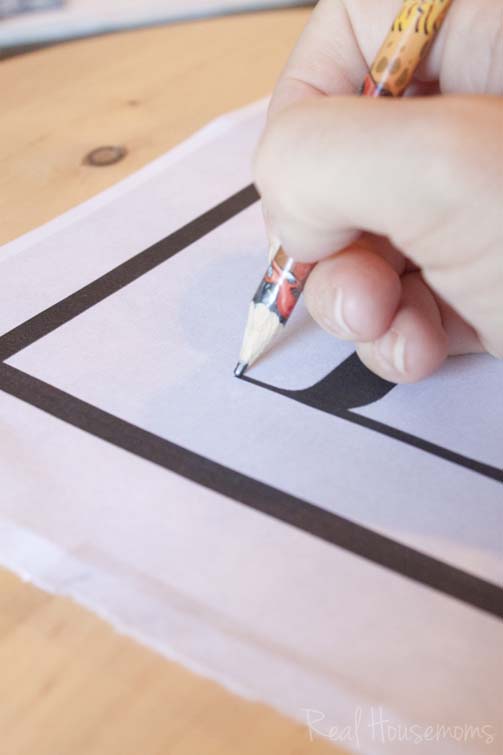
No need to have a vinyl cutting machine for this one but if you happen to have one you can use it to make a stencil. If you don’t have one you can do what I did here. Simply print out your monogram letter and tape it to the center of you Snudda. Trace over the letter with pencil hard enough to leave the imprint behind on the wood.
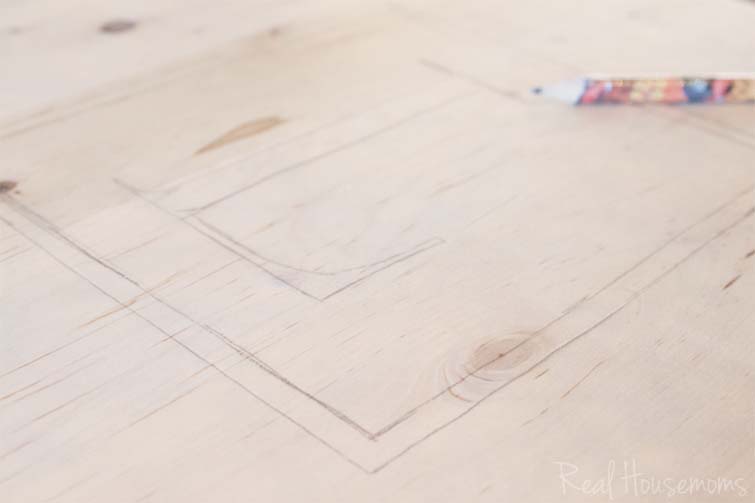
Lift the paper up and lightly trace over the imprint with pencil to make it easier to see while etching with your Dremel.
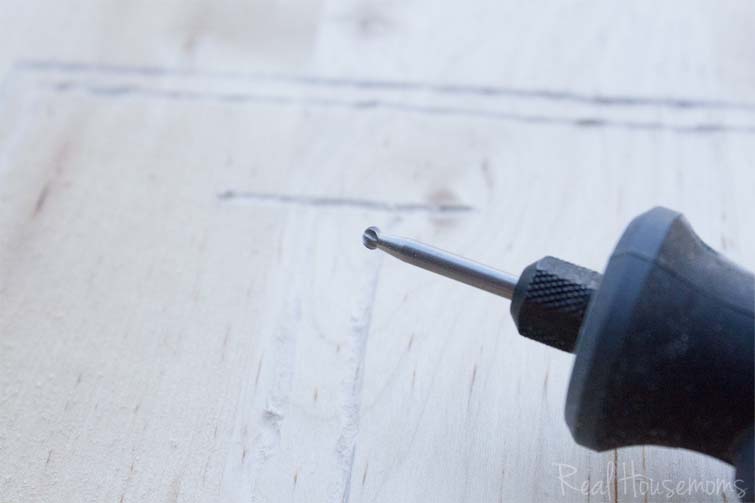
Use this handy dandy wood engraving tool that comes in your Dremel kit.
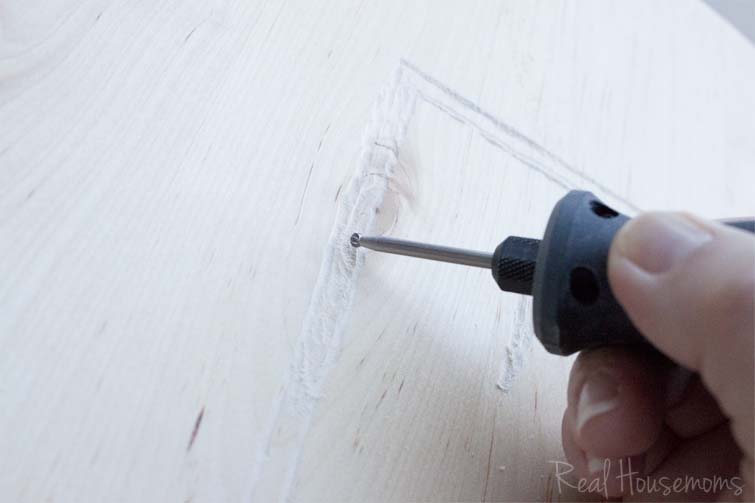
Don’t be intimidated. This really is as easy to do as drawing with pencil. I did this on the front porch while watching the kids play. I first traced the pencil lines and then I etched out the inside areas. I went in a backwards motion, like you would if you were erasing with a pencil eraser. Just little bits at a time until you get it all. It took me about ten minutes. I should note, I have never etched wood before!
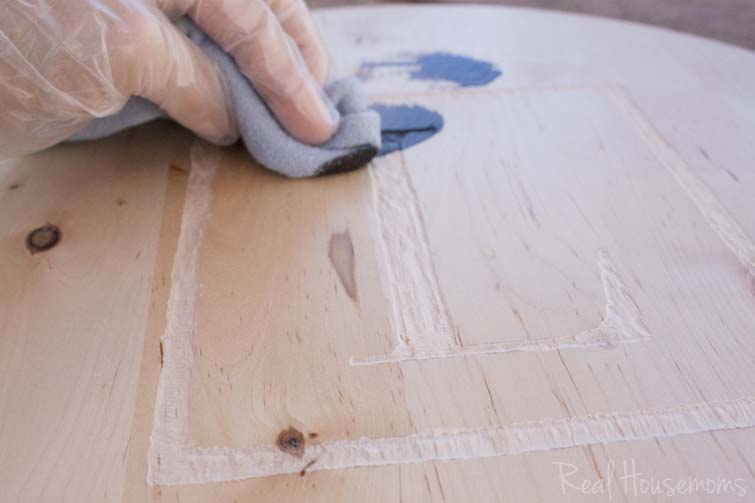
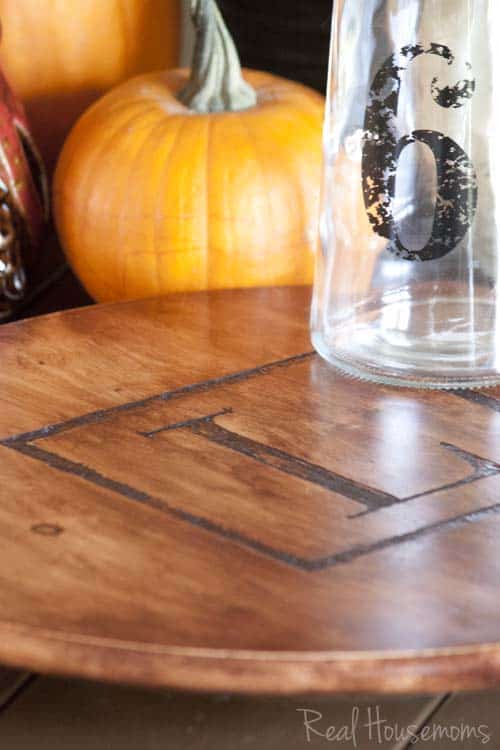
Once that’s done, I applied stain. I did not sand beforehand because I wanted the etched area to be darker than the surrounding areas.
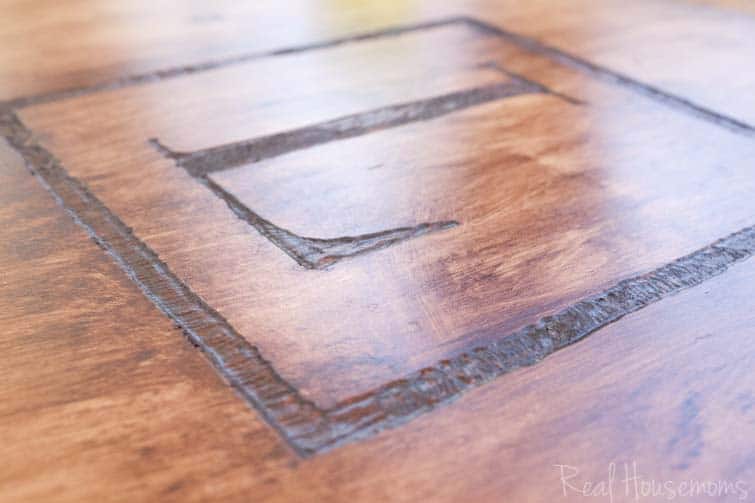
Beautiful, right? After the stain dried I applied a layer of hemp oil for protection. That’s optional but I like the idea of having a protective food grade layer.
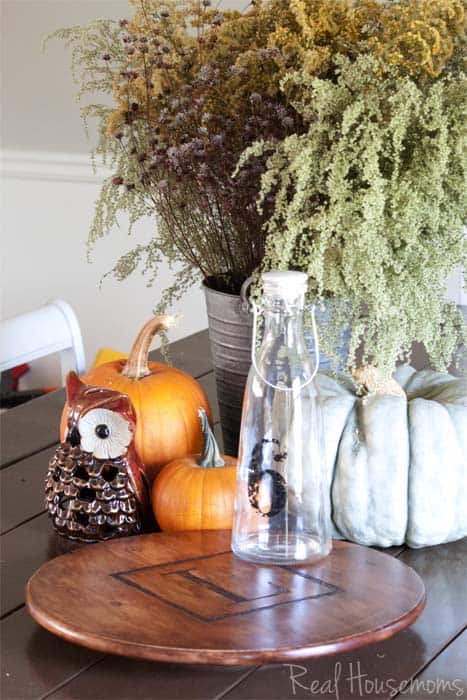
It really sets off my harvest table center piece and it’s really unbelievable how quick and easy it was to complete.
All of that for under $10 bucks! And worth every penny. The best news is, they’re so cheap and easy to make you can make one for yourself and several for friends and family. That’s a win, win!


Patrick says
Great project! Going to try something similar. Where did you get that stencil printout?
Jamie @ Southern Revivals says
Thanks Patrick! It’s actually just a pint out I made on my computer. Good luck with your project!
Cheri says
Love your idea, just 1 question…the lazy Susan comes lacquered. Did you you sand the entire surface before you etched so the stain would be absorbed overall or did you only stain where you etched?
Jamie @ Southern Revivals says
Thank you! I did not sand beforehand. The surface is prefinishined but not so much that the stain won’t absorb. That also means the etched area will be darker so that it stands out more which is exactly what I was going for. Hope that helps! ~ Jamie
Kim says
This looks great. What color stain did you use?
Jamie @ Southern Revivals says
Thanks! I used Dark Walnut!