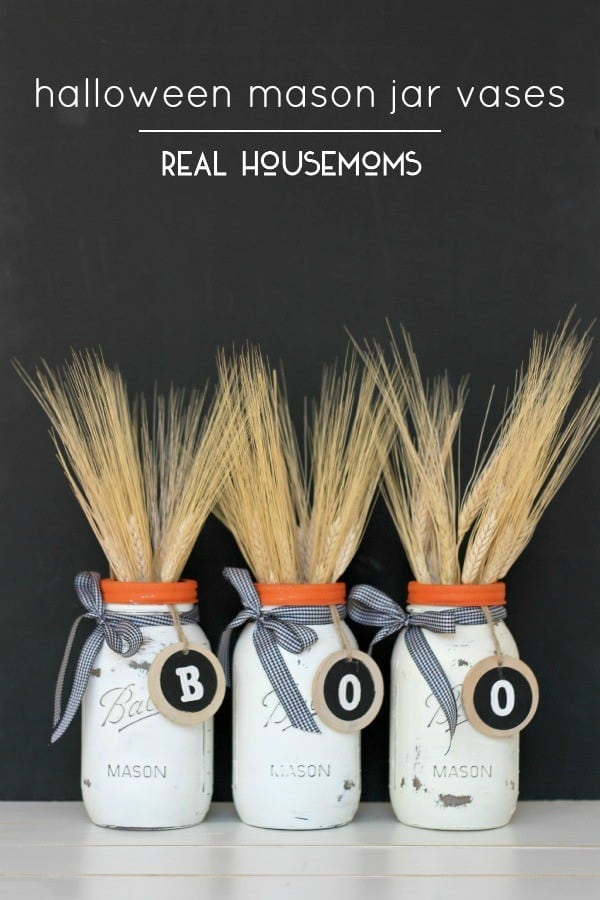
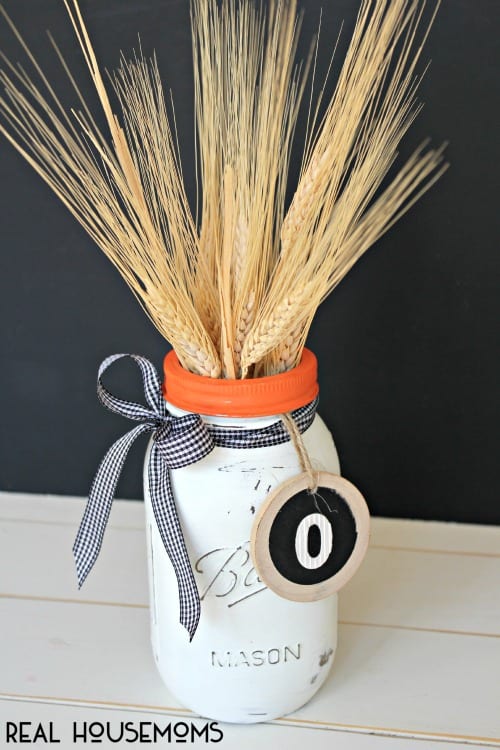
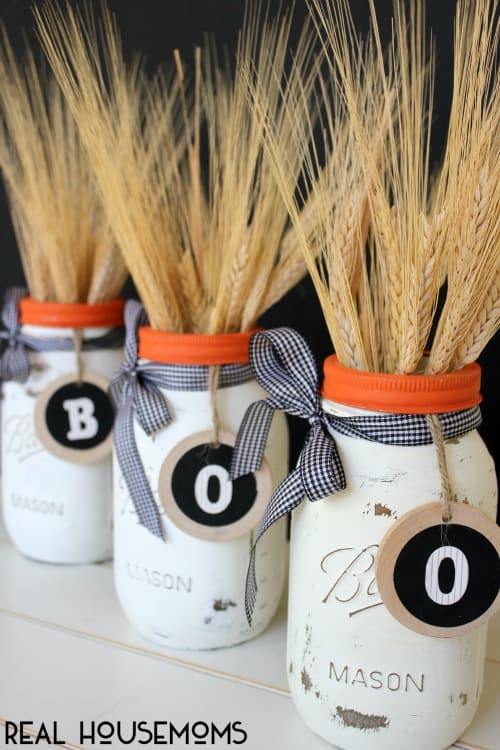
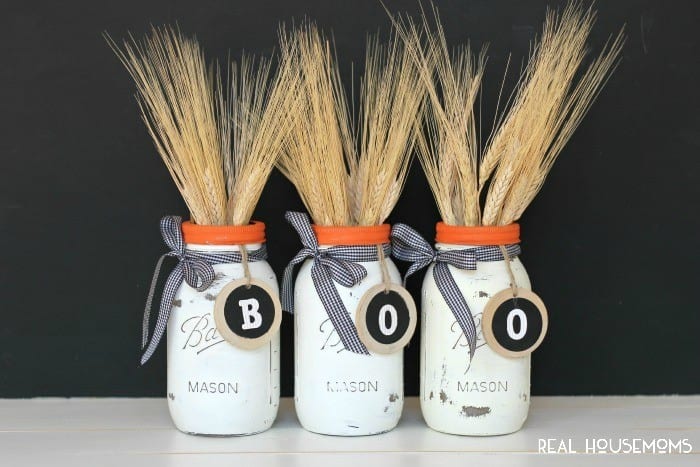
If you’re looking for a quick and easy Halloween centerpiece idea or simply a little festive decor for your mantel, these Halloween Mason Jar Vases are it!
I painted these vases (full tutorial below), and waiting for the paint to dry was the most time consuming part. However, you could totally just buy pre-painted mason jars and have this craft done in 5 minutes (and I’m not exaggerating)!
I love how they all a little bit of color and a festive touch for Halloween, but are simple and modern and reusable when Halloween is over. I’m on a mission to clear out clutter from everywhere in our home, and I’m all about the simple, understated decor this year!
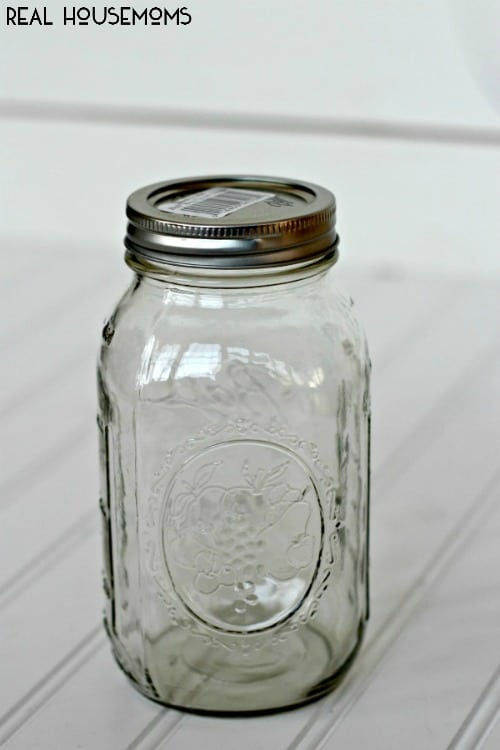
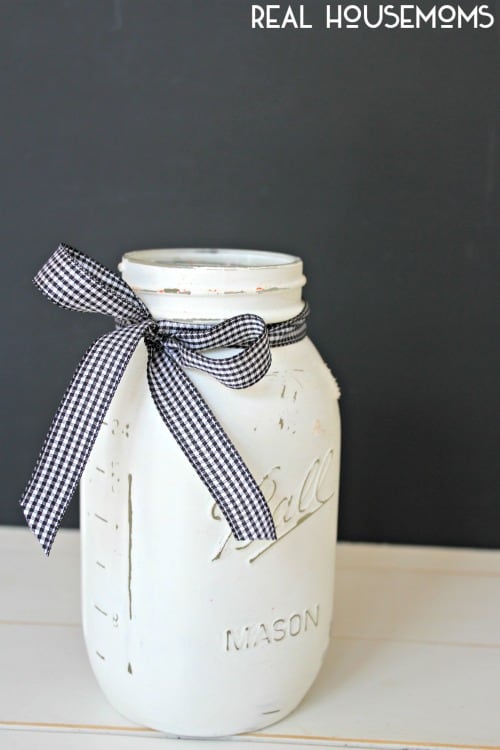
I had these clear mason jars on hand from a previous project, and like I said … I painted them. To save time, however, you could just look for WHITE mason jars and buy those:
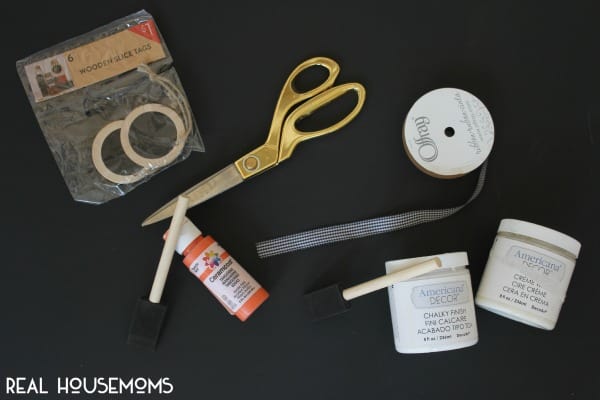
Along with the three jars like the one above, here are the other supplies you’ll need for this project:
- Wooden Slice Chalkboard tags … 6 for $1 from Target’s Dollar Spot recently!
- Orange craft paint and foam brush for lids.
- If painting your clear jars: white chalk paint, clear wax, and a foam brush (available at any craft store or even Home Depot or Lowe’s now).
- Black and white gingham ribbon (or pattern of your choice!)
- Chalk, chalk marker, OR white letter stickers
- Sandpaper
PROCESS:
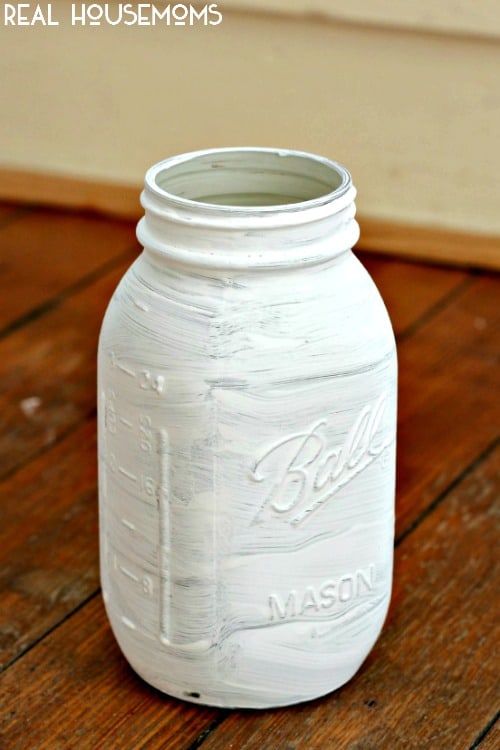
Step 1: Paint your jars with the white chalk paint! I was going for the distressed look, so I used two coats of white chalk paint (waiting about 1 hour between coats). Once the second coat was dry, I sanded the surface to smooth and distress some areas. After sanding, I applied one coat of clear wax to help seal the paint.
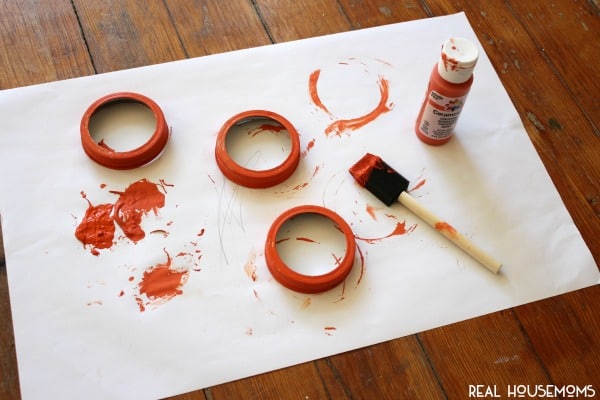
Step 2: Paint your jar lids! Using orange craft paint and a foam brush, I painted the outside of each of rim. I ended up using about 3 coats, but I only let them dry about 20 minutes in between. Again … going for the distressed look, I wasn’t overly concerned that these were painted ‘perfectly’.
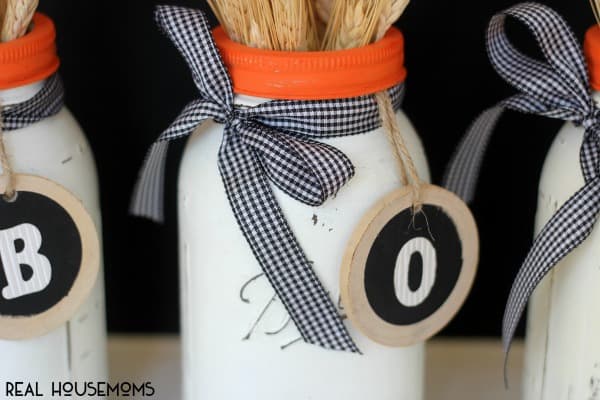
Step 3: Once everything is dry, add your ribbon around the top of the jar and tie a bow:
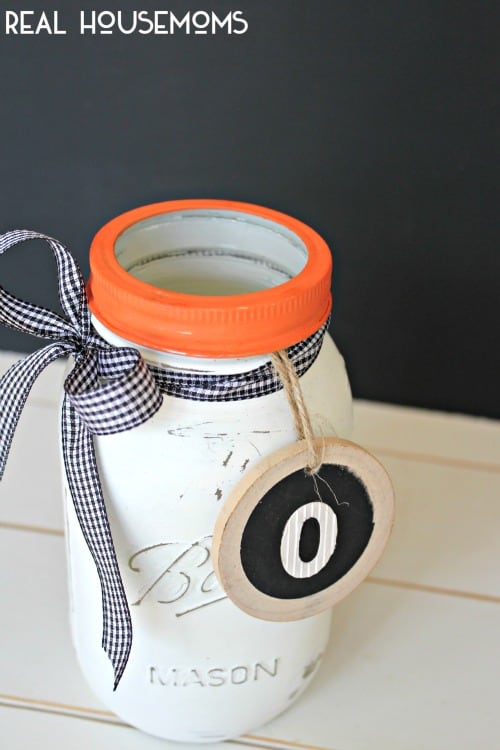
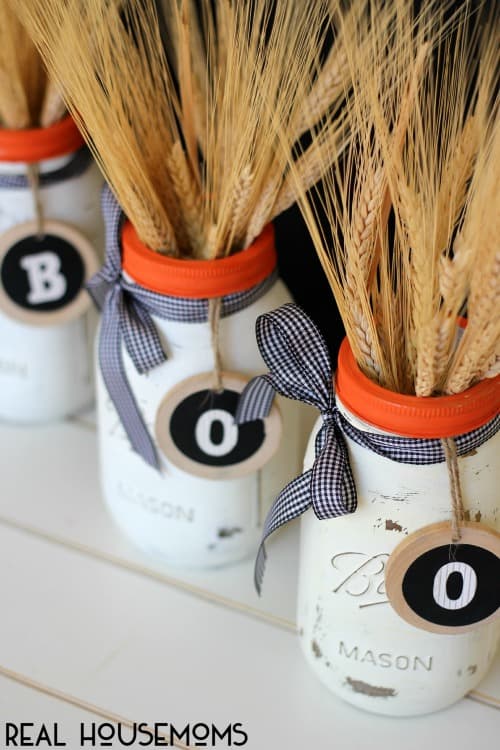
Step 4: Add your tag and jar rim!
I used white stick on letters instead of chalk or a chalk pen on these tags, but writing it on would work just as well!
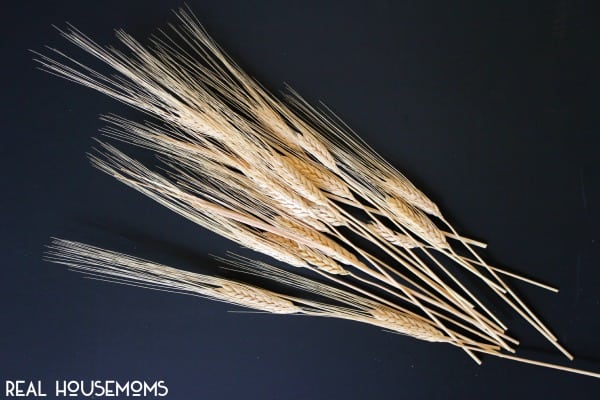
Step 5: Grab your vase fillers, in my case these faux wheat stems:
and fill your mason jar vases!
That’s it! A simple, but festive addition to your table … or mantel … or shelf …
Wishing you a Happy Fall and Happy Halloween! I’d love for you to pop over to View From The Fridge and say ‘hello’ and see what else we’re up to this season!


Leave a Reply