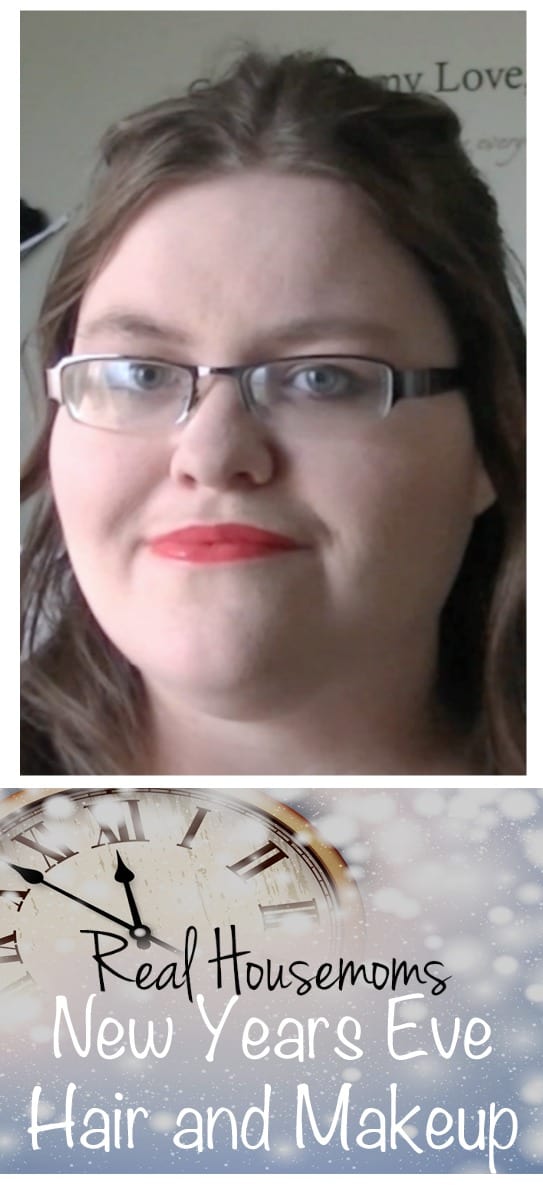
It’s New Years Eve and not only does that mean a countdown to the New Year but it also means a lot of photographs and selfies. Having a great look for New Years Eve isn’t just about looking great in those photographs though, it’s also about feeling glamorous when that ball drops so that you start your new year out on the right foot. This is an easy to do look that anyone can pull off and, as always, any products that I use that you don’t own you can substitute with similar products.
To see the look done step-by-step watch the above video. Not only do I show you how to achieve the look but I give you tips as I go through.
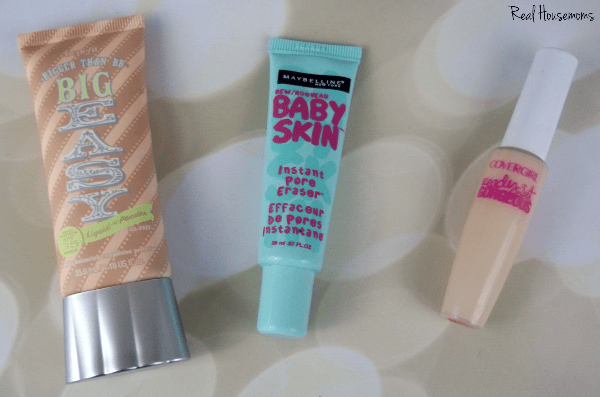
I always start out any look with a primer. On New Years I tend to take a lot of selfies so the last thing I want is for makeup to settle into my pores and ruin those pictures. Therefore, I use Maybelline Baby Skin in instances like this. It is a clear gel that goes over the skin and essentially fills in those pores so that the foundation doesn’t. Don’t worry it dries clear as well. Once that I dries I use Benefit Big Easy foundation, especially if I’m going to start my New Years celebrations during the daytime. For starters this foundation has a built-in SPF of 35! In addition, this is a liquid-to-powder foundation which means that I can skip the setting powder if I choose and still not be super shiny. After the foundation dries I finish up with the face products with a concealer, I’m using CoverGirl Ready Set Gorgeous concealer as it is super creamy and easily blended.
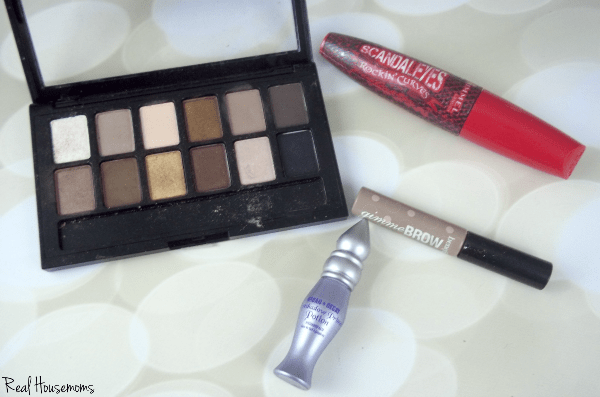
In the video I started out the look with the eye products before the face products. I started out everything with an eye primer, same as with the face products. Urban Decay’s Eye Primer Potion is what I chose to work with for this look because more than anything I want those eye shadows to stay put! I don’t want to start out the celebrations with a super awesome eye look and by 10pm I look like a different person. This is a favorite eye primer of mine because it does just what it needs to, make those eye shadows last! Once the primer dried I broke out a new eye palette for me, Maybelline the Nudes, and used the far right four colors. I started out using the upper-left of the four-quad section across my entire lid, I then used the upper-right shade in my crease, I used the bottom-left shade as an inner corner highlight and for the inner one-fourth for below my bottom lashes, the bottom-right shade was used on the outer corner of my eyes and along the outer three-fourths below my lash line. Of course for a full visual of how to do this make sure to head back up to the video! I finished up the eye look by filling in my brows with Benefit Gimme Brows and then using Rimmel ScandalEyes Rockin Curves mascara for my lashes.
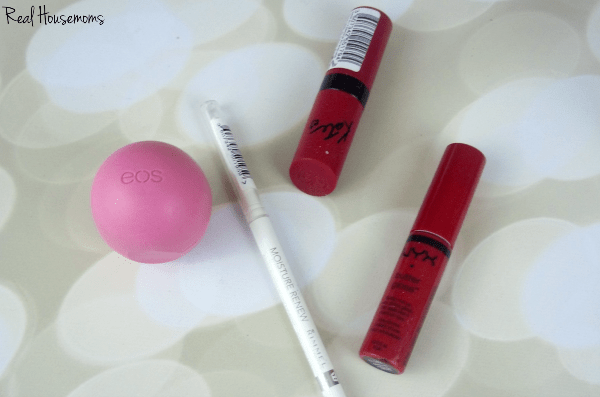
For the lips I decided to go with a nice brighter red look. I wanted something that would look good for people celebrating at night or during the day. I started out with the Rimmel Moisture Renew Lip Liner in Universal. You really want a lip liner for this look as reds can tend to feather and bleed off the lips. Over the lip liner I used Rimmel Kate lipstick in 110. You can keep it at that for a nice matte lip look, however, if you’re wanting a more glossy look then you can put NYX Butter Gloss in Cherry Pie over the top of the Kate Lipstick.
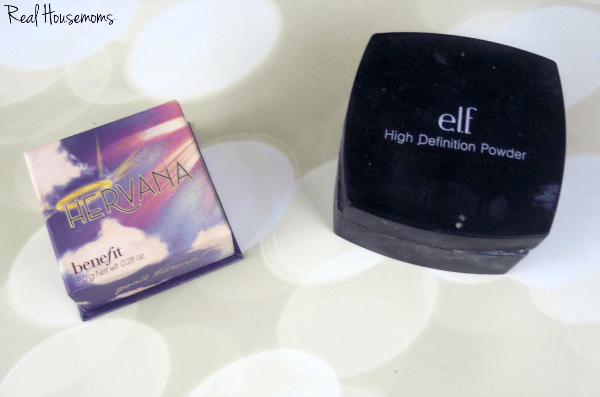
I didn’t want to use to many products on my face as the star of this look is the hair, eyes and lips. I decided to just keep it to a blush and a setting powder. I wanted that nice flushed, I just came in from the cold, look so I went with Benefit’s Hervana blush. I finished up with the face by setting all the makeup with the ELF HD Setting Powder.
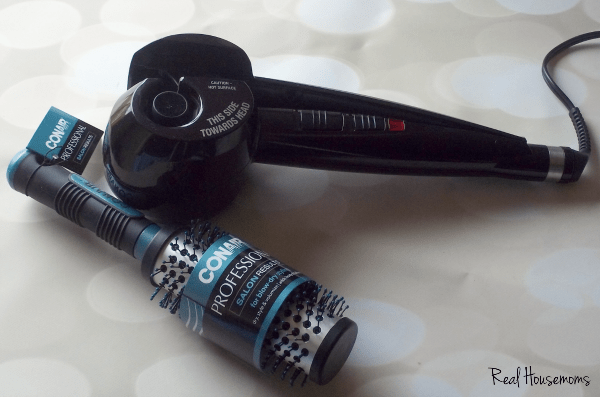
To complete the full look I curled part of the hair on the left and right side of my head using the Conair Curl Secret, again you can use any curling hot tool that you have for this! Once I was done curling I used a round brush to lightly brush the curls, taking them from tight curls to loose waves. Leaving a few strands in the front I pulled the top layer of my hair back and fastened it with a hair tie. Once that was set I went back in with the brush fluffing and arranging as I desired and then finished it off with some hairspray. The intention for this look is that you want it to be a bit messy/disheveled but still put together.
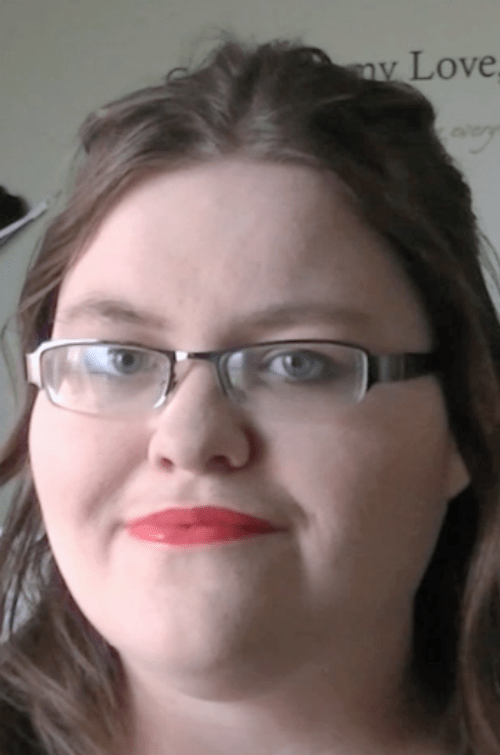
This is the complete finished look. Hopefully you enjoyed this look and you use it for your New Years celebration.
Happy New Year!


Leave a Reply