Are you ready for a fun craft for Fall? Hello Wood Block ‘Pumpkins’.
Okay … you might be thinking, “Pumpkins?!?! … they’re not orange, or round.” Well … these ‘pumpkins’ are a bit abstract. They require a bit of imagination. They are, however, a fun piece of art for Fall (and a great conversation starter)! Best part about this project?!?! You can make these with scraps laying around the house!
Other than Christmas, I’m not a huge fan of decorating for holidays or seasons. I’m trying to be a little more enthusiastic about it now with kids, but my husband and I both can’t stand clutter. Sometimes my seasonal decorations seem cluttery to me (maybe I’m just not a very good decorator?!?). I don’t get overly excited about pumpkins and orange and hay and dried corn all over the place for Fall. This year, I’m going to decorate a bit, but with very neutral colors. I’m thinking white and grey with lots of natural elements (think sticks, burlap, jute, wood). With all the white and grey, however, I would like to throw in a few pops of color here and there (few is the key word).
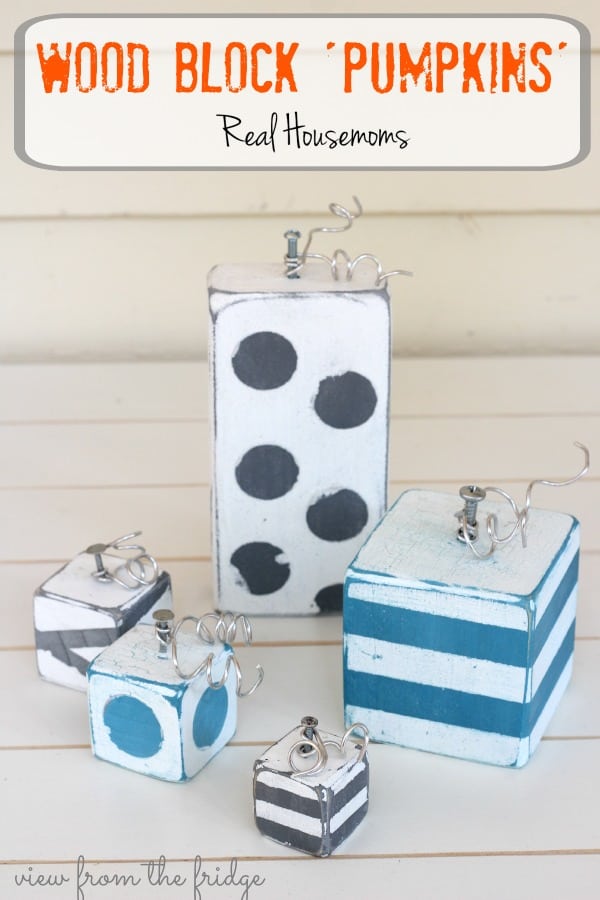
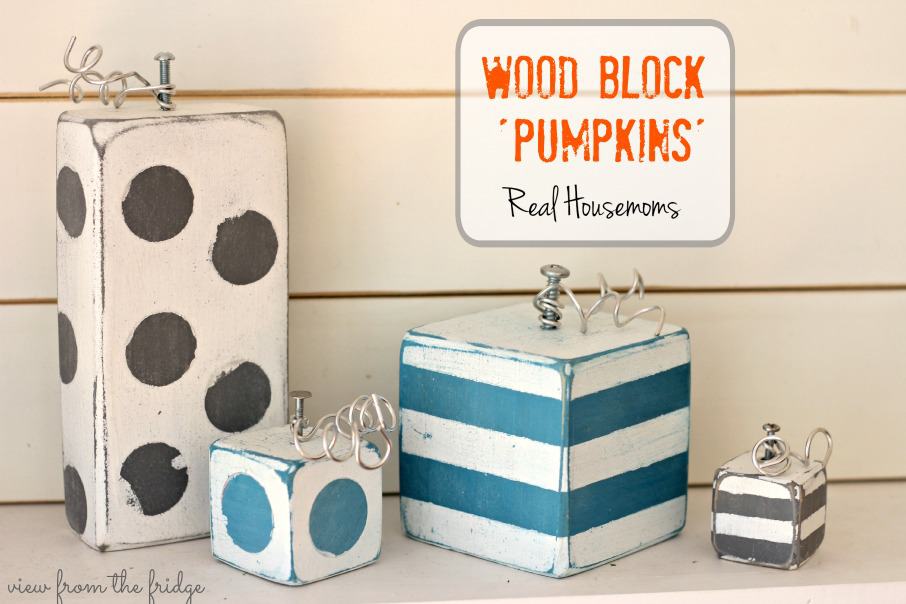
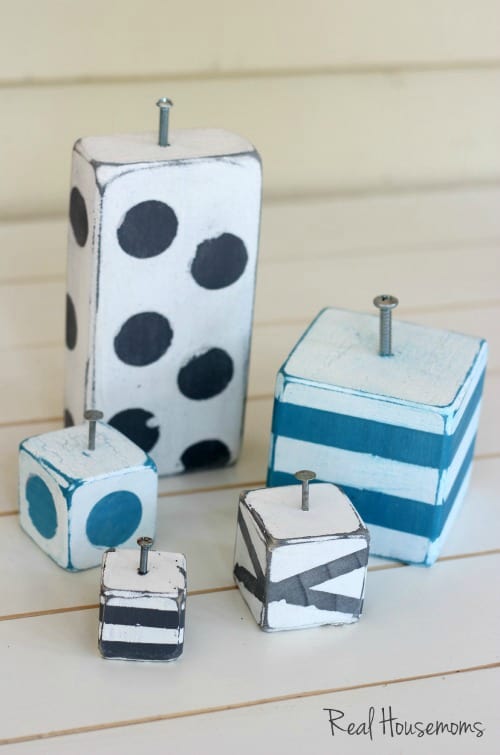
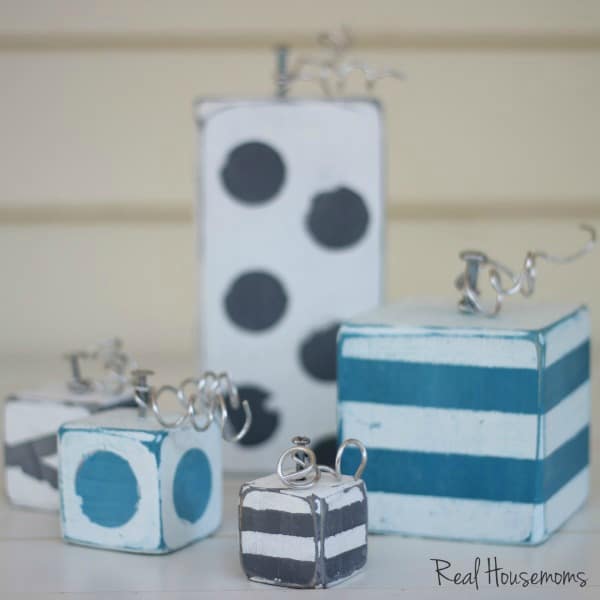
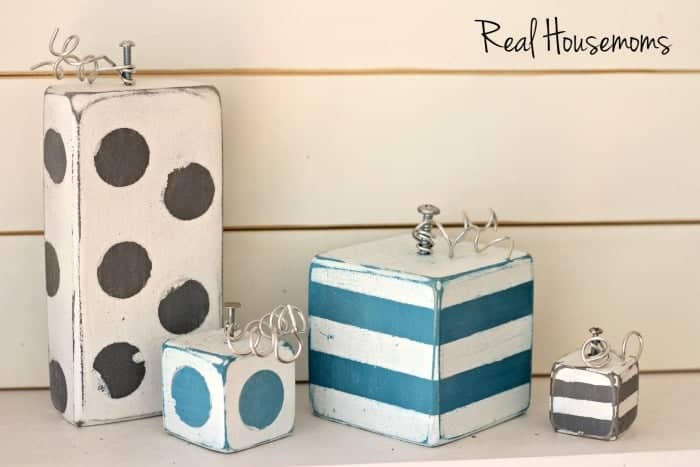
Enter my modern-meets-rustic-meets-industrial and very abstract pumpkins:
Do you see it now??? The nails and screws are the stems. The silver floral wire curly Q’s are the vines. And this variety of pumpkins has stripes and polka dots (it’s the latest trend in pumpkin farming, I hear).
My husband is still confused about this project …
Have I convinced you yet that this is a fun project and interesting addition to your Fall decor?? Want to make some?
Great! You’ll need:
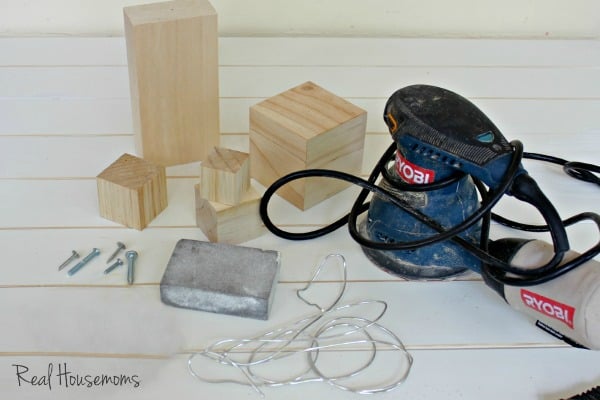
Wood Block Pumpkin Supplies
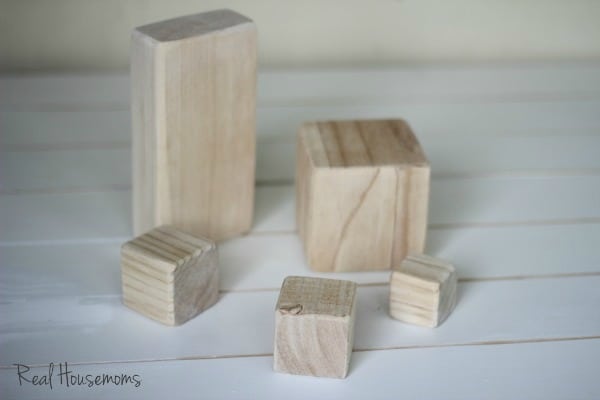
- Wood blocks of varying sizes and shapes. Use scrap wood and cut it up! Or … if you’re like me and hate clutter (thus tend to get rid of ‘scraps’ right away), go buy some wood blocks from the craft store. They’re pretty inexpensive.
- Hand held sander OR rough sandpaper (smaller # grit) and lots of elbow grease.
- Sandpaper or sanding block in a finer grit … 150, 180, or greater
- Screws and/or nails in varying sizes and thicknesses.
- Floral wire (super easy to cut, bend, and twist)
- Your choice of paint colors (not pictured). I used grey and turquoise spray paint for the two ‘base’ colors, and white chalk paint for over the top.
And here’s the step-by-step:
- Because I bought these nice, clean wood blocks from the craft store, my first step was to sand and ‘distress’ the corners and edges a bit. You know … make ’em look old and worn (even though they’re brand spankin’ new).
Using a hand sander (or a lot elbow grease and sandpaper), sand edges and corners
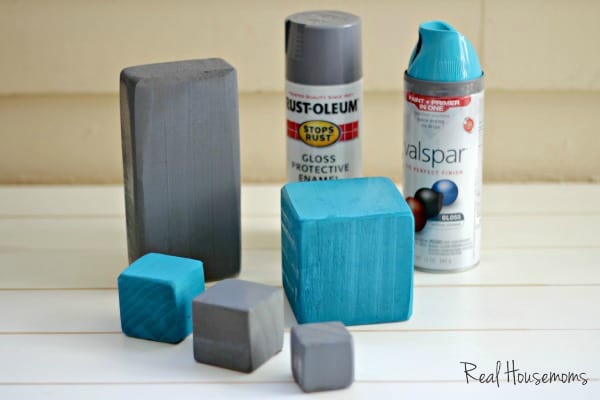
- Spray paint them the base color(s). These are the colors that we show through when you distress them later (in my case, grey and turquoise).
Spray paint your blocks the base color (the color underneath)
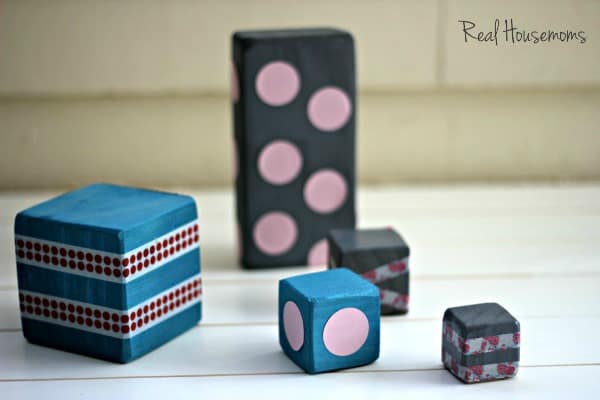
- Tape or ‘sticker’ off your patterns or designs. I used varying thicknesses of washi tape for the stripes and round polka dot stickers for the dots.
Place stickers or tape (or both) on your pumpkins to create a design
- Paint over blocks in your top color (in my case, white chalk paint from Michael’s). You may need several coats to cover.
- Let final coat almost dry, then pull out your finer gauge sandpaper / sanding block.
- Sand sides, edges, and corners to give the block a ‘worn’ and ‘distressed look’. Having the top coat (white, in my case) paint just a tiny bit wet while sanding allows the contrasts between the two colors to look less intense.
Using a finer grit sandpaper, distress your blocks
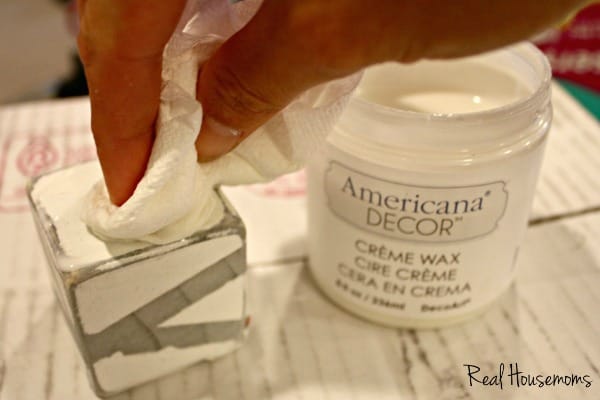
- Optional: apply a finishing wax to your blocks
Apply a finishing wax
- Let wax dry, and now install your ‘stems’ (a.k.a. the nails or screws) into the tops of the blocks.
Install the ‘stems’
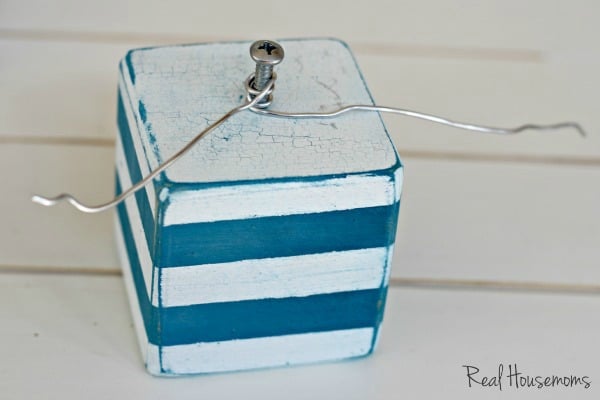
- Now, for the ‘vines’, cut about 12″ of floral wire and wrap it around the screw or nail as shown
Wrap wire around screw
- Use a marker of pen, and wrap the ends of the wire around to form curly-q’s and you’re done!
Done!
Perfect addition to my Fall Decor!
Thanks for having me today! I hope this fun project inspires some Fall decorating of your own! I’ll be back next month with more craftiness, but in the meantime I’d love for you to stop over and say hello!



JaneEllen says
So love these Katie, adorable. Used one of my favorite colors of Valspar spray paint also. Great job. Glad you shared.
Your kids are so adorable. How old is baby now? Is that a boy also?
Katie says
Thanks so much! You’re so sweet. Ben is 4 months old now … where did that time go?!?! Hope you’re having a good Fall so far!
XO,
Katie
Mari says
Lovely idea I am thinking of all these great color combos to use!!! I just saved in my must try diy folder 🙂
Katie says
Thanks, Mari!
Amy W. says
These couldn’t be more adorable! So, so fun!
Aubrey says
Thanks Amy!