Hey guys! I’m Dena from Hearts & Sharts and I am so super excited to be sharing DIY and decor projects as part of the Real Housemoms team. You ready for something fun and simple?!
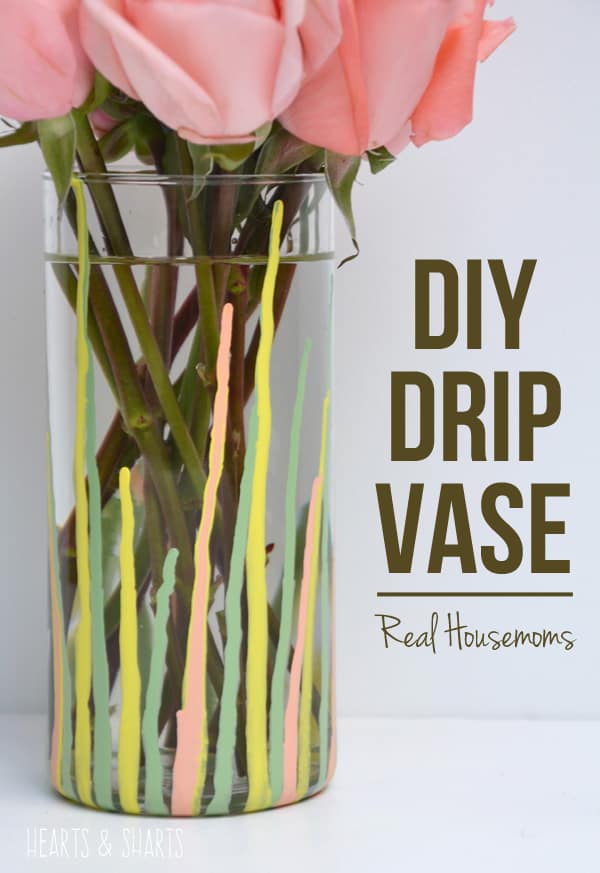
This project is so super easy and one of the best parts about it is that you can custom match it to your own decor. It’s also cheap enough that you can create a series of coordinating vases for very little money. You could be that crazy woman on the block that has color-themed vases for every holiday. You could be The Joneses.
That’s a little extreme. But, really, green, red and gold dripped on a vase with a votive popped in it? Perfect cheap Christmas decor. And this one would be perfect for Easter. Think of all the holidays that you don’t already have vases for! Make one for Halloween and put candy in it! Make one for St. Pats and put… beer…. in it..?
Too far. Moving on.
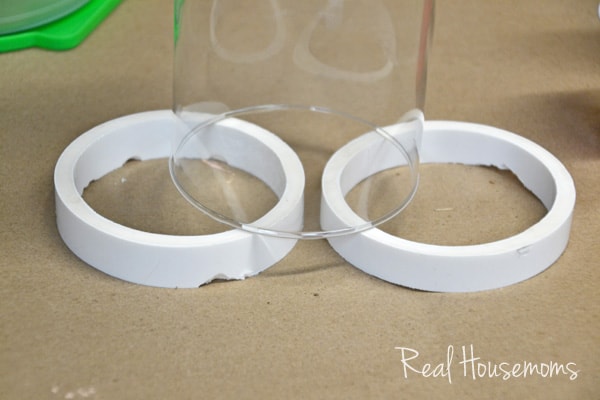
I picked up a glass vase at a thrift store for about a buck. I cleaned it off and turned it upside down on a couple of PVC slices leftover from a headboard project I did a few months ago. You just want the vase elevated a bit so that when you start drippin’ the paint doesn’t puddle at the mouth of the vase.
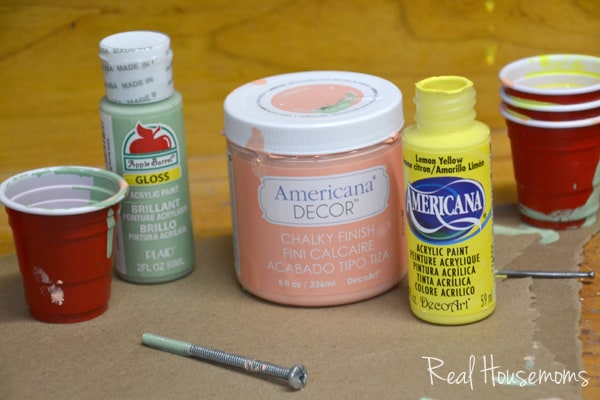
Gather your paints.
Ps. OMG! Have you seen these tiny red solo cups at the grocery store?! So cute.
Anyway, I had all of these paints in my stash and I thought to color combo was pretty so I ran with it. Here’s the thing, you wanna test your paints viscosity (runny-ness) before you just go drippin’ down your vase. I used these totally adorable little cups to mix the paint up with a tad bit of water and then did some testing on a piece of PVC.
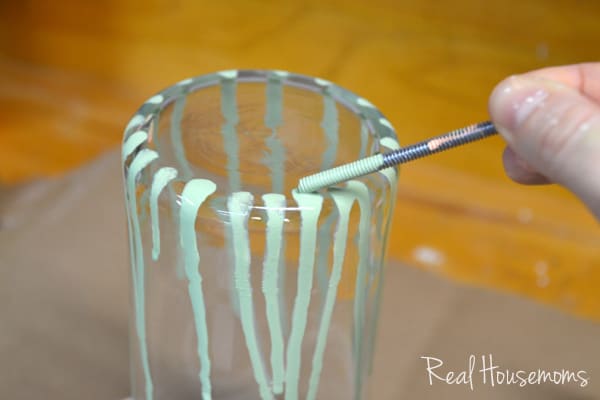
I tried using a paint brush as my drip tool, but the paint didn’t come off of the brush like I wanted it to, kind of blobby. So I used a giant screw leftover from an IKEA build. You know what I’m talkin’ ’bout.
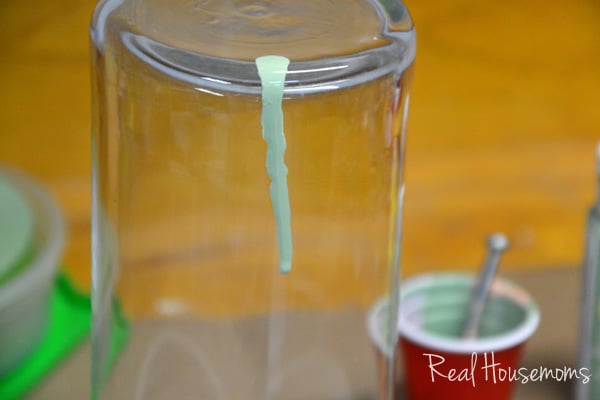
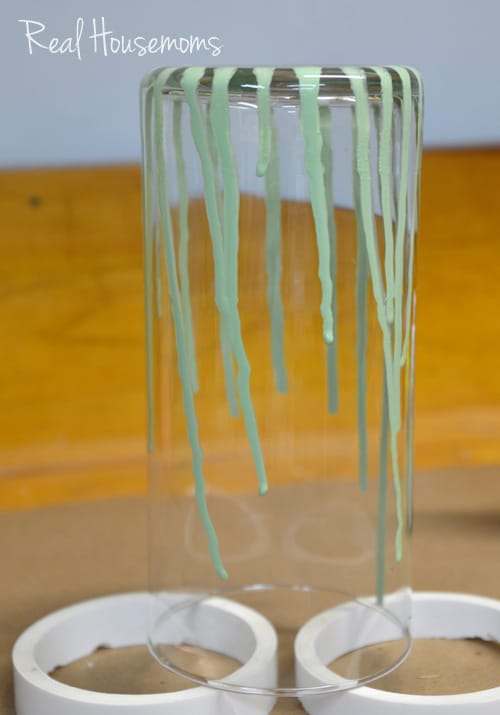
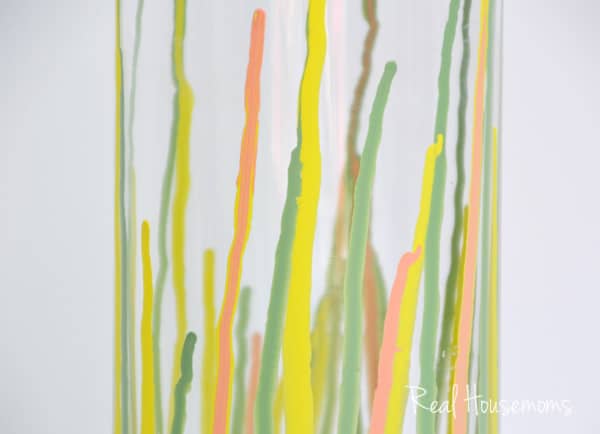
Dip your drip tool in the paint, touch it to the edge of the vase bottom and watch ‘er drip. You want the paint runny enough to run down the vase, but not so runny that it runs alllllll the way down it. That will create a puddle-y paint mess at the mouth of the vase.
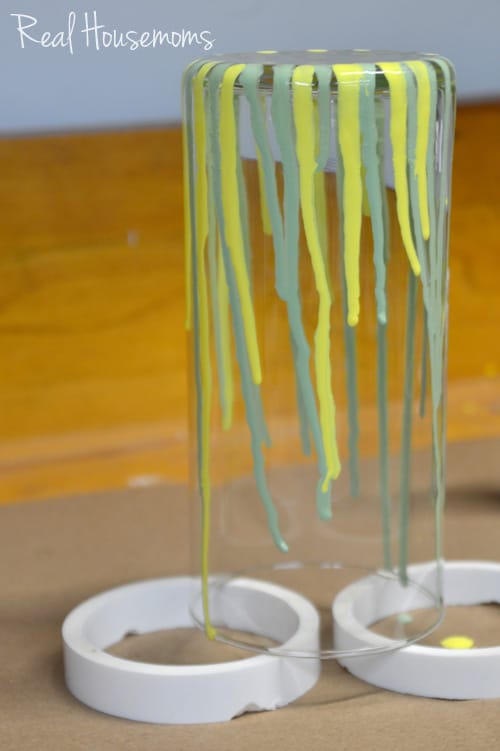
Dip…. and drip. Space it out so that you have enough room to add more colors in between.
Let the first color dry for a bit and then hit it with the second color. If you want the paint colors to kind of mesh and run together in some spots, then don’t bother waiting, just go for it. Keep going with your next color until you get it how you like it.
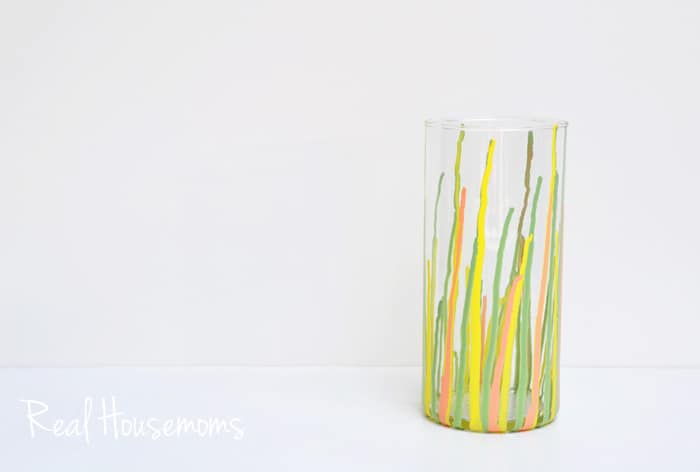
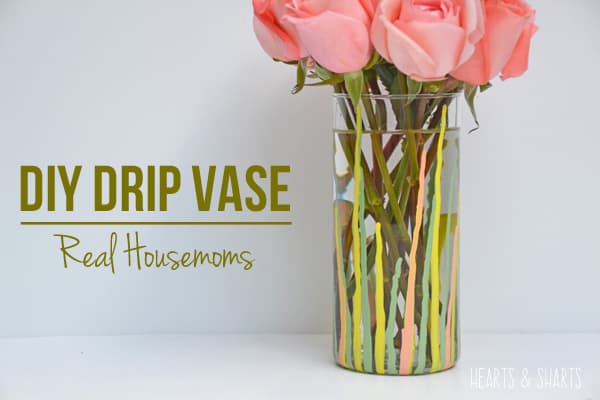
Let it dry, turn it over and BOOM!
Another awesome perk of this super simple project is that, if you ever get tired of the colors, you can easily scrape it off with a razor, clean it off and start all over.
So, you gonna make one?! Or are you gonna go back and re-read the post to find all the pee innuendo?
I mean… seems appropriate, right?
OW! Look at you, Mrs. Jones! Dippin’ and drippin’!



Gwen says
Hi Dena {and Aubrey}! I just wanted to let you know that I LOVE your DIY Paint Drip Vase,, and I’m featuring you as one of my Rockstars this week from Creativity Unleashed!
As a Rockstar you’re in the running for this week’s MEGA Rockstar! Grab your friends and come vote at http://www.theboldabode.com/2014/08/rockstars-creativity-unleashed-week-33.html
The MEGA Rockstar gets loads of love including:
1. Shout outs on all my social media houses.
2. A bucket full of Pins to my biggest group boards
3. A big sidebar ad proclaiming them the MEGA Rockstar of the week
4. And a feature in my weekly newsletter!
Congratulations and Good Luck!!!
Lolly Jane says
What a fun idea! LOVE it!
Meaghan says
Followed you over from Link Party Palooza and I love this!
~ Meaghan from DIYfaerie