
DIY Pumpkin Terracotta Pots
Everything is coming up pumpkins! No, really…it’s just that time of year, right? And pumpkins aren’t just for carving and recipes – they make fun crafts too! And today I’m sharing one with you that will have you saying ahhhh! These DIY Pumpkin Terracotta Pots.
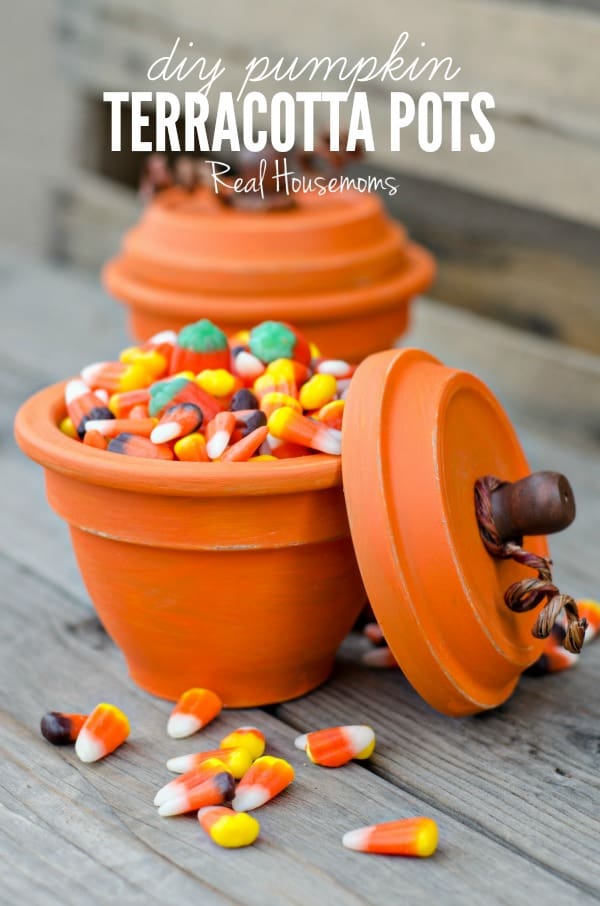
Aren’t they just the cutest? And they meet my craft criteria – fun, functional and can be done in an afternoon. Because who really has time for all that? We like to keep it cute and simple around here. So let’s get into how you TOO can make these cute little pots!
Here’s what you’ll need:
- Terracotta pot and corresponding lid
- Acrylic paint in cream, orange and brown
- Adhesive (such as Weldbond)
- Wooden knobs
- Coiled floral wire
- Wire cutters
- Paint brush
- Sand paper
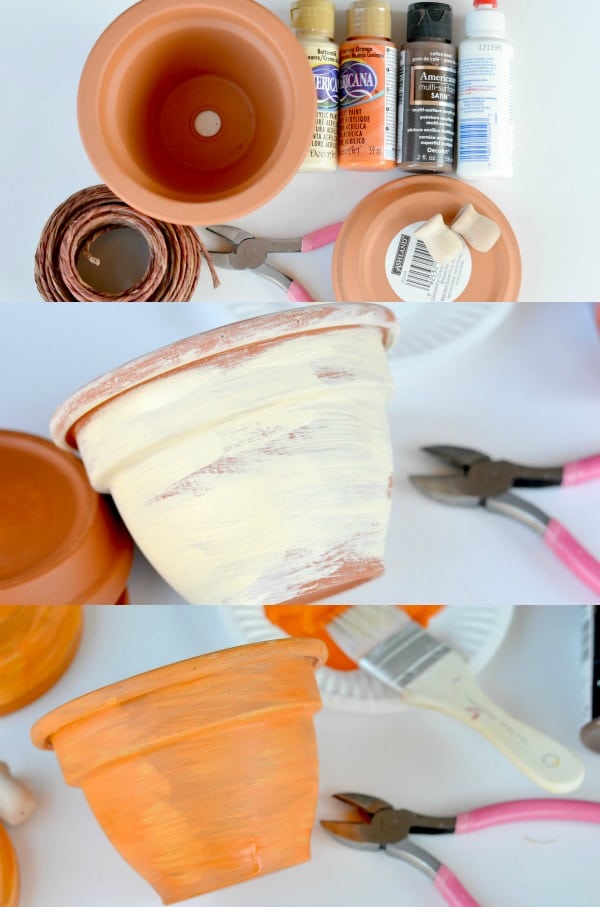
And the steps:
- Paint your terracotta pots and lids with a rough layer of cream paint. You don’t have to make sure there is complete coverage as you’ll be painting over the cream…this is just for layering for later on in the process!
- Once dry, paint your terracotta pots and lids with your orange acrylic paint. You might have to paint a few layers (allowing them to dry in between) to get the coverage you’re looking for.
- While your pots are drying, paint your small wooden knobs with brown acrylic paint and let dry.
- Once lids, pots and knobs are dry, you’ll want to glue your wooden knob in the middle of the “bottom” of the lid. For this craft we’ll be inverting the terracotta lids to act as actual jar lids. Let that glue dry.
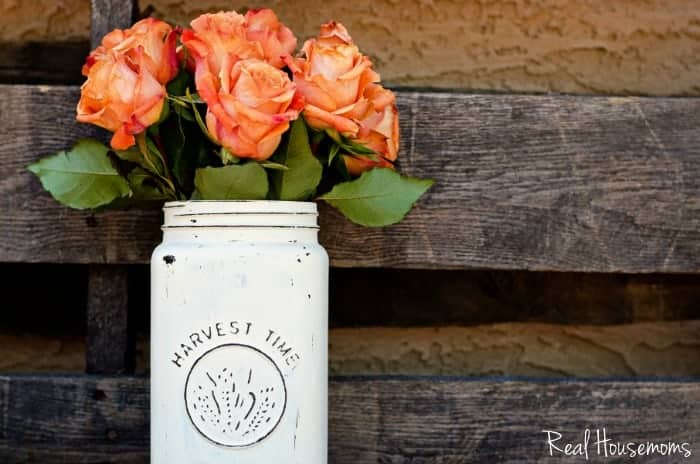
- Now comes the fun part! Just like our Distressed Mason Jar Vase, you’re going to want to “rough up” the jar with a little piece of sand paper. I think distressing painted jars always adds fun and character! And because we painted on a cream base first, you’ll see those edges and areas really highlighted.
- Last but not least, once the knob is firmly affixed to the top of the lid, cut a length of coiled floral wire and twist around your finger to add a little curly stem to the top of your jar. I simply wrapped the wire around the knob to hold in place.
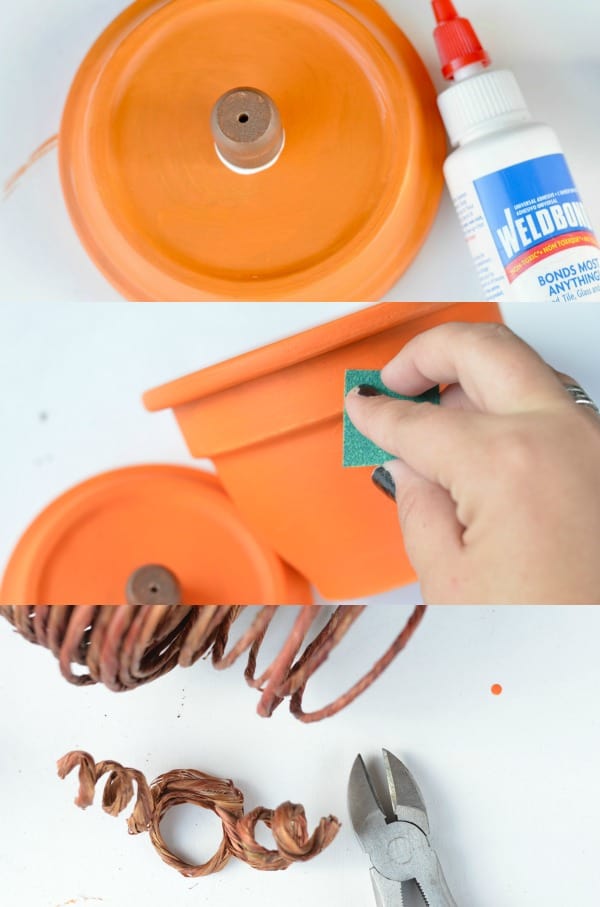
It may sound like a lot, but trust me, once you get into the groove you’ll whip these DIY Pumpkin Terracotta Pots out in no time!
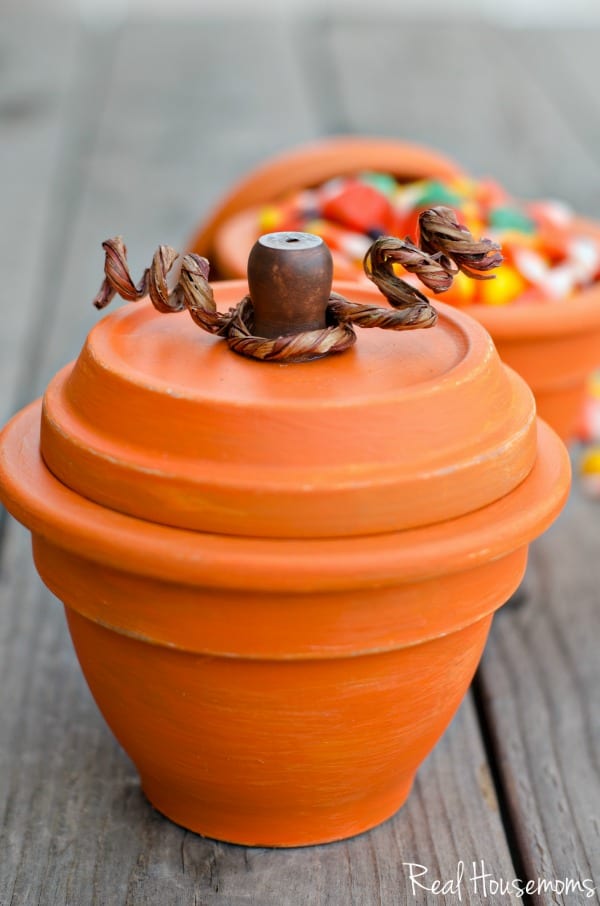
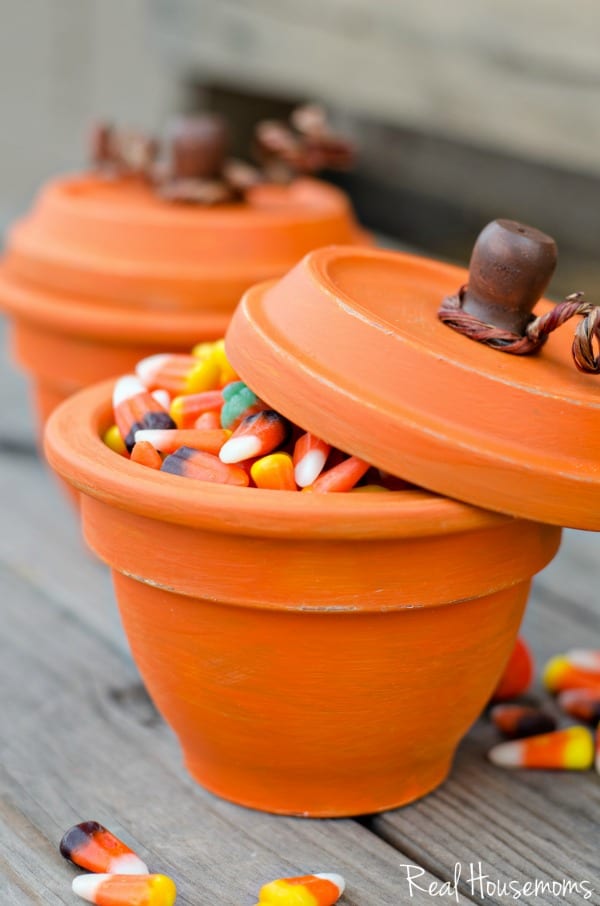
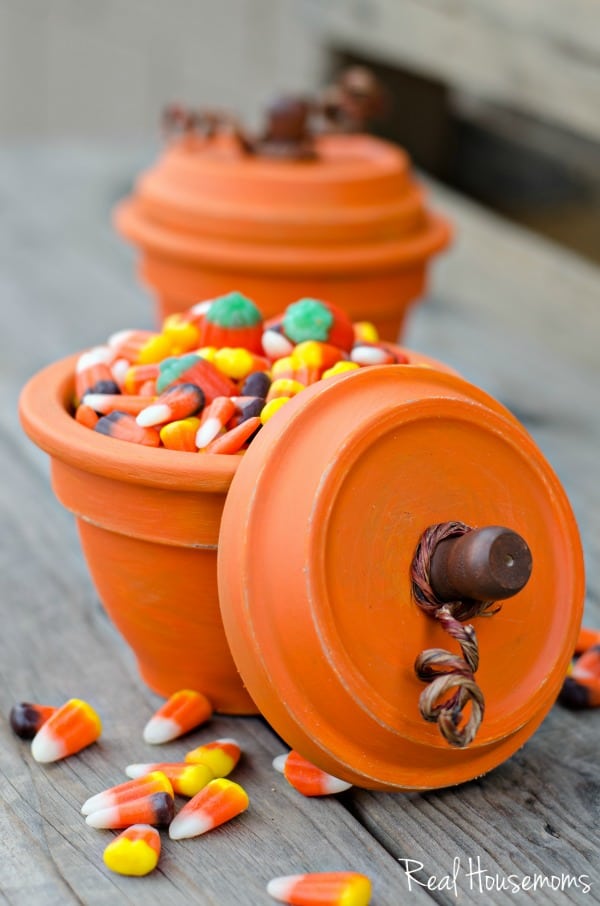
They’re perfectly adorable for your fall decor, or fill them with candy corns like we did and give them away as sweet gifts! I’m sure teachers would love to receive one of these this year – what do you think? I’d love to know if you give them a try!
Well thanks for having me folks! If you enjoyed this easy and whimsical craft, be sure to head over to A Night Owl for more! If you liked this craft, you’re SURE to love our Candy Corn Gift Jars and our Painted Wood Slice Pumpkins. Say hi if you drop by!





These are cute as can be! I will be sharing them in my newsletter this week!
Did you a saucer for the lid. The project are so cute.
Hey Phyllid!, this is the Terracotta pot and corresponding lid which is the bottom part of the pot when you buy it. So cut!
I would not put unwrapped candy in this. You have no idea what is in that clay.
Great idea! Thanks for sharing
Working on them now…
Couldn’t find the knobs…. So I’m using .75 x .94 corks from Darice. They are cute too. Wish I could attach a picture.
I had a heck of a time finding bell shaped pots…..
But…
I’m having fun!
Awesome!
Omgosh so very cute!! How could you change it up for a Christmas craft idea?
Hi Lisa! You could paint them green and then draw thin black lines winding around with colorful dots on them for lights. Then attach a star to the knob on top. 🙂
WHERE DID YOU FIND THE POTS THAT ARE ROUNDED ON THE SIDES? HAVE CHECKED LOCAL HARDWARE AND BIG BOX HARDWARE STORE WITH NO LUCK 🙁
How did you plug the hole in the bottom of the pot so the candy doesn’t fall through?
Did you paint the inside? Is it safe for the candy?
You could line the inside with treat bags or even add a small plastic cup to protect the candy.
Love It!! Where did you find the pots? I’m having a hard time finding them.
Usually Home Depot or Lowe’s or any local home improvement stores are a great spot, you may even check your local “Dollar Store” as they tend to carry them around Spring and Summer time.
how do you contain the candy corn with the hole in the bottom?
You can place a piece of masking tape over the hole (on the inside of the pot) or add a stopper. 🙂
Super cute and can’t wait to give it a try! What did you do about the hole in the bottom of the pot to prevent the contents from falling out?
Is it food safe? I know most clay is glazed before its food safe