
DIY Wooden Boot Tray & Shoe Organizer
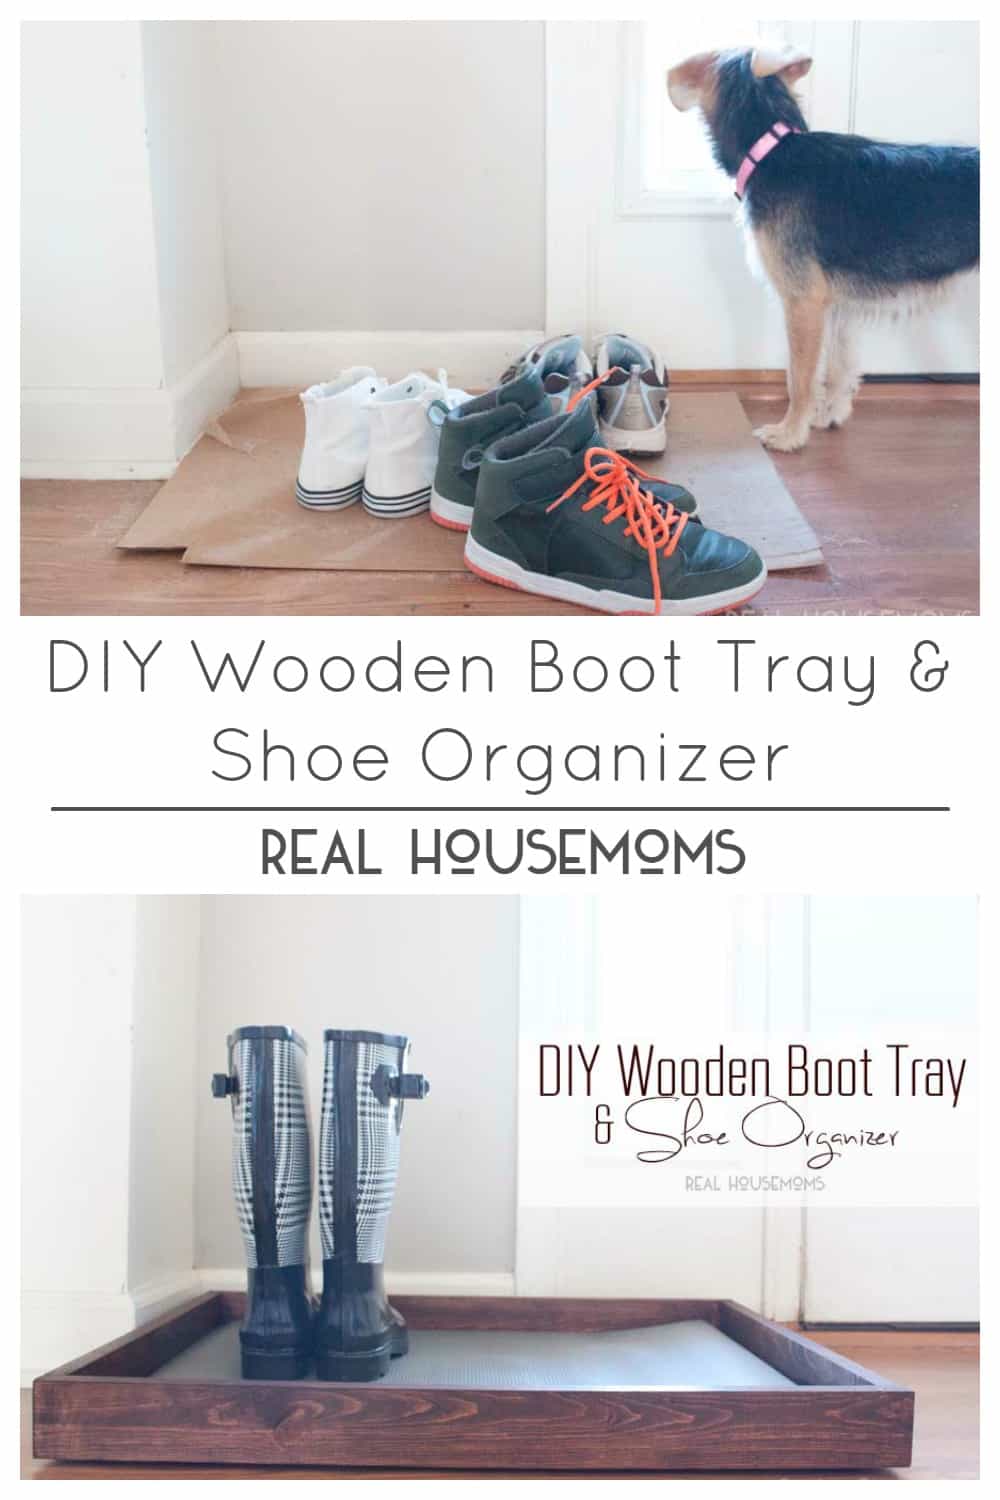
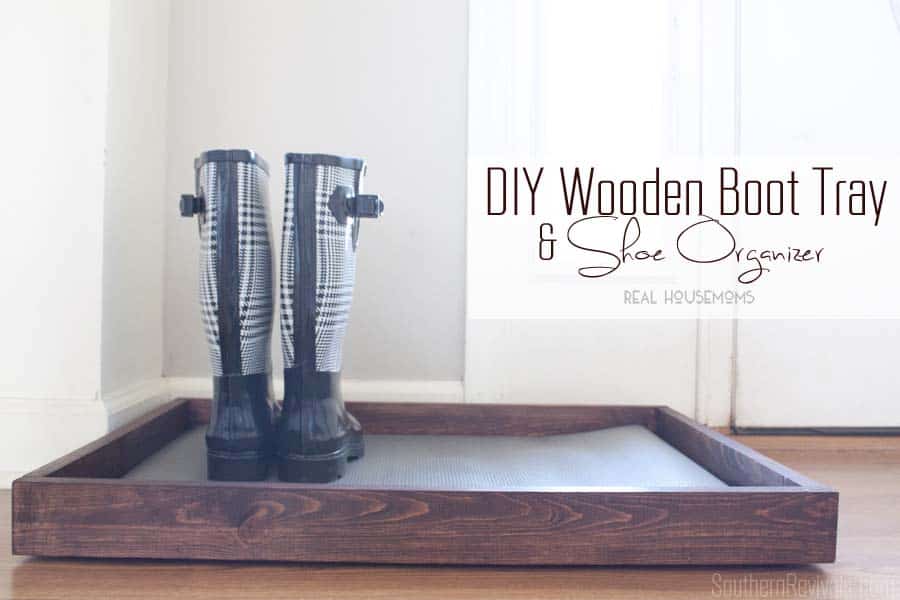
Our family needed a quick and easy place to put our shoes when we came into the house. Yes, I’m that kind of Mom. Remove your shoes at the front door, please! I mean, I can hardly stand the thought of my sixth grader tromping through our home in his high-tops that just minutes ago were traipsing through the boys’ bathroom at school. Know what I mean? So I decided to build a solution. This quick, easy and cheap wooden boot tray and shoe organizer came to the rescue and not a moment too soon!
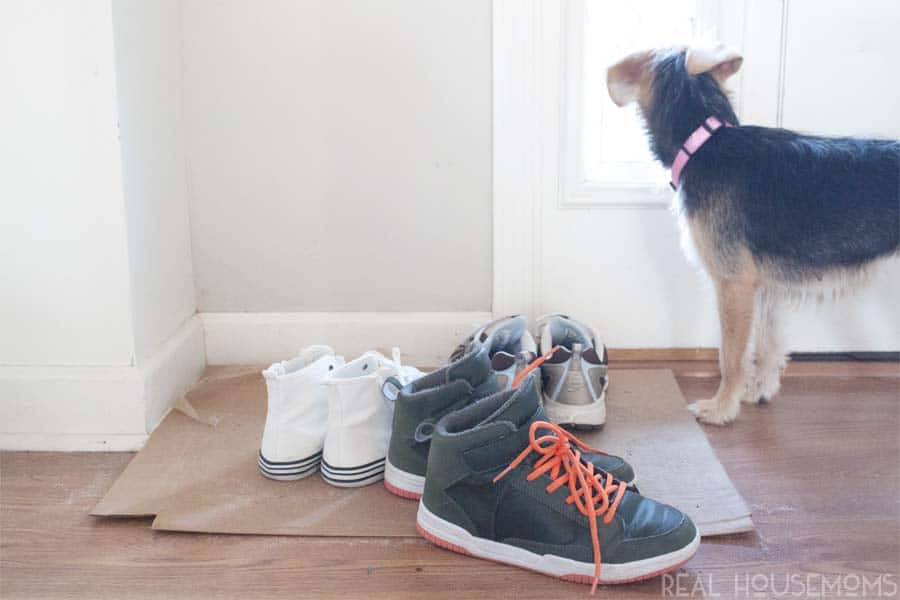
Try not to judge. It’ll be hard, I know.
It’s a mess, I know it, and I really meant to do something about it sooner. It’s when I saw this square of cardboard still lingering by the front door, after I’d hurriedly placed it there off of one of our Christmas gift boxes, that I realized the time was now.
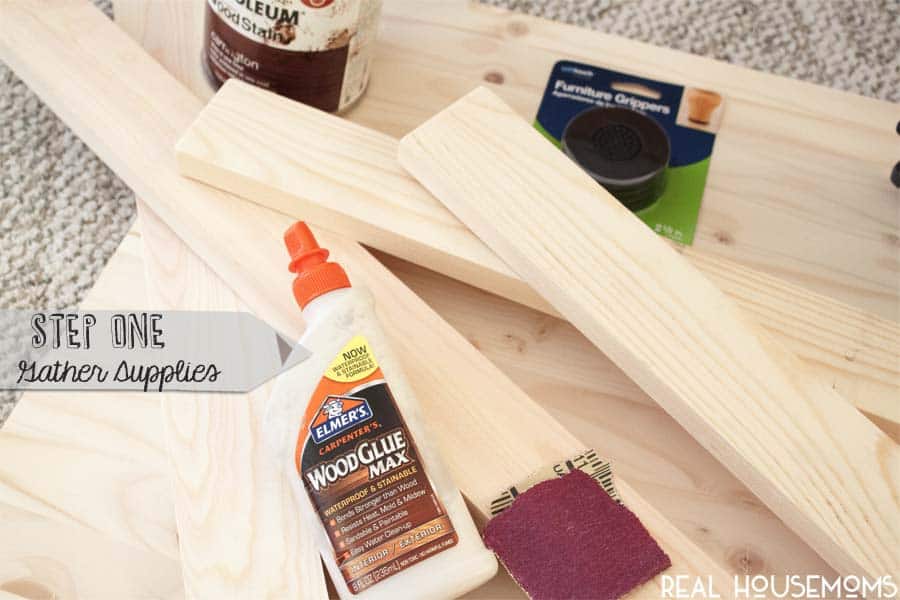
Supplies needed:
- Length of 3/4″ plywood (mine is 26″ x 20″)
- Section of 1 x 3 (I needed an 8 ft section to go around my plywood base)
- Wood glue
- Sand paper
- Stain
- Poly or other protective coating (I used Tung Oil)
- Furniture grippers
- Drill & Screws or Brad Nailer & 1 1/2 – 2″ brad nails
- Cabinet liner
Optional:
- Chop saw & Table saw or Skil saw
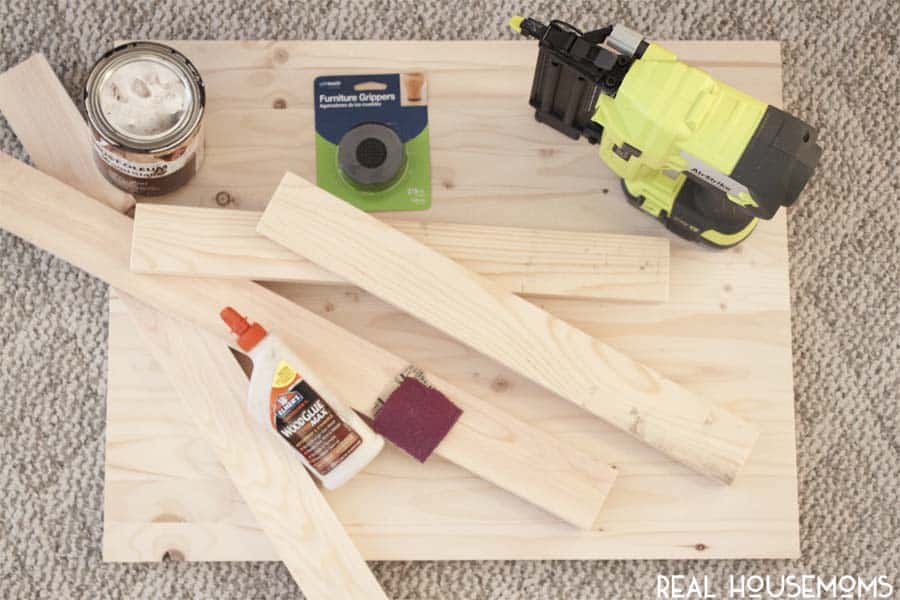
If you don’t have access to a table saw or chop saw you can have the wood cut to your desired lengths at the hardware store. Also, if you don’t have a brad nailer or finshing nailer you can always use an electric drill and screws to attach you wood pieces. Just be sure to pre-drill your holes first before placing the screws so your wood doesn’t split.
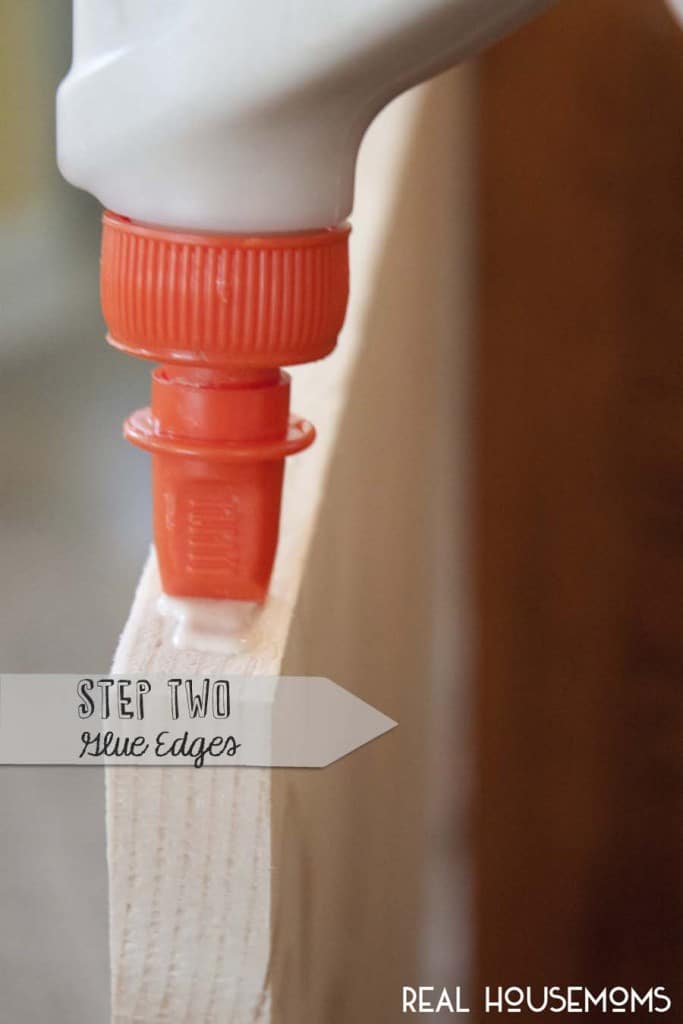
Before I started, I gave the wood a light sanding to remove any rough edges and then added a bead of wood glue to the first section of wood to be added to my base.
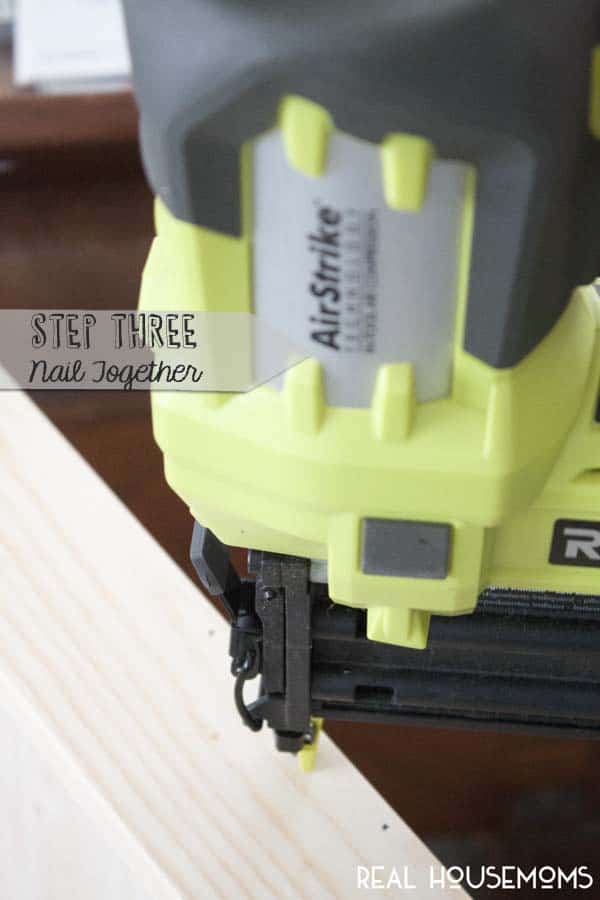
Just after the glue was applied I attached each section to my base with my brad nailer. I started with the shorter lengths since the longer lengths would overlap them.
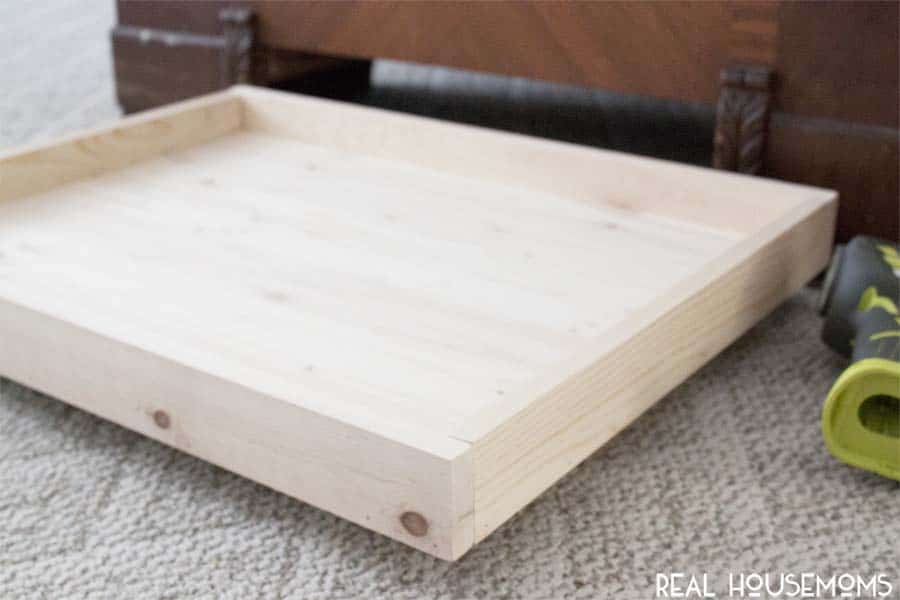
Once my little tray was complete I gave it a few hours for the glue to dry.
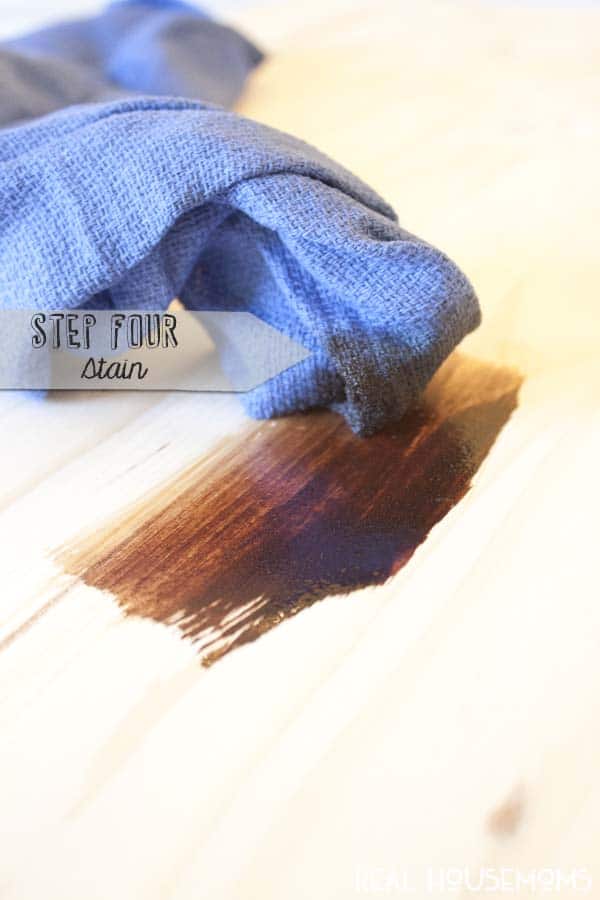
For best results, you may want to give your wood glue a good 24 hours to dry prior to using your tray but you’re fine to go ahead and apply stain once it’s dry, about an hour.
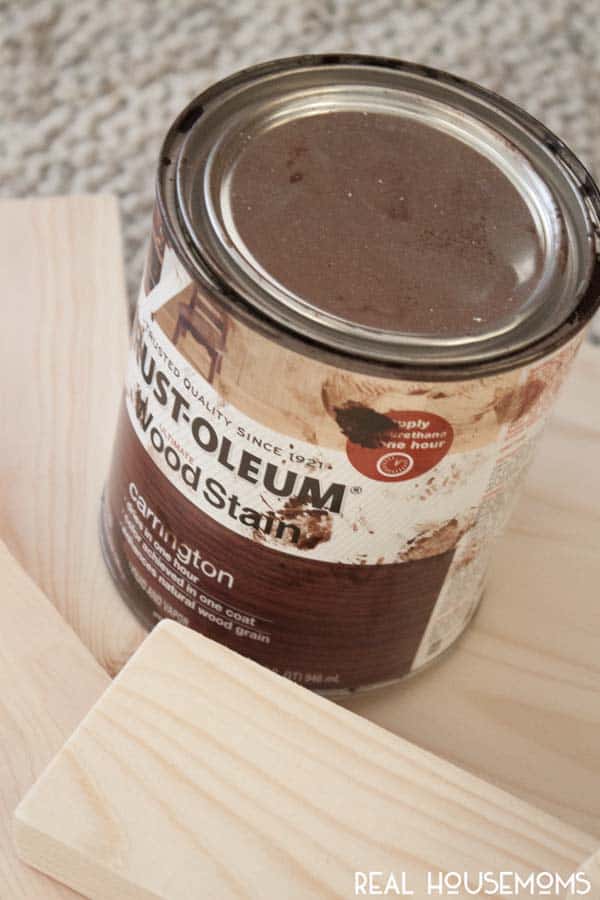
My favorite stain color these days is Carrington from Rust-oleum. Full coverage in one coat and you can apply a protective coat like poly or, in my case Tung oil, in just an hour’s time.
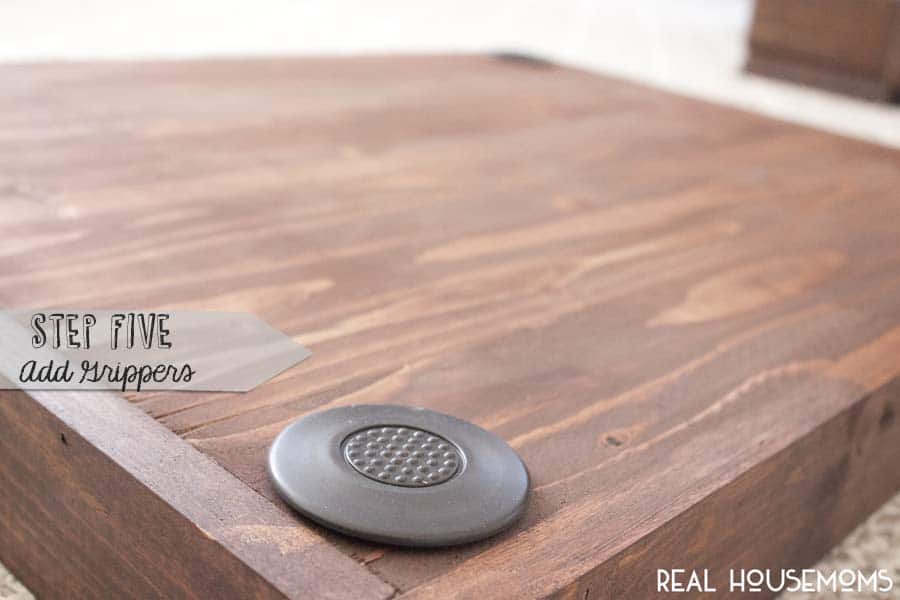
Once your protective coating is dry (this will depend on what you’ve used) you’ll want to apply some rubber “feet” to the bottom to protect your floors and to keep your tray from traveling all over your space!
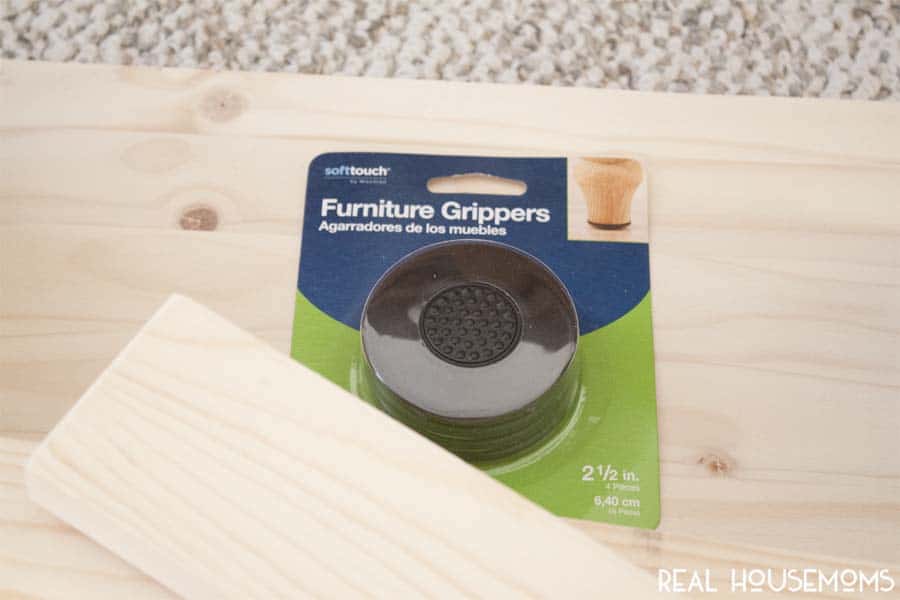
I used this box of Furniture Grippers meant for the bottom of table and chair legs. They come in a pack of four and have peel and stick backing already applied.
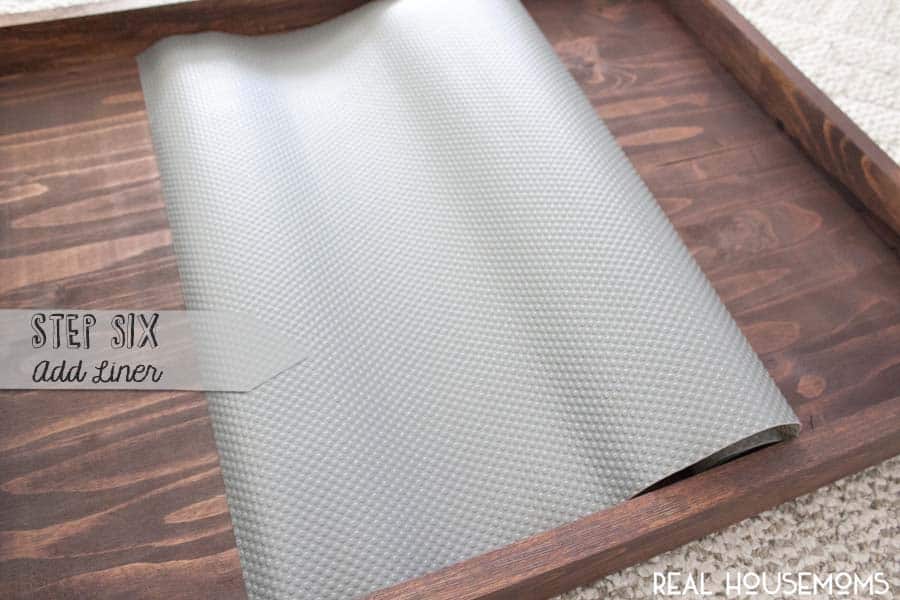
Finally you’ll want to add some protective liner to the inside of your tray to prevent scratches and keep it easy to clean.
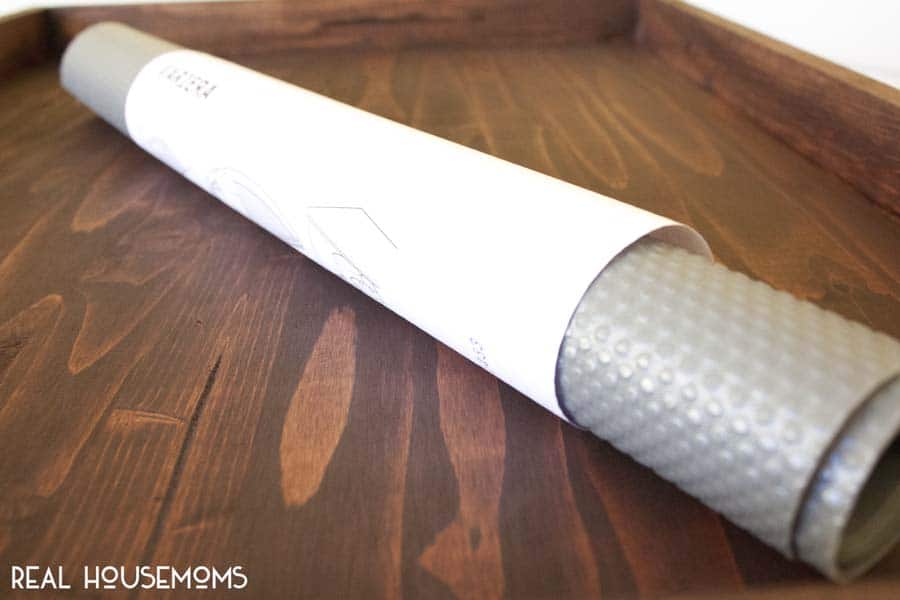
You could get as fancy or creative as you like here but in the end I just decided I wanted to go with something easy to clean. Nothing fussy. This cabinet liner that I got from IKEA was perfect. It’s already 20″ wide so I only had to cut one side. You can either glue this down or leave it free for ease of cleaning or changing out once its had enough.
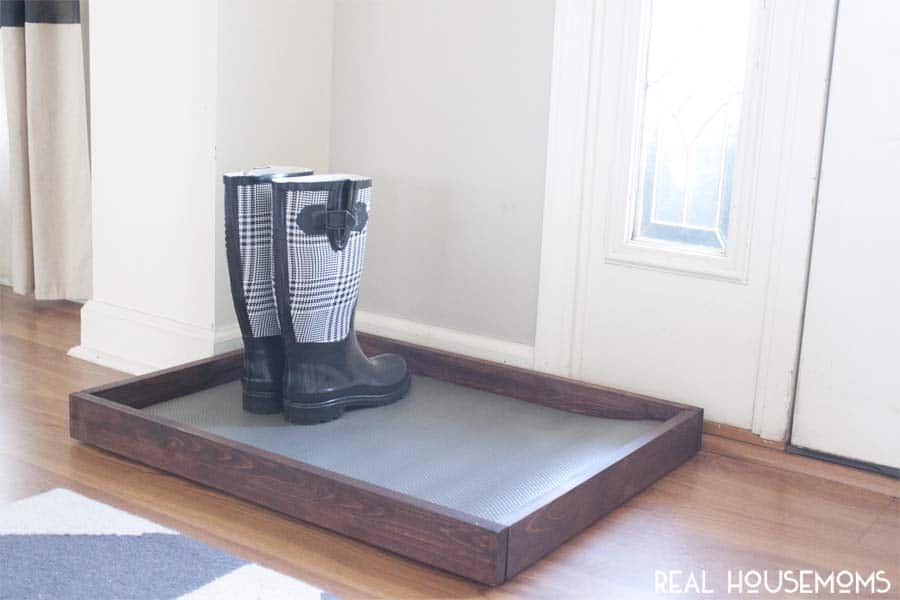
Much better, right?
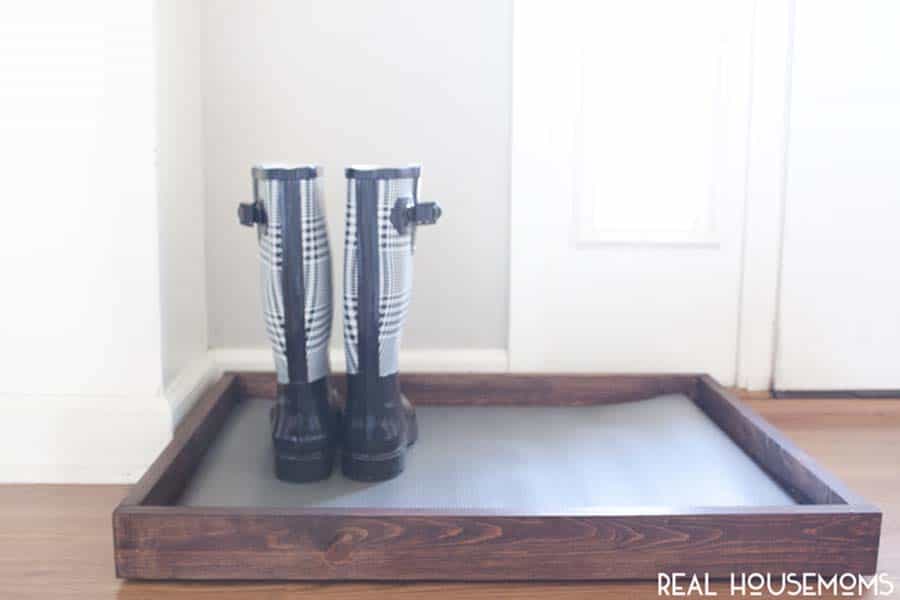
Well. We all knew it wouldn’t look this attractive for long but it is doing its job. These days I am much less likely to be all – TAKE OFF YOUR SHOES!! – and our foyer stays much cleaner. Plus, it only cost me around $25 to make.
As an aside, I used to be much cooler before I had kids. Much.
And I didn’t take my shoes off at the door either.






Thank you very much