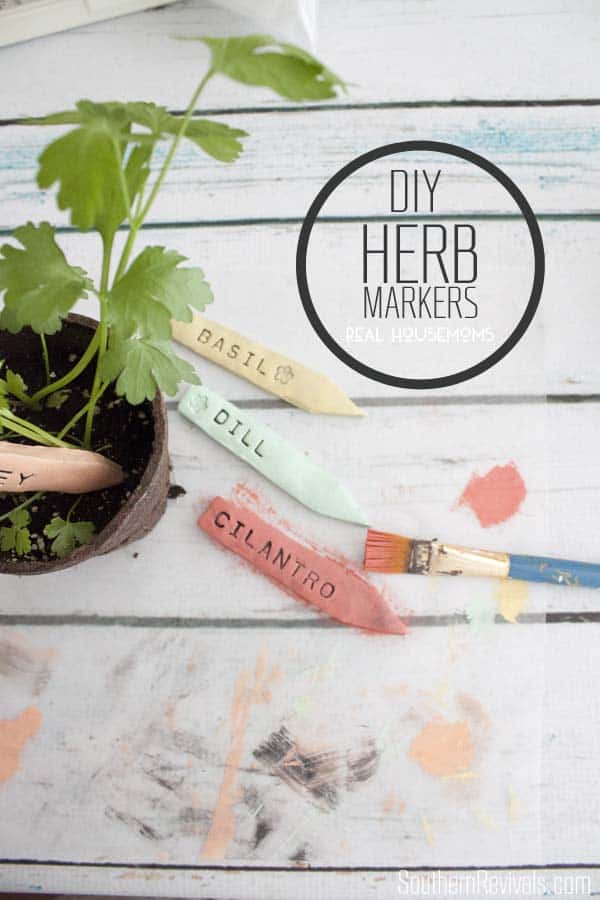
No matter the weather outside, bring a little Spring whimsy indoors with these fun and colorful DIY Herb marker stakes. Just 20 minutes to make and bake for lasting and adorable labels for this year’s herbs, veggies or whatever.
Supplies:
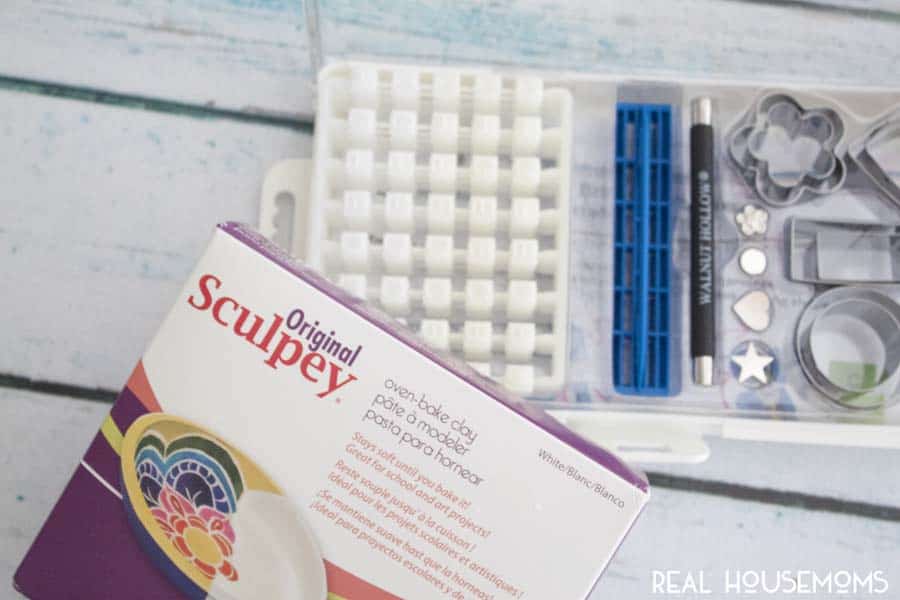
- Oven-bake clay
- Clay stamps*
- Rolling pin*
- Oven
- Paints & brushes
All you need is an oven-bake clay of your choice. I also used my clay stamping kit but you can use any letter stamps you may have on hand. If you don’t have stamps these labels can always be drawn on by hand with the end of a toothpick.
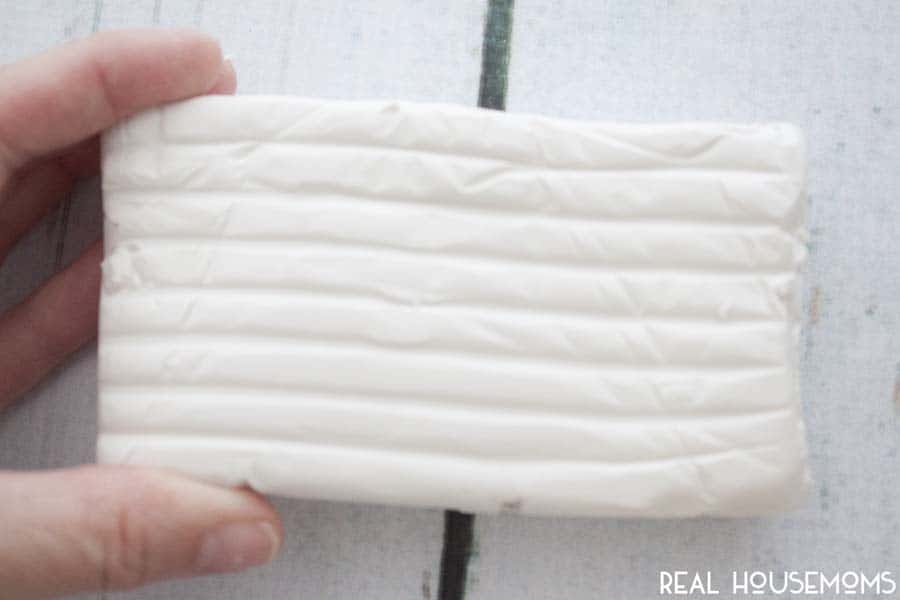
When you get out your block of clay, it may look something like this. You may instead opt for the already colored clays, too. I just like to paint mine by hand.
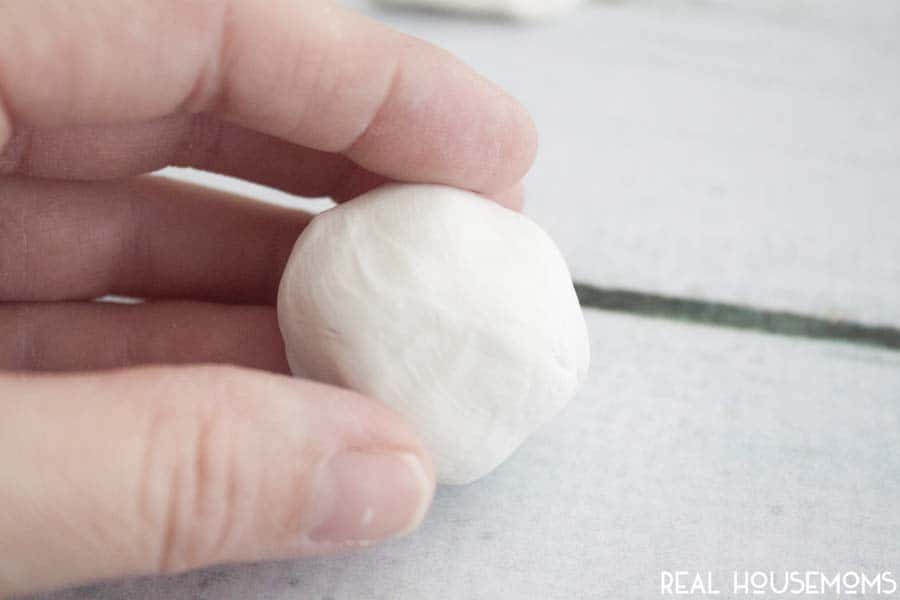
Knead and roll out a bit of the clay into a 1 to 2″ ball.

Flatten it out with a rolling pin or your hands. Since I don’t have a rolling pin dedicated to crafts I just used my hands instead. Once I got it to a uniformed thickness I began cutting it into marker shapes.
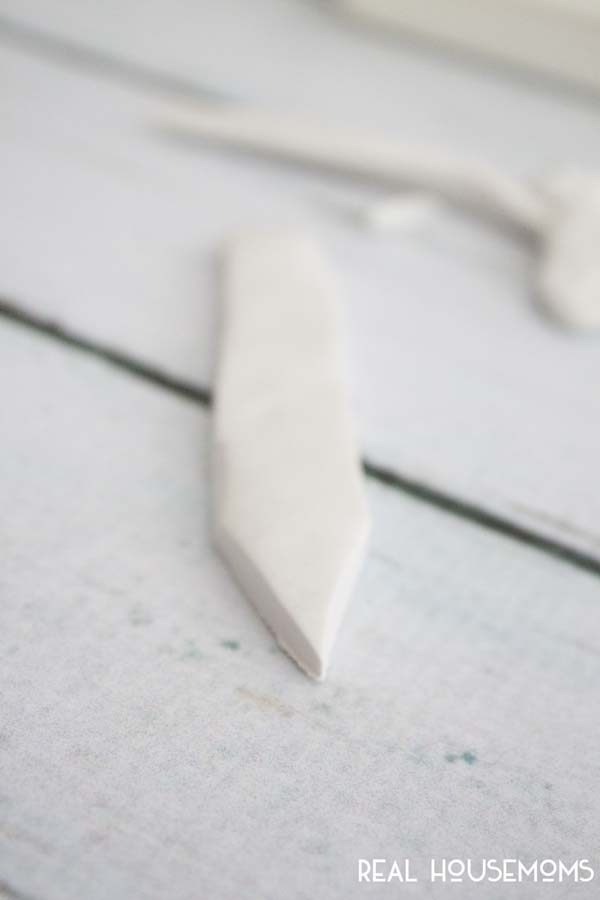
Each of my markers were approximately 1/4″ thick and about 4″ in length.
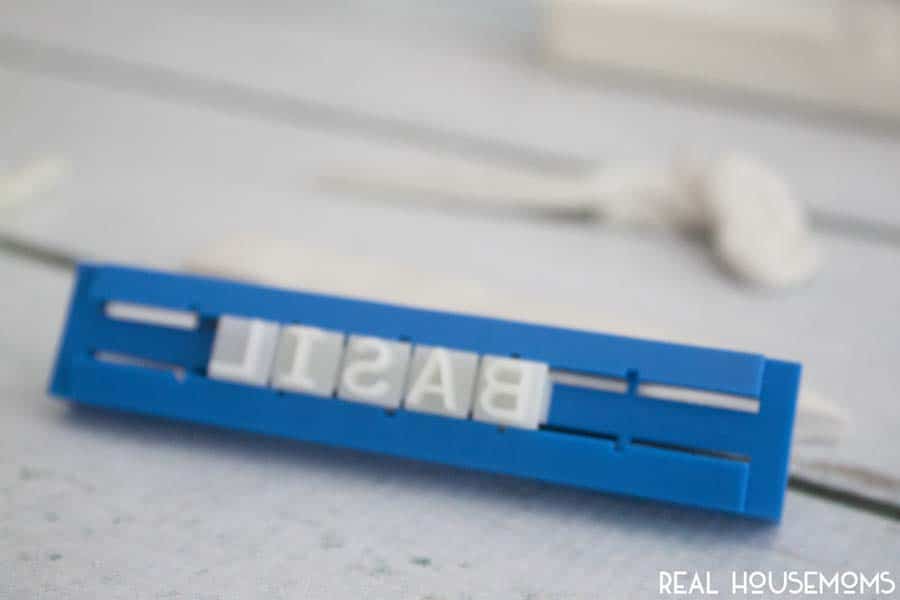
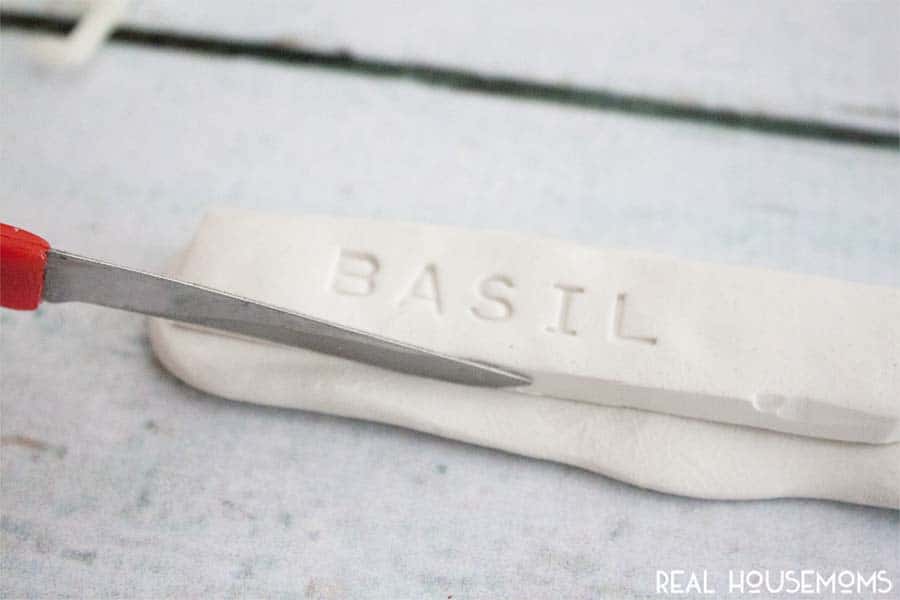
If you have a stamping kit you can line up your label names into the tray.
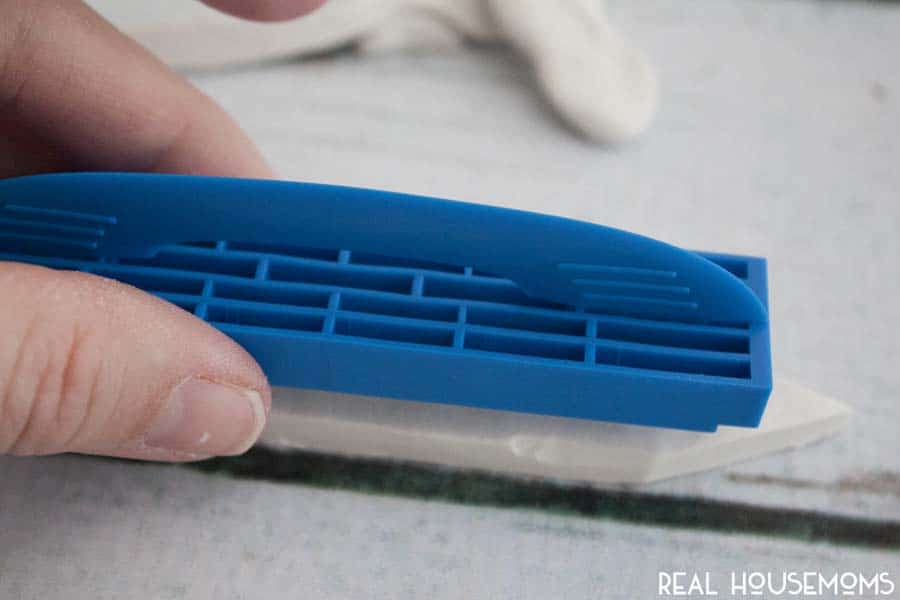
Then you’ll simply press this down onto each marker.
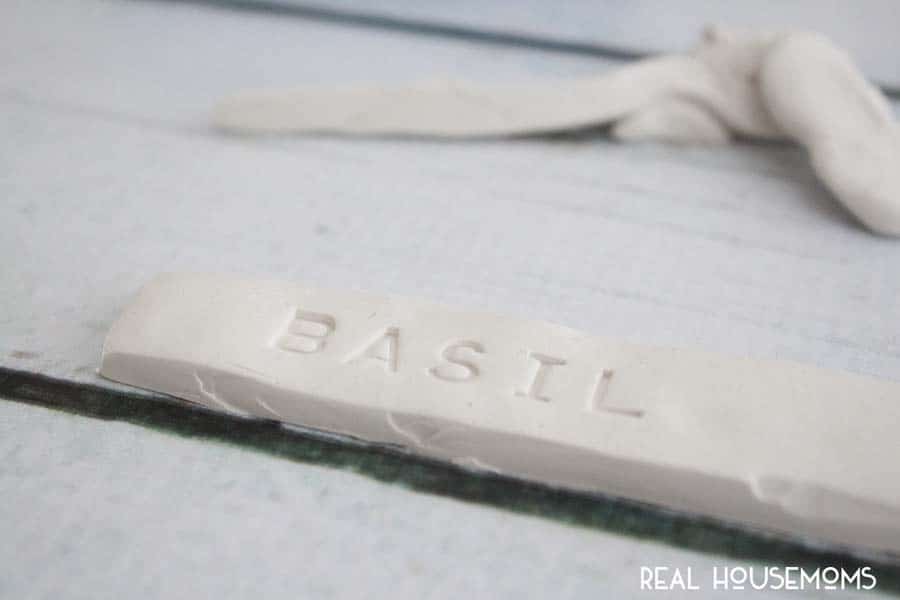
Like I said, if you don’t have stamps this can also be done by hand but these stamping kits are so much fun. It’s a really good excuse to use your local craft store’s weekly coupon!
To keep my labels uniform I laid one on top of the other to cut out.
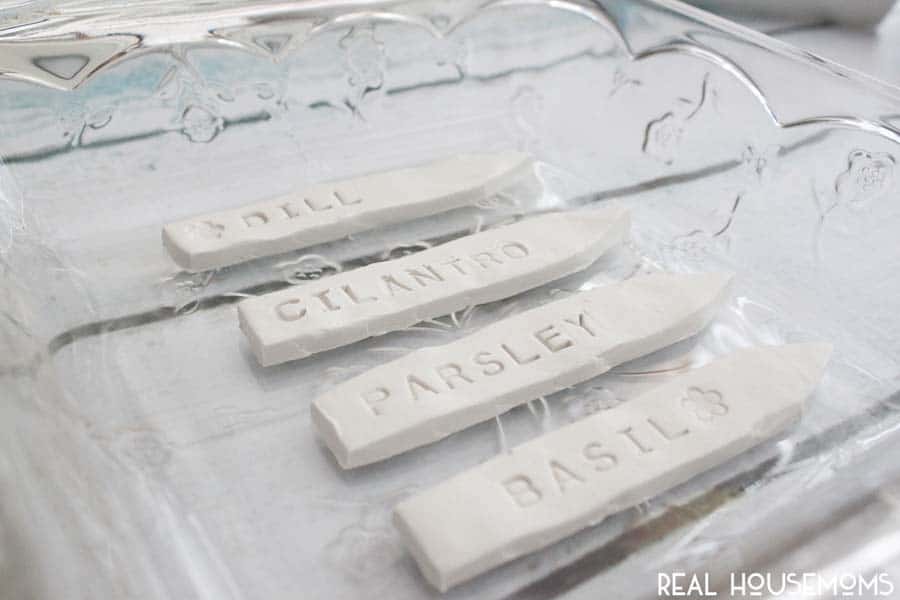
This clay remains soft until baked so once I was done shaping and stamping them I put them into the oven to bake according to manufacturer’s directions.
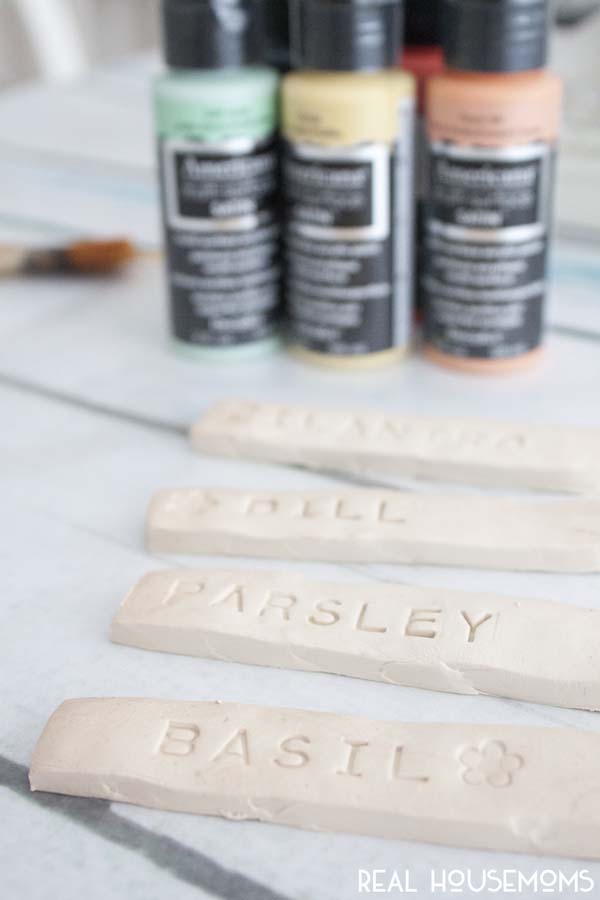
After they cooled it was time for the fun part – PAINT! I chose to use DecoArt’s multi-surface paints since I am in love with the vibrant colors. And since they are intended for use on a multitude of surfaces they were perfect for this project.
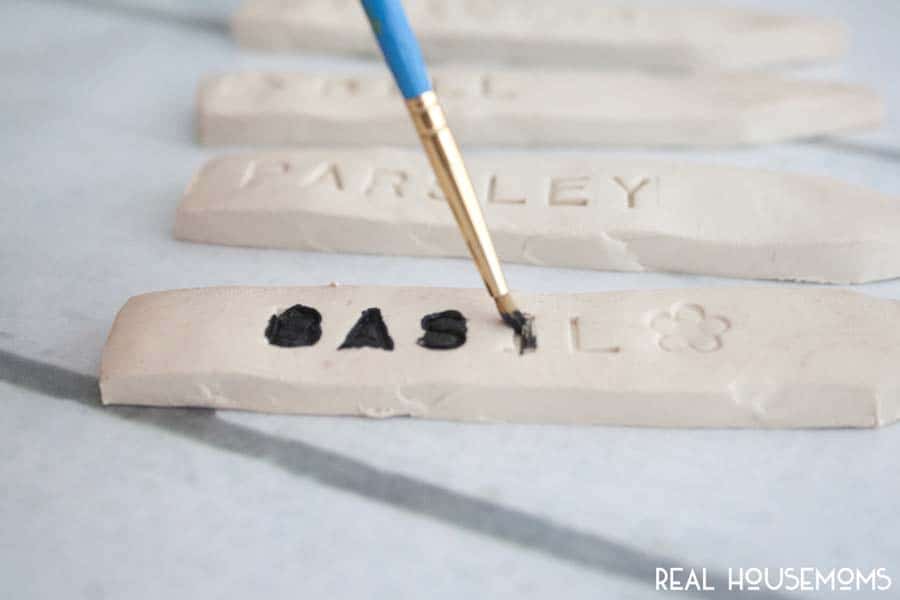
First I used a small brush and black paint to go into the grooves of each letter so that they would stand out on my labels.
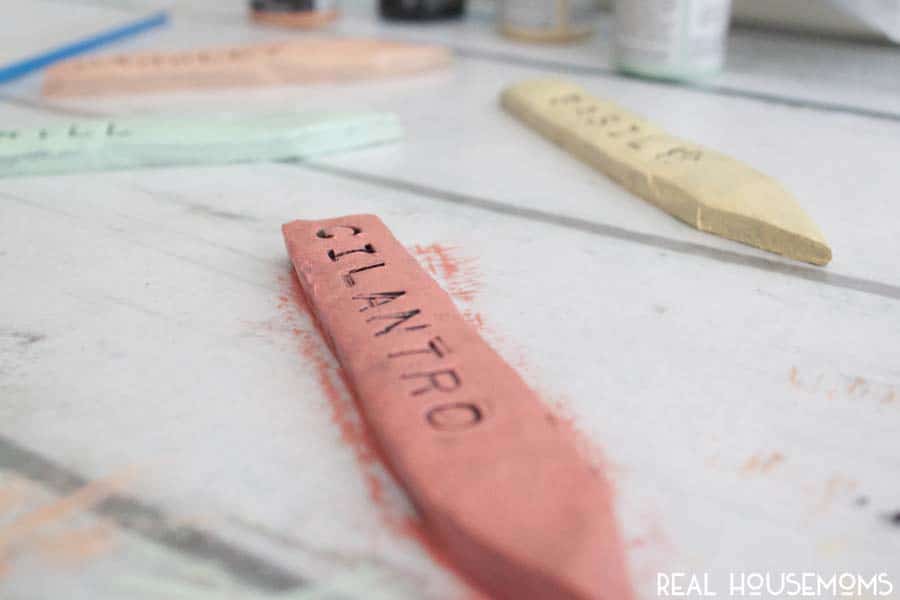
Then, once the black dried I simply dry brushed on the colors being careful not to get it into the grooves of the letters.
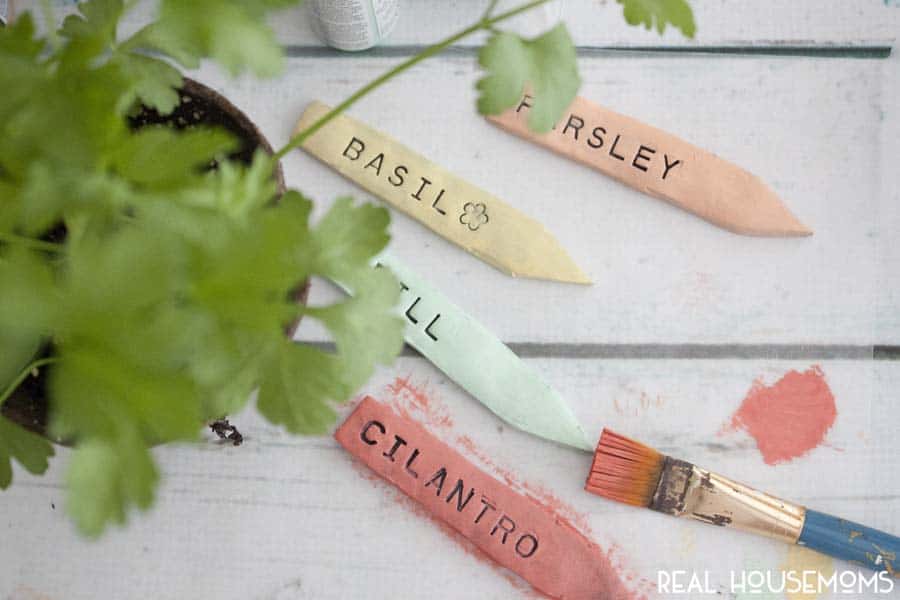
And that’s it! Now I’ve got some cute herb markers that won’t rot and the labels won’t wash away. Plus, they’ll be good to use season after season.
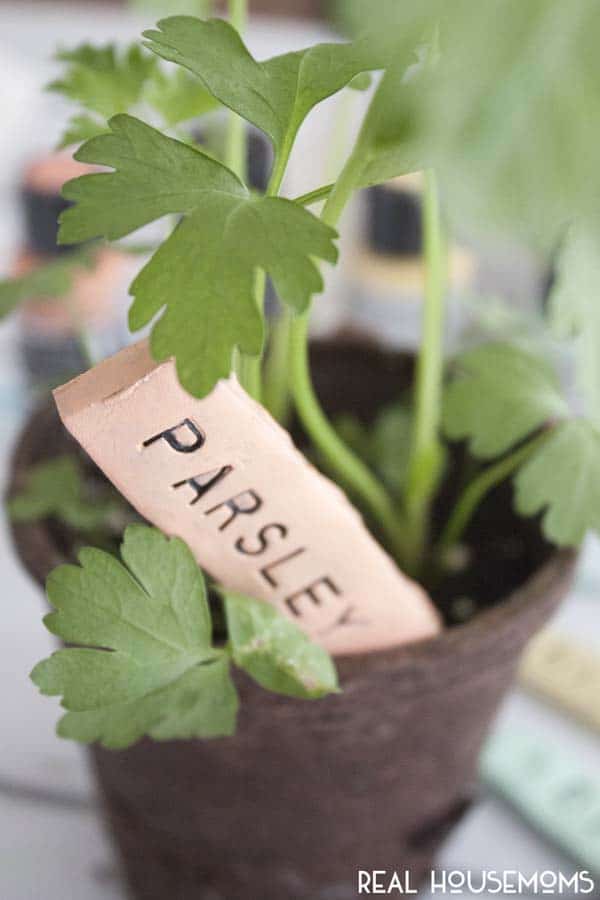
See! Now your herbs can look more delicious than ever!
Want to see some more things you can do with paint? Head on over to my blog, Southern Revivals, and see what else I’m painting…


Leave a Reply