With a couple supply items, you can make a DIY WOODEN PICTURE HANGER for a fraction of the cost of the one from Anthropologie!

I love displaying pictures and meaningful art around our home … maybe a little too much. I love the small daily reminders of a fun time in the past we had as a family, a glimpse of my kiddos when they were younger, or pictures with extended family that we don’t get to see as often as we’d like. It seems like I’m always adding a new picture to a wall, shelf, or table.
To some, I’m sure it seems like we have TOO MANY pictures everywhere, but I just can’t help it. Because of this, I’m always looking for new and unique ways to display the photos or artwork.
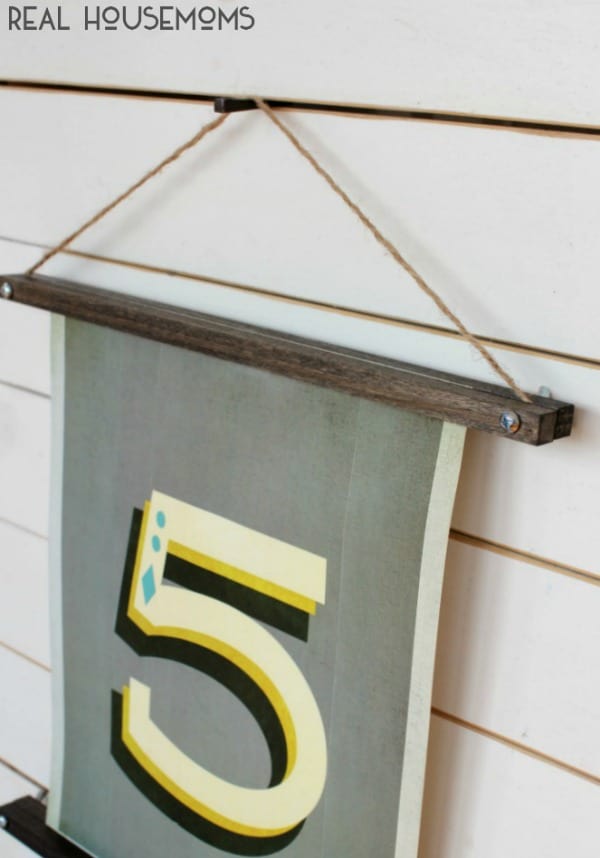
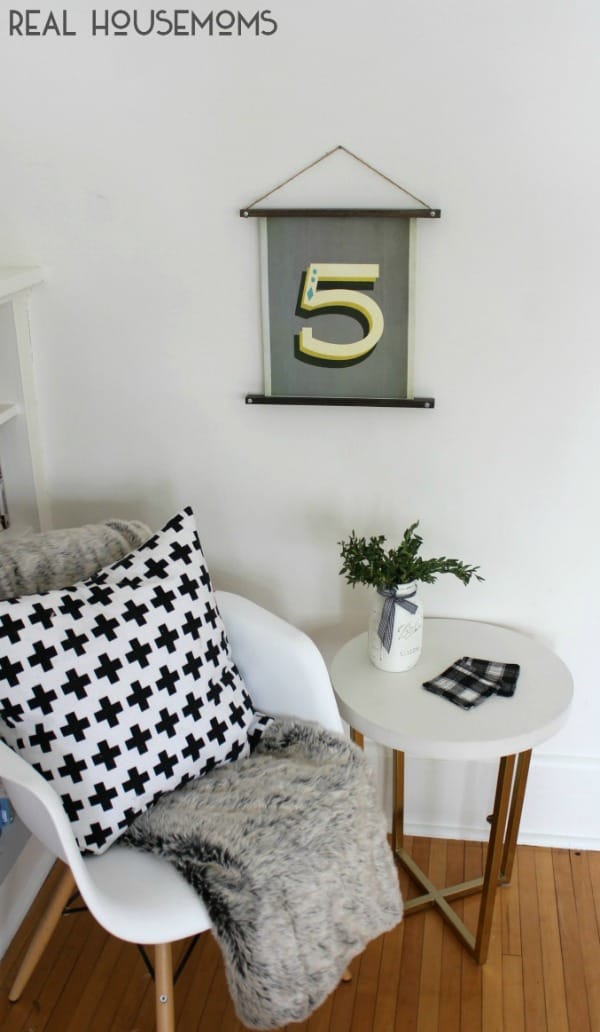
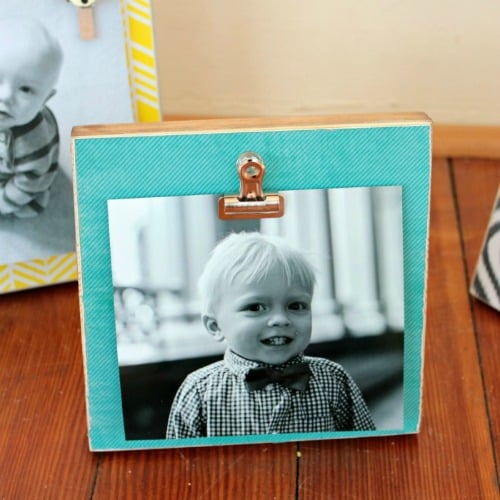
Here’s how it turned out:
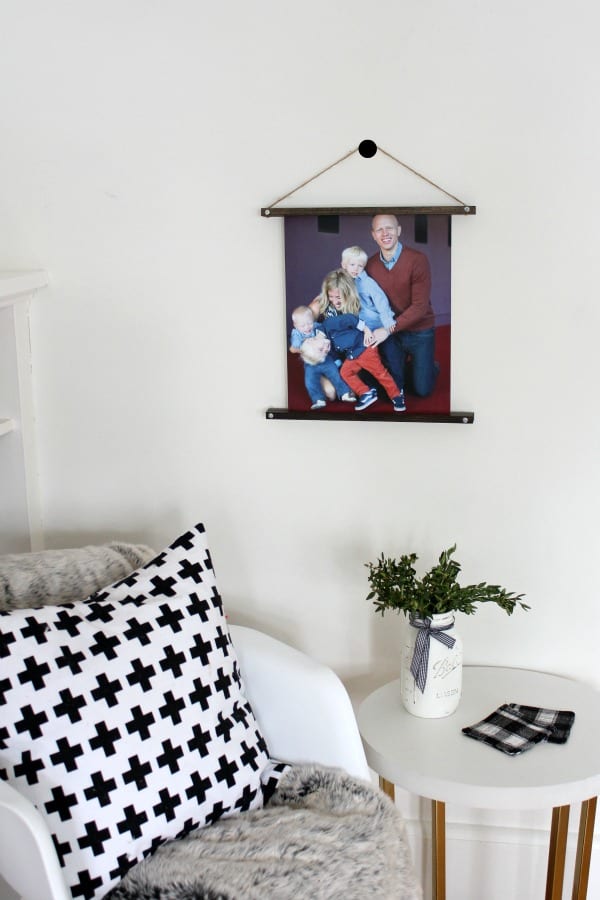
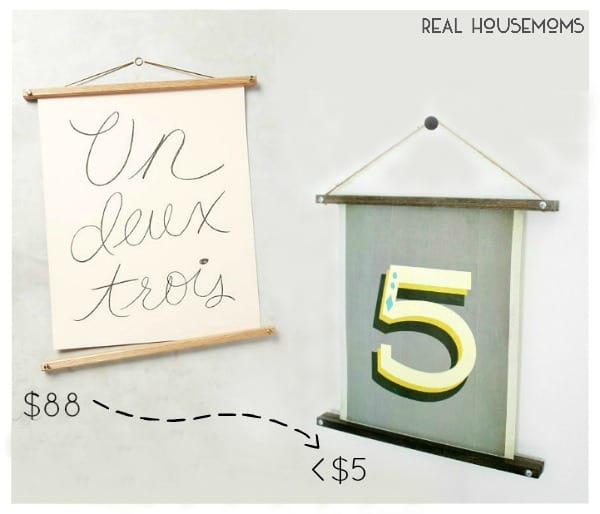
So simple, but it displays our 11″ x 14″ family photo perfectly! Anthro’s version, that I was inspired by, is very similar … check it out:
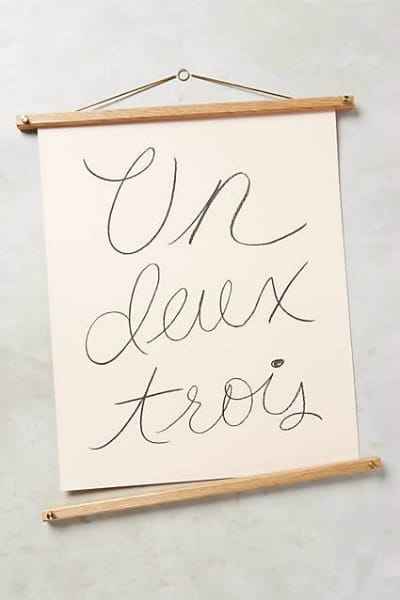
Same concept, but at a MUCH higher price. If you purchase this from Anthropologie, it will run you between $68 and $88 depending on the size. Our version, however, can be made for less than $5, and you can customize the size of your hanger to your exact picture size!. You could make a whole wall of hanging wooden picture frames for the price of one from Anthro! And it’s really pretty simple!
Here’s what you’ll need:
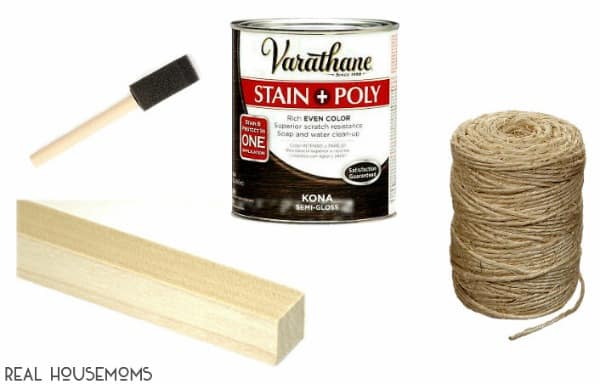
SUPPLIES:
- Square Wooden Dowels. I purchased mine from Lowe’s, but most Home Improvement stores will have these in varying sizes. For one hanger, I purchased two 1/2″ x 36″ dowel rods (each around $1.50)
- Wood Stain. I had this Varathane Stain in Kona on hand from several other projects, so I used it.
- Brush to apply stain.
- Twine.
- Drill with ~1/4″ drill bit.
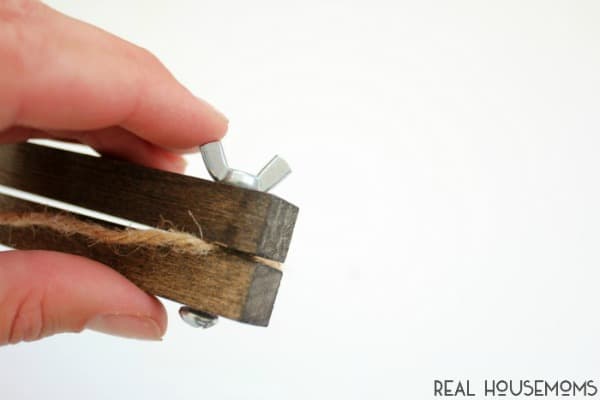
- 4 Screws with appropriate size wing nuts (pictured below). I used 1 1/4″ long screws (just slightly longer than two of my dowel rods put together).
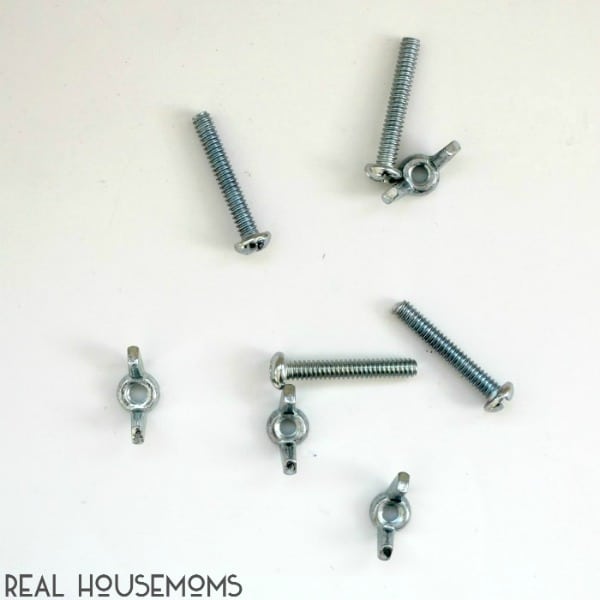
Screws and appropriate wing nuts
And here’s how to make these hangers:
Step 1: Decide on the width of your picture hanger and cut dowel rods to this size. You’ll need four total (two for the top of the hanger, and two for the bottom). I wanted the hanger frame to be about 3″ wider than my picture 11″ wide picture, so I cut four pieces at about 14″.
Step 2: Stain your dowels (or leave raw if you prefer). If staining, be sure to get all sides and ends of each piece.
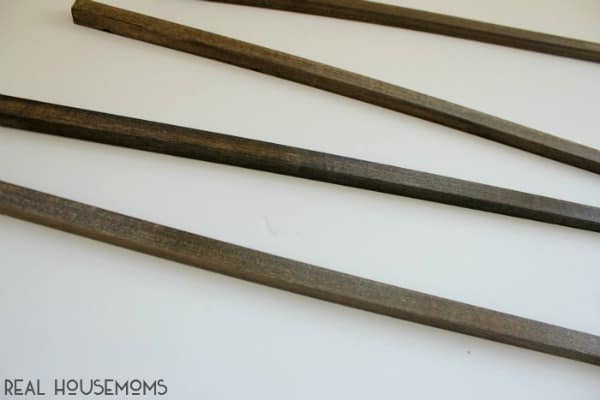
Stain all four dowel rods
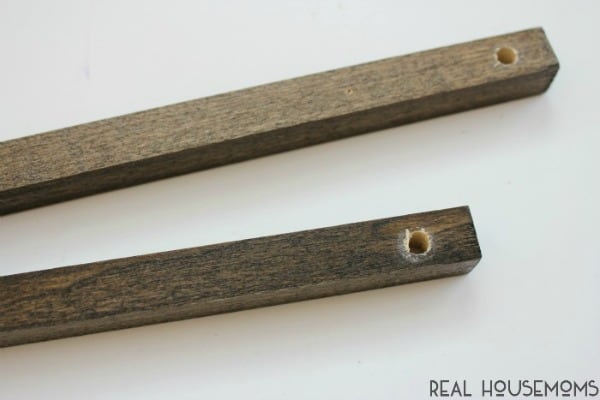
Step 3: Allow stain to dry completely, then drill ~1/4″ holes in each end of the dowels. These holes should be about a half inch from the ends of the dowel rods.
Step 4: Match up the top two dowel rods, thread the screw through the holes you just drilled and start securing the wing nut on the back. Next, cut a piece of twine and thread one end in between the two rods. Do the same to the other side so that you have a piece of twine long enough to hang the picture from.
Step 5: Center picture in between top two dowels and bottom two dowels and tighten wing nuts to secure both the twine and picture. Cut ends of twine if needed so they don’t hang below top rods.
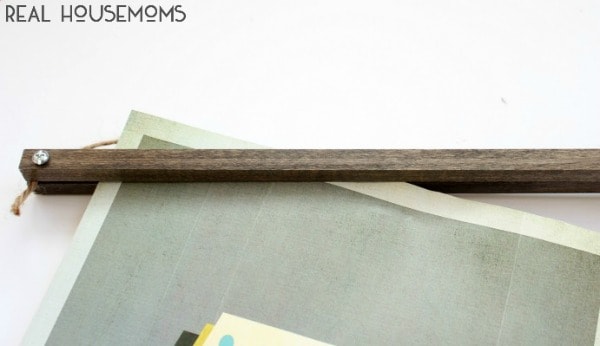
That’s it! Hang on a hook, nail, or knob.
So … $88 or <$5?
A simple and unique way to display your favorite photos or art!
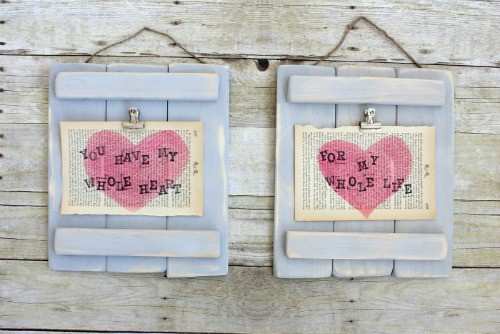
Thanks for stopping by! If you’re looking for even more creative ways to display pictures around your home, you might like these ideas:
DIY Pallet Plaques


Paige Griffin says
Thanks for this post. I’ve been looking for a nice DIY poster hanger for my photography. This is my favorite find thus far!
Cindy Hoffman says
Hey there Kaite, It’s really a nice idea to have such a hanger for a photo. I love it and I think I am goign to make several of these given that hey are easy to make and they are inexpensive. Thanks for sharing.
Cindy